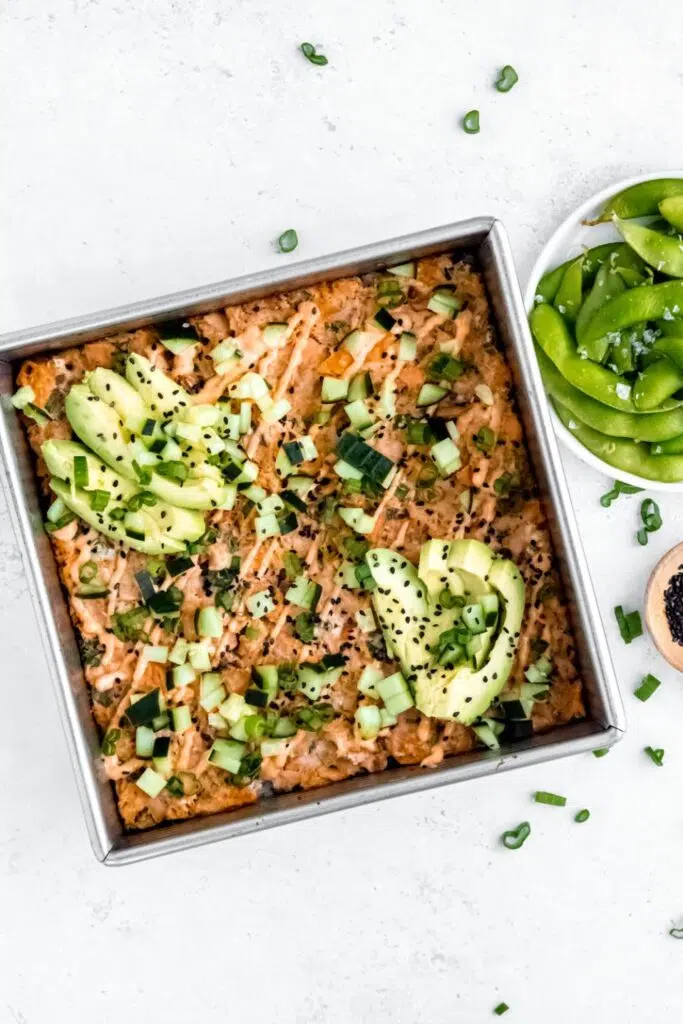
This Sushi Bake is a fun twist on the classic sushi roll we all adore. It's a baked, deconstructed version of sushi, offering the same great flavors in a comforting, casserole-style dish. Plus, you get to customize with any sauce of your choice.
Disclosure: This post may contain affiliate links, meaning I earn a small commission if you make a purchase through one of my links-at no extra cost to you. As always, all opinions are my own. Thanks so much for your support! See my disclosure policy for more details.
Table of Contents
Why you'll love it
I love a good sushi roll, but I'll admit it-I'm way too lazy to make them at home. This sushi bake is the perfect solution because it's simple and only takes a few minutes to prep.
You also might like these sushi cups, which are SO easy to make as an appetizer idea.
So what is a sushi bake?
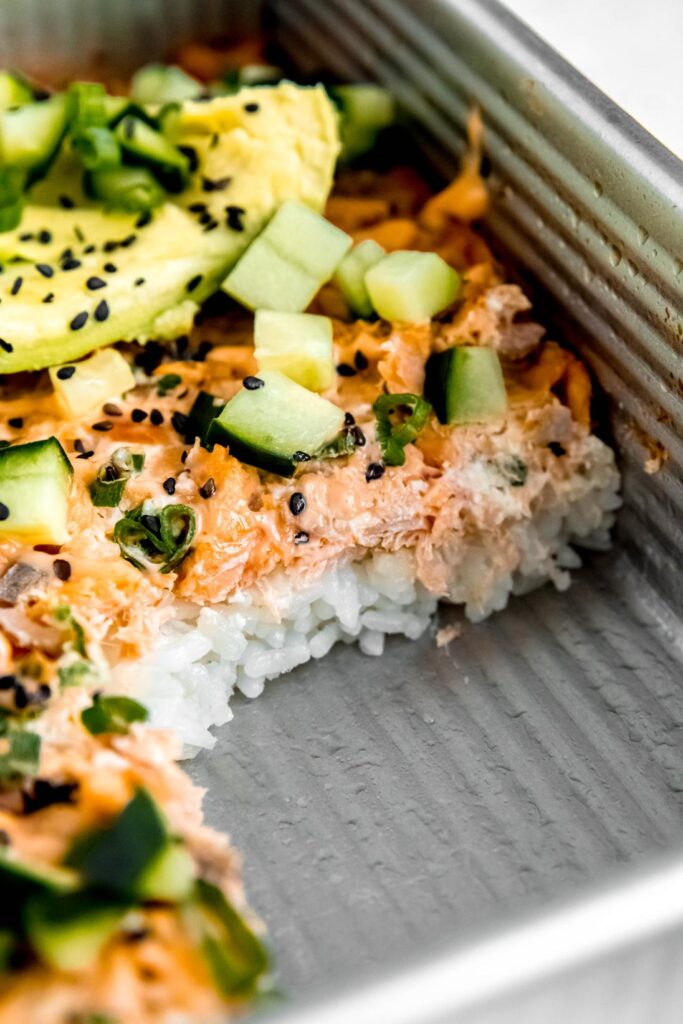
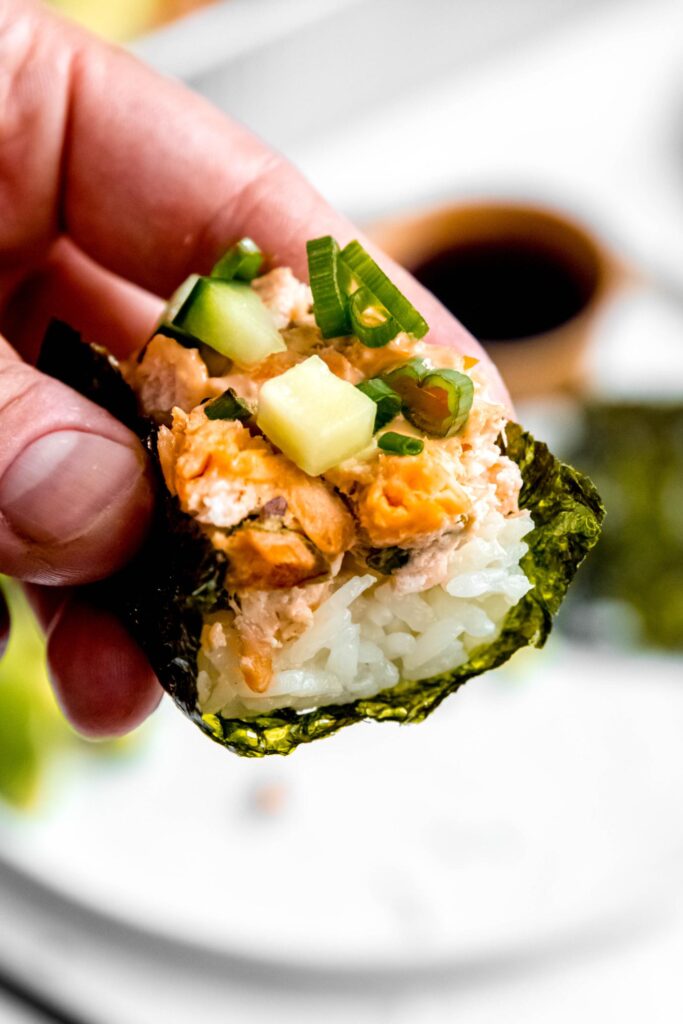
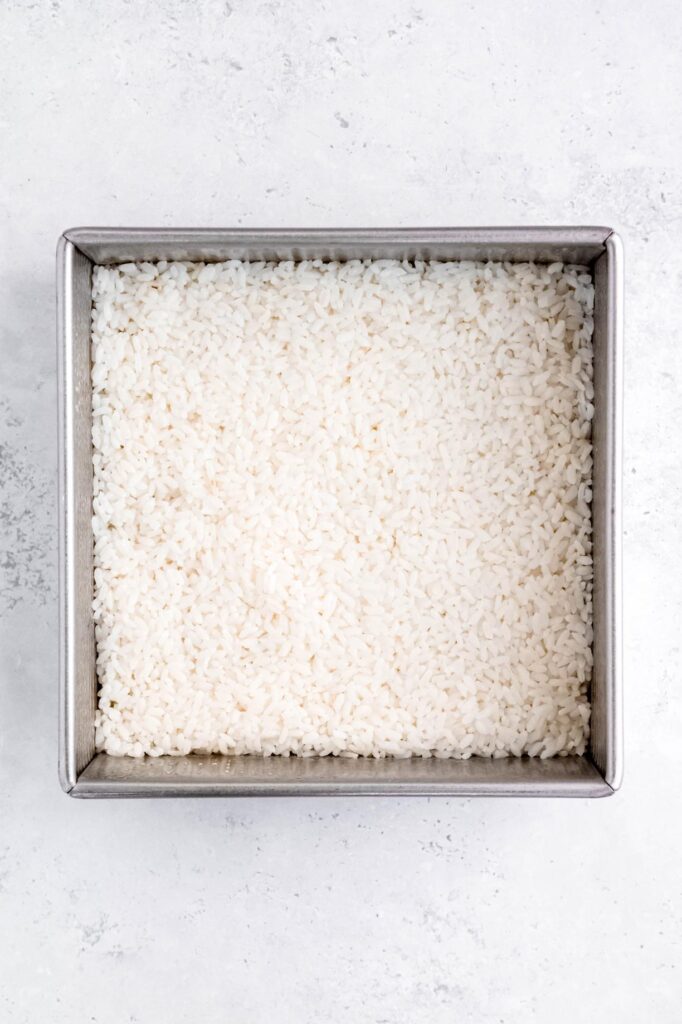
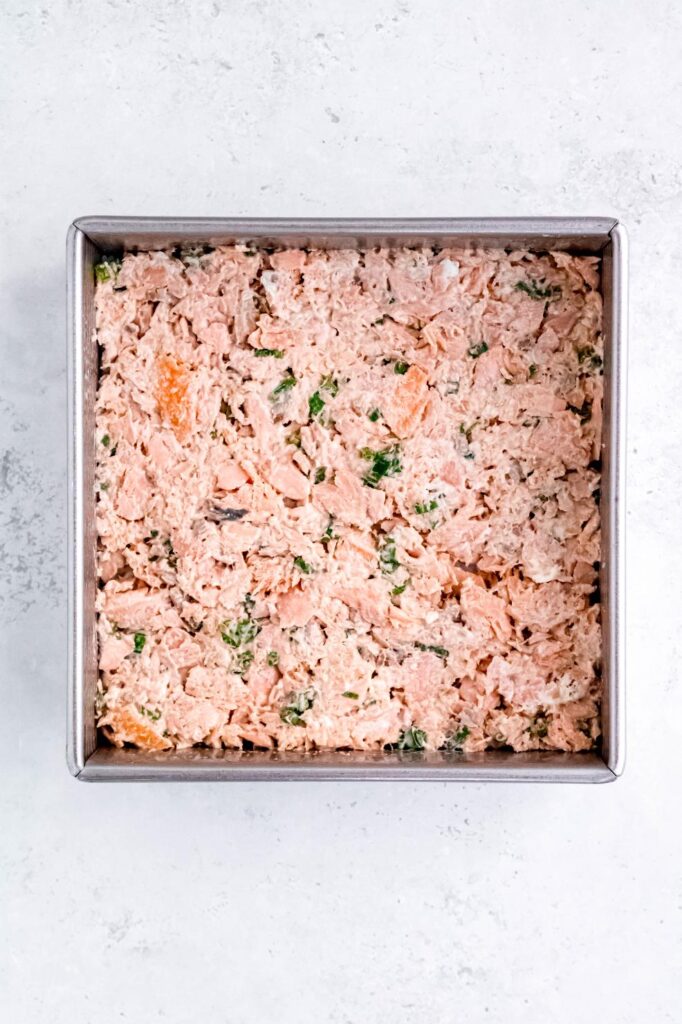
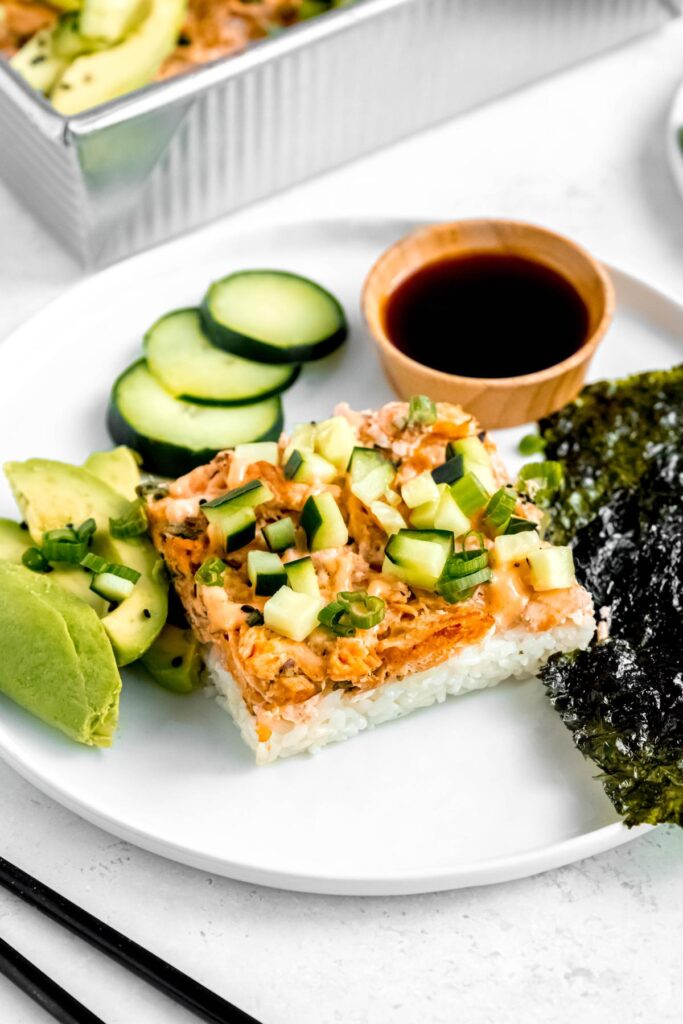
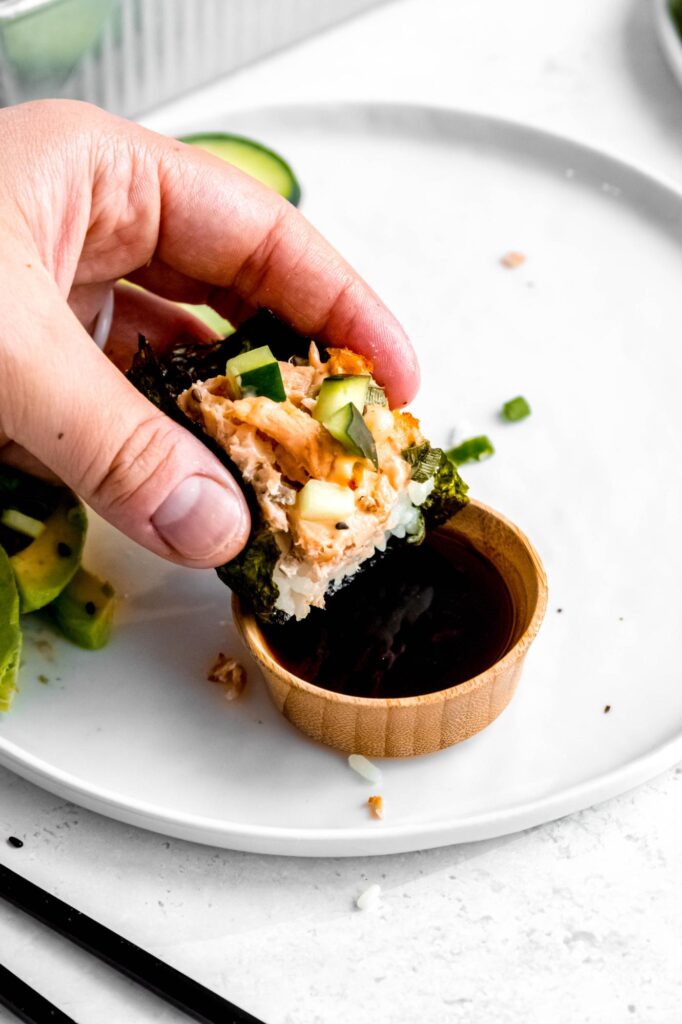
Sushi Bakes are an innovative way to enjoy sushi flavors without the hassle of rolling. Think of it like a sushi casserole! It's a layered dish, starting with a base of fluffy sushi rice, topped with a cream cheese salmon mixture, then baked to perfection. Then you'll cut it into small squares. We love serving these squares over seaweed sheets, almost like a taco!
Is sushi healthy?
As a dietitian, I can say sushi is definitely a nourishing option. It provides a balance of carbohydrates, protein, and fat. Here's how:
- Carbohydrates: Here we're using sushi rice. Rice provides nutrients like B vitamins and manganese, essential for energy production and overall health.
- Protein: Salmon is packed with healthy fats like omega-3 fatty acids, which are vital for brain health and reducing inflammation in the body.
- Fat: In this recipe (and most sushi rolls) you'll find the fat in some form like avocado, mayo, or cream cheese. We're using all three and choosing lower fat mayo and cream cheese options for less saturated fat. Avocado, in particular, is a great source of monounsaturated fats, known for their heart-healthy properties.
What ingredients do you need?
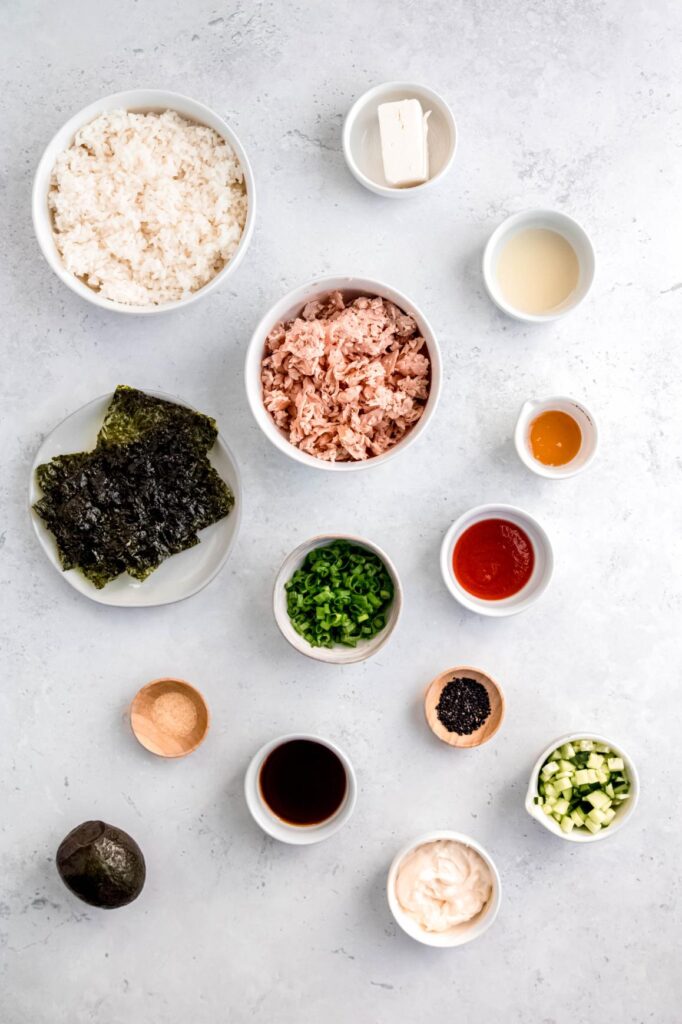
- Sushi Rice: The base of your sushi bake, sushi rice is sticky and holds the dish together. Look for it in the rice or international section of your grocery store.
- Salmon: You can use fresh, frozen or even canned salmon for this recipe. If you don't like salmon, feel free to swap for cooked crab or shrimp.
- Cream Cheese: Opt for a low-fat version to keep it lighter if you'd like.
- Green Onions: They bring a fresh, zesty flavor. Find them in the produce section.
- Avocado: A great source of healthy fats, it adds creaminess and richness. Pick ripe, slightly squishy avocados for the best flavor.
- Mayonnaise: You can use a light mayo to cut down on calories without losing the creamy taste.
- Sriracha Sauce: For that spicy kick! Adjust according to your heat preference.
How do you make this sushi casserole?
Prepare the sushi rice
Cook your sushi rice and season it with vinegar, sugar, and salt.
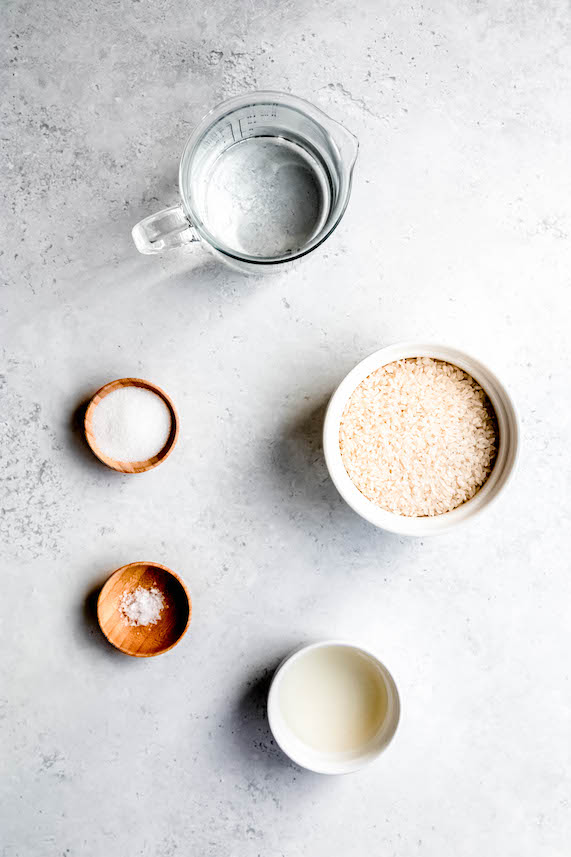
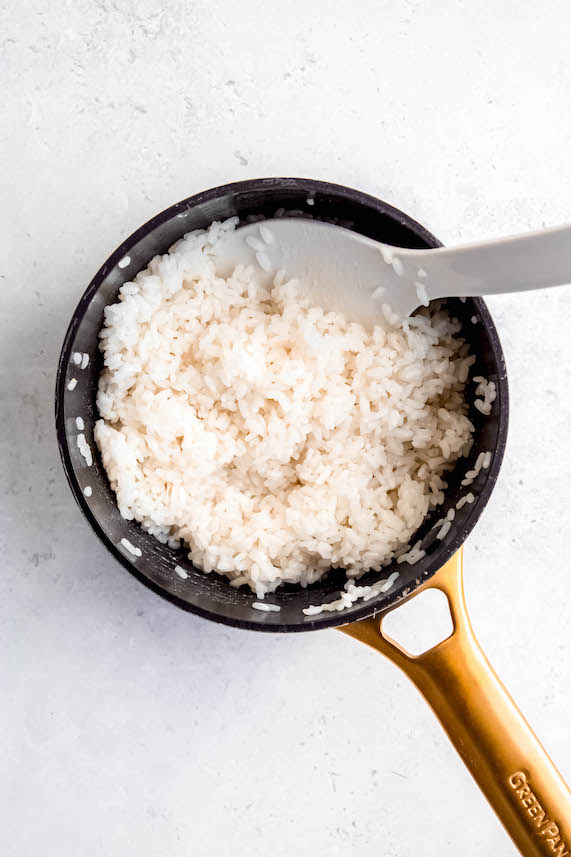
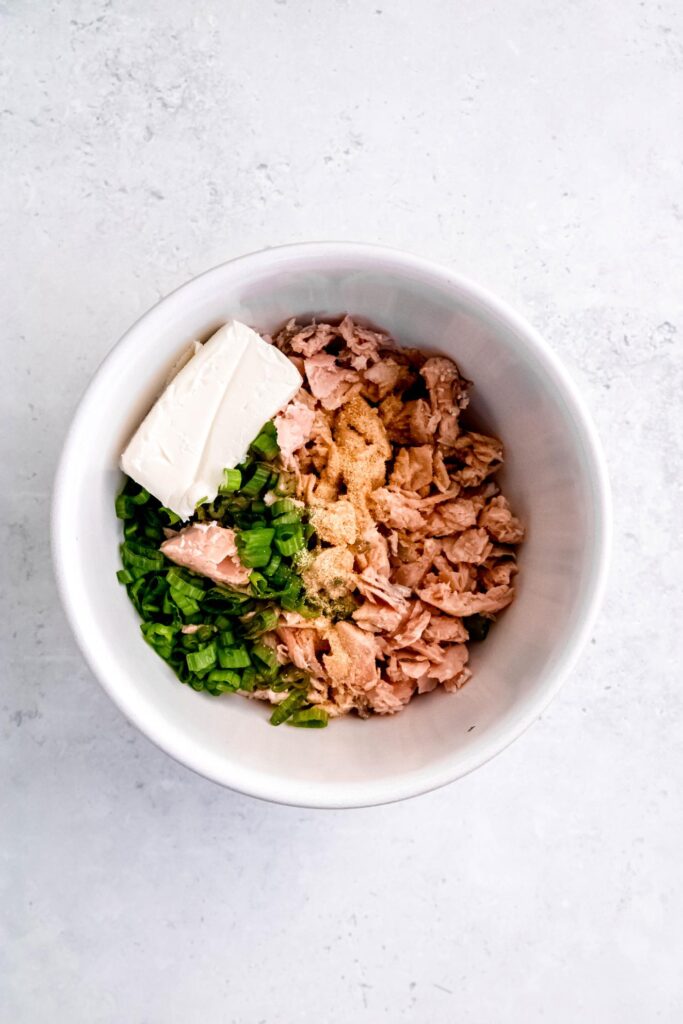
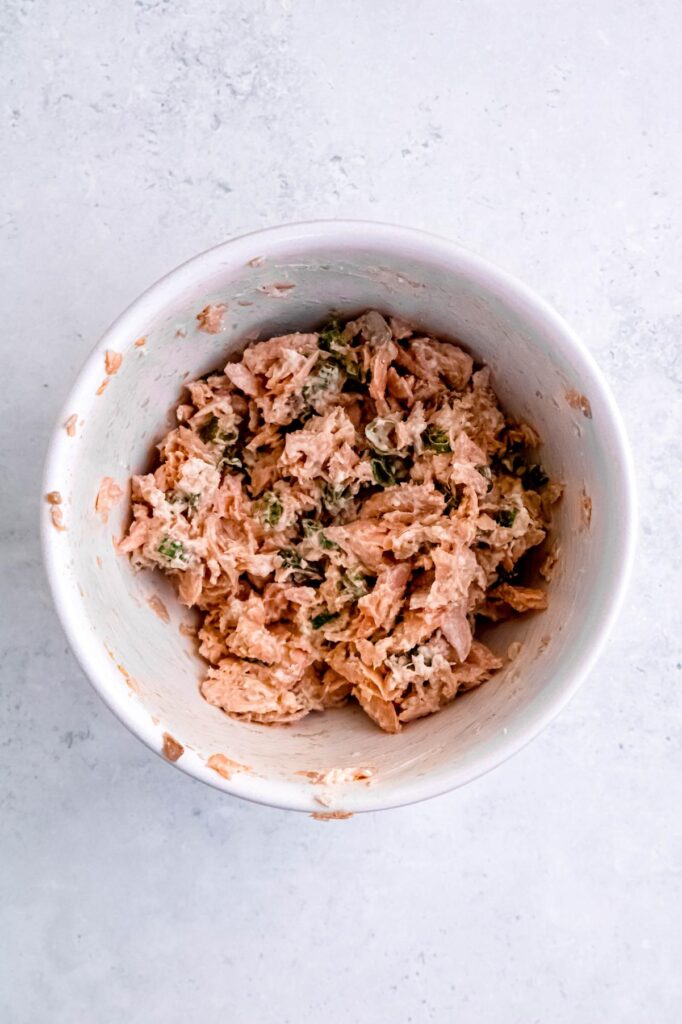
Mix the salmon
Combine your flaked salmon with cream cheese, green onions, and your chosen sauce.
Assemble and bake
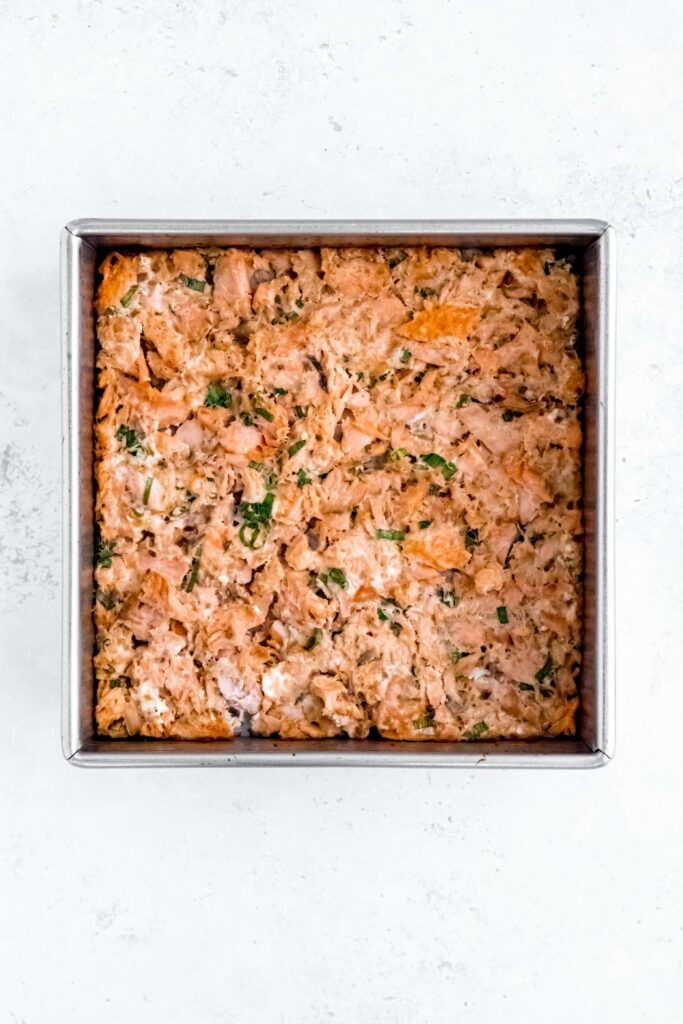
Layer your rice and salmon mixture in a baking dish and bake until golden.
Prepare the spicy mayo
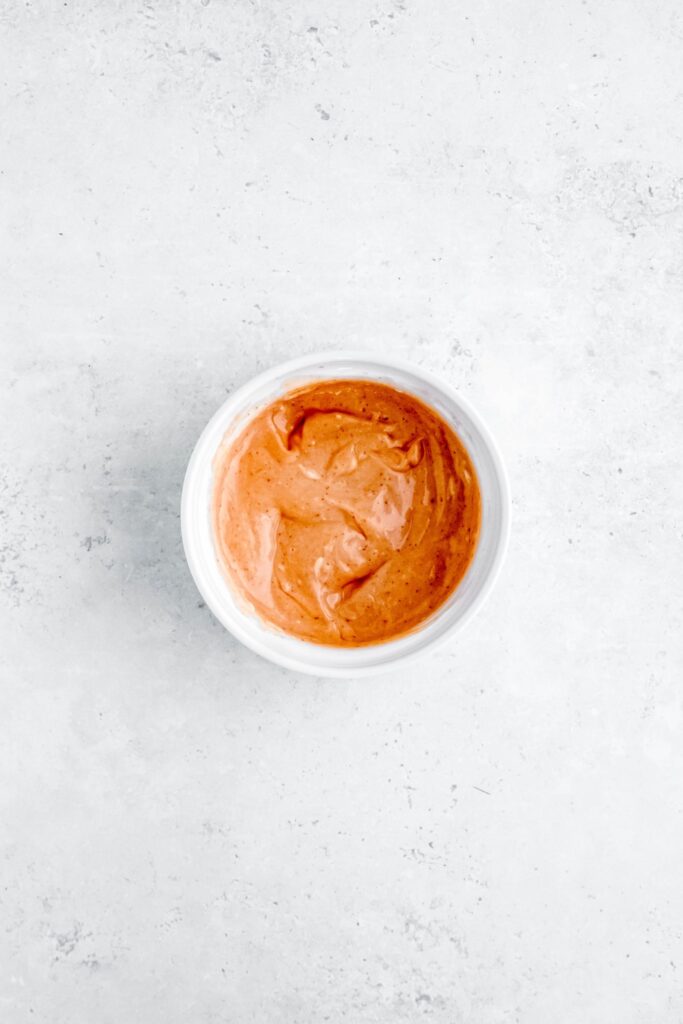
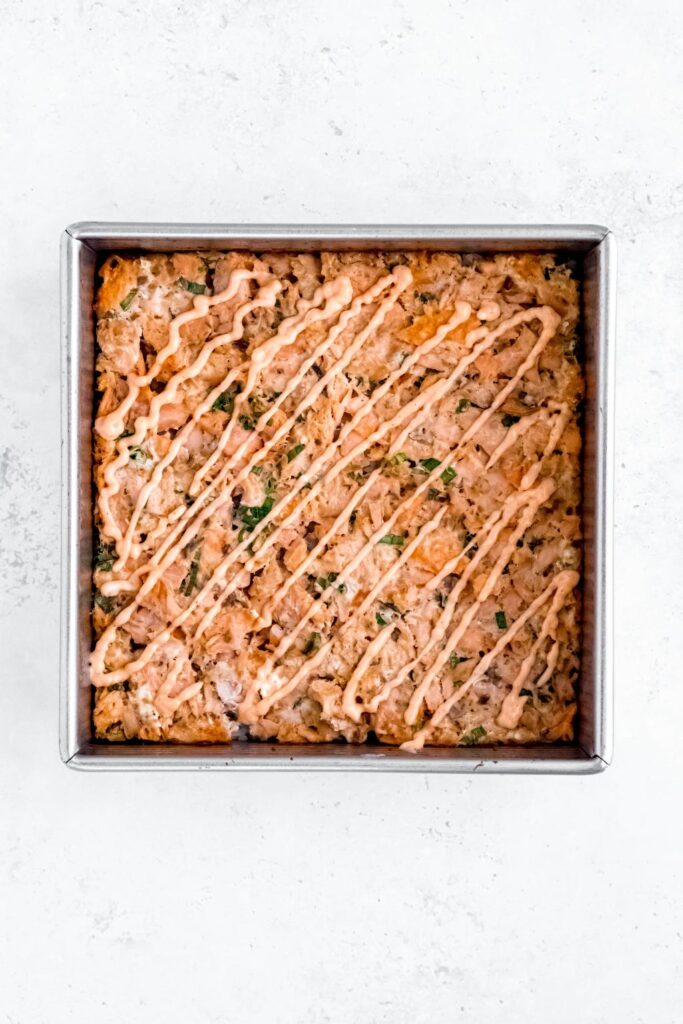
While the salmon sushi is baking, prepare the spicy mayo by mixing together light mayo, Sriracha, sauce of your choice, honey, and sesame oil.
Garnish with veggies and mayo
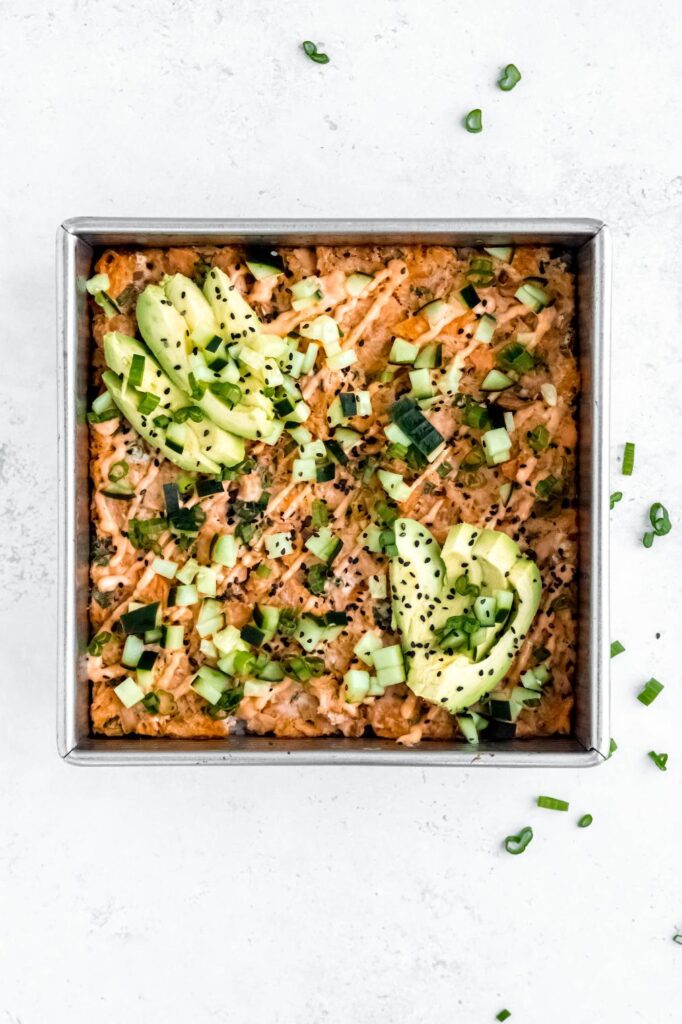
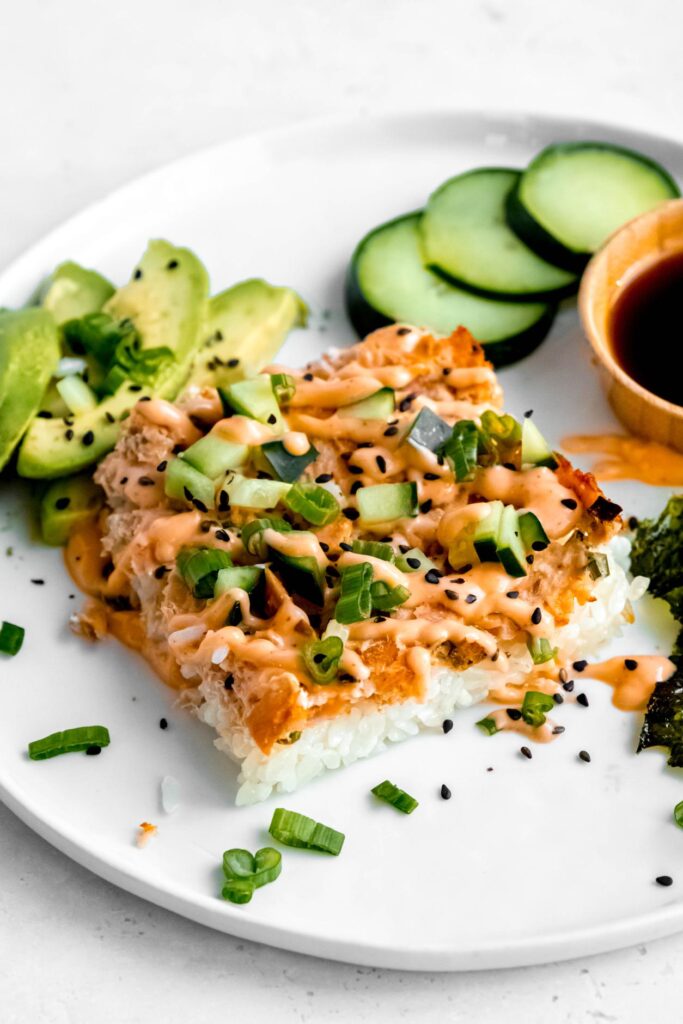
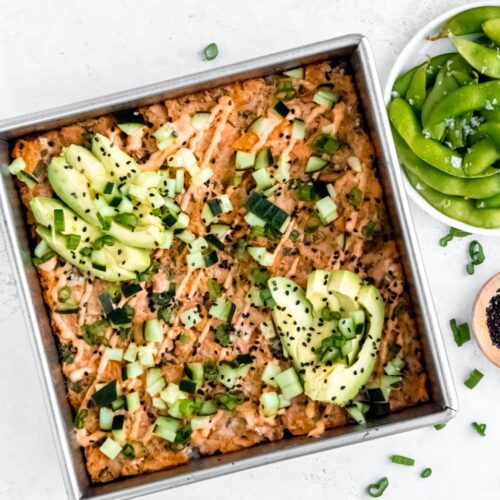
Top with avocado, more green onions, and a drizzle of spicy mayo.
Serve with seaweed
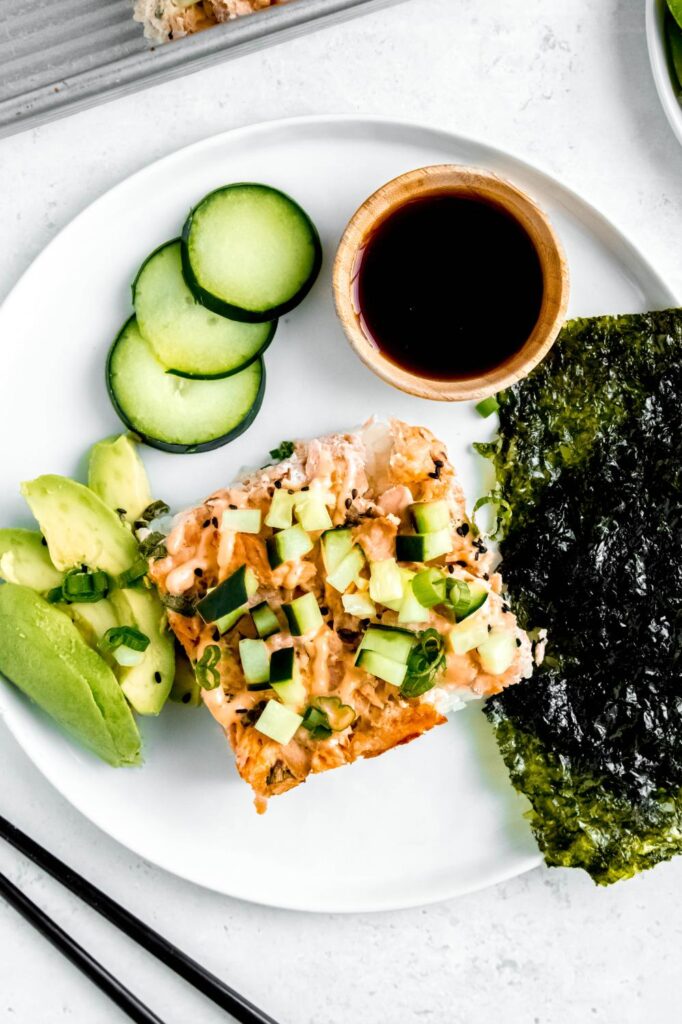
Cut into squares and enjoy with seaweed snack sheets. Alternatively, you can use full nori sheet and cut them into smaller pieces.
What salmon should I use?
This recipe is a great way to use up leftover salmon. If you don't have any leftover salmon, you can also cook some from frozen salmon filets, fresh salmon filets, or even use 1 - 14 ounce can of canned salmon which is pre-cooked.
Recipe tips and tricks
- Serving Tips: Try pairing your sushi bake with a light cucumber salad, steamed edamame, or miso soup.
- Troubleshooting Tips: If your rice is too sticky, wet your spatula with water when spreading.
- Scaling Tips: You can easily double the recipe by using a larger baking dish and doubling the ingredients.
Customize it your way
Like all of my other recipes, this salmon sushi bake is completely customizable. You get to choose what kind of sauce and sugar you want to use.
- Sauce of your choice: Use soy sauce, tamari, or coconut aminos depending on what you already enjoy or your dietary preferences. Tamari and coconut aminos are both gluten-free. We also love drizzling teriyaki coconut aminos over the final sushi bake!
- Sugar of your choice: Feel free to use regular white sugar, a sugar-free alternative, or honey. This is used to subtly enhance the sushi rice's flavor, balancing the tanginess of the vinegar.
Feel free to also customize the veggies on top by using options like thinly sliced radishes, shredded carrots, or diced bell peppers for crunch and color.
Can you make it ahead of time?
Absolutely! Assemble your pan of sushi a day in advance and refrigerate. Then, bake it fresh when you're ready to serve.
How do I store leftovers?
Store leftovers in an airtight container for up to 3 days in the fridge. We often like to enjoy it cold over more seaweed sheets. You can also reheat in the microwave if you prefer it warm.
Need more help with recipes for your busy schedule?
In my coaching + cooking program, I help busy people with beginner cooking knowledge become confident in the kitchen so that they can enjoy nourishing foods they love and stress less about mealtime. Click here to learn more about this virtual program led by a dietitian.
Sushi Bake
Recommended Products
Ingredients
Sushi Rice Ingredients:
- 1 cup sushi rice, rinsed (makes about 3 cups cooked)
- 1 ¼ cups water
- 1 tablespoon rice vinegar
- 1 tablespoon sweetener of your choice (white sugar, sugar-free alternative, or honey)
- ¼ teaspoon salt
Salmon Topping:
- 1 pound skinless salmon, cooked and flaked into pieces (about 2 heaping cups)*
- ½ cup sliced green onions, divided
- ¼ cup 2 ounces low-fat cream cheese
- 2 teaspoons sauce of your choice (soy sauce, tamari, or coconut aminos)
- 1 teaspoon sesame oil
- ½ teaspoon garlic powder
Spicy Mayo Ingredients:
- ¼ cup light mayonnaise
- 1 teaspoon Sriracha
- 1 teaspoon sauce of your choice (soy sauce, tamari, or coconut aminos)
- 1 teaspoon honey
- ½ teaspoon sesame oil
For Serving:
- ½ cup avocado, diced into ¼-inch pieces
- ½ cup cucumber, diced into ¼-inch pieces
- 1 teaspoon black sesame seeds
- 1 - 0.35 ounce package roasted seaweed snack sheets
- Sauce of your choice, for dipping (soy sauce, tamari, or coconut aminos. We especially love dipping in teriyaki coconut aminos!)
Instructions
- Preheat your oven to 425°F (220°C). Prepare a 8x8 or 7"x11" (2 quart) pan baking dish with cooking spray.
- Add rice and water to a medium pot over high heat. Bring to a boil, then reduce to low heat, cover with lid, and simmer until water is absorbed, about 15 minutes.
- Remove from heat and let covered rice steam for an additional 10 minutes. Then, remove the lid and gently stir in rice vinegar, sugar, and salt.
- In a separate bowl, combine cooked salmon, ¼ cup of the green onions, cream cheese, sauce of your choice, sesame oil, and garlic powder. Mix well until combined.
- Spread the cooked sushi rice evenly over the prepared baking dish then layer over the salmon mixture.
- Bake for 10 minutes, then broil for 1-2 minutes until slightly golden on top.
- While the sushi pan is baking, in a small bowl whisk together all spicy mayo ingredients.
- Remove sushi from the oven and drizzle spicy mayo on top. Then, garnish with ¼ cup remaining green onions, avocado, cucumber, and black sesame seeds.
- Cut into squares and serve over seaweed. Dip into soy sauce if desired.
Video
Notes
Nutrition
save this baked sushi recipe on pinterest:

Heather @ Fit Mama Real Food says
This was such a fun recipe! I've done sushi bowls, but never a bake before, and I am hooked! Thanks for the easy how to.
Mackenzie Burgess says
Sushi bowls are a great idea too! But yes I gotta say I love this sushi bake because it's one pan & so easy to make. Glad you enjoyed it! ~Mackenzie
Megan says
I had some leftover sushi that I grilled, so I used that plus some seaweed snacks. This was a great alternative to sushi night at a restaurant and great way to use up leftover salmon! Thank you!
Mackenzie Burgess says
Love it! Sometimes it's hard to know what to do with leftover salmon so this is the perfect way! Enjoy! ~Mackenzie
Ashley Schuering says
Yummmmmmmm! I ended up using canned tuna since I'm on a No-Spend challenge and didn't have any frozen fish on hand. So good!
Mackenzie Burgess says
Hi Ashley! Love that swap to use canned tuna – perfect! Enjoy!