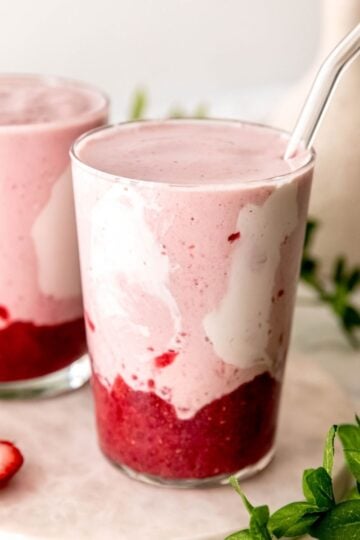
Looking for a high protein ice cream you can create without an ice cream maker? This Ninja Creami Strawberry Cheesecake Ice Cream is perfect for satisfying your sweet tooth with minimal effort. Made with a lower fat base and minimal added sugars, it's a healthier alternative to store-bought ice cream. Plus, you can customize it with any protein powder of your choice.
Disclosure: This post may contain affiliate links. All opinions are my own; I never feature a brand that I don't love! I was gifted the Ninja Creami shown in this recipe post. See my disclosure policy for more details.
Table of Contents
Why you'll love this protein ice cream recipe
I will say, the Ninja Creami is really the star of this recipe. If you don't have this appliance, you won't be able to make this recipe. However, head over to my other Strawberry Cheesecake 'Nice' Cream post that's super easy to whip up!
If you do have a Creami, or plan to get one soon-here's why you'll adore this recipe:
- Simple to Make: With just a few ingredients and the help of the Ninja Creami, you can whip up this Strawberry Cheesecake Protein Ice Cream with ease.
- Healthier Alternative: This recipe uses sugar-free cheesecake pudding mix and light cream cheese, making it a lower-calorie option compared to traditional ice cream.
- Protein-Packed: The addition of protein powder makes it a satisfying treat that can help keep you fuller longer.

Is it healthy?
This Strawberry Cheesecake Protein Ice Cream is a healthier take on traditional ice cream. By using sugar-free pudding mix, light cream cheese, and protein powder, we're reducing the sugar content while adding in satiating protein. Research shows protein can help with our weight by promoting feelings of fullness.
Why I use the Ninja Creami
As a dietitian, I'm always looking for simple ways to create healthier versions of treats. The Ninja Creami has been a game changer for making homemade ice cream this summer.
Traditional ice cream relies on high-fat cream for its texture, but with the Ninja Creami, you can achieve that same creaminess using lower-fat ingredients like whole milk and light cream cheese. You can even make ice cream with dairy-free milks like almond milk or soy milk.
Ingredients you'll need
This Strawberry Cheesecake Protein Ice Cream only calls for a few simple ingredients.
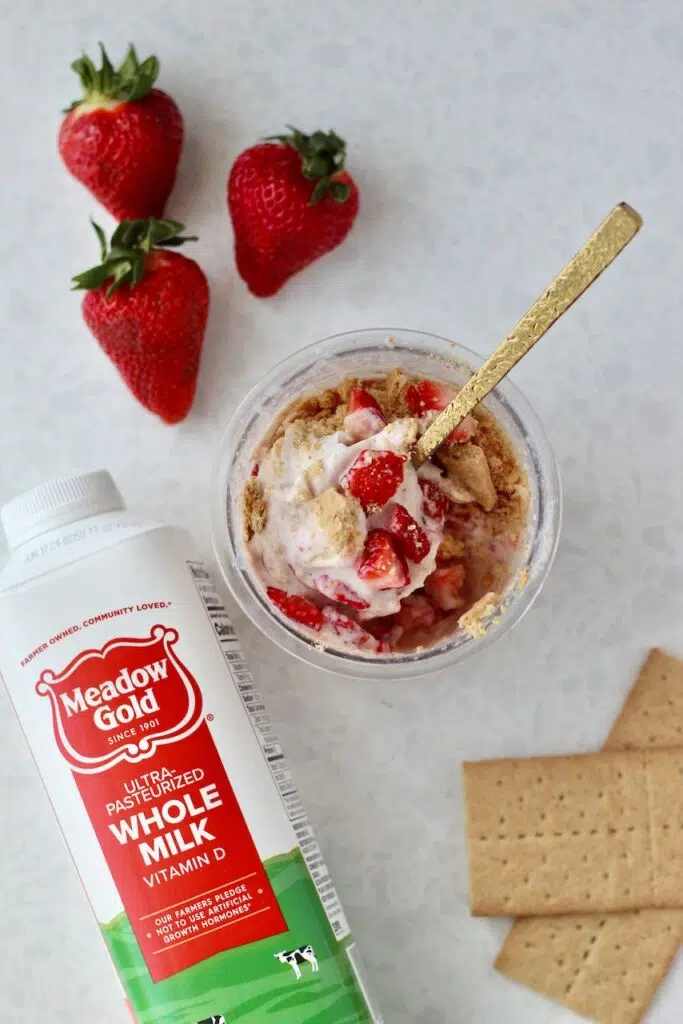
- Whole Milk: The base of your ice cream, providing a creamy texture. I haven't tested this one with a plant-based milk, but I'm sure it would work great!
- Cheesecake Instant Pudding Mix: Adds that classic cheesecake flavor. Feel free to use sugar-free or if you prefer the regular one, that works too.
- Protein Powder: Choose your favorite flavor (vanilla, strawberry cheesecake, etc.) to add a nutritional boost. One of my favorites to use is Clean Simple Eats Strawberry Cheesecake protein powder.
- Strawberry Jam: My favorite to use with no added sugars is GOOD GOOD.
- Light Cream Cheese: Adds richness and creaminess with fewer calories than full-fat versions. If you want to use full-fat though, you totally can.
- Fresh Strawberries: For that burst of fresh summer flavor and added texture.
- Crushed Graham Crackers: Mimics the classic cheesecake crust and adds a bit of crunch.


How to make Ninja Creami Ice Cream
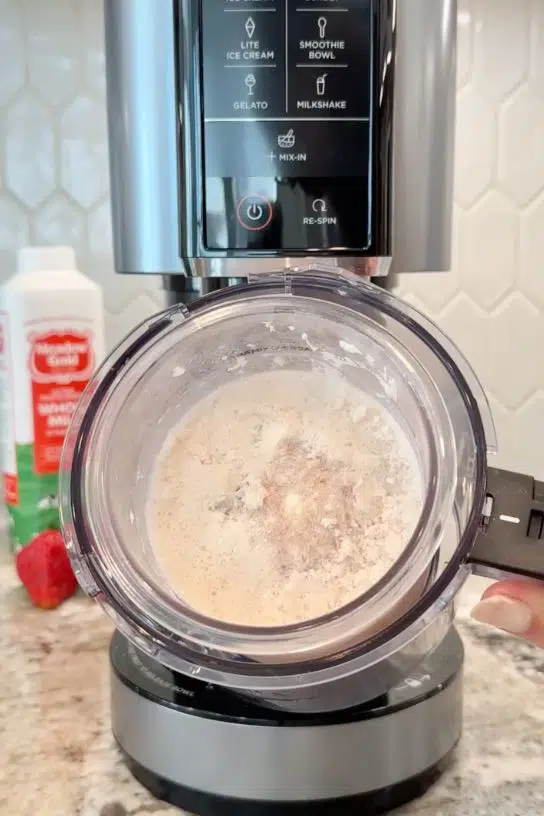
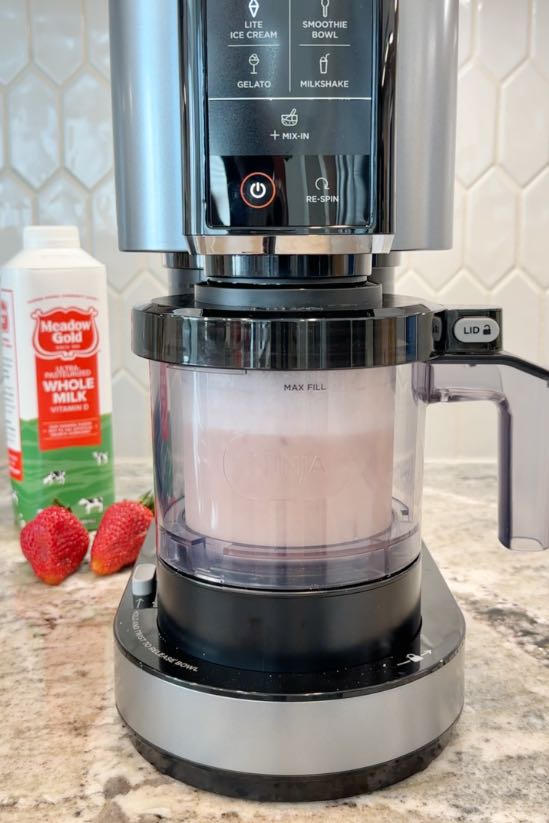
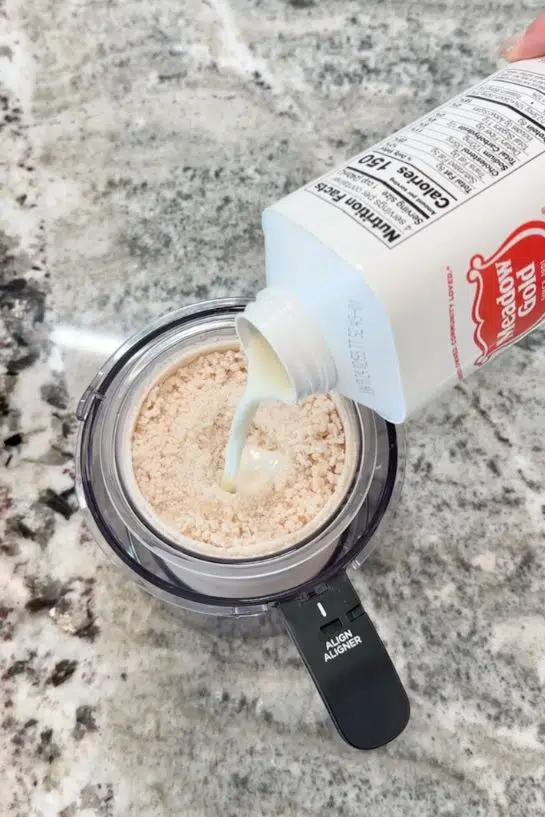
- Mix Ingredients: Add all the ingredients (except strawberries and graham crackers) to your Ninja Creami and blend with a milk frother until smooth.
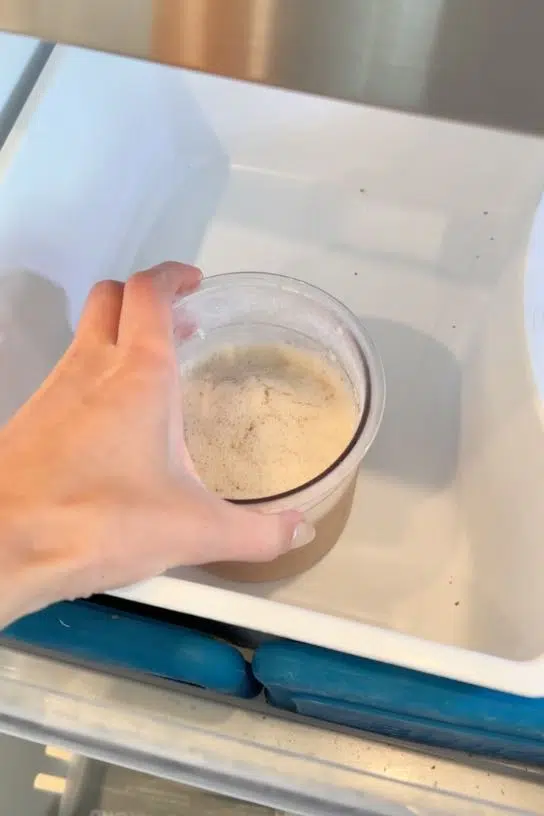
- Freeze: Pour the mixture into the Ninja Creami container and freeze for 24 hours.
- Process: After freezing, process the mixture using the 'Light Ice Cream' function on your Ninja Creami.
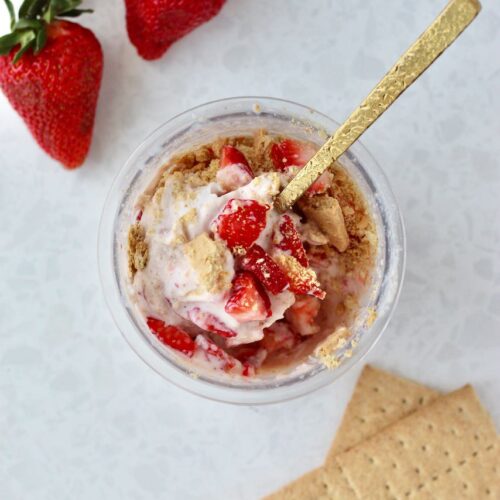
- Add Mix-Ins: Mix in a tablespoon of milk, diced strawberries, and crushed graham crackers, then process again with the 'Mix In' function.
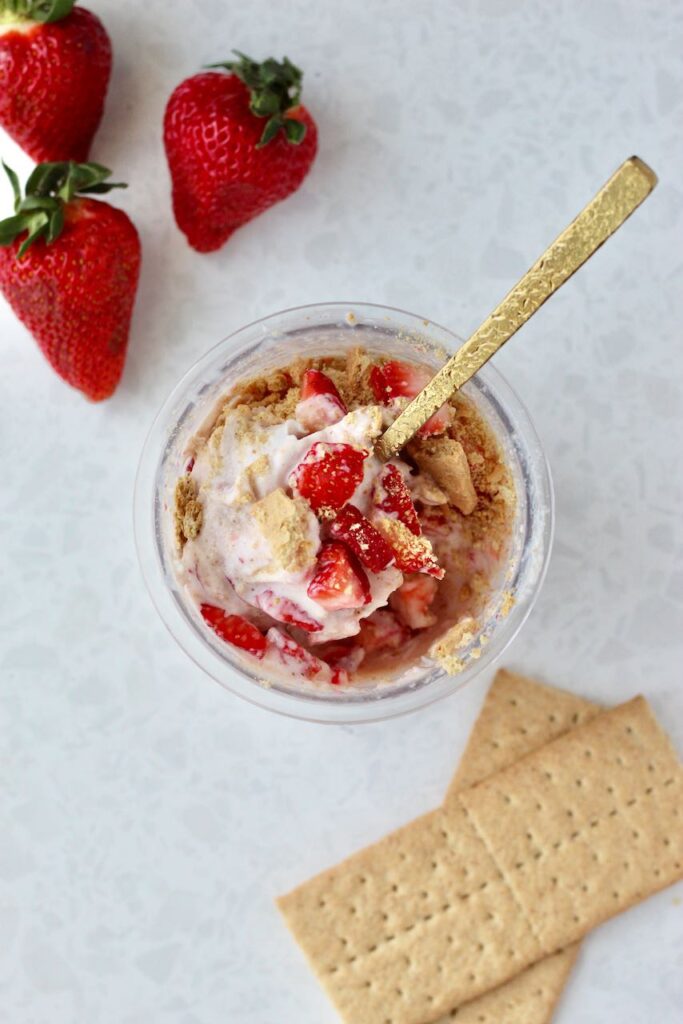
- Enjoy: Scoop and serve immediately for the best texture! It will start to melt pretty quickly since we use a milk base.
Recipe tips and tricks
- Serving Tips: This Strawberry Cheesecake Protein Ice Cream pairs wonderfully with a drizzle of strawberry syrup or a dollop of whipped cream. Serve it in a waffle cone for added crunch.
- Troubleshooting: I will say, the Ninja Creami is very loud. Make sure to spin it during a time where you're being considerate to neighbors or those working from home.
- Scaling Tips: Want to make more? Simply make two pints of it. Just make sure you have enough space in your freezer first!
Customize it your way
Like all of my other recipes, this Strawberry Cheesecake Protein Ice Cream is completely customizable. You get to choose what protein powder you want to use.
- Protein Powder of Your Choice: Whether you opt for whey, plant-based, or casein protein, you can tailor it to your dietary needs and taste preferences. One of my favorites to use is Clean Simple Eats Strawberry Cheesecake protein powder.

How to store Ninja Creami ice cream
You can make the strawberry cheesecake base (before spinning in the Creami) ahead of time and freeze it for up to 2 to 3 months. However, for the best texture and flavor, you should probably enjoy your ice cream within the first month.
Can you respin Ninja Creami leftovers?
This recipe either makes 1 very large serving or 2 medium size servings. If you don't eat the whole pint of protein ice cream in one sitting, you can re-freeze it and then re-spin it in the Ninja Creami another time. It may start to get freezer burnt over time though, so try to enjoy it within 1 month.
Need more help with recipes for your busy schedule?
In my coaching + cooking program, I help busy people with beginner cooking knowledge become confident in the kitchen so that they can enjoy nourishing foods they love and stress less about mealtime. Click here to learn more about this virtual program led by a dietitian.
Strawberry Cheesecake Protein Ice Cream (Ninja Creami Recipe)
Recommended Products
Ingredients
- 1 cup whole milk
- 2 tablespoons sugar-free cheesecake instant pudding mix
- 2 tablespoons protein powder of your choice vanilla, strawberry cheesecake, etc.
- 2 tablespoons no added sugar strawberry jam
- 2 tablespoons light cream cheese softened (microwave for 10 seconds to soften)
- 1 tablespoon whole milk additional
- ½ cup diced fresh strawberries plus more for topping
- ½ cup crushed graham crackers plus more for topping
Instructions
- In a Ninja Creami, combine 1 cup of whole milk, cheesecake pudding mix, protein powder, strawberry jam, and softened cream cheese. Mix thoroughly using a milk frother until well blended.
- Transfer the mixture to the Ninja Creami pint and freeze for 24 hours.
- After freezing, insert the pint into the Ninja Creami and process using the 'Light Ice Cream' function.
- Remove and add 1 tablespoon of milk, strawberries, and graham crackers to the pint and process again with the 'Mix In' function to incorporate everything.
- Serve immediately and enjoy with more strawberries and graham crackers on top if desired.
Notes
Nutrition
save this Ninja Creami recipe on pinterest:
Kathy says
I don’t use protein powder what can be used instead?
Mackenzie Burgess, RDN says
Hi Kathy! You could use yogurt or cottage cheese instead of the protein powder in this recipe! Enjoy! ~Mackenzie
Moto X3M says
This Strawberry Cheesecake Protein Ice Cream sounds absolutely delicious! I love that it combines healthy ingredients with such a delightful flavor. Can't wait to try it out in my Ninja Creami—perfect for a summer treat! Thank you for sharing this recipe!