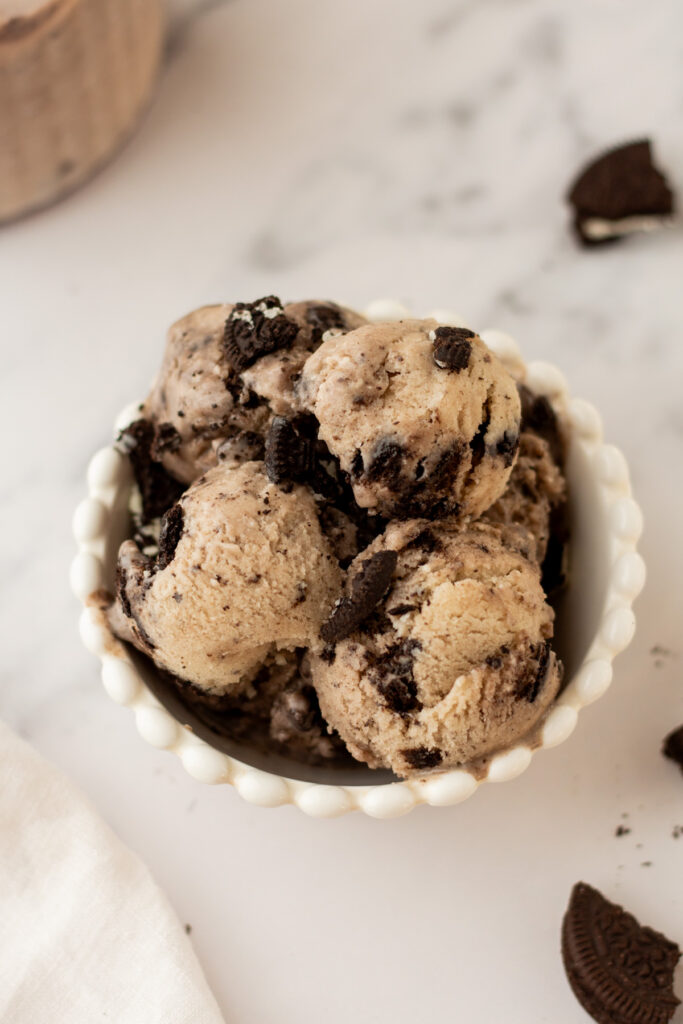
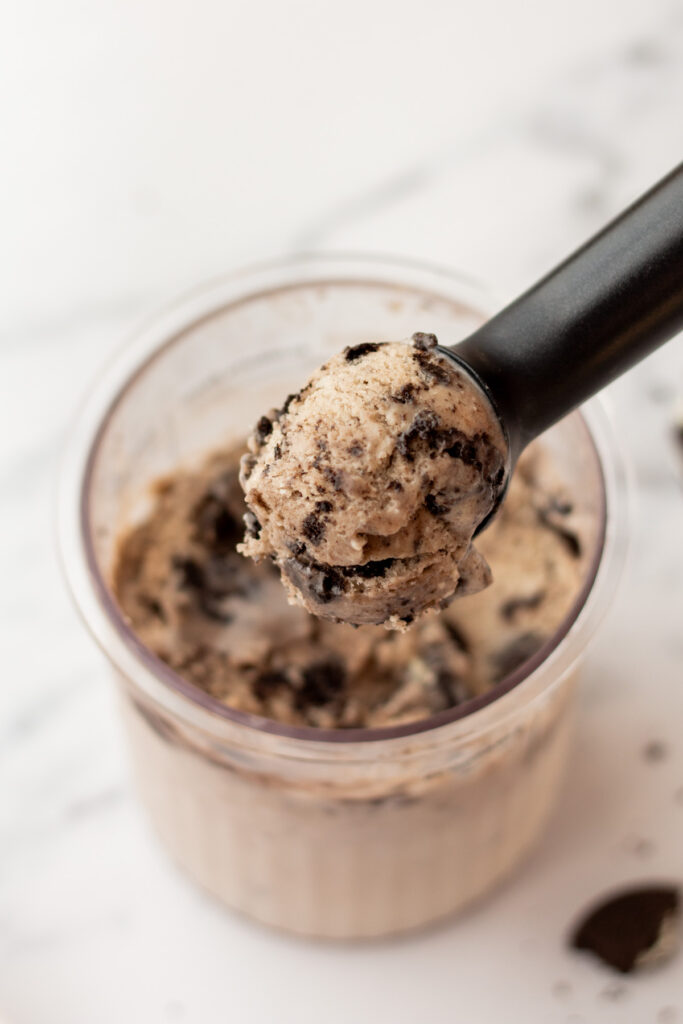
This healthy Ninja Creami Protein Ice Cream recipe is perfect if you're craving a sweet treat that's also higher in protein. This customizable recipe template walks you through how to make your own homemade protein ice cream right in your kitchen-no fancy ingredients required. Simply mix together ingredients like milk, protein, optional fruits, sweeteners, and flavor boosters. Then, blend together with any add-ins of your choice!
Disclosure: This post may contain affiliate links, meaning I earn a small commission if you make a purchase through one of my links-at no extra cost to you. As always, all opinions are my own. Thanks so much for your support! See my disclosure policy for more details.
Table of Contents
Why you'll love it
If you're looking for a protein-packed dessert that's creamy, customizable, and crazy easy to make, this one's a winner.
- Endlessly customizable - You can switch up the flavors and mix-ins to match whatever you're craving.
- Quick and easy - It takes just minutes to prep-your Ninja Creami does most of the heavy lifting.
- Healthier and more affordable - It's made with better-for-you ingredients and way more budget-friendly than store-bought protein ice cream.
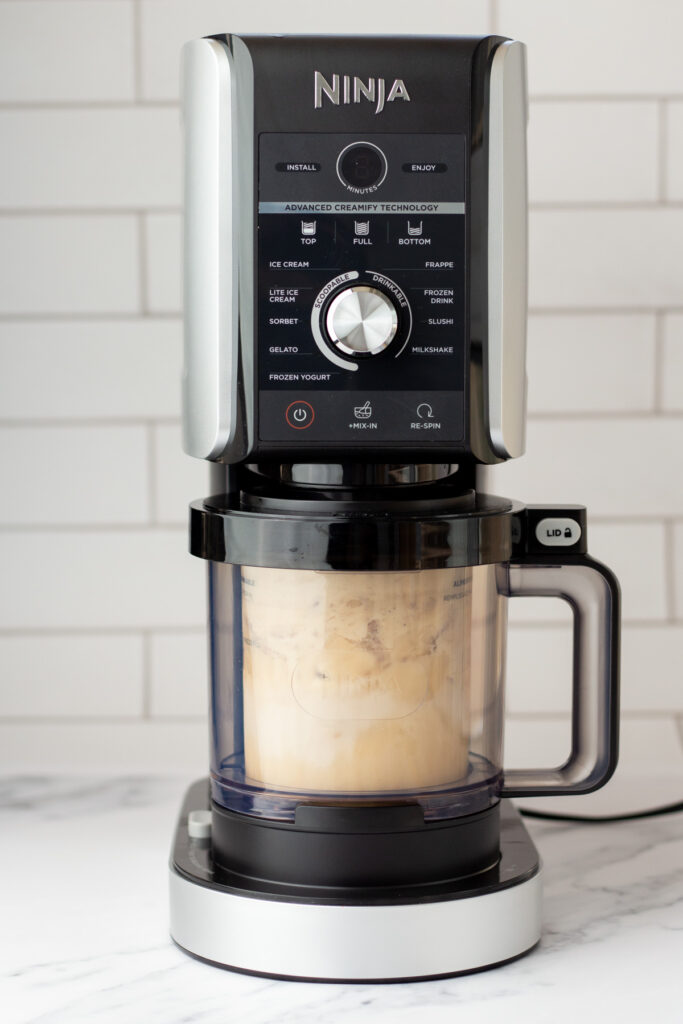
What is a Ninja Creami?
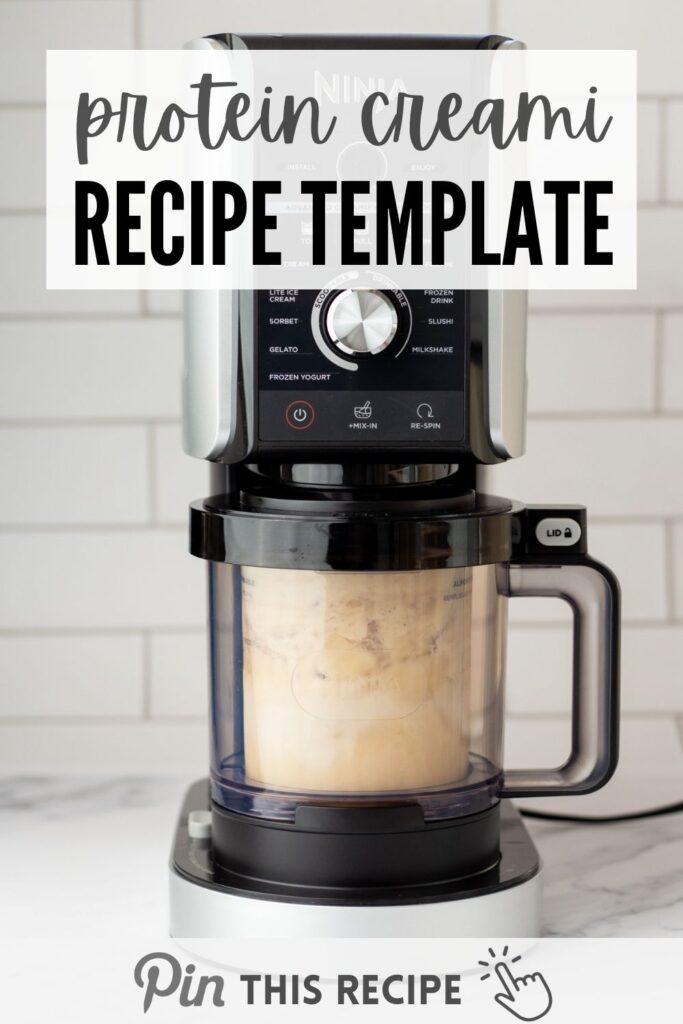
Okay, so first off: the Ninja Creami is a kitchen game-changer. It's a specialized appliance that turns frozen bases into creamy, scoopable ice cream with the push of a button. What makes it different from a traditional ice cream maker? You freeze your base before spinning, which means no ice or salt or bulky machines required.
What is Ninja Creami protein ice cream? And what's all the hype about?
Ninja Creami protein ice cream is exactly what it sounds like-a high-protein frozen dessert made in the Ninja Creami using nourishing ingredients like milk, protein powder, and optional mix-ins. It's a fun, hands-on way to create your own better-for-you pints at home, totally tailored to your taste buds and nutrition goals.
It's totally taken over TikTok for good reason-once you taste how creamy and satisfying it is (without all the added sugar), you'll be hooked.
Take a look at this base recipe, and then you can experiment with other healthy Ninja Creami flavors like strawberry cheesecake, PB&J, or pistachio white chocolate!
This Ninja Creami Protein Ice Cream puts a better-for-you spin on traditional ice cream. By blending together ingredients like milk, protein powder, and optional fruit or natural sweeteners, you're keeping added sugar in check while bumping up the protein to help keep you full and satisfied. Research shows that protein can help support muscle recovery and promote fullness, which may aid in weight management.
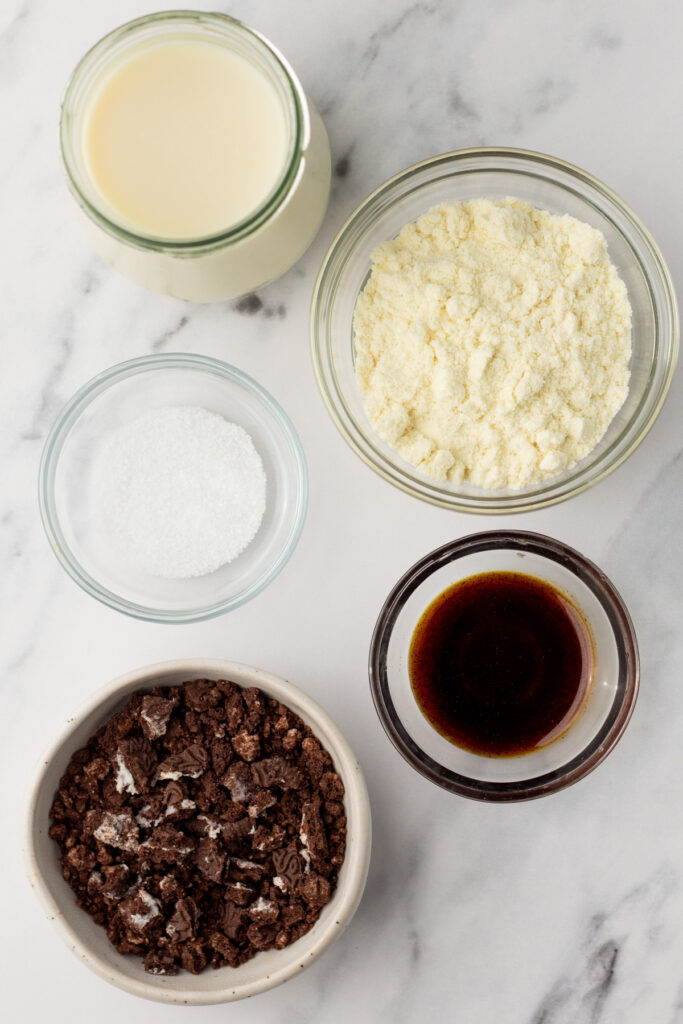
Ingredients you'll need
This recipe can be easily customized based on what you have in your kitchen or what flavors you're feeling. Here's a breakdown of the sections you'll mix and match from to create your perfect healthy Ninja Creami protein ice cream.
Base liquid (choose 1 cup)
- Dairy milk - Great all-around option for a classic creamy texture
- Almond, oat, or coconut milk - Perfect for plant-based or dairy-free needs
- Protein shake - High in protein and ultra-smooth, ideal if you the most protein content out of your pint
- Kefir - Adds tang and gut-healthy probiotics
- Chocolate milk or matcha tea - Fun flavor twists!
- Cooled brewed coffee - Perfect for a mocha-style ice cream
Protein (choose 1-2 servings)
- Protein powder - Easy option with tons of flavors
- Greek yogurt - Adds tang and creaminess with gut-friendly benefits
- Cottage cheese or cream cheese - We recommend blending before adding for the best mouthfeel
- Nut butters or powdered peanut butter - For a boost of flavor and healthy fats
- Nuts (e.g., almonds, cashews) - A heart-healthy choice, again ee recommend blending before adding for the best mouthfeel
Optional fruits (up to ½ cup)
- Banana slices - Naturally sweet and creamy
- Berries (strawberries, blueberries, etc.) - Adds tartness and antioxidants
- Diced avocado - Makes the pint extra creamy, plus full of healthy fats
Optional sweeteners (1-3 teaspoons)
- Honey, maple syrup, or agave - Natural sweeteners that blend easily
- Chopped Medjool date - Great for fiber and a rich caramel-like sweetness
- Jello mix - Adds flavor and color, with zero sugar options available
Flavor boosters (¼ to ½ teaspoon)
- Vanilla or almond extract - For a richer flavor base
- Cinnamon or cocoa powder - Adds warmth or a chocolate twist
- Instant espresso - Gives a little kick for coffee lovers
Salt (just a pinch!)
- Trust me-this small amount enhances all the other flavors and makes your ice cream that much better
Mix-ins (up to ¼ cup, added after first spin)
- Mini chocolate chips or cocoa nibs - For crunch and richness
- Granola or crushed pretzels - Adds texture and salty-sweet vibes
- Crushed nuts or nut butter - Extra healthy fats and crunch
- Chopped dates or dried fruit - A chewy, naturally sweet upgrade
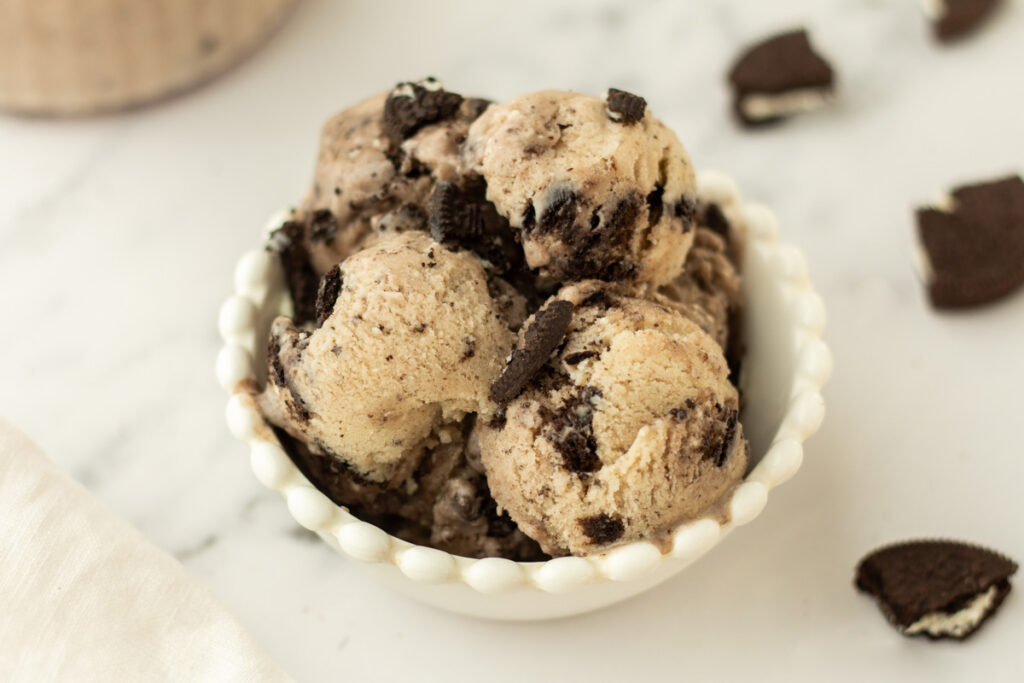
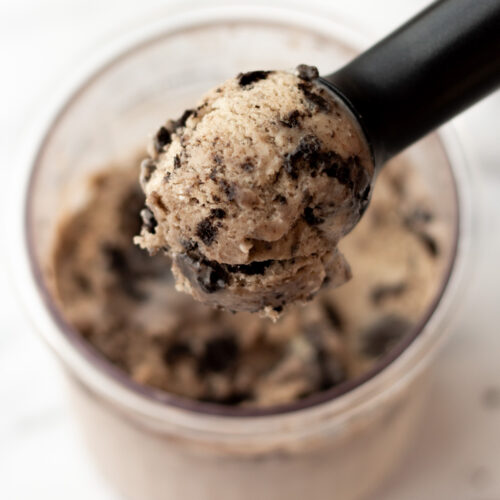
- Crushed graham crackers or Oreos - Fun, nostalgic flavor
- Shredded coconut - Try it toasted for deeper flavor
- Mini marshmallows - Great for a rocky road-style treat
- Caramel or chocolate sauce - Swirl it in for a decadent dessert
- Chia or ground flax seeds - Sneaky fiber boost with subtle texture
- Espresso beans, chopped - If you're going for a coffee-forward flavor
And don't forget: after your first spin, you'll need 1 tablespoon of your base liquid to help it blend into that silky-smooth texture on the re-spin.
How to make it
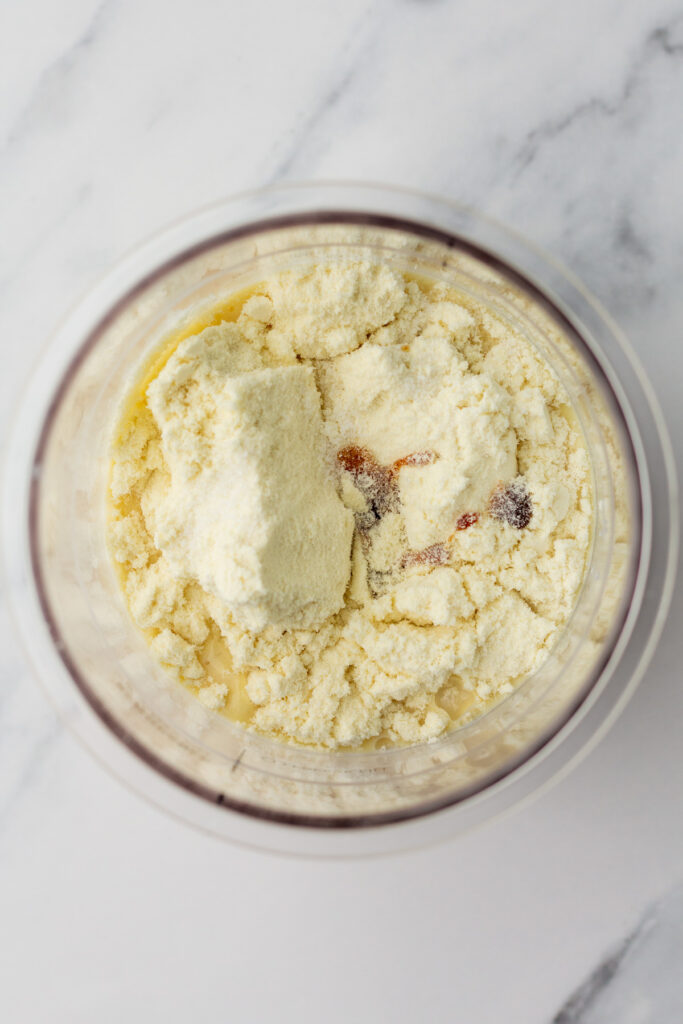
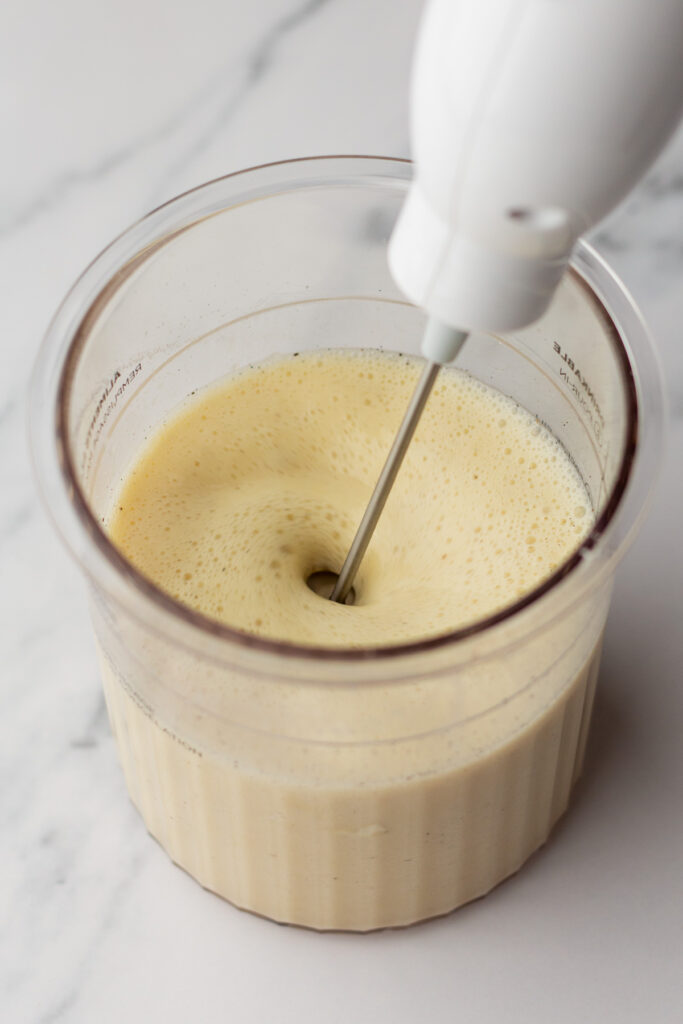
1. Mix the base
Add milk, protein powder, vanilla, and salt to your Ninja Creami pint. Stir well until fully smooth. A milk frother works wonders to break up any protein clumps and helps everything blend evenly.
2. Freeze overnight
Place the pint on a flat surface in your freezer and freeze for at least 24 hours until completely solid. This step is key-if it's not fully frozen, the texture won't turn out right.
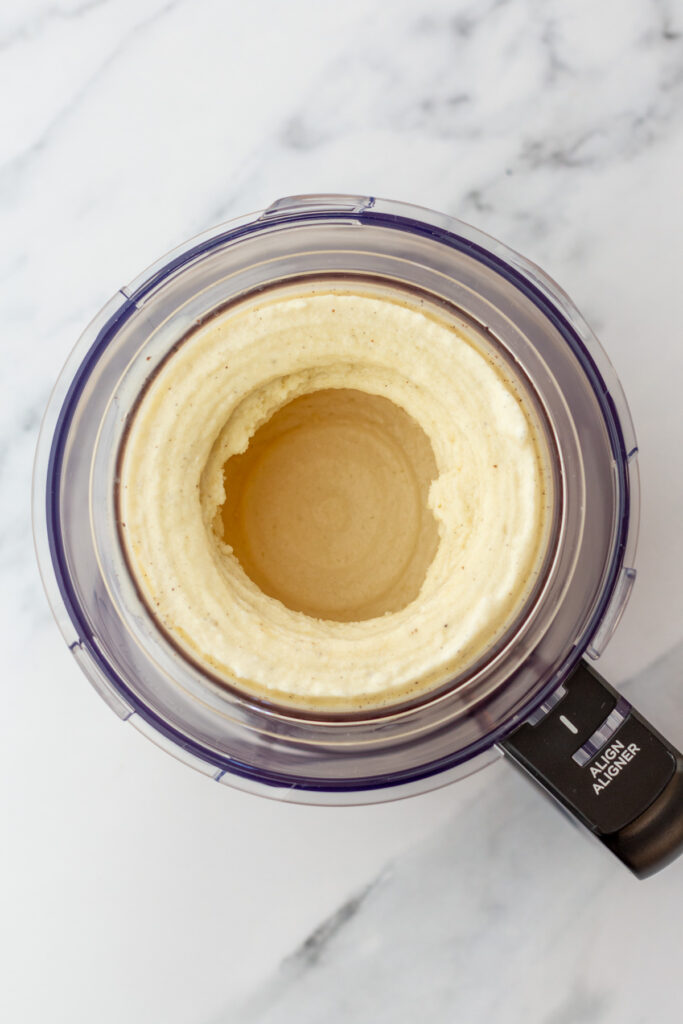
3. First spin
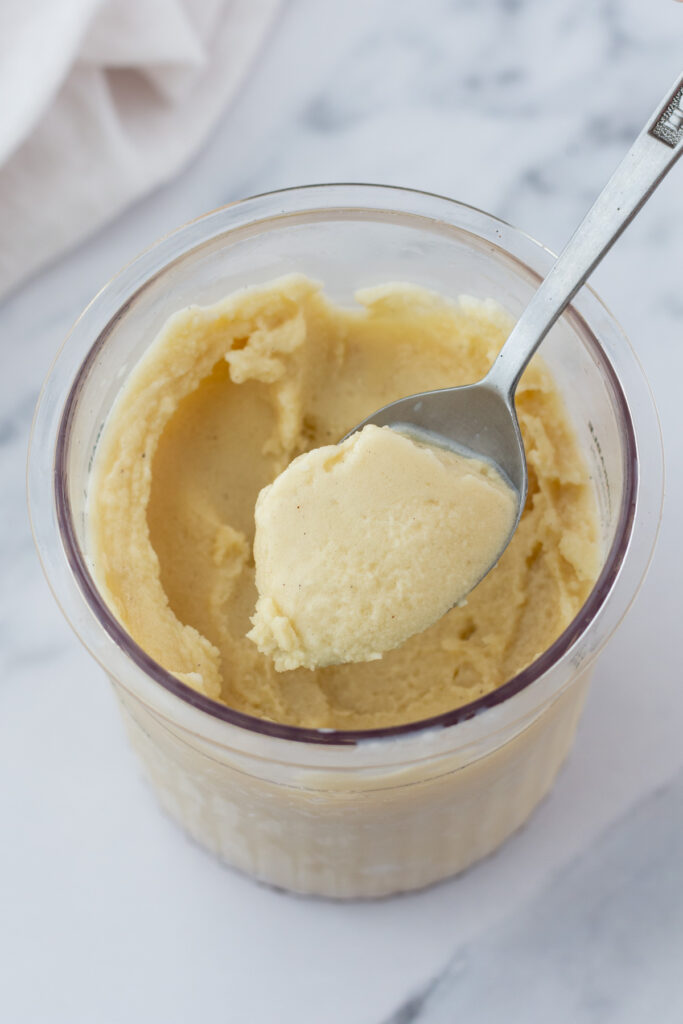
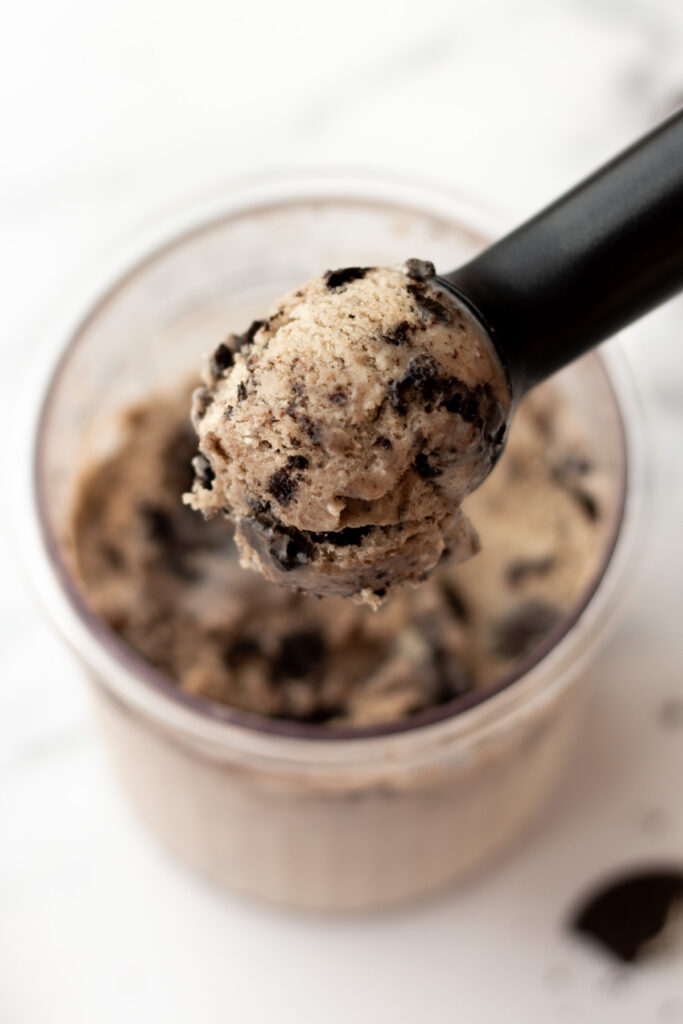
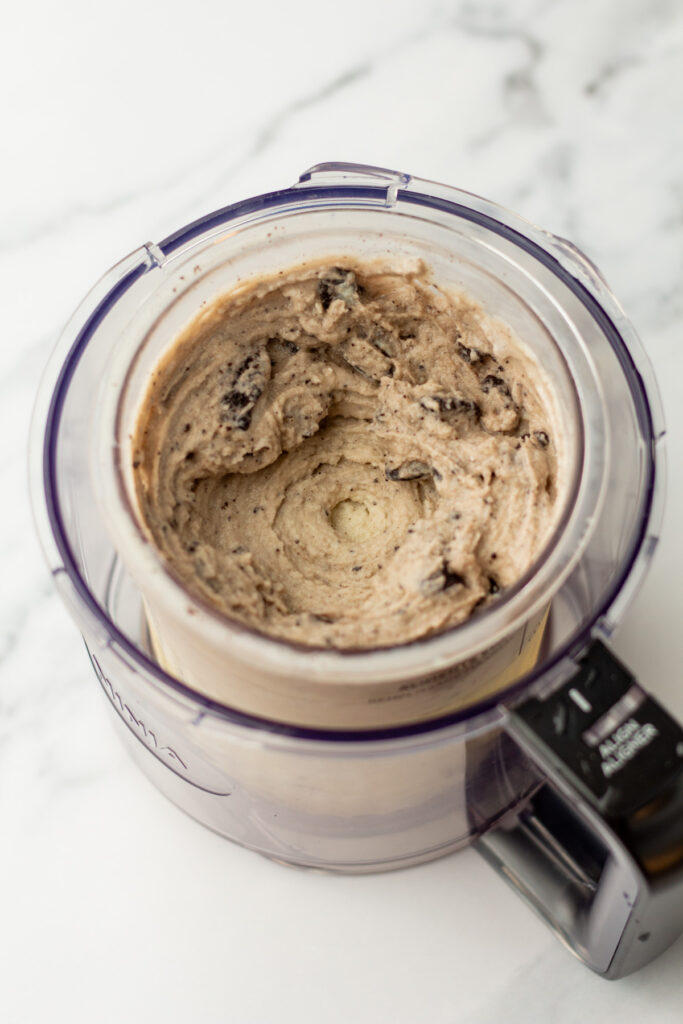
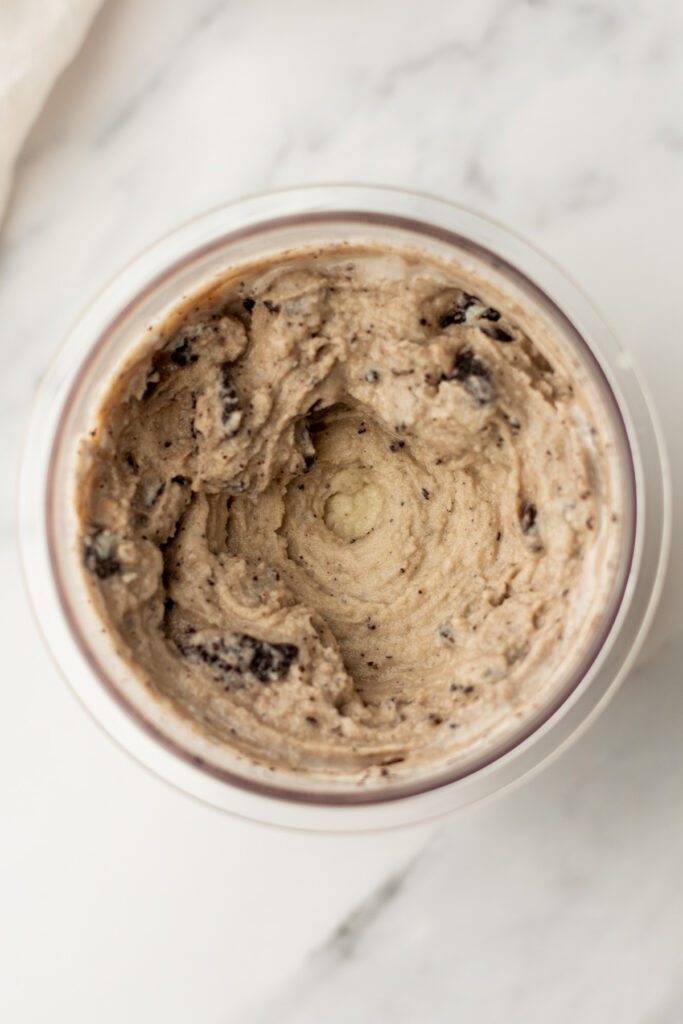
After freezing, run the pint through the "Lite Ice Cream" setting on your Ninja Creami. The texture will likely look crumbly or powdery at first-totally normal and expected!
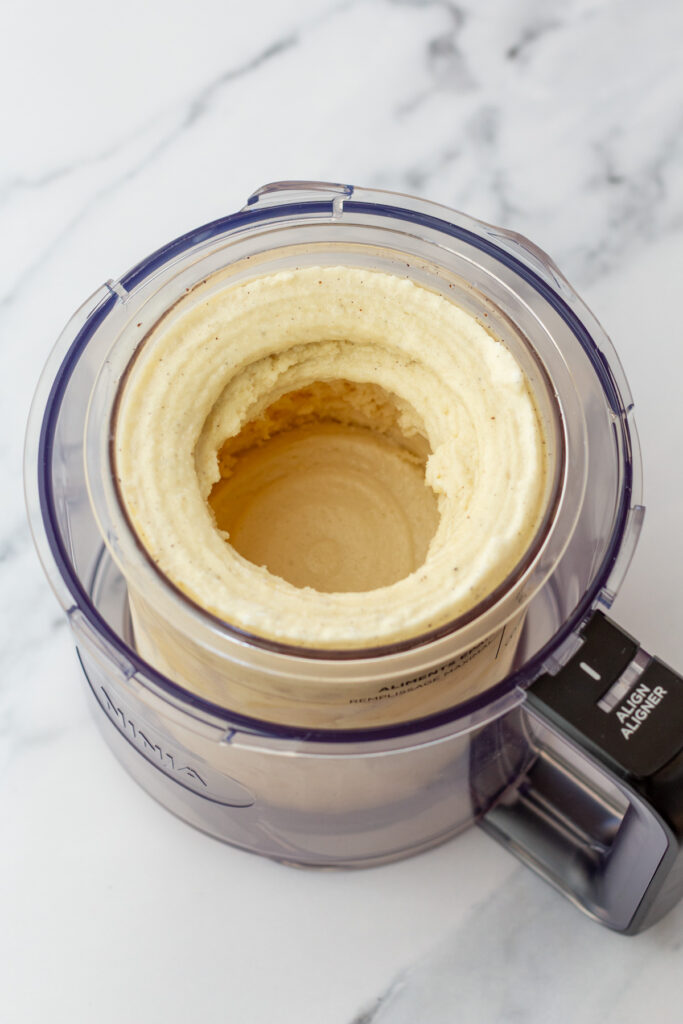
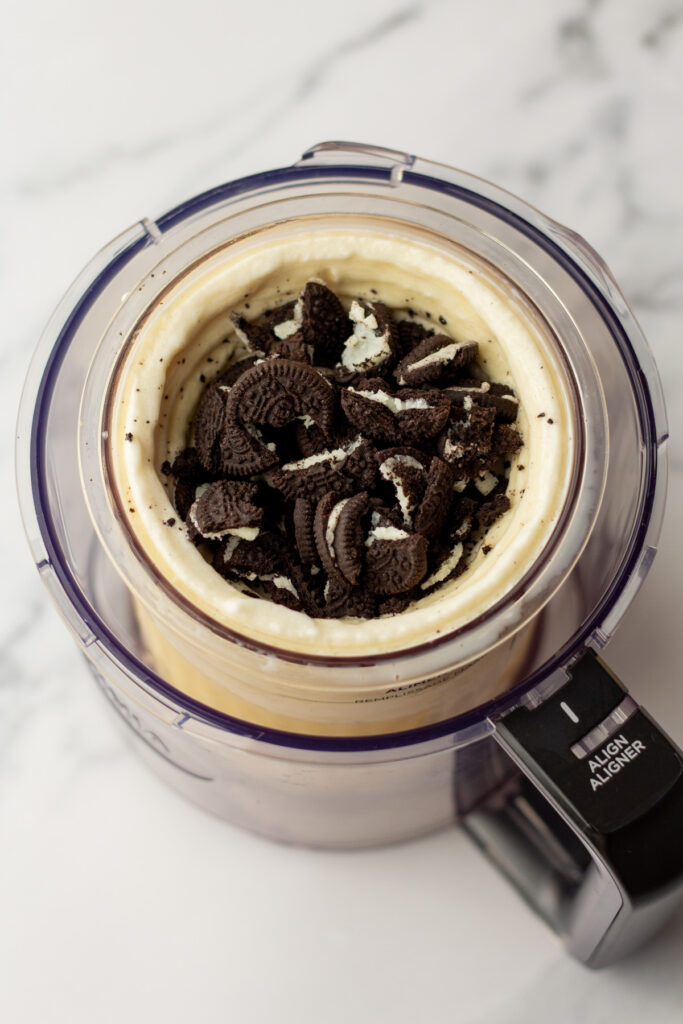
4. Add mix-ins and re-spin
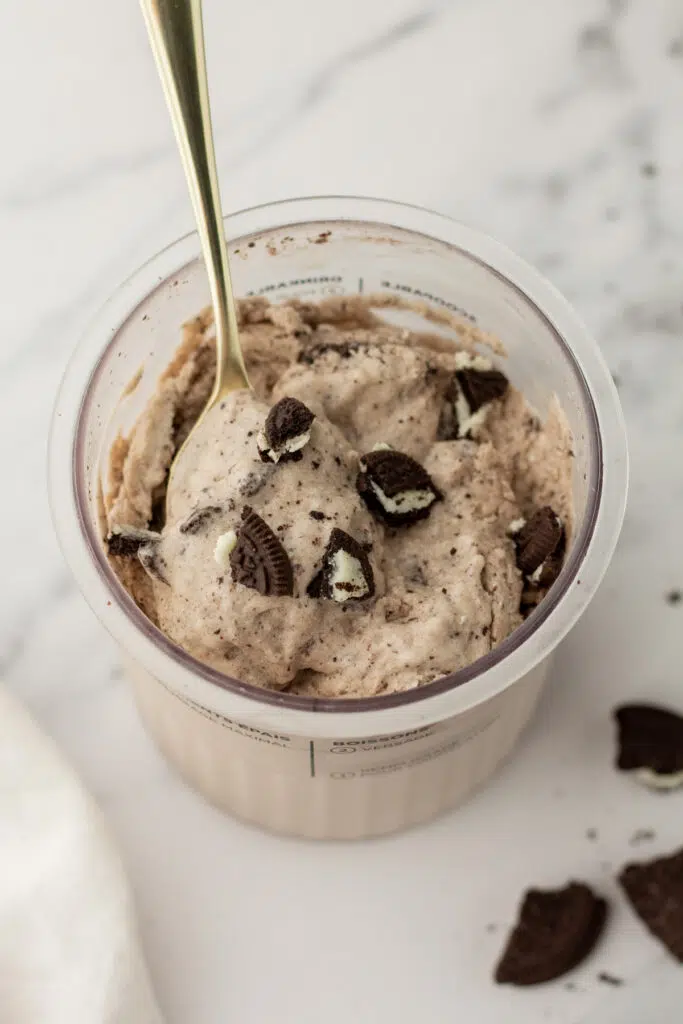
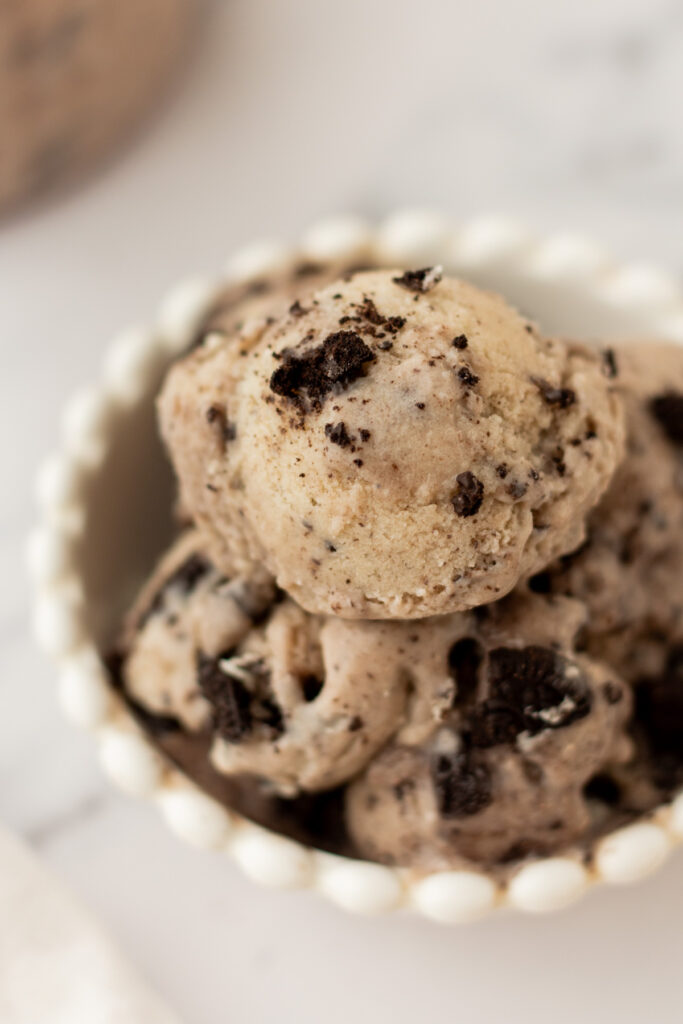
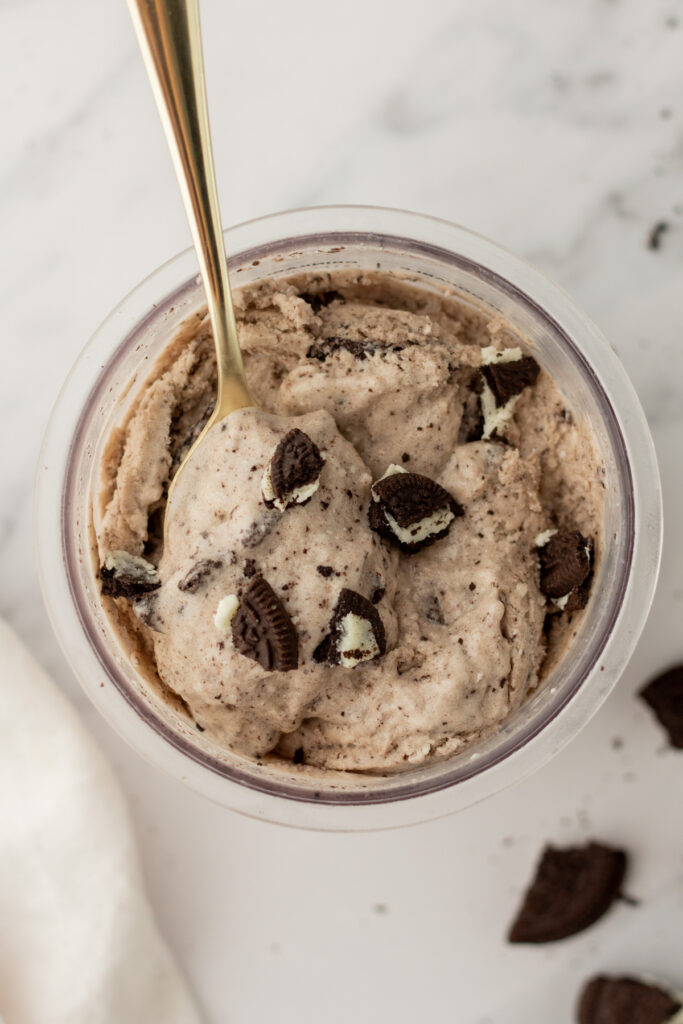
Want to level it up? Of course you do! Use a spoon or knife to make a small well in the center of the pint. Add in your favorite mix-ins (like crushed Oreos or rainbow sprinkles), along with another tablespoon of your base milk. Use the "Mix-In" setting to blend it all into creamy perfection.
Add 1 tablespoon of the same milk you used in your base. Spin again using the "Re-Spin" setting. After this second spin, you'll have a creamy, scoopable protein ice cream.
Can I make this recipe with a Ninja Creami Deluxe?
Yes! You can absolutely make this recipe using the Ninja Creami Deluxe. Since the Deluxe pint is a bit larger, you can either stick with the original measurements or scale it up slightly. Here's how you can adjust the base if you'd like:
- 1 ½ cups milk of choice
- 1 ½ to 2 servings of protein
- If desired: ¾ cup fruit
- If desired: 2 to 4 teaspoons sweetener of your choice
- 1 teaspoon flavor booster
- Pinch of salt
- 1 ½ tablespoons milk added after the first spin-in
Follow the same steps for freezing, spinning, and mixing in your add-ins. Just be sure not to fill past the max fill line!
Recipe tips and tricks
- Serving Tips: We love enjoying a pint of this protein ice cream with a glass of cold milk or a cozy cup of decaf coffee for the ultimate treat-yourself moment.
- Troubleshooting Tips: If your ice cream is still crumbly after the re-spin, don't panic. Just add another splash of milk and re-spin once more. Sometimes it helps to let the pint thaw for 5 minutes out of the freezer too.
- Scaling Tips: Making this for a crowd? Just prep multiple pints! Each one freezes separately, so you can make different flavors all at once.
Customize it your way
Like all of my other recipes, this Ninja Creami protein ice cream is completely customizable. You get to choose what liquid, protein, fruit, sweetener, flavor booster, and mix-ins you want to use. This will totally change the flavor you decide on. Need some inspiration? Check out these flavor ideas.
- Vanilla: Vanilla protein shake, vanilla protein powder, no fruit, no sweetener, vanilla bean paste, crushed Oreos, rainbow sprinkles
- Pistachio white chocolate: Protein shake, vanilla protein powder, pistachios, no fruit, Medjool date, almond extract, more crushed pistachios, white chocolate chips
- Coffee Lover's: Cooled brewed coffee, milk of choice, vanilla protein powder or cottage cheese, honey or Medjool date, espresso powder, cinnamon, chocolate chips, cocoa nibs, crushed espresso beans, caramel swirls
- Chocolate: Chocolate milk, chocolate protein powder, no fruit, honey, cocoa powder, dark chocolate chips, cocoa nibs, caramel sauce
- Mint Chocolate Chip: Vanilla protein shake, Greek yogurt, vanilla protein powder, Medjool date, peppermint extract, dark chocolate chips or cocoa nibs
- Peanut Butter & Jelly: Protein shake, peanut butter or peanut butter powder, strawberries, strawberry jam, vanilla extract, crushed peanuts, crushed graham crackers, freeze-dried strawberries
- Peanut Butter: Vanilla protein shake, peanut butter protein powder or powdered peanut butter, Medjool date, vanilla extract, salted peanuts, peanut butter cups
- Banana Cream Pie: Vanilla protein shake, Greek yogurt, banana, banana cream Jell-O mix, vanilla extract, crushed vanilla wafers or graham crackers, banana slices
Can you make it ahead of time?
Absolutely! In fact, you'll need to plan ahead just a bit-this recipe does require a full freeze overnight. But once it's frozen, it's ready to spin whenever you are. You can also prepare a few different pints at once so you've got a variety of flavors ready to go for the week.
How do I store extras?
If you don't have the whole pint right away, you can totally pop it back in the freezer, and keep it for up to 2-3 months. You can re-spin up to three times, but I usually just let it sit out on the counter for 20-25 minutes. If you're in a hurry, a quick 10-15 second microwave burst does the trick too!
Need more help with recipes for your busy schedule?
In my coaching + cooking program, I help busy people with beginner cooking knowledge become confident in the kitchen so that they can enjoy nourishing foods they love and stress less about mealtime. Click here to learn more about this virtual program led by a dietitian.
Healthy Ninja Creami Protein Ice Cream - Base Recipe Template
Recommended Products
Ingredients
- 1 cup liquid of your choice, (e.g., dairy milk, almond milk, oat milk, coconut milk, protein shake, kefir, chocolate milk, matcha tea, cooled brewed coffee, etc.)
- 1-2 servings protein of your choice, (1 scoop or 3 tablespoons protein powder, ¼ cup Greek yogurt, 2 tablespoons cottage cheese, 2 tablespoons cream cheese, 2 tablespoons nuts, 2 tablespoons powdered peanut butter, or 1-2 tablespoons nut butter, etc.)
- If Desired: ½ cup fruits of your choice, (banana slices, berries, diced avocado, etc.)
- If Desired: 1-2 teaspoons sweetener of your choice, (jello mix, honey, maple syrup, agave, or 1 medjool date chopped, etc.)
- If Desired: ¼-1/2 teaspoons flavor boosters of your choice, (vanilla extract, almond extract, cinnamon, cocoa powder, instant espresso, etc.)
- 1 pinch salt
Up to ¼ cup mix-ins of your choice (Added After First Spin):
- Mini chocolate chips, dark, milk, or white
- Granola, any variety for crunch
- Crushed nuts, pistachios, almonds, walnuts, etc.
- Nut butter, drizzled in for extra creaminess
- Crushed graham crackers, for a pie-inspired treat
- Cocoa nibs, for a deeper chocolate flavor and crunch
- Chopped dates or dried fruit, apricots, cranberries, or raisins
- Mini marshmallows, for a s'mores or rocky road-style treat
- Shredded coconut, toasted for extra flavor
- Crushed pretzels, for a salty-sweet combo
- Caramel or chocolate sauce, swirled in after re-spinning
- Crushed Oreos or cookie crumbles, for a cookies & cream twist
- Chia seeds or flaxseeds, for extra fiber and texture
- Espresso beans, chopped (for a mocha kick)
When spinning the 2nd time: 1 tablepoon liquid of choice from initial recipe
Instructions
- Add all ingredients except mix-ins into a blender and blend until smooth. Then, pour into your Ninja Creami Pint.
- NOTE: If using mainly liquid ingredients, you can just mix them directly in the Ninja Creami pint using a fork or milk frother.
- Place the Creami pint in the freezer on a level surface and freeze for at least 24 hours until fully solid.
- After 24 hours, remove from the freezer and process using the "Lite Ice Cream" setting. This will take about 2-3 minutes. After this spin, the texture will most likely look crumbly and airy, similar to snow. This is normal!
- Use a spoon or knife to carefully scrape around the sides of the pint. Then, create a small hole in the center reaching the bottom and add up to ¼ cup of mix-ins and 1 tablespoon of the same liquid used in the base recipe.
- Re-spin using the "Mix-In" setting to fully blend the mix-ins and achieve a smooth, creamy texture.
- Enjoy immediately or if you end up with extras, you can store in the freezer for later. For the best storage results, use a spoon to press the ice cream into a flat, even surface before refreezing.
Notes
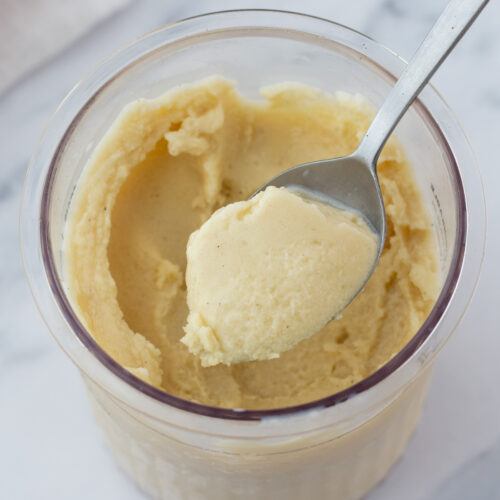
Vanilla Protein Ninja Cream Ice Cream
Recommended Products
Ingredients
- 1 cup milk of your choice, (dairy milk, vanilla protein shake, almond milk, oat milk, etc.)
- 1 scoop vanilla protein powder of your choice, (about 2 tablespoons)
- ½ teaspoon pure vanilla bean paste, can sub vanilla extract if you can't find the paste
- 1 pinch of salt
Up to ¼ Cup Mix-Ins of Your Choice (Added After First Spin):
- 1 tablespoon milk, same as used in base recipe
Instructions
- Mix together the base: Add all ingredients into Ninja Creami Pint (except mix-ins) and stir until completely smooth. Using a milk frother is helpful to make sure the protein powder combines easily!
- Freeze: Place the Creami pint in the freezer on a level surface and freeze for at least 24 hours until fully solid.
- First Spin: Remove from the freezer and process using the "Lite Ice Cream" setting. The texture may initially appear crumbly or airy-this is normal!
- Incorporate Mix-Ins: Use a spoon or knife to carefully scrape down the sides of the pint. Then, create a small hole in the center reaching the bottom and add 1 tablespoon milk used in the base recipe alongside any mix-ins, if desired.
- Re-Spin: Process again using the "Mix-In" setting to fully incorporate mix-ins and achieve a smooth, creamy consistency.
- Enjoy immediately or if you end up with extras, you can store in the freezer for later. For best results, use a spoon to press the ice cream into a flat, even surface before refreezing.
save this healthy ninja creami protein ice cream recipe on pinterest:

Leave a Reply