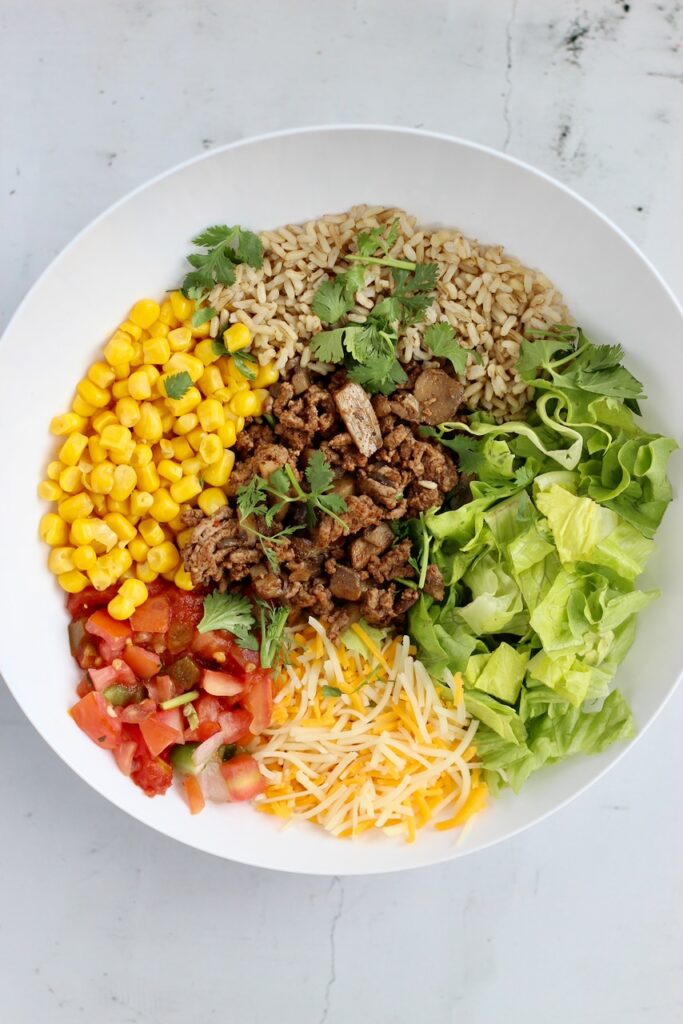
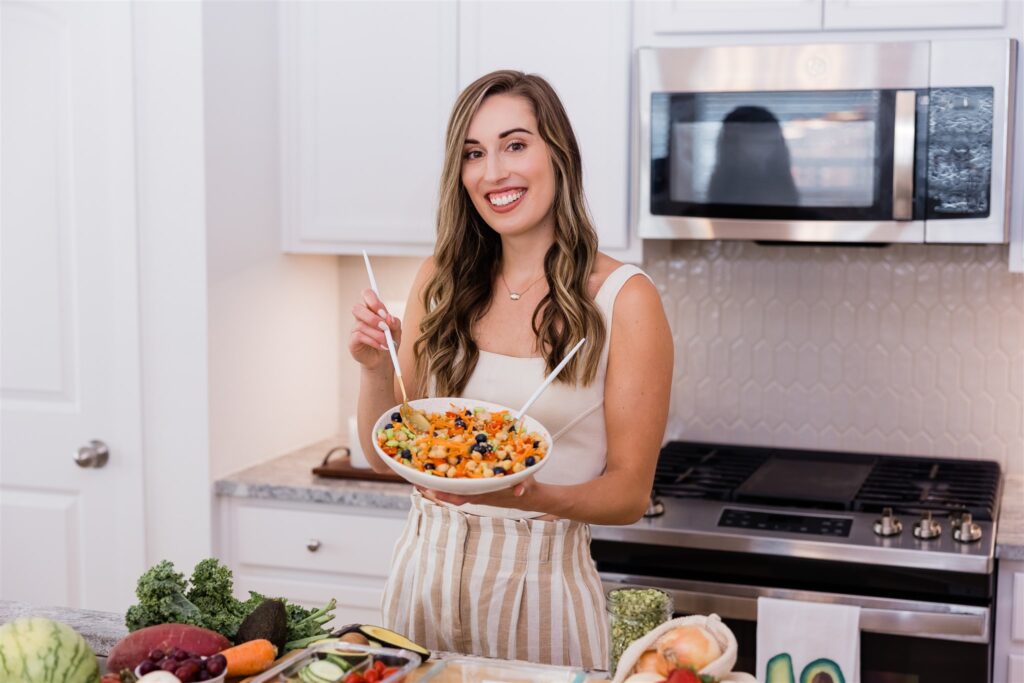
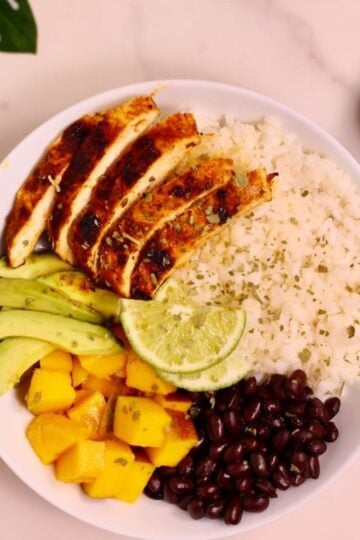
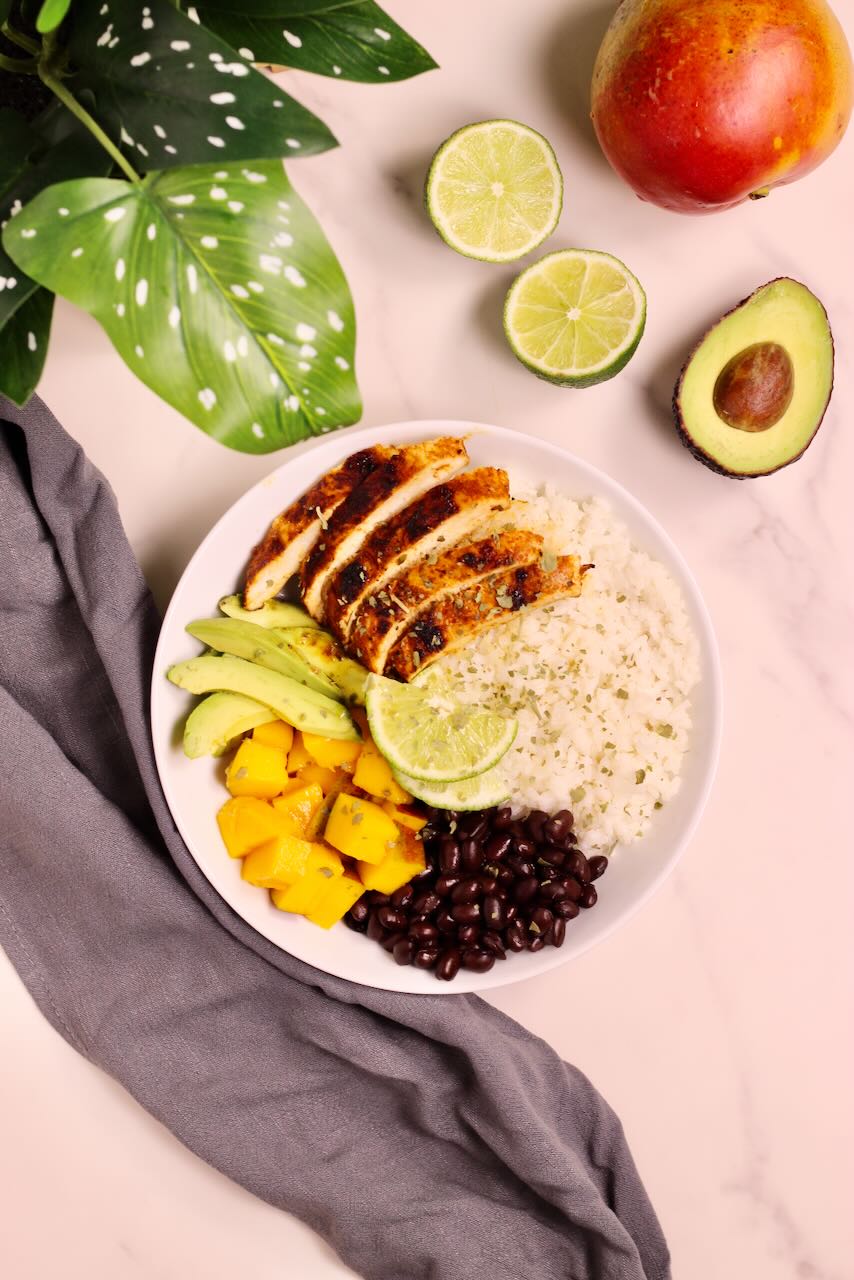
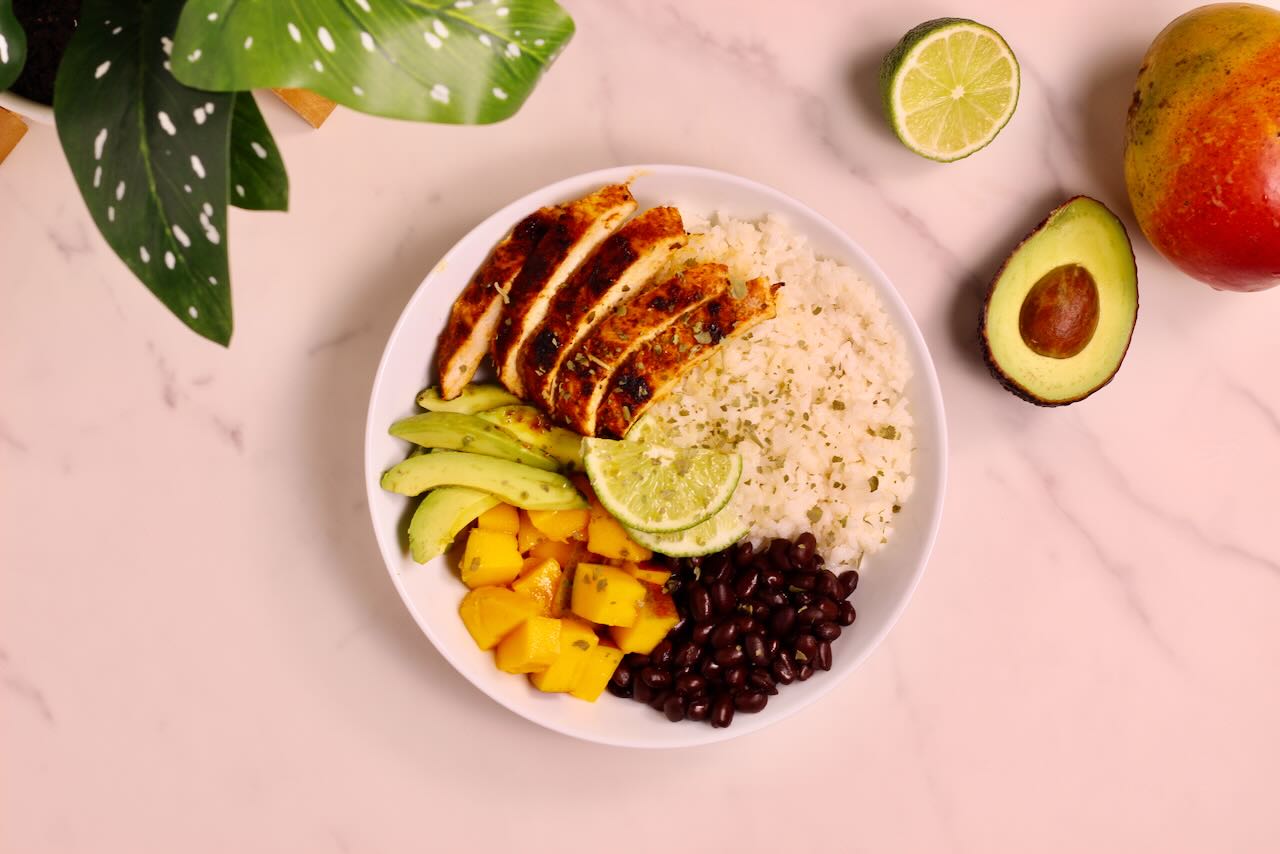
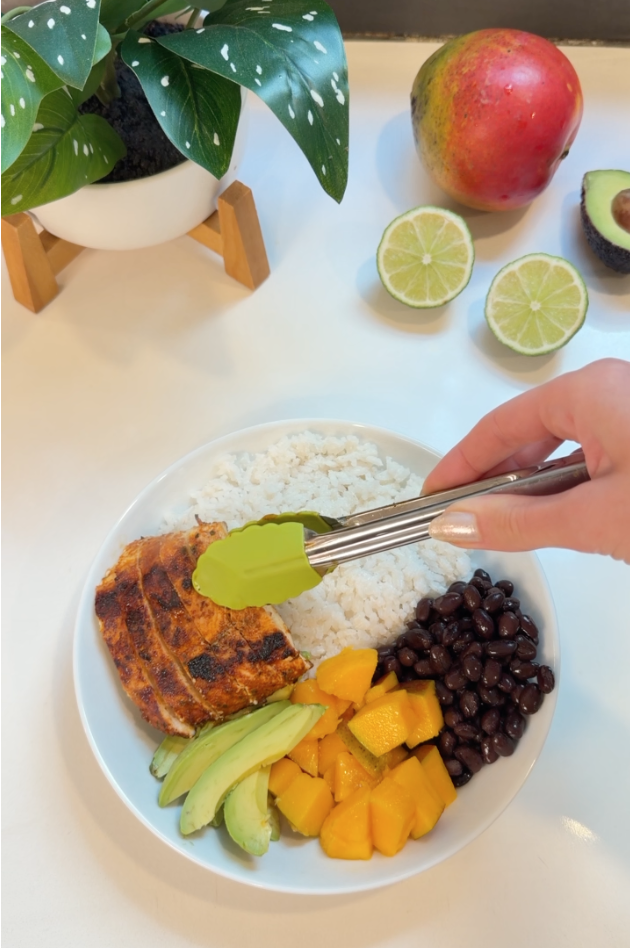
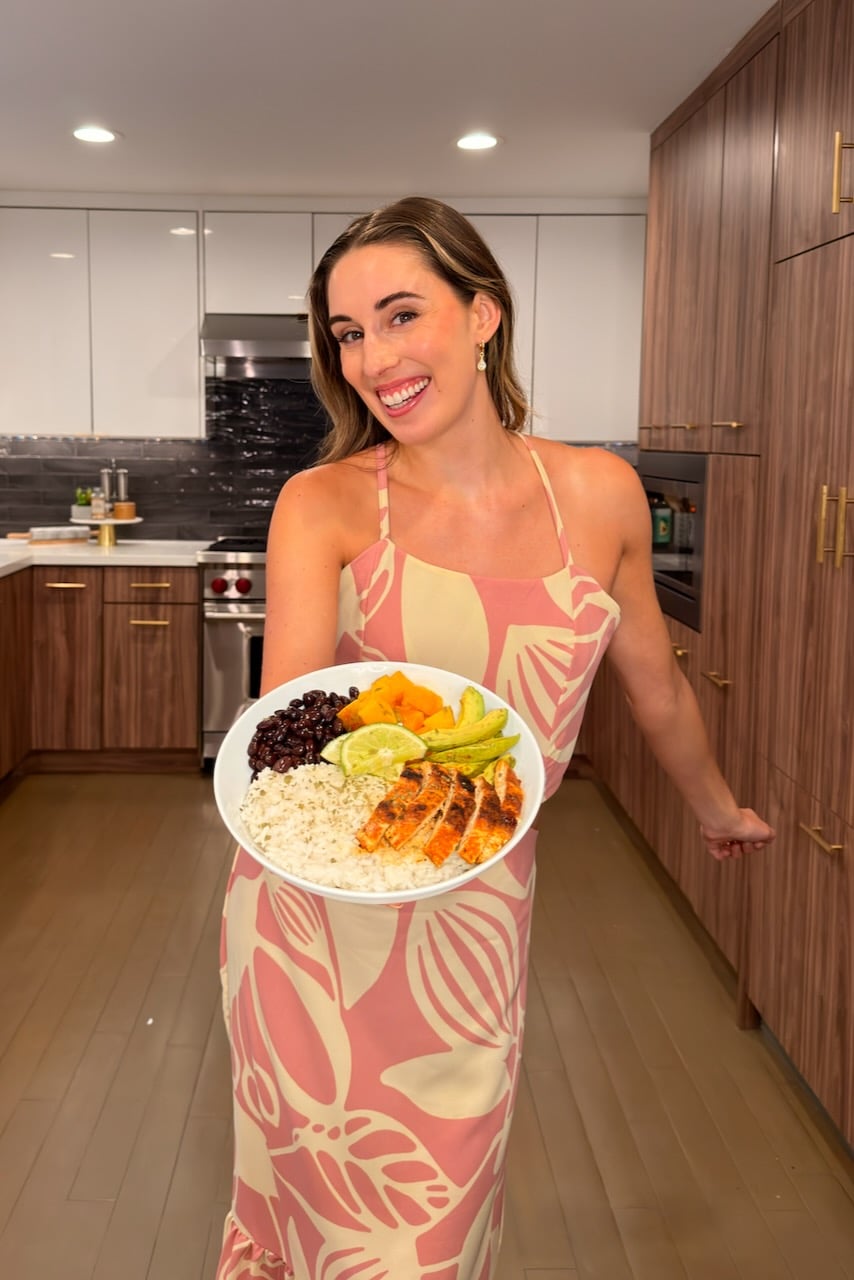
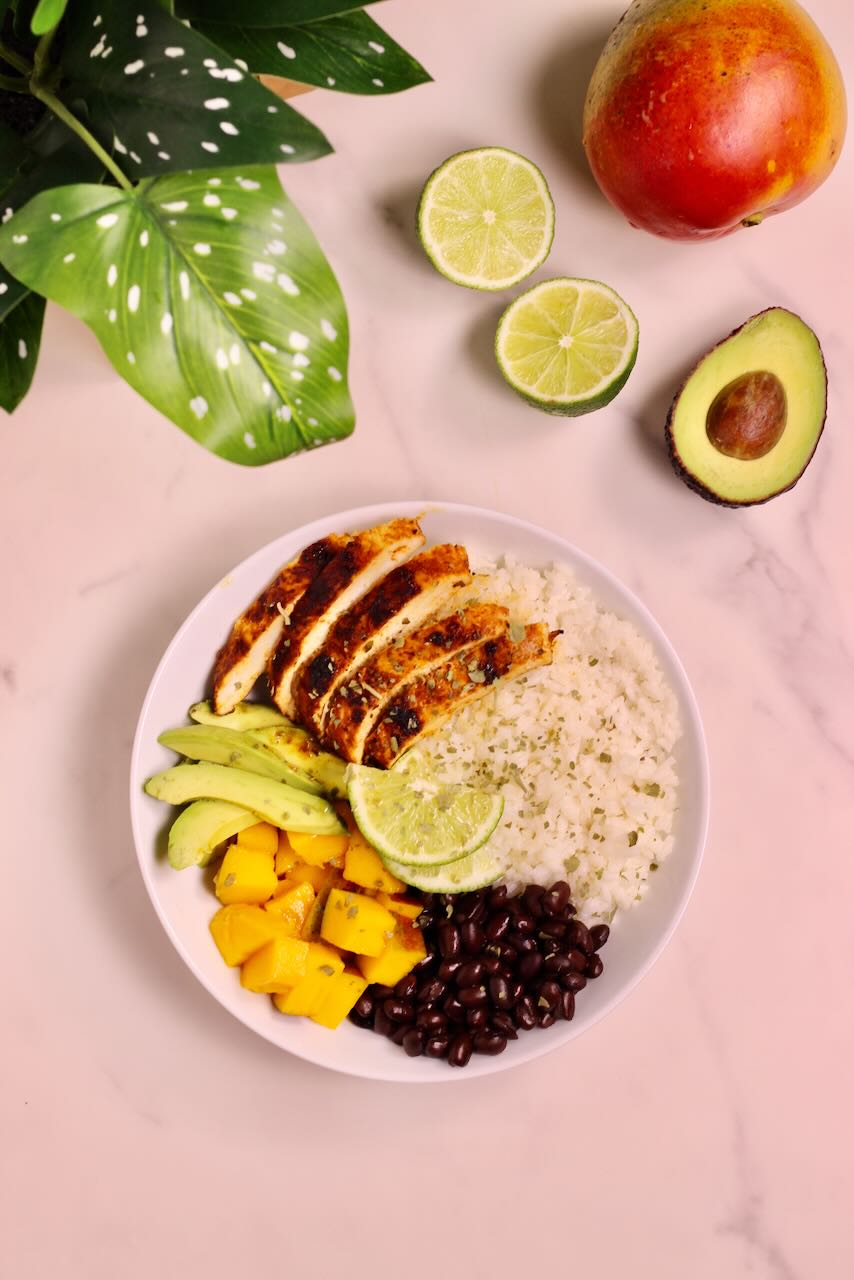
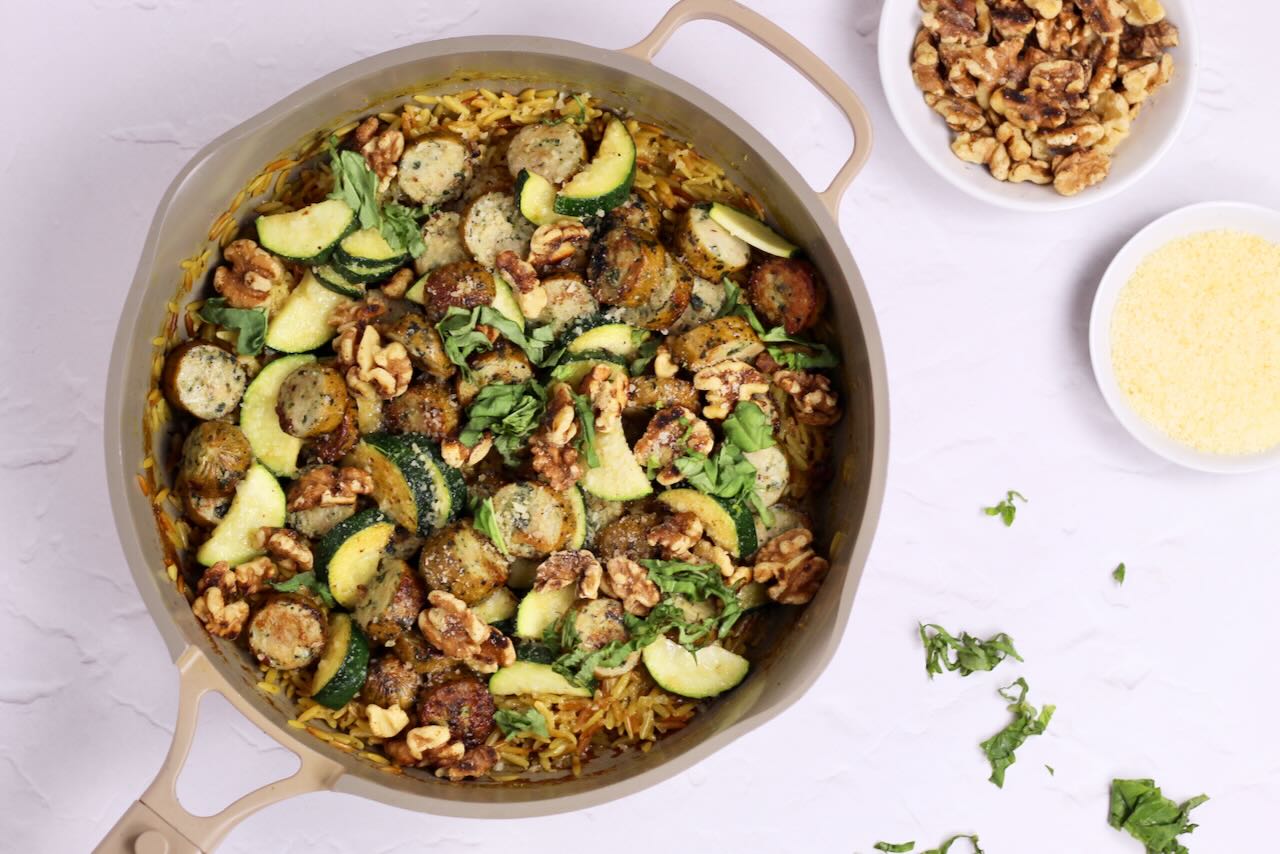
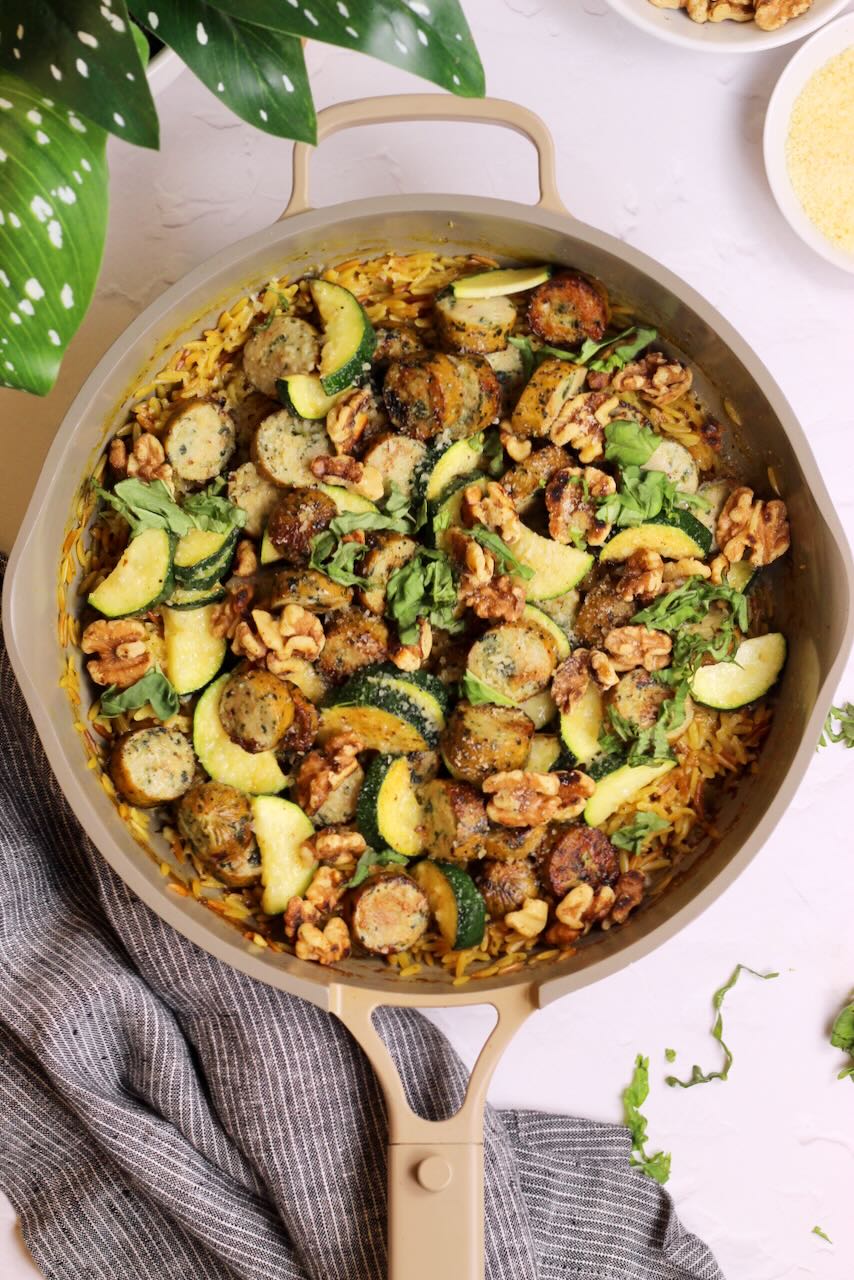
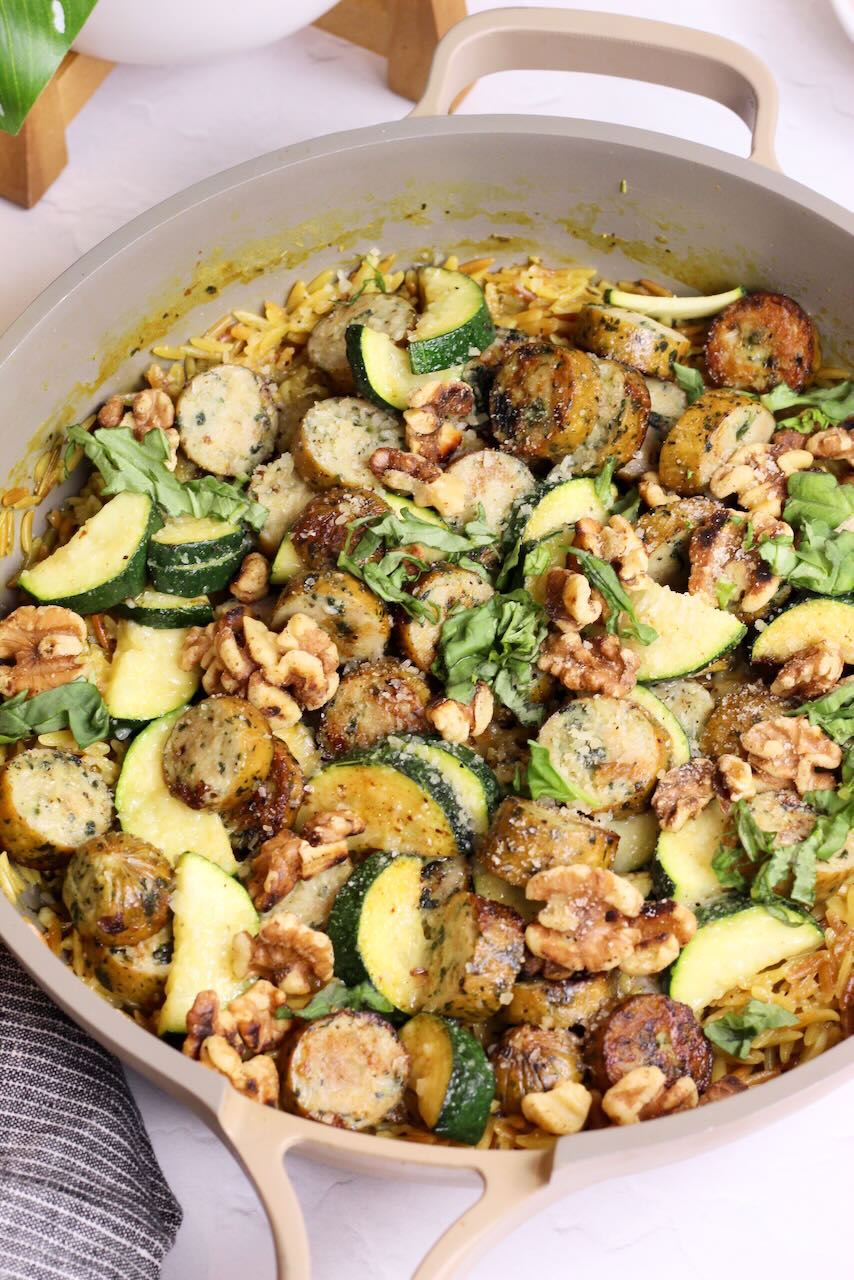
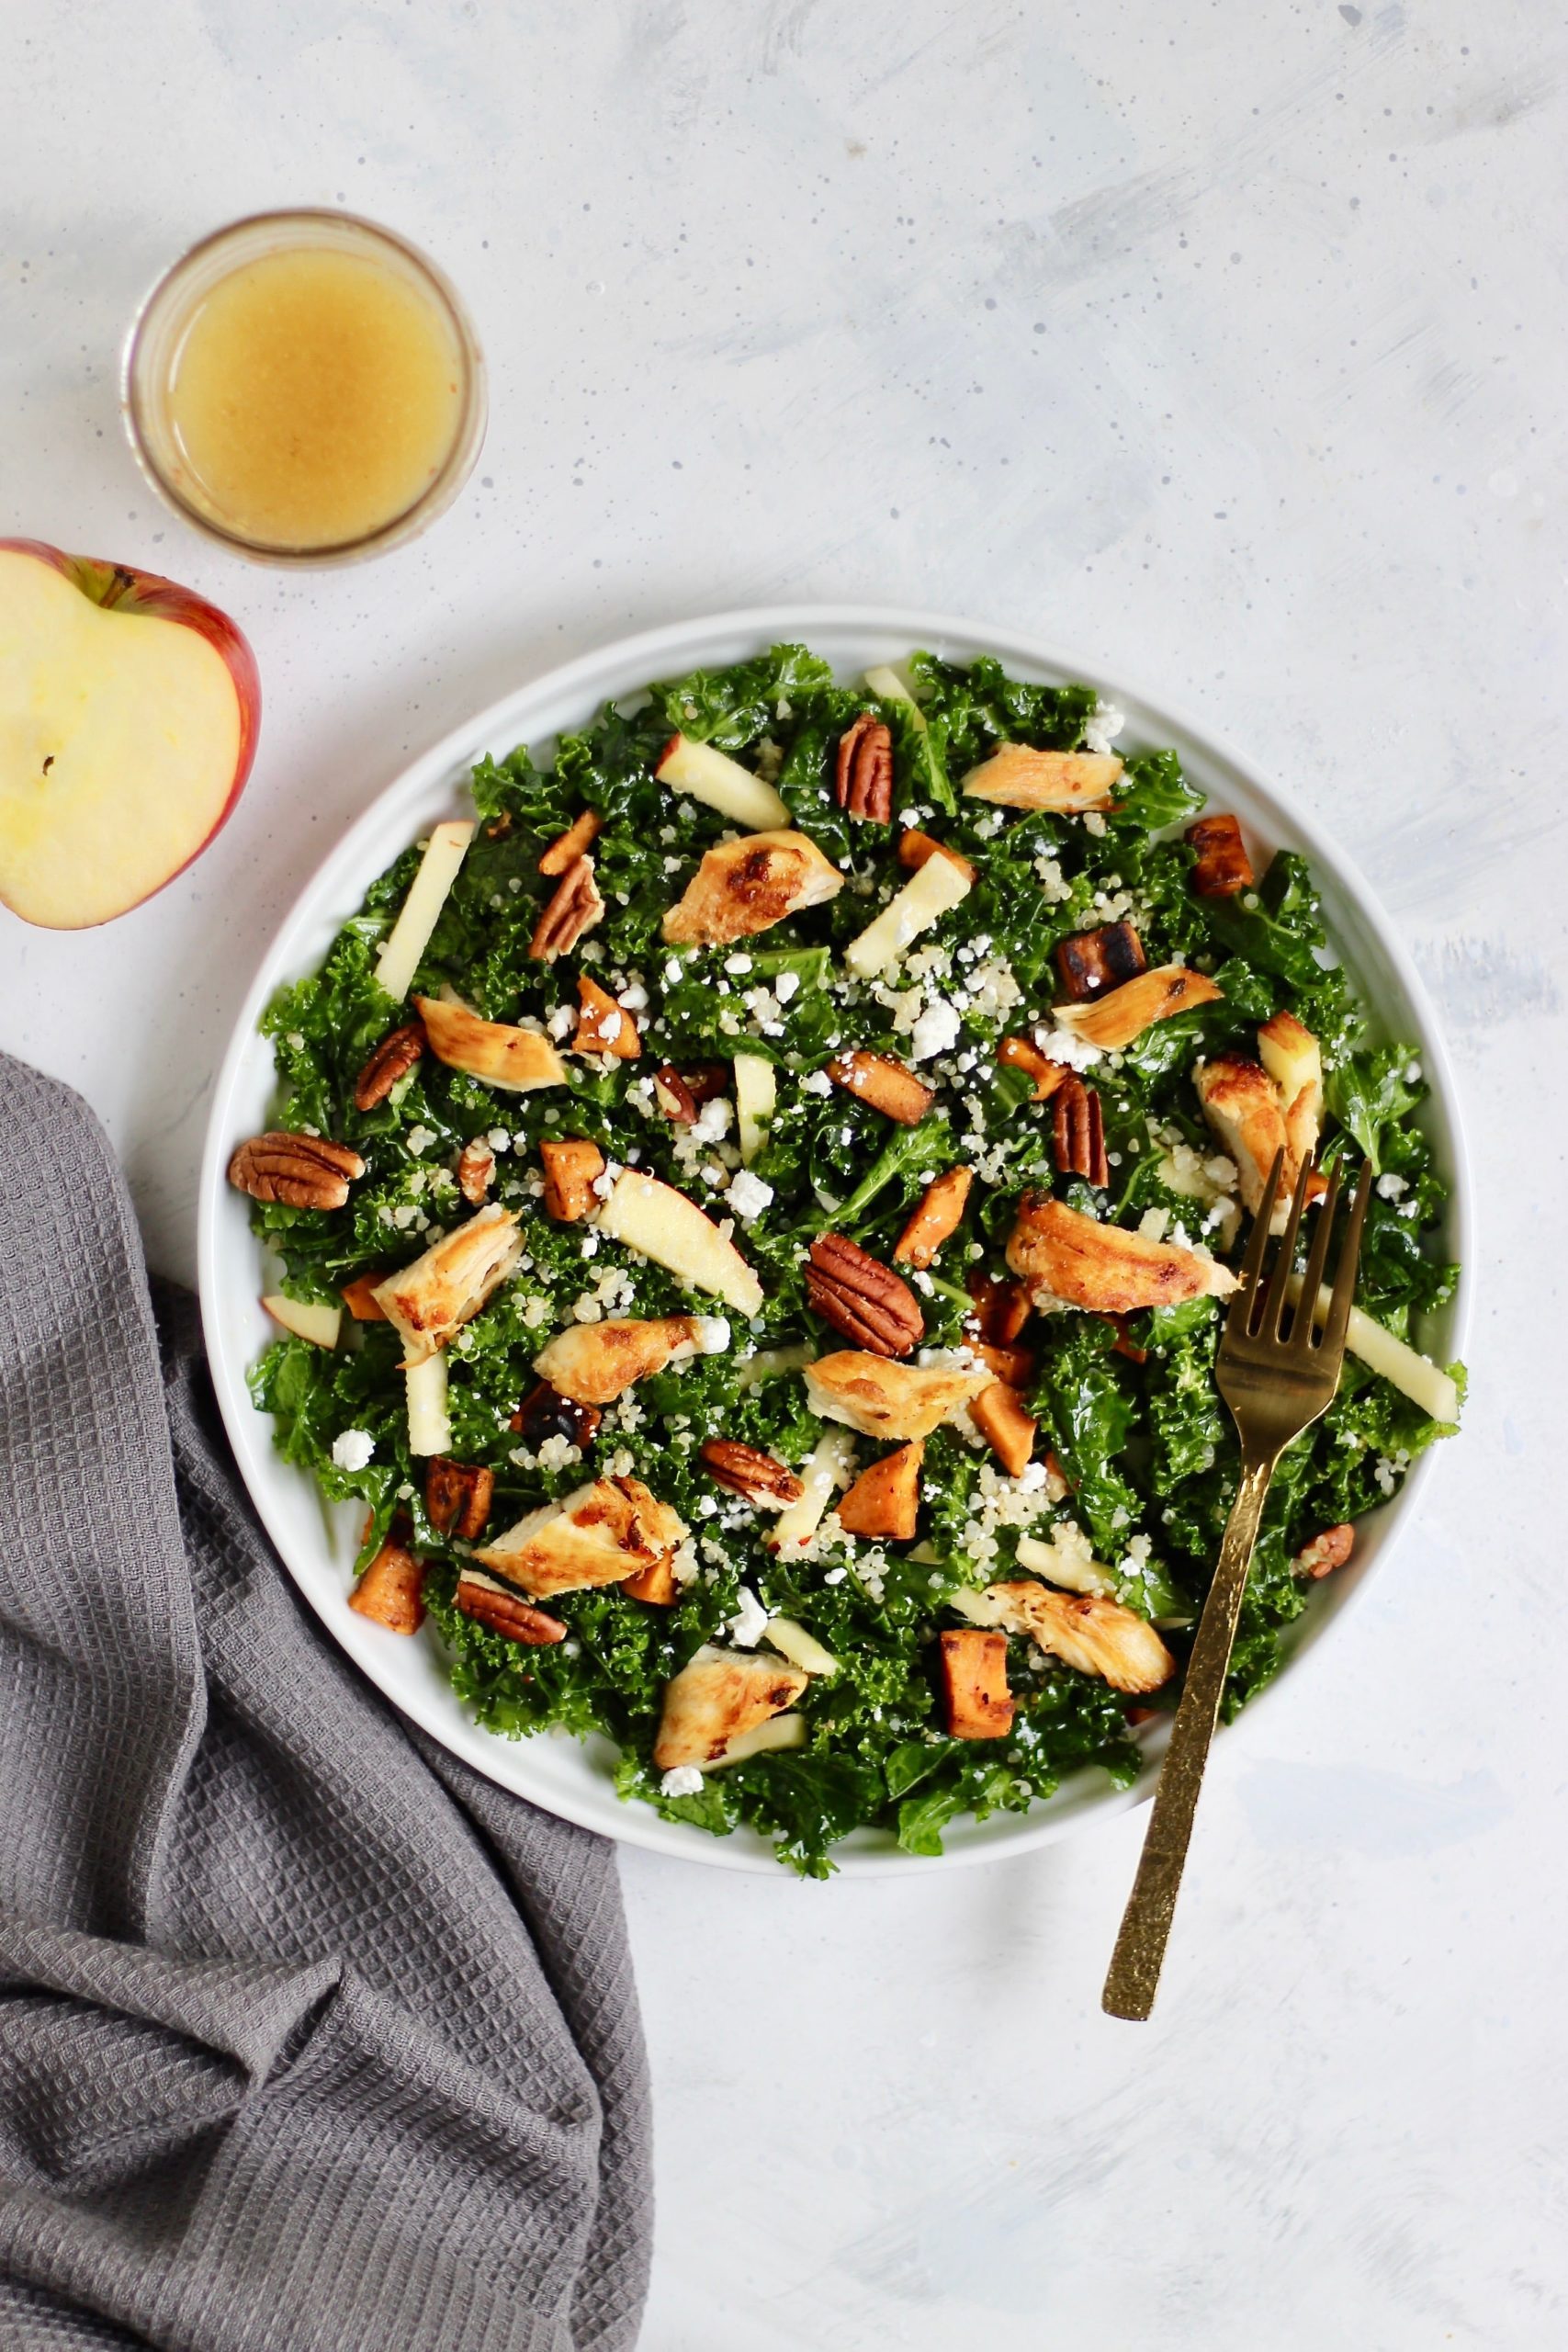
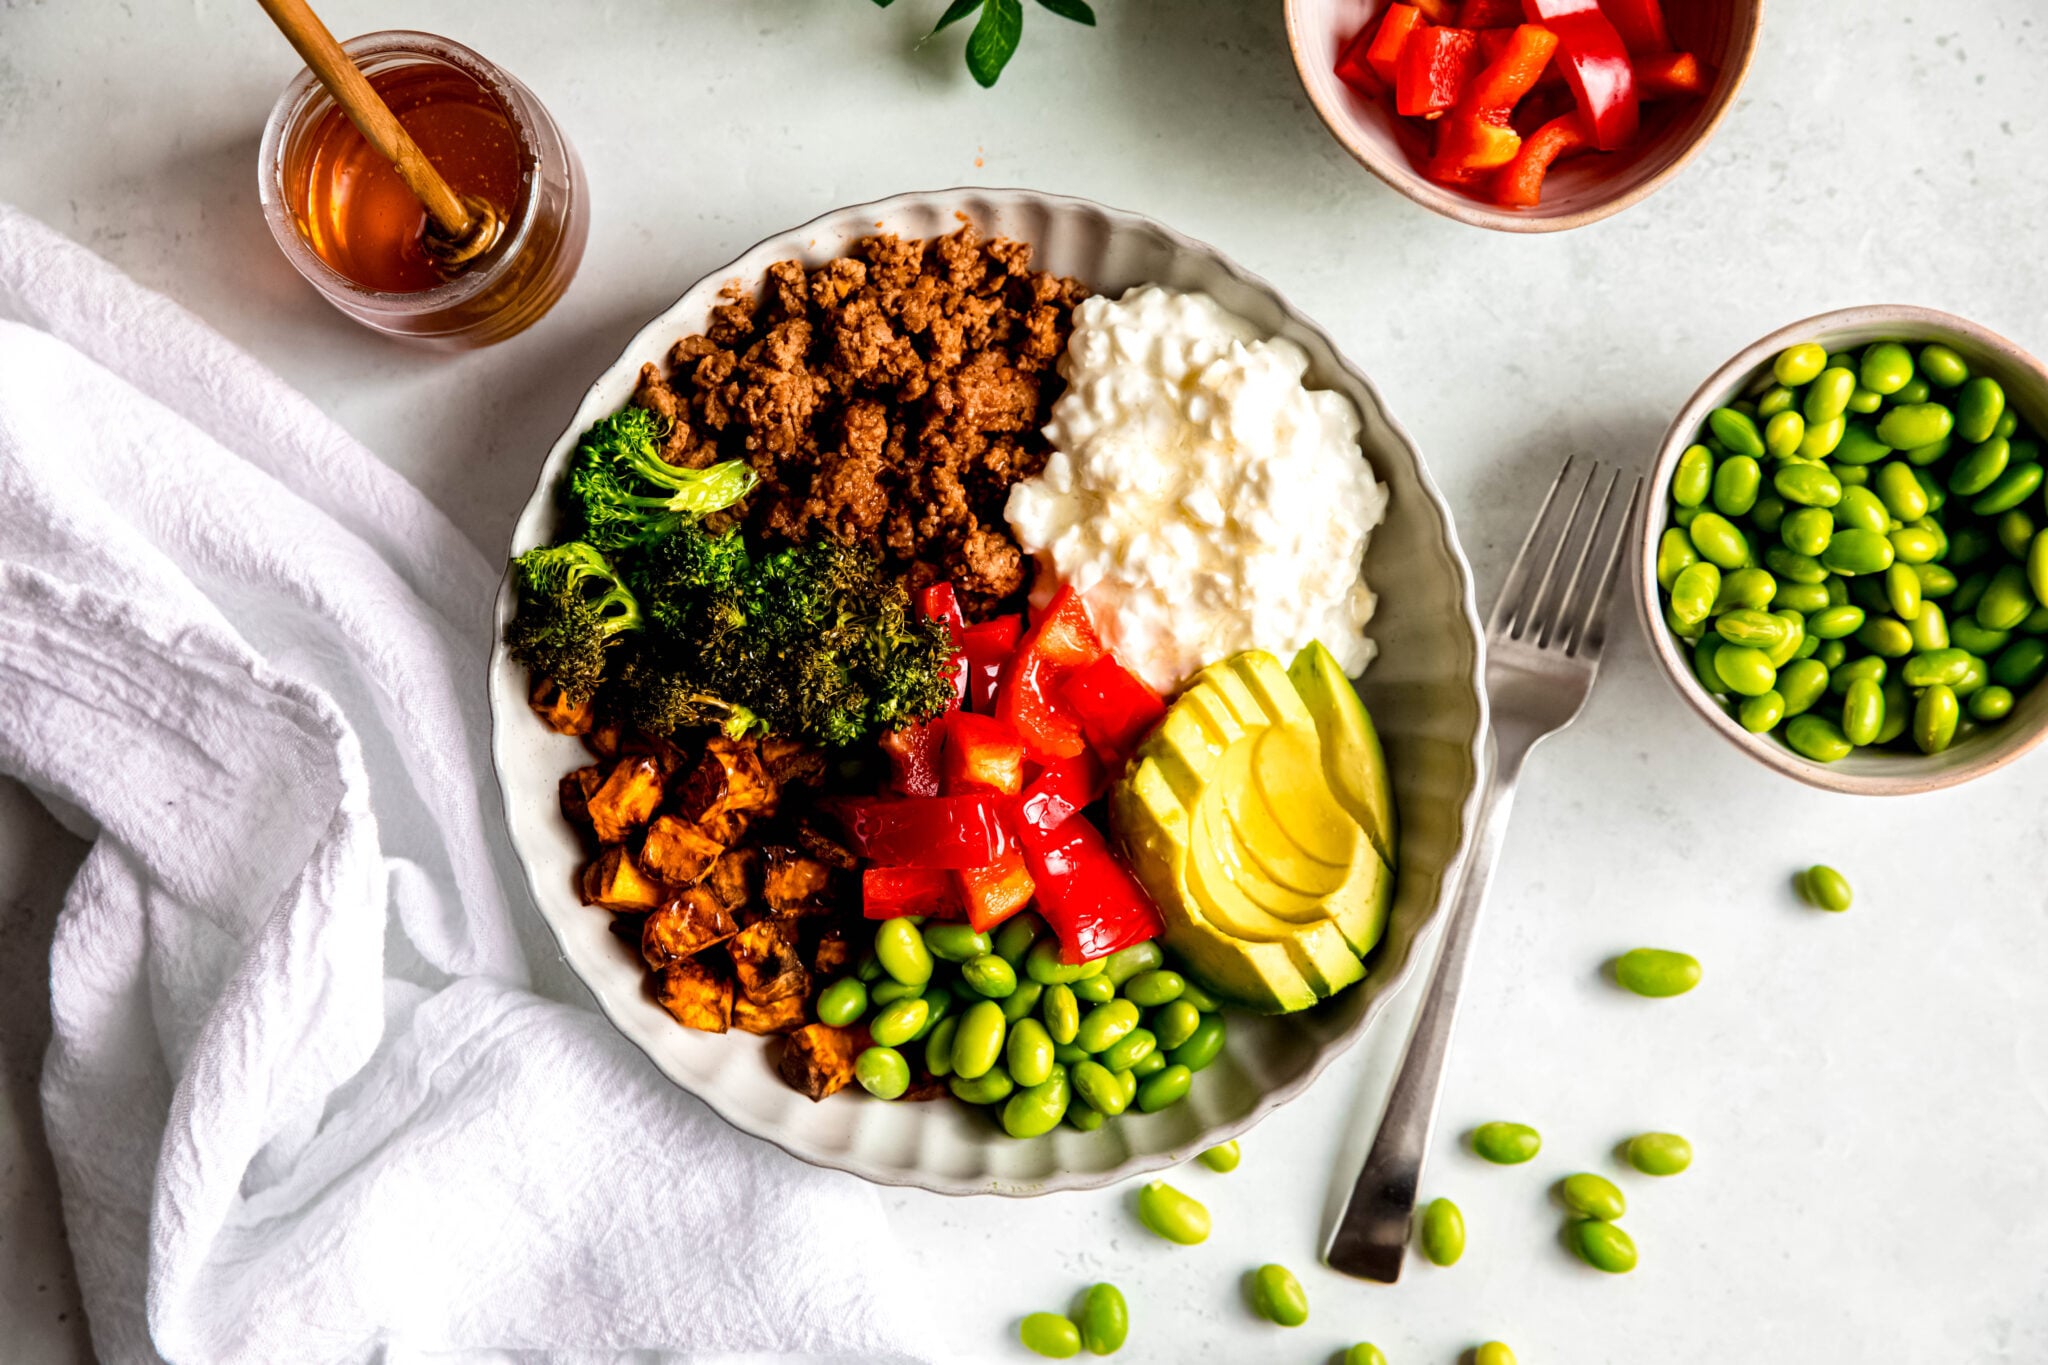
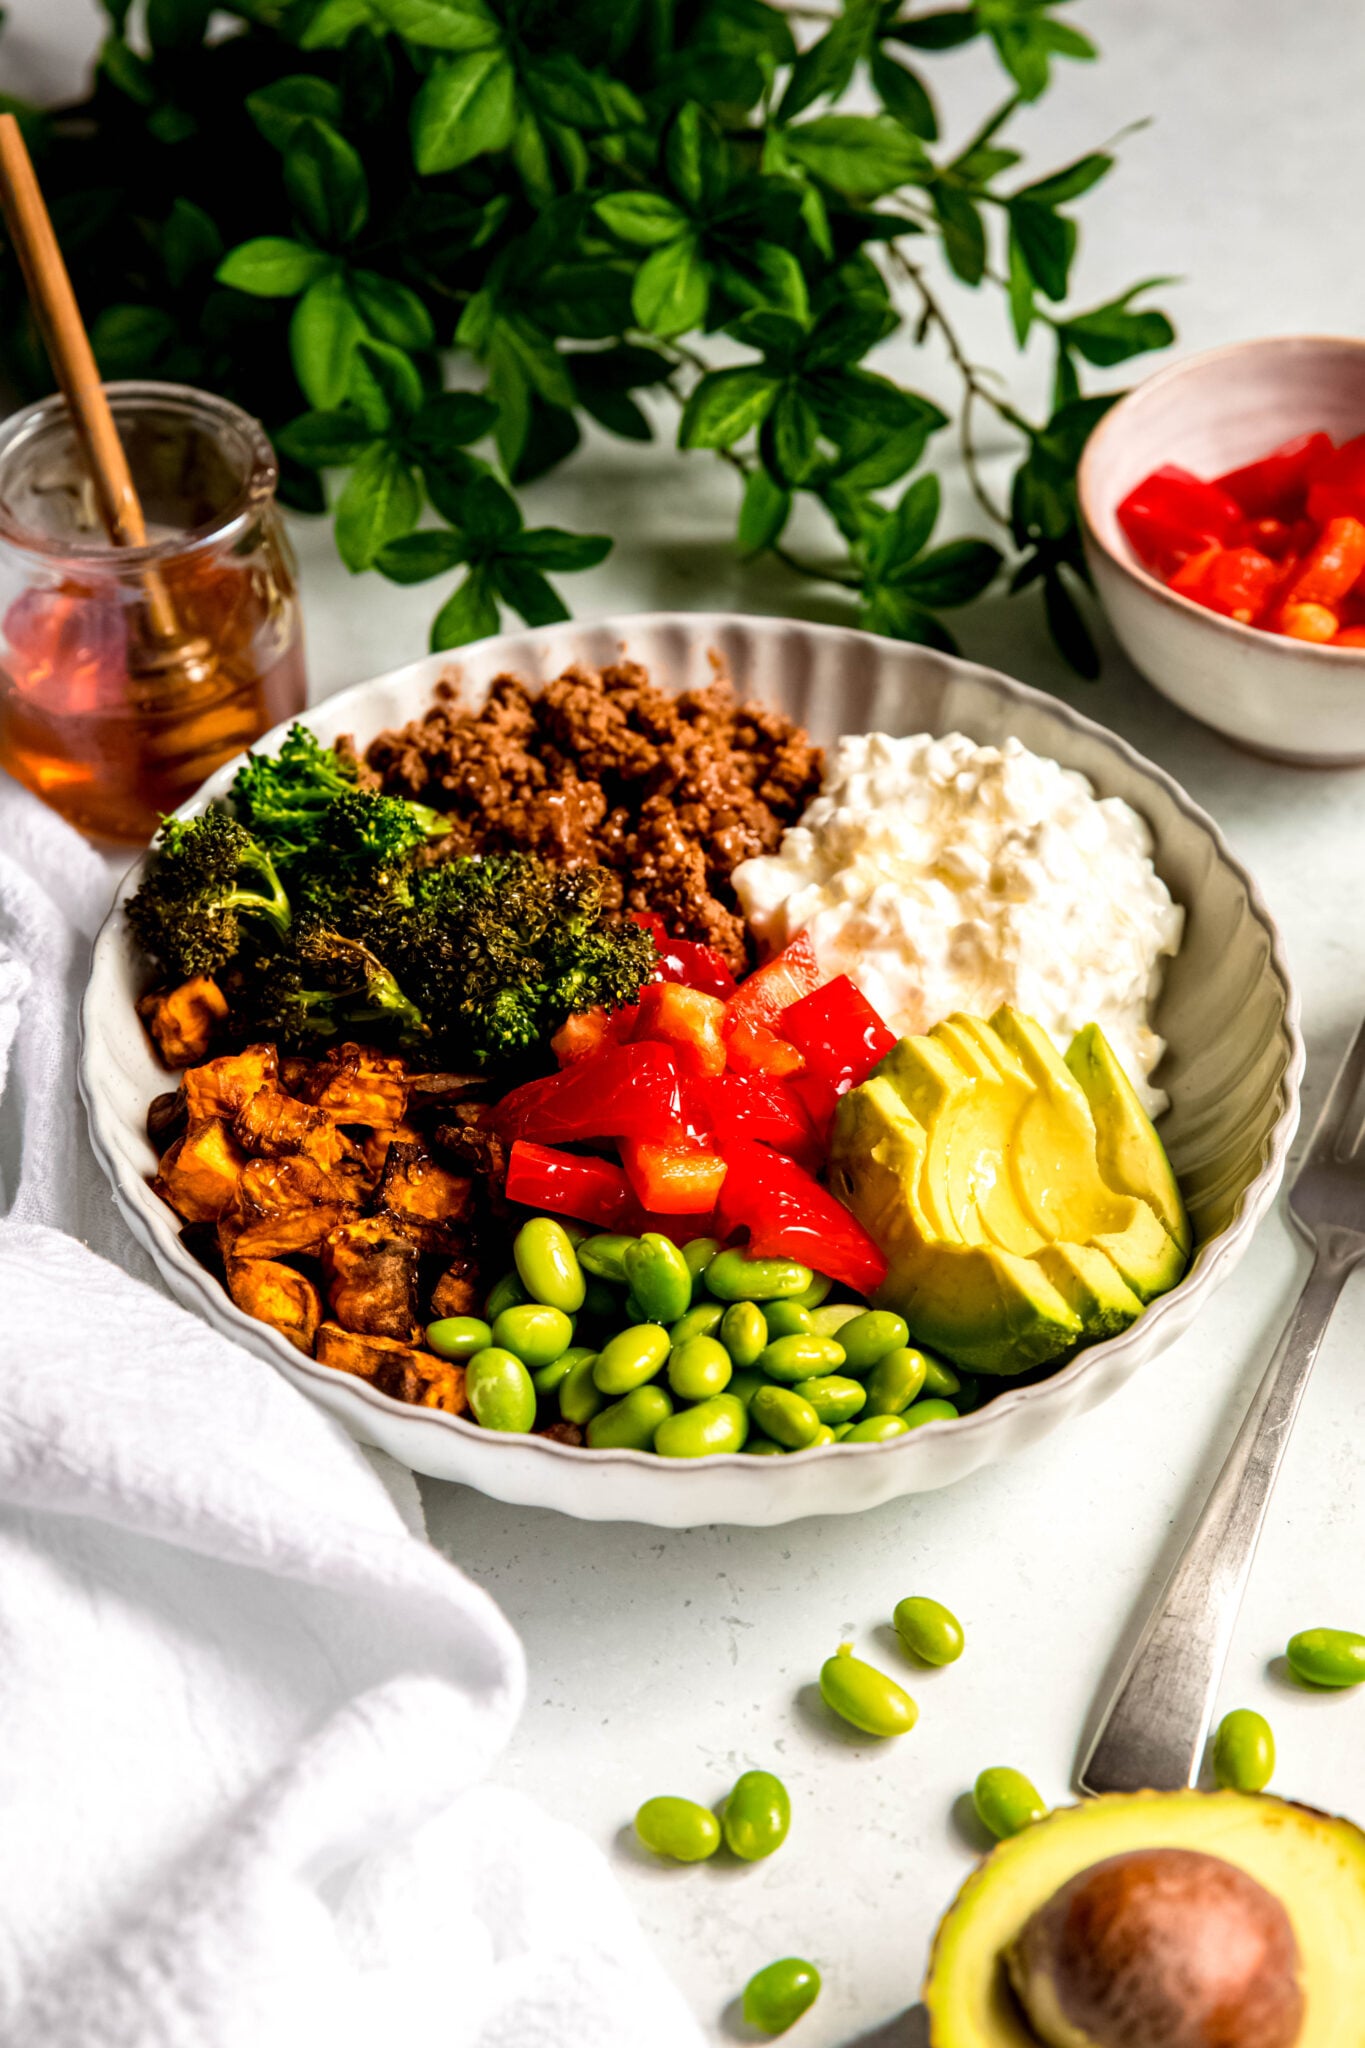
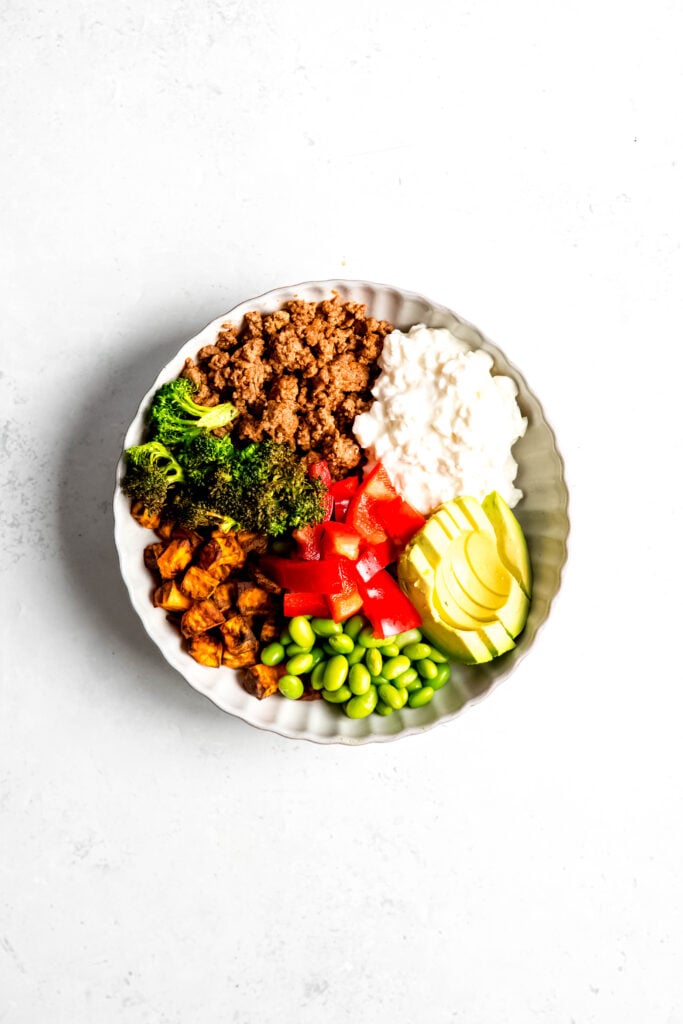
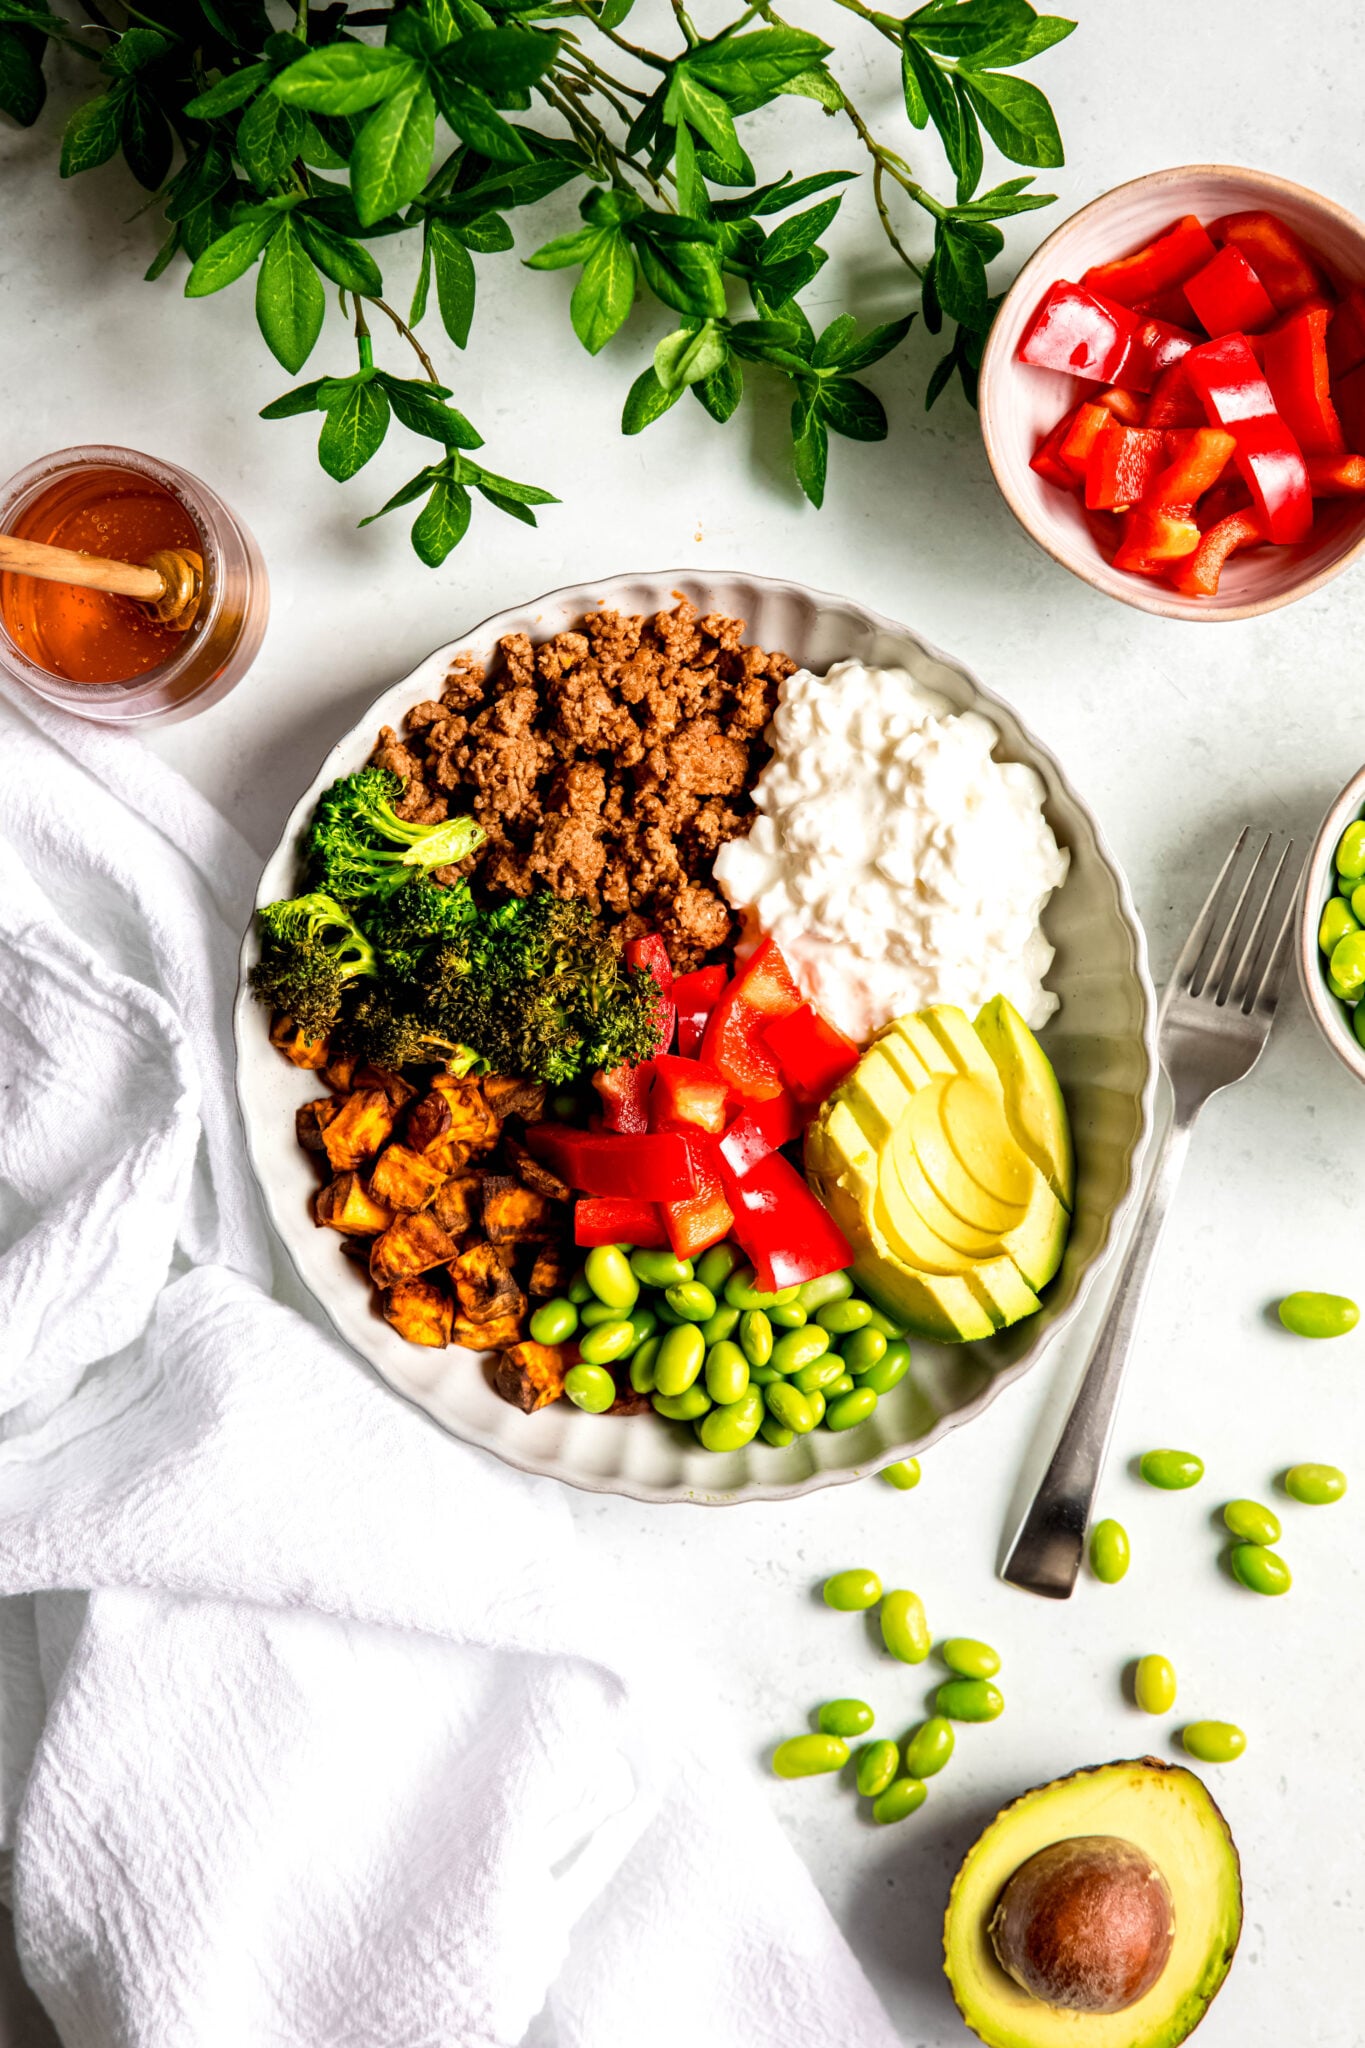
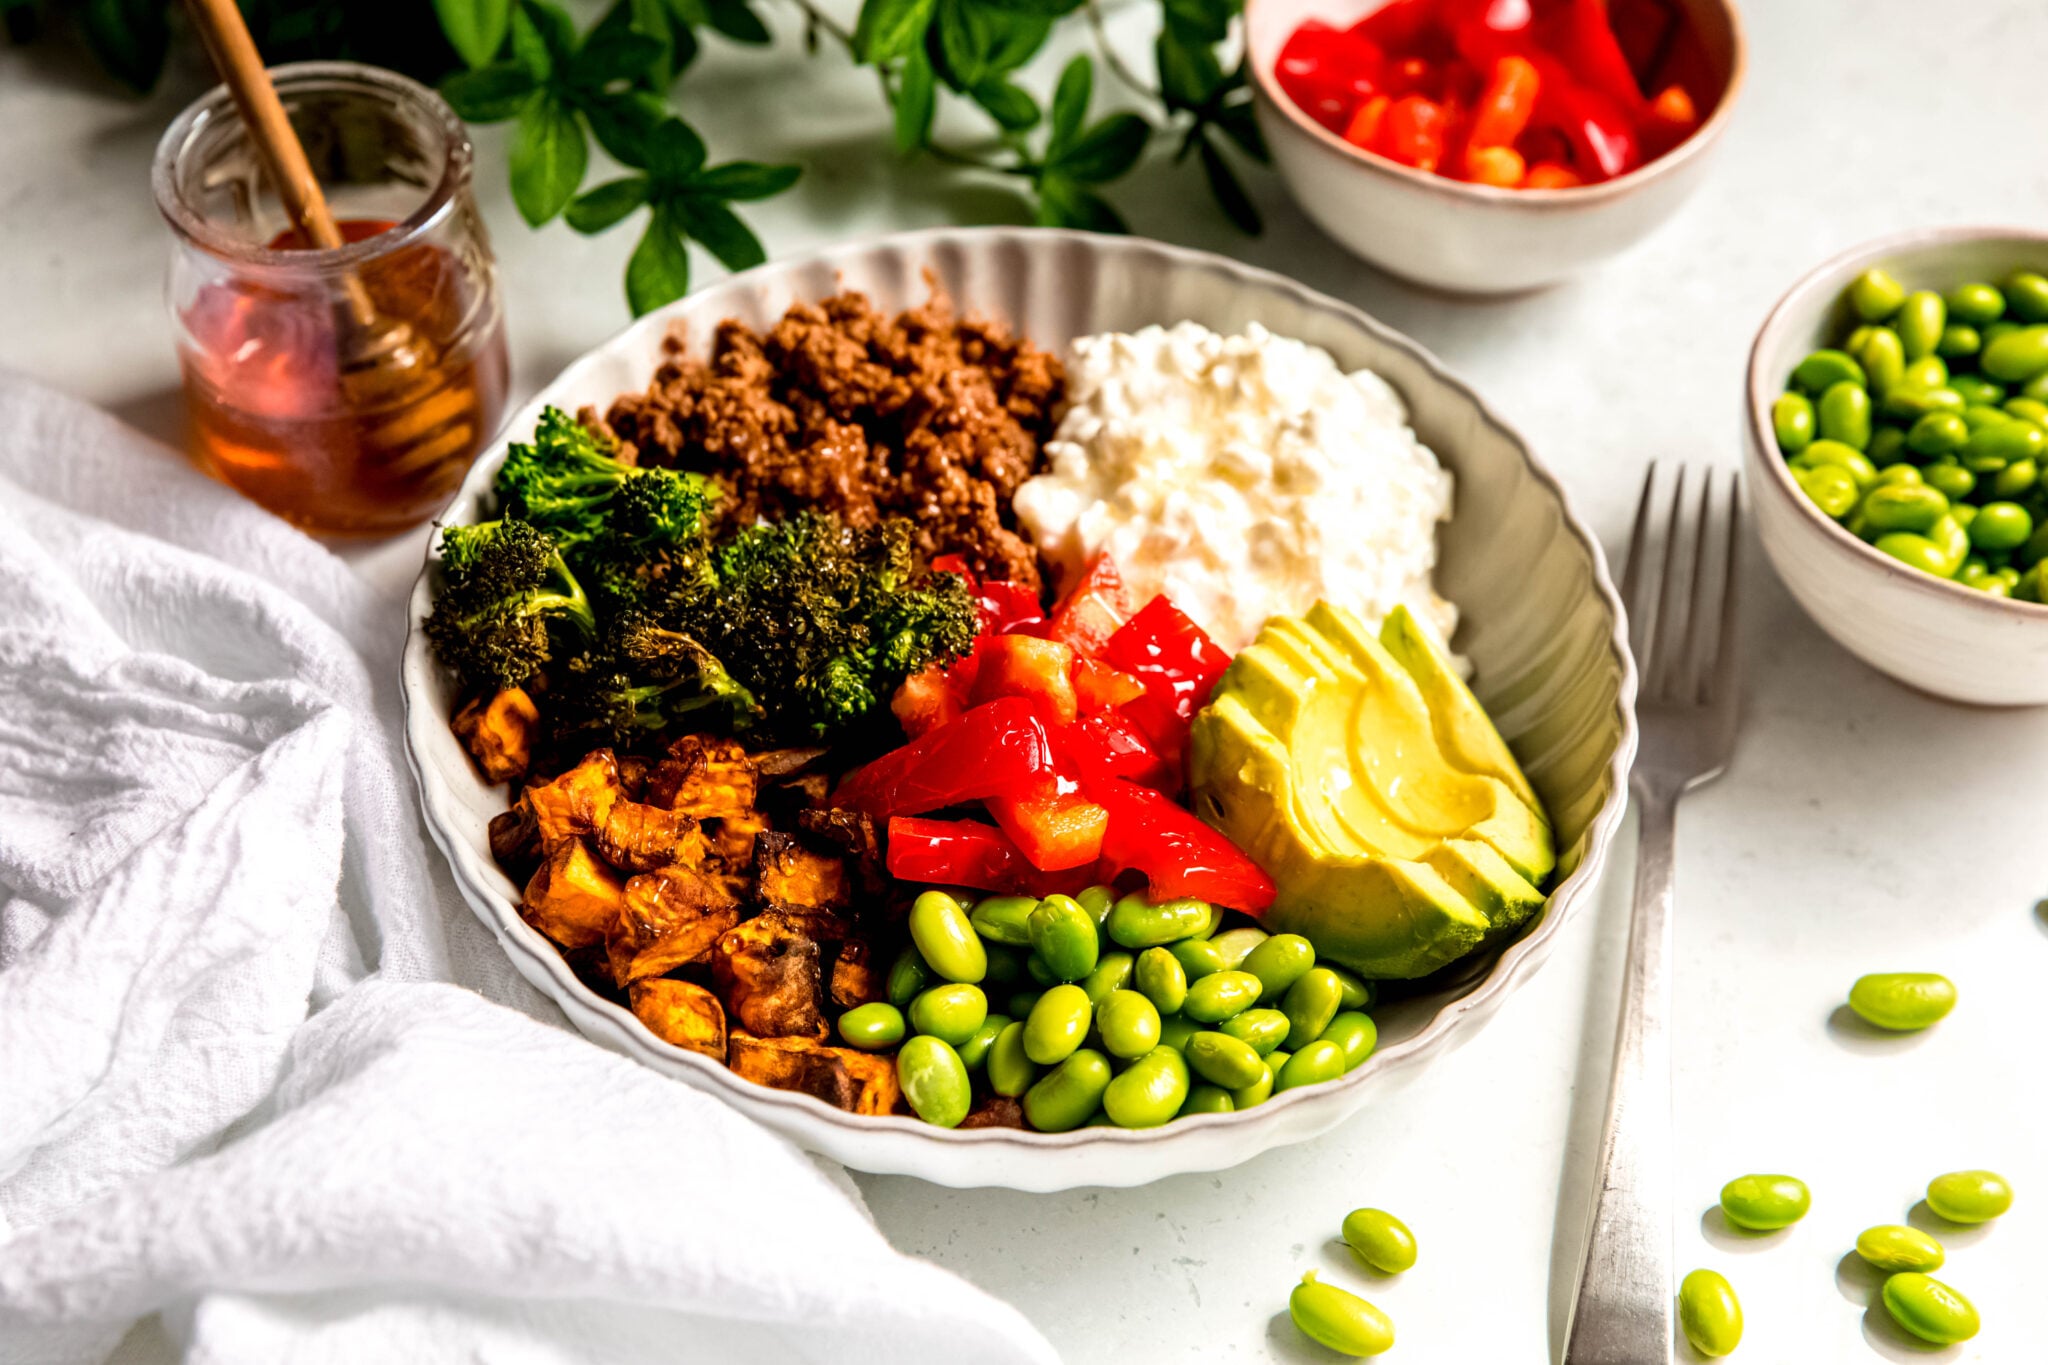
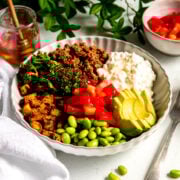
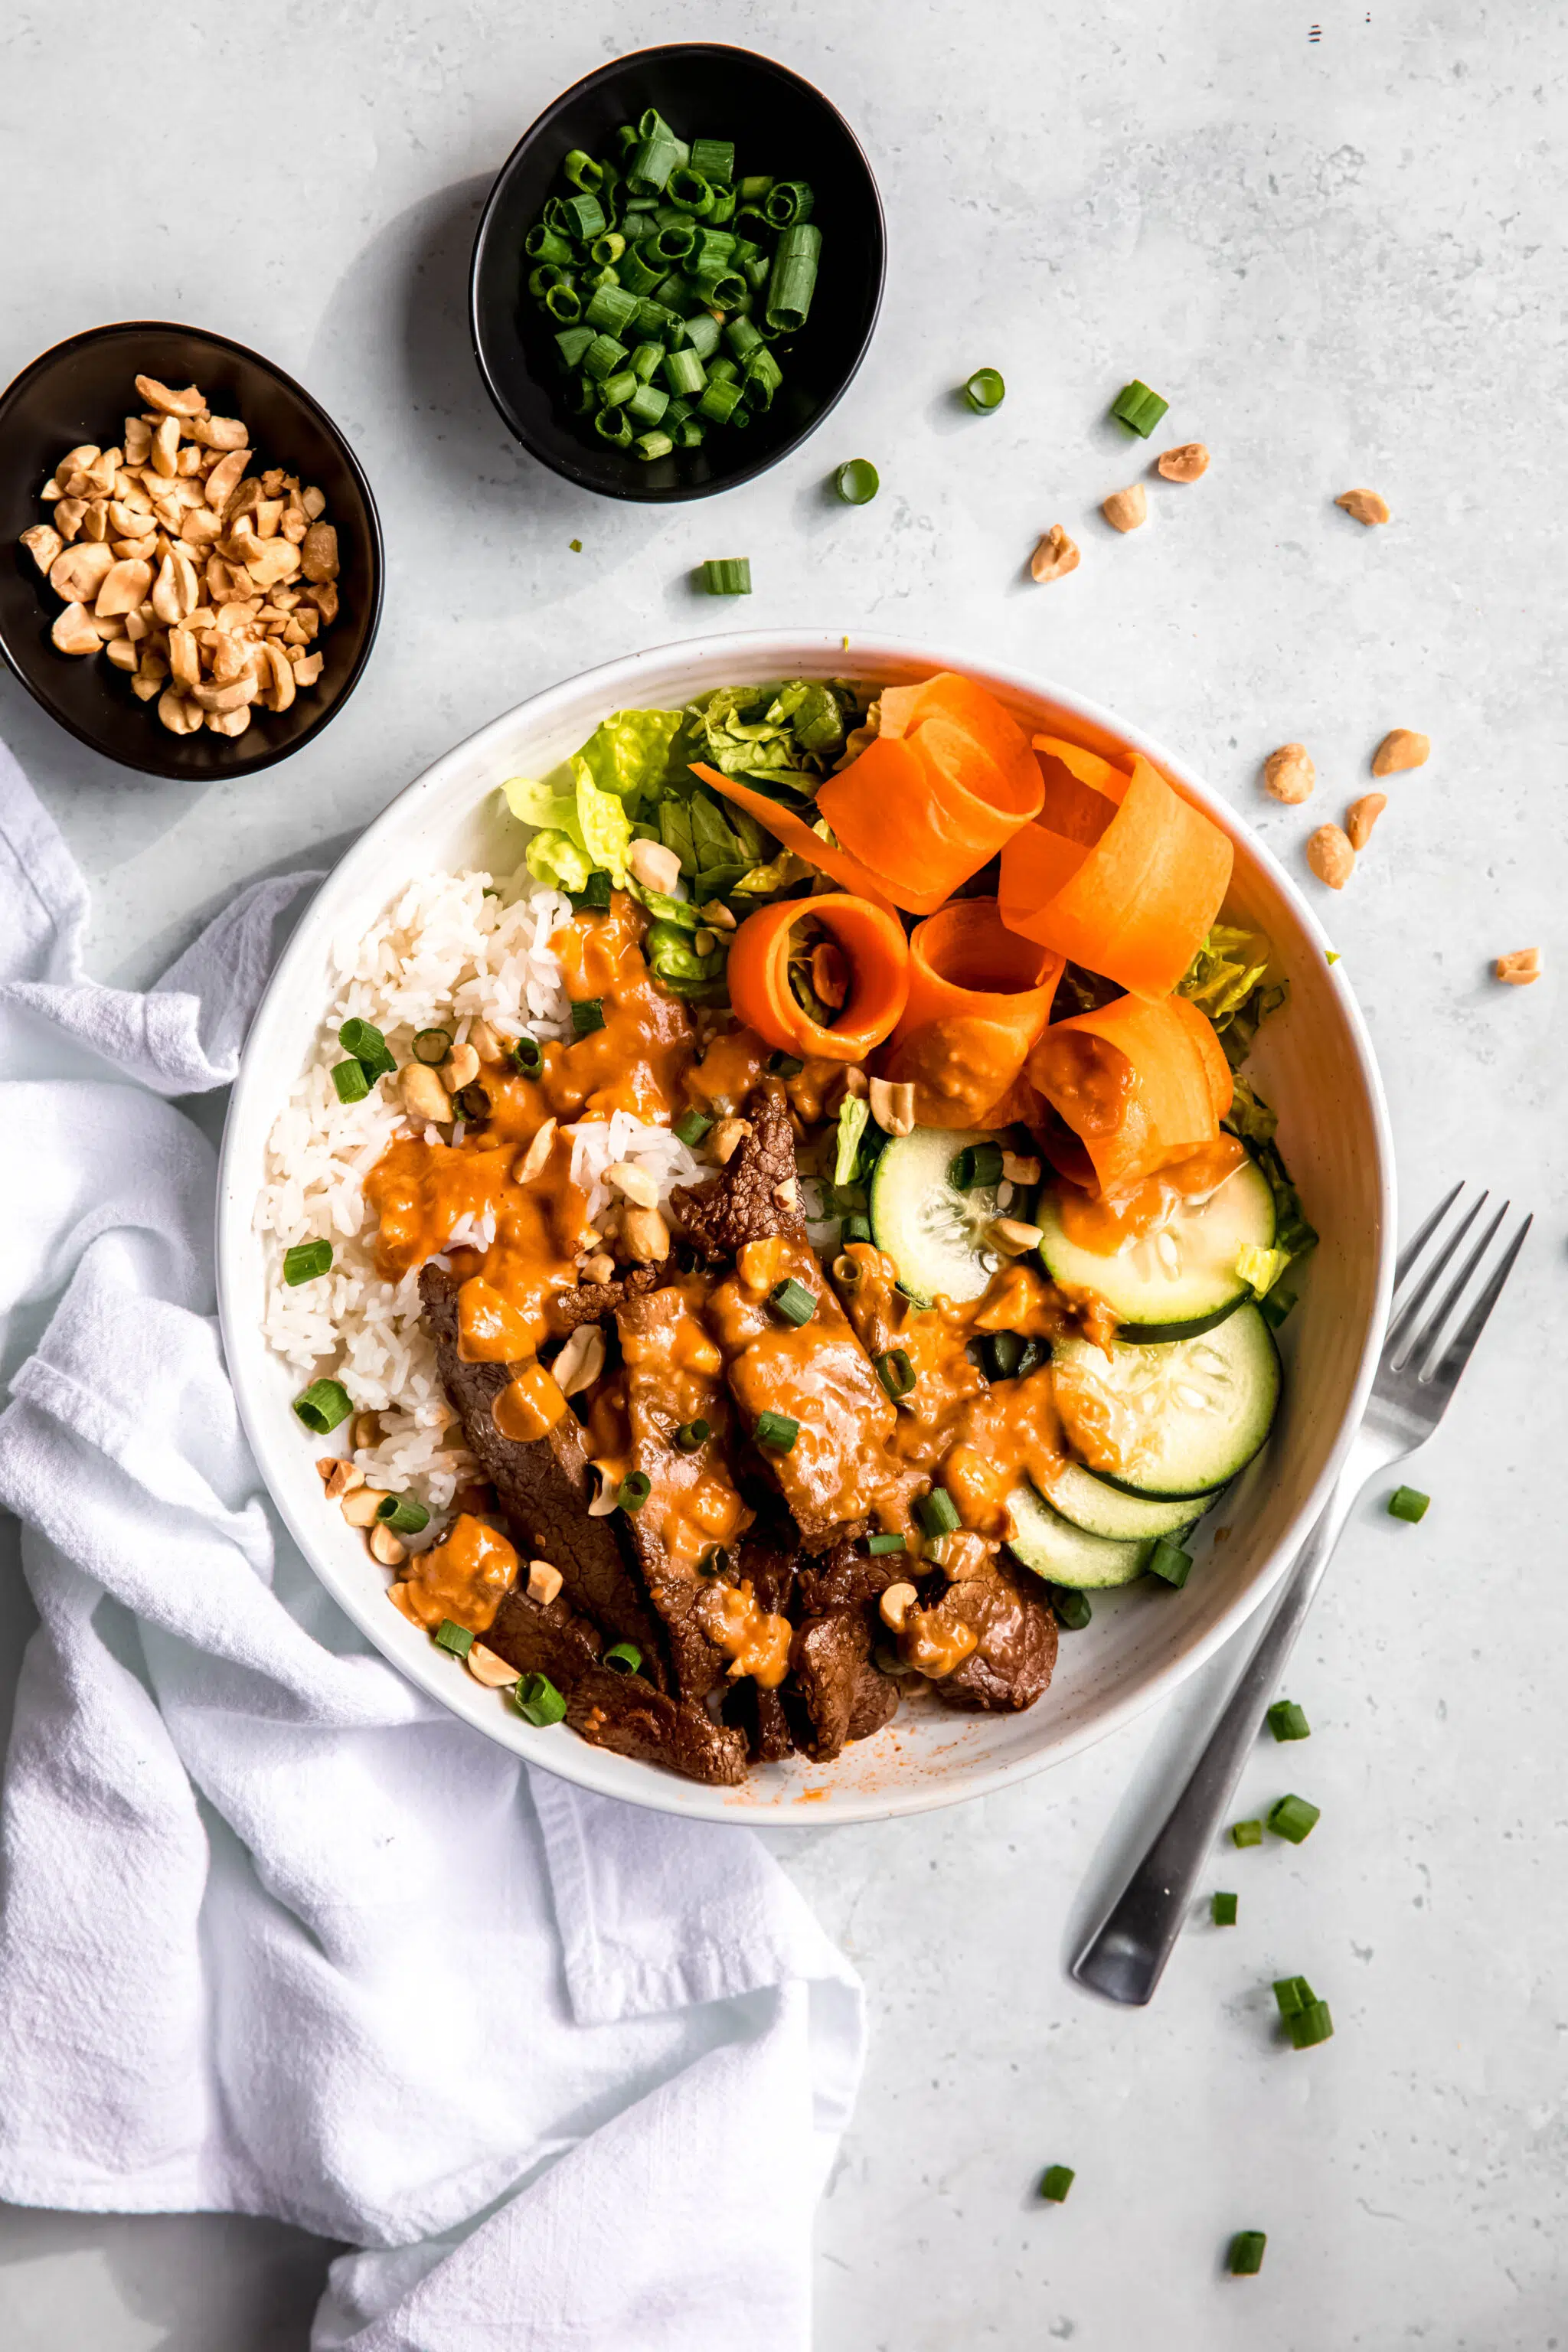
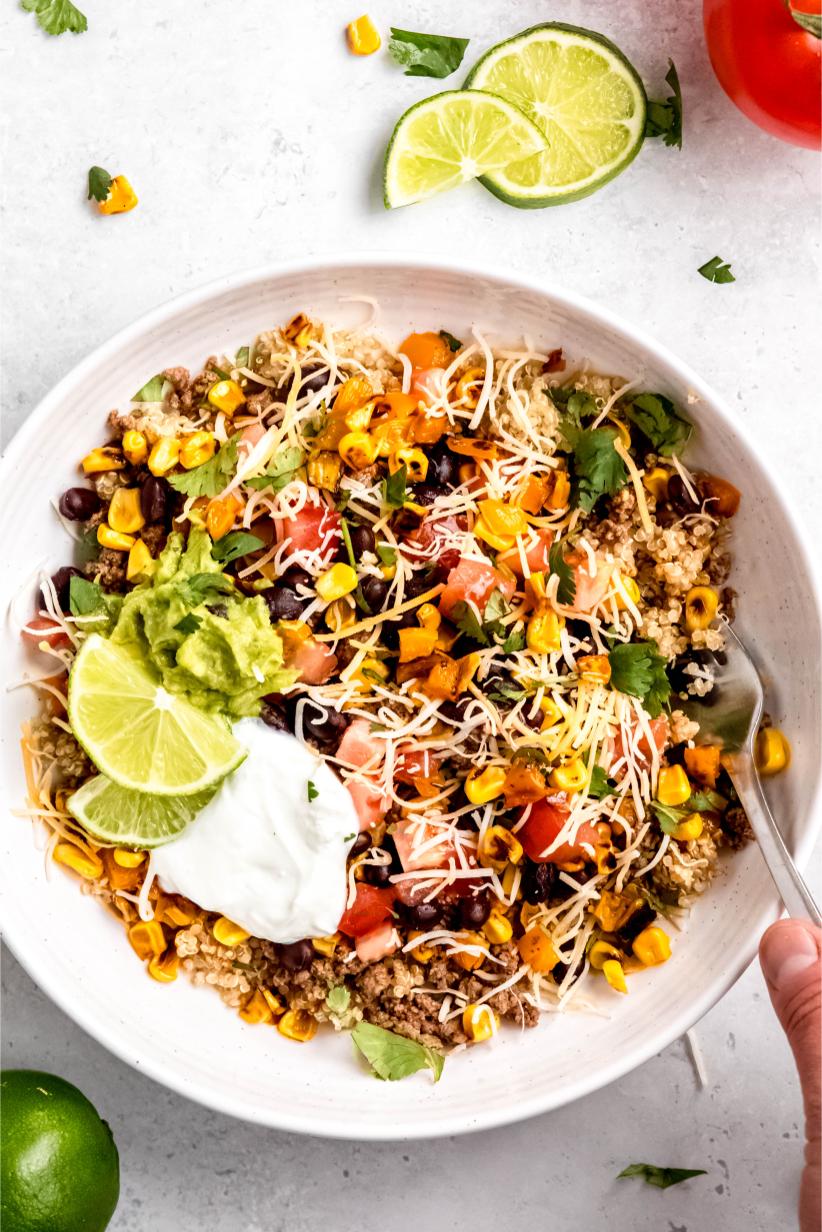
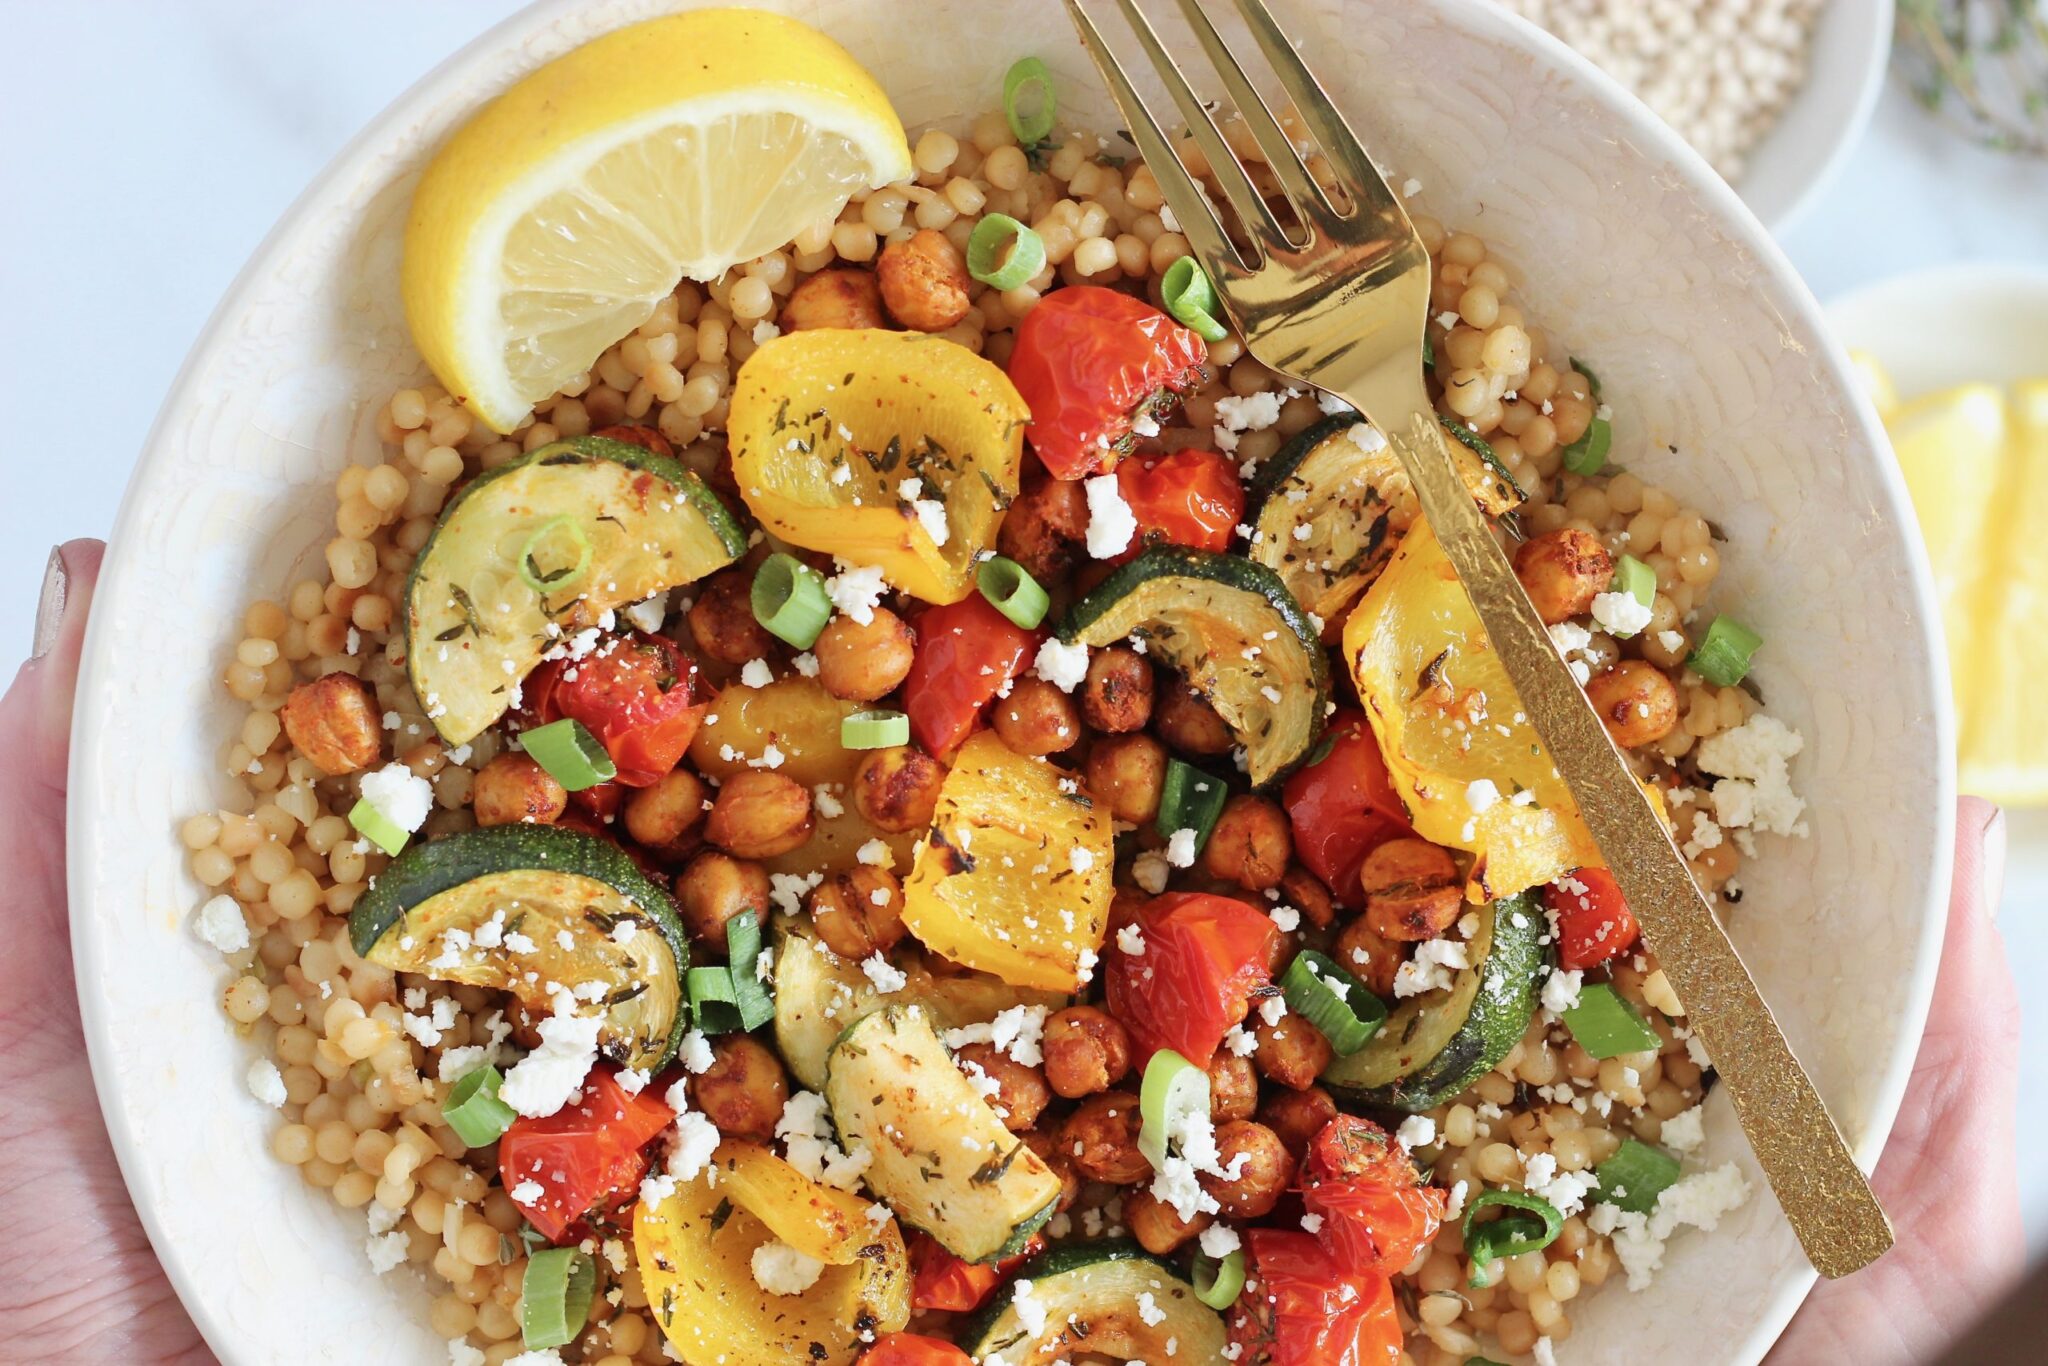
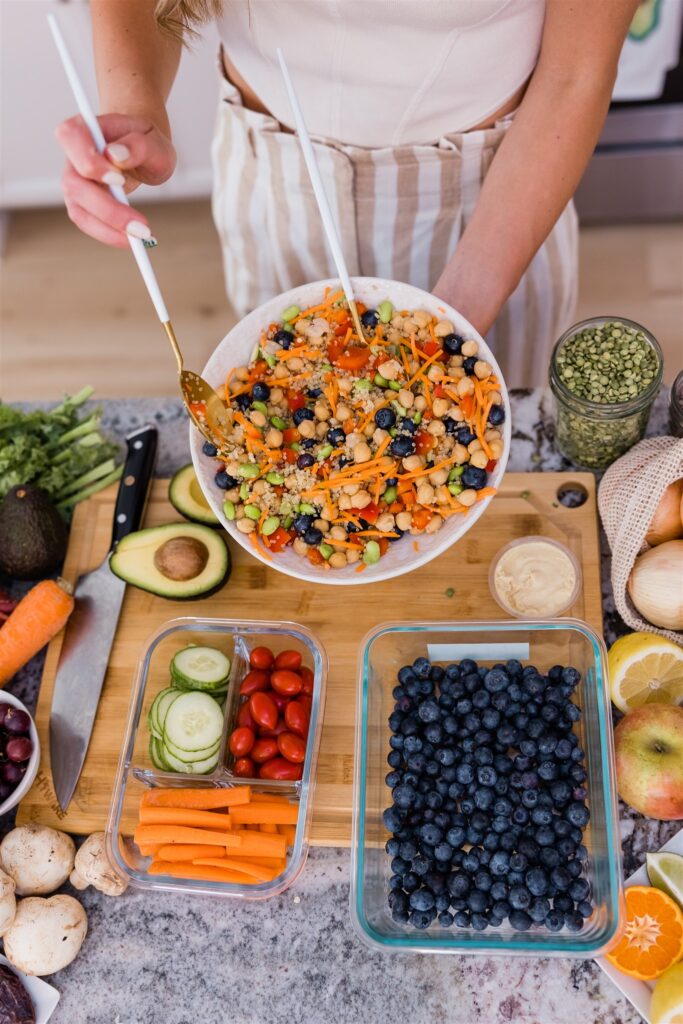
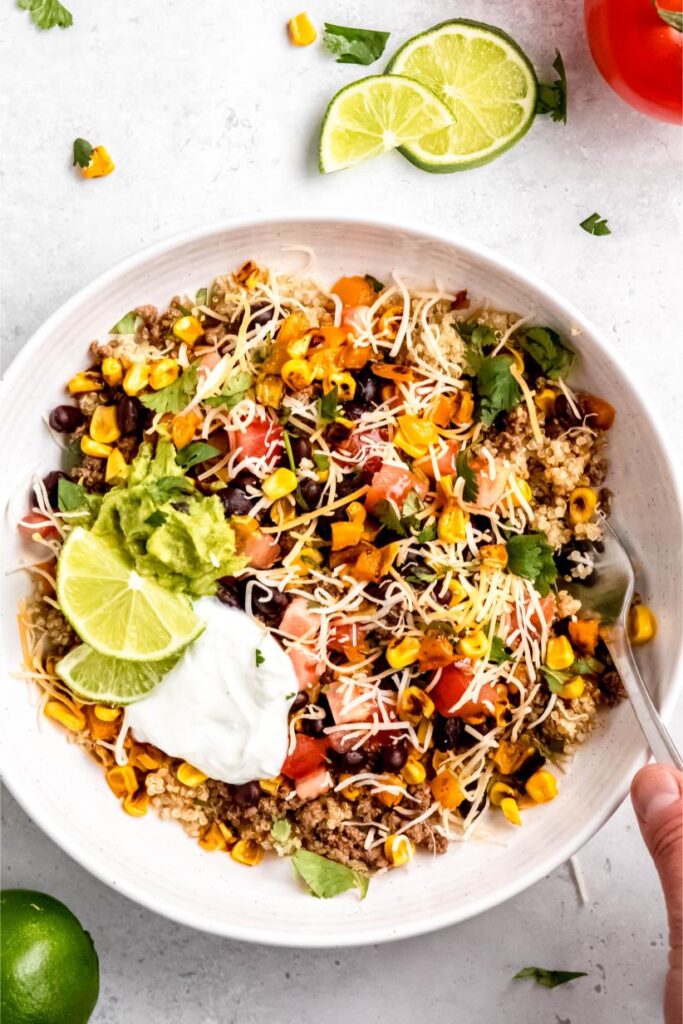
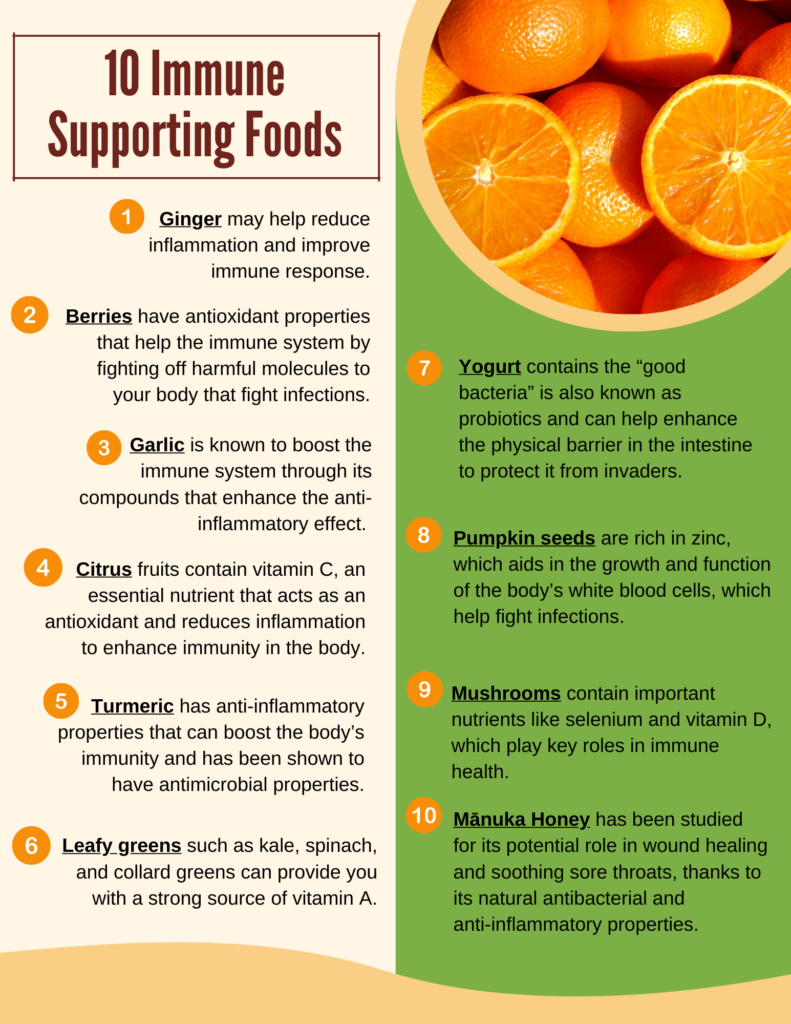
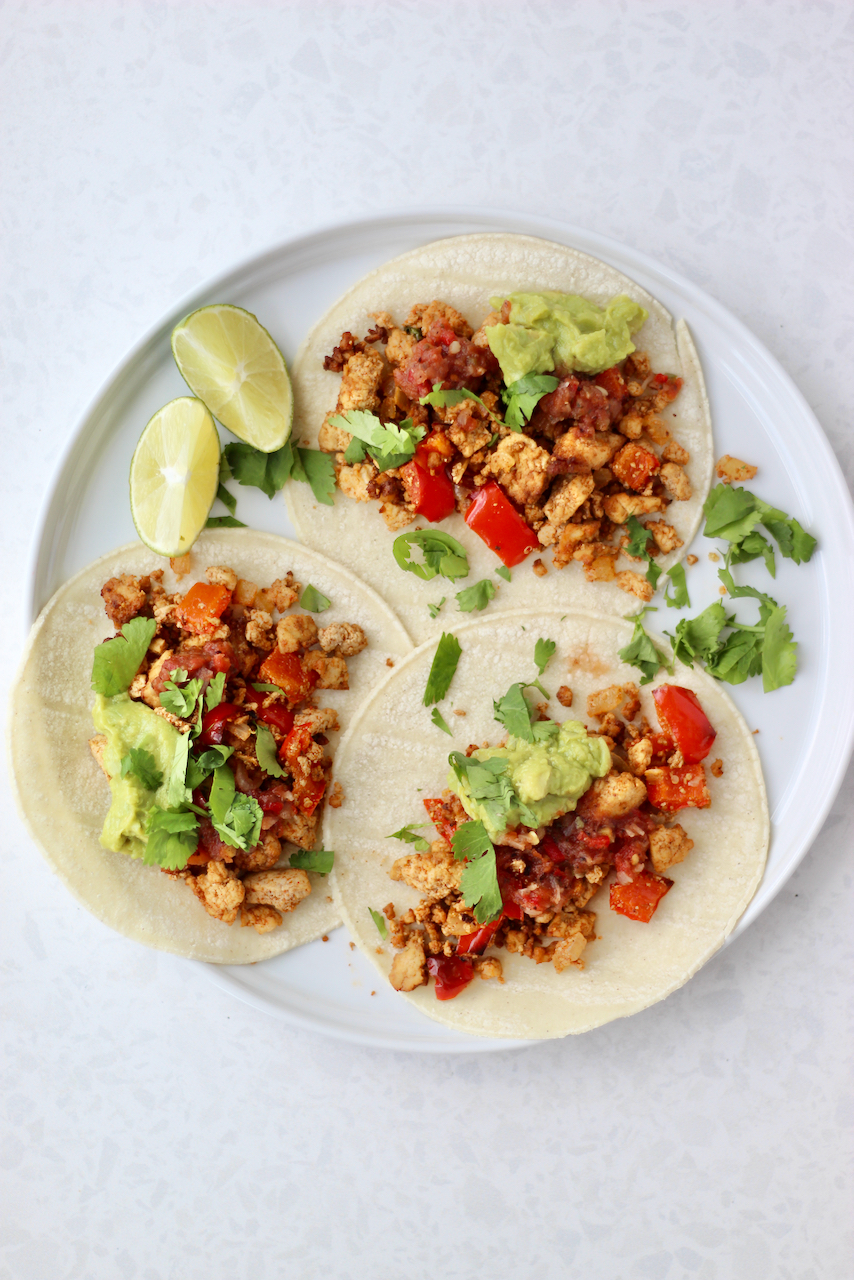
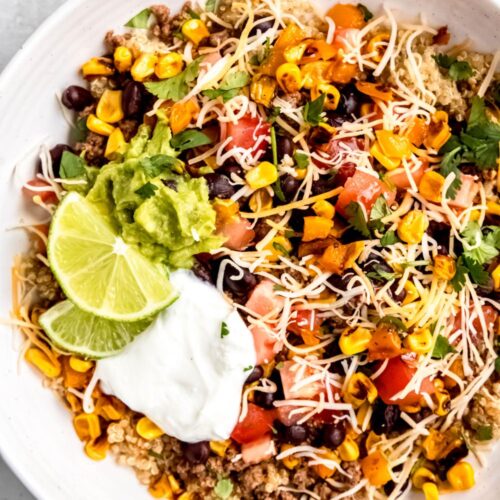
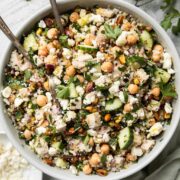
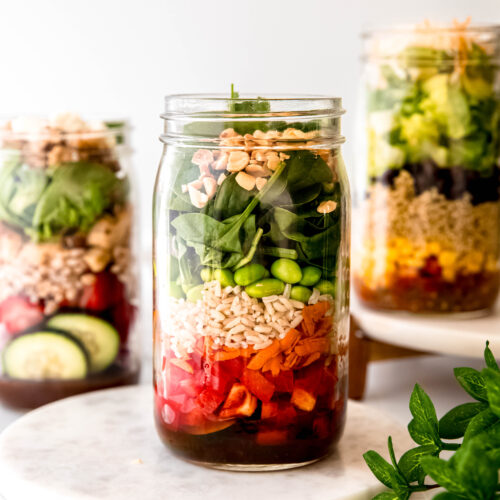
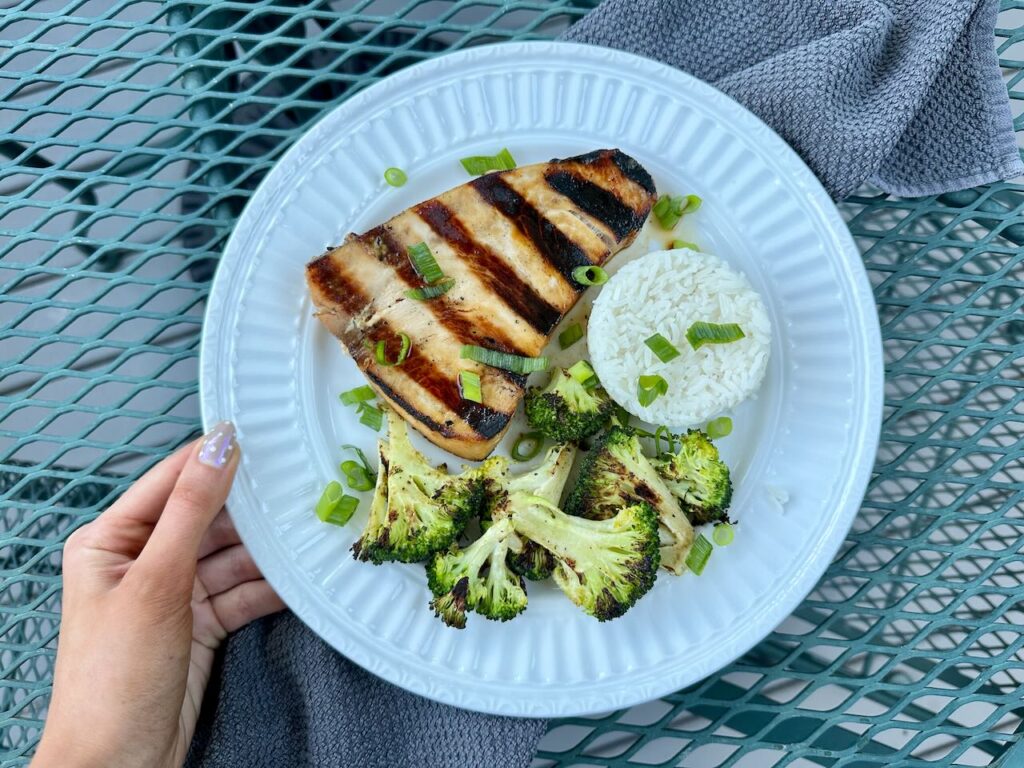
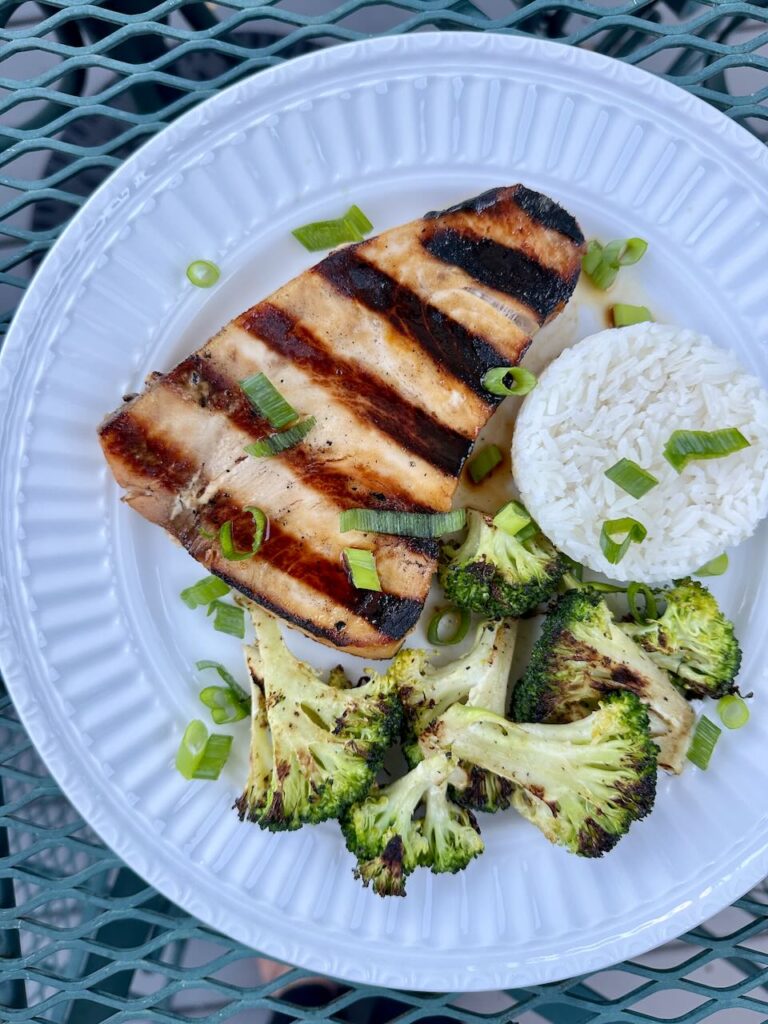
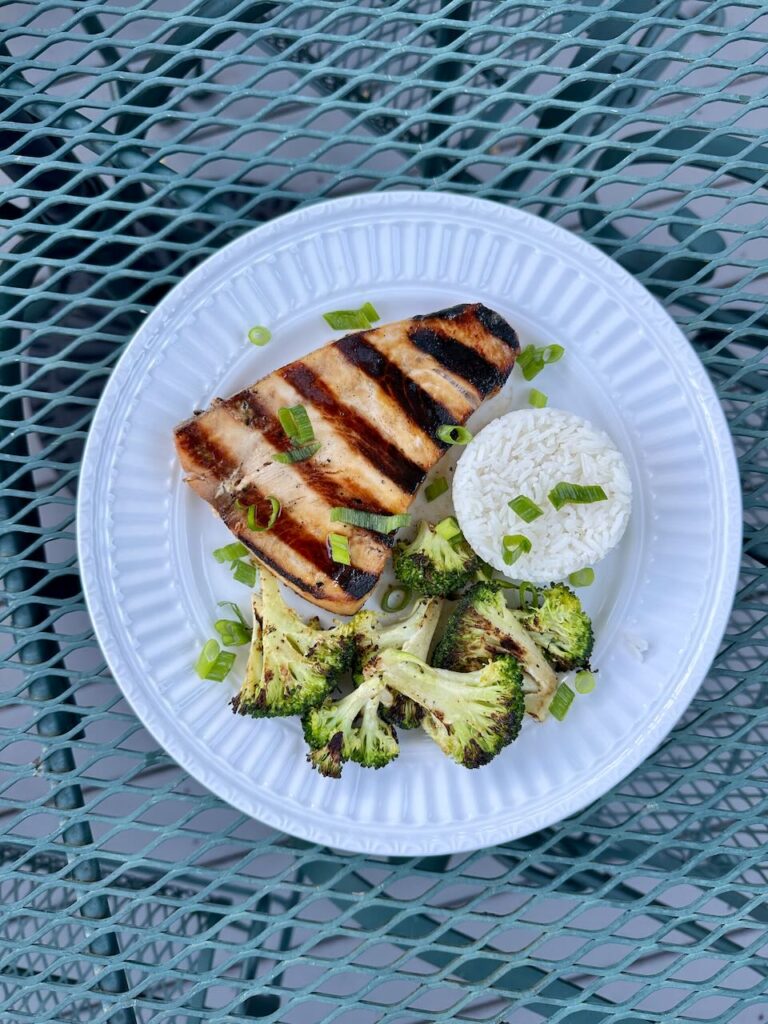
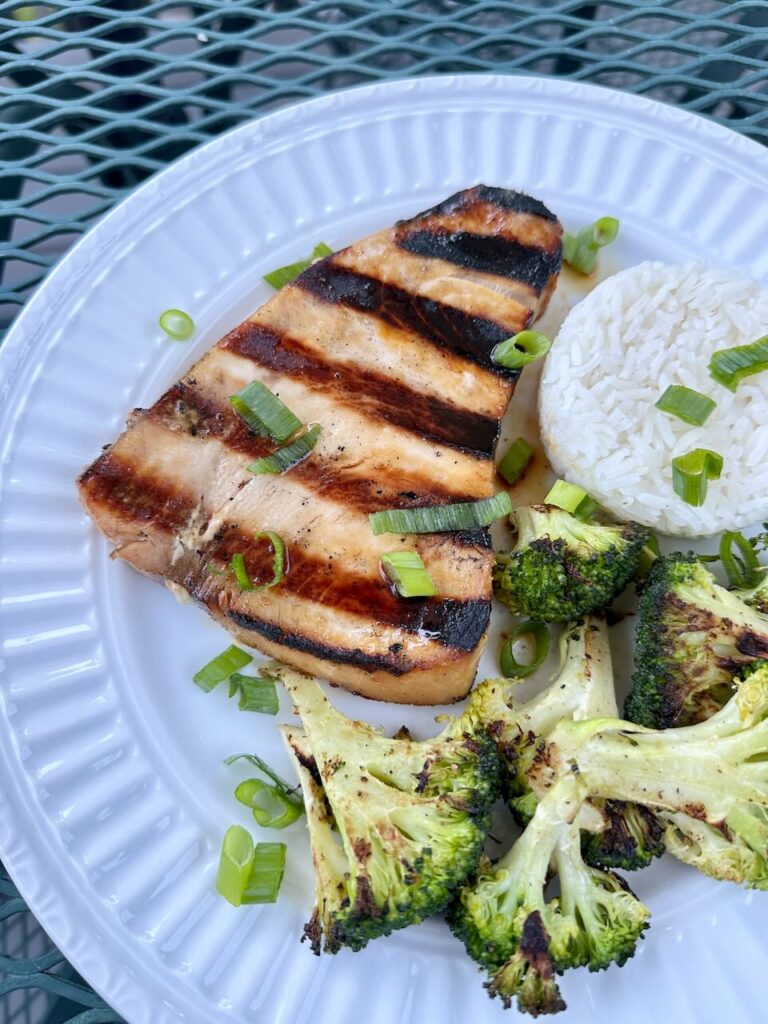
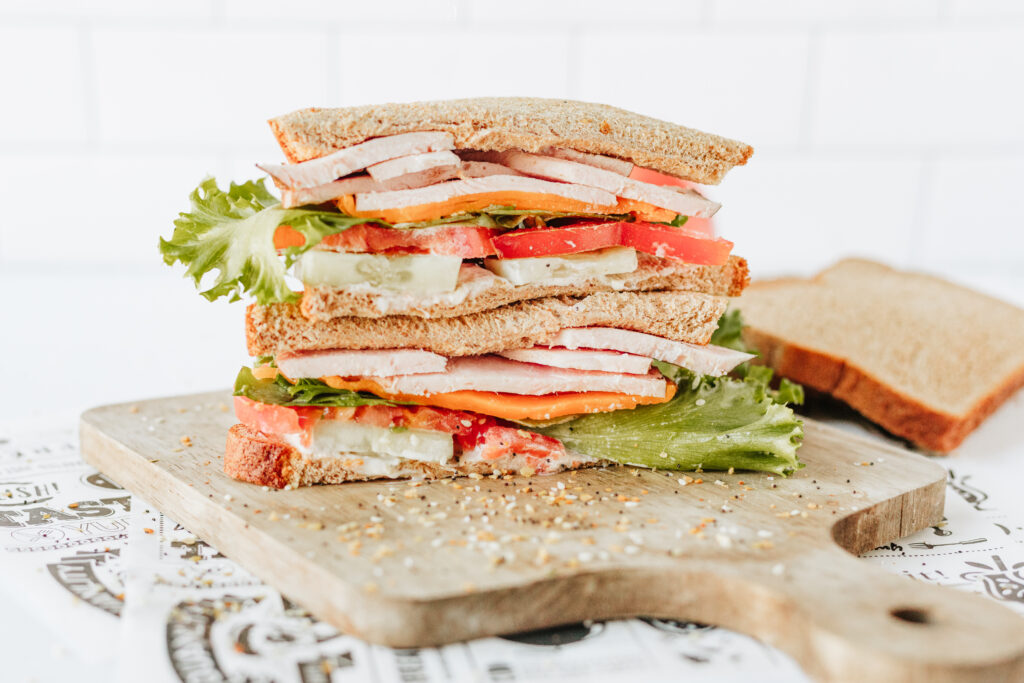
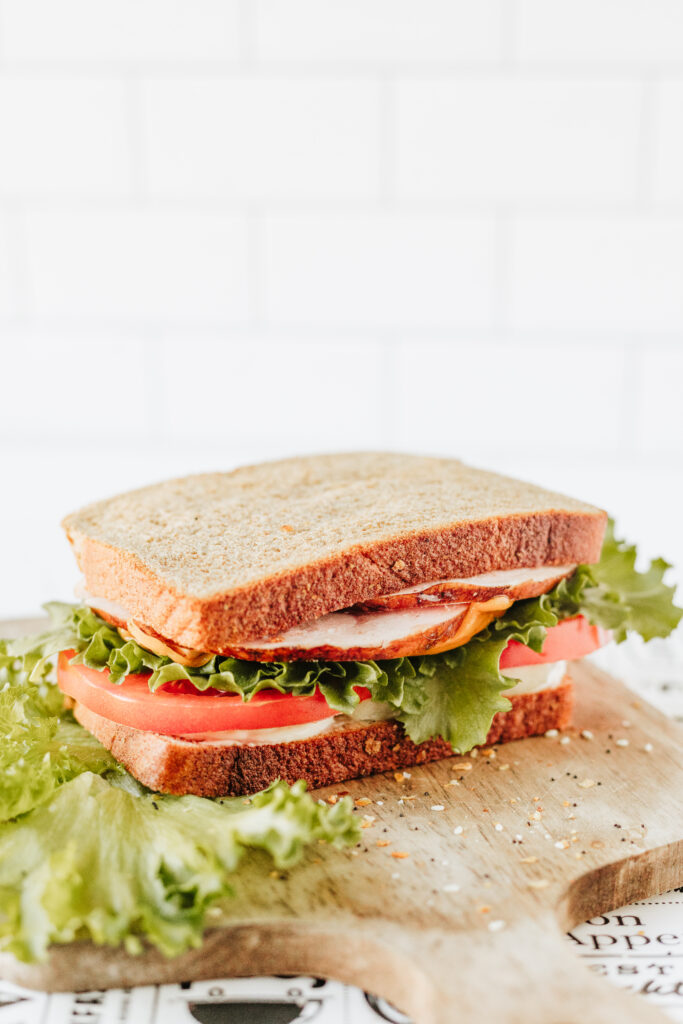
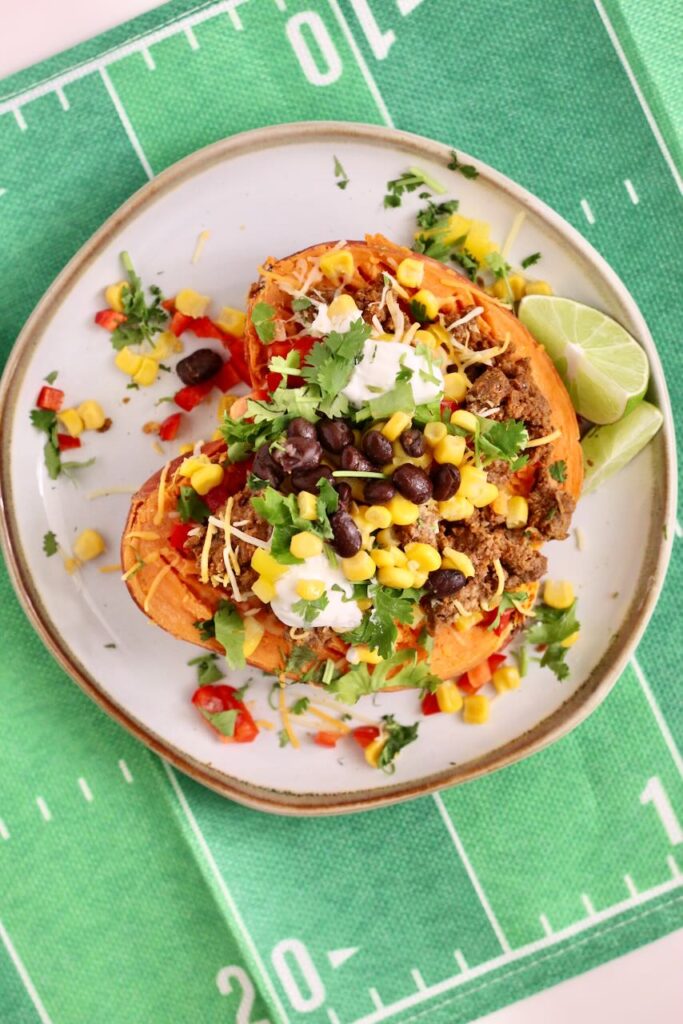
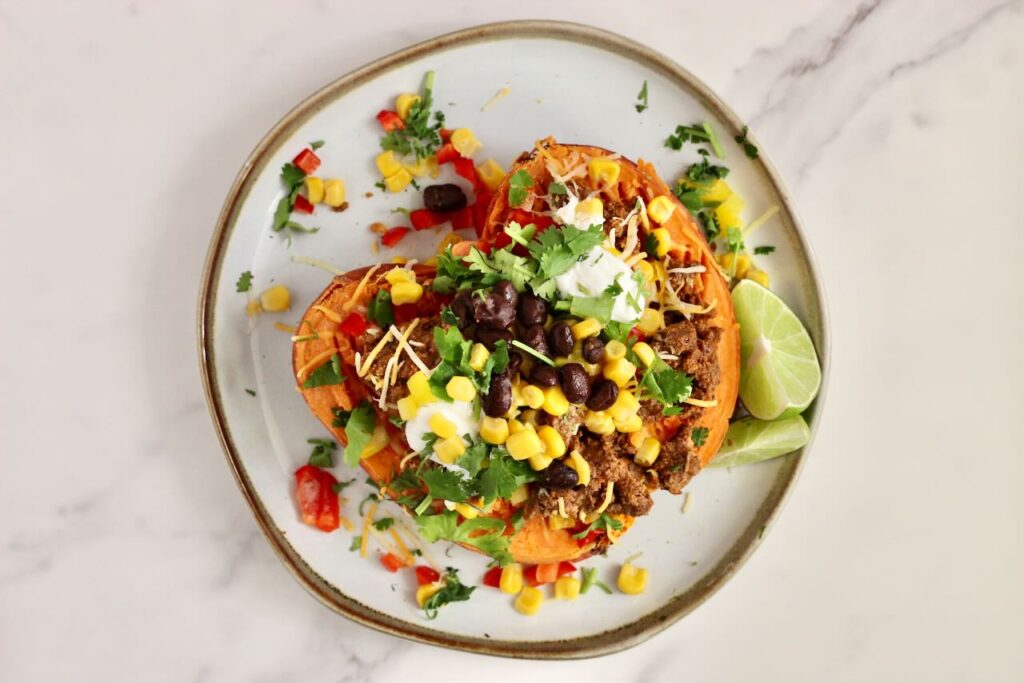
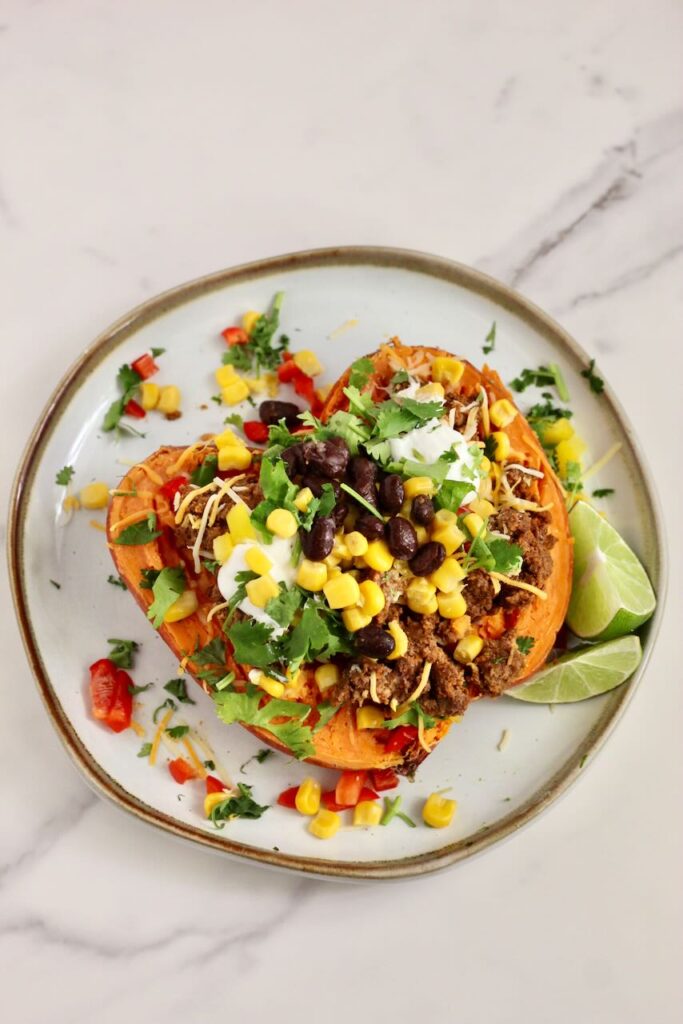
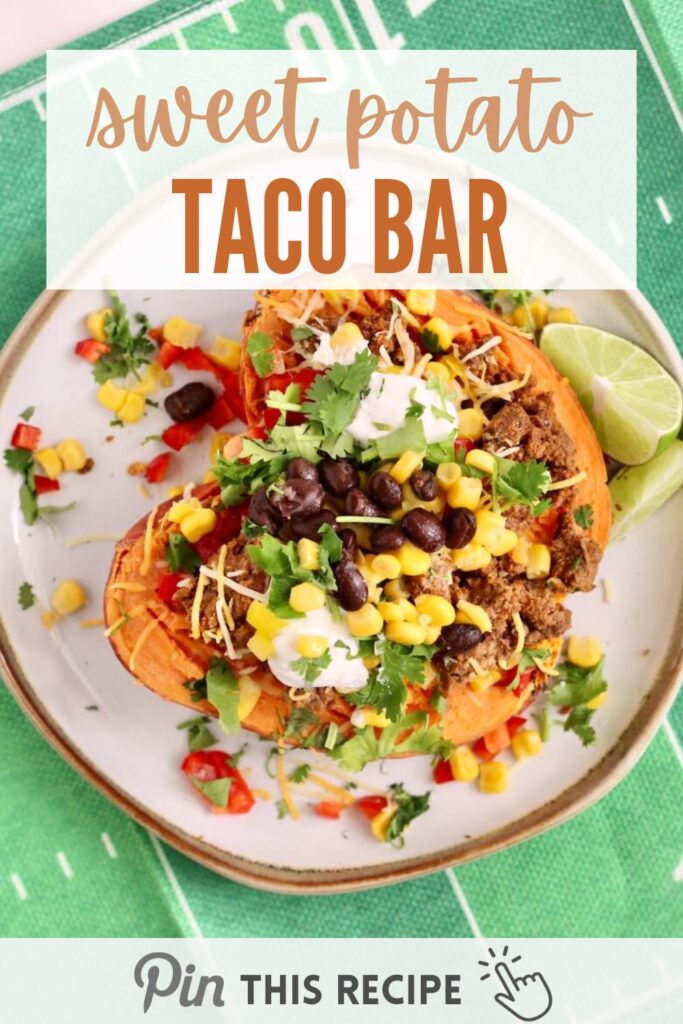
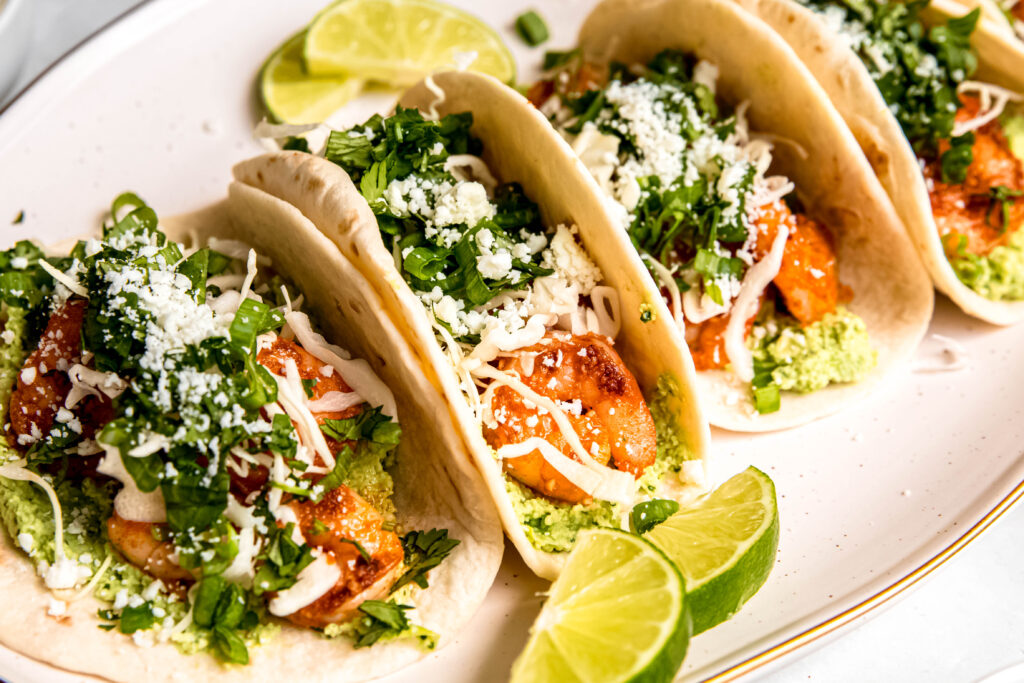
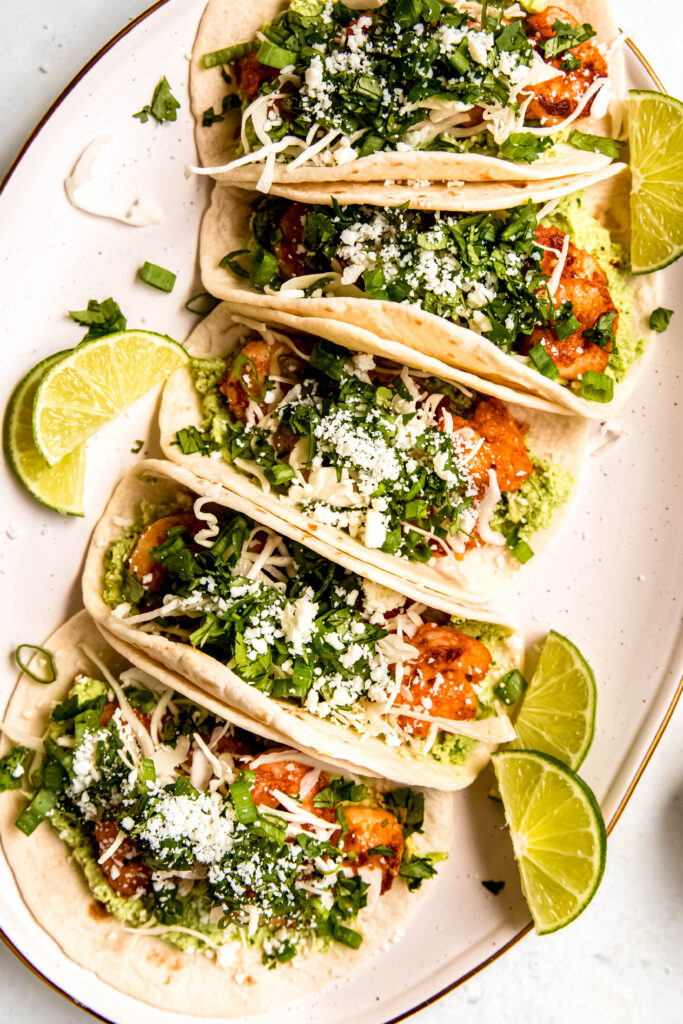
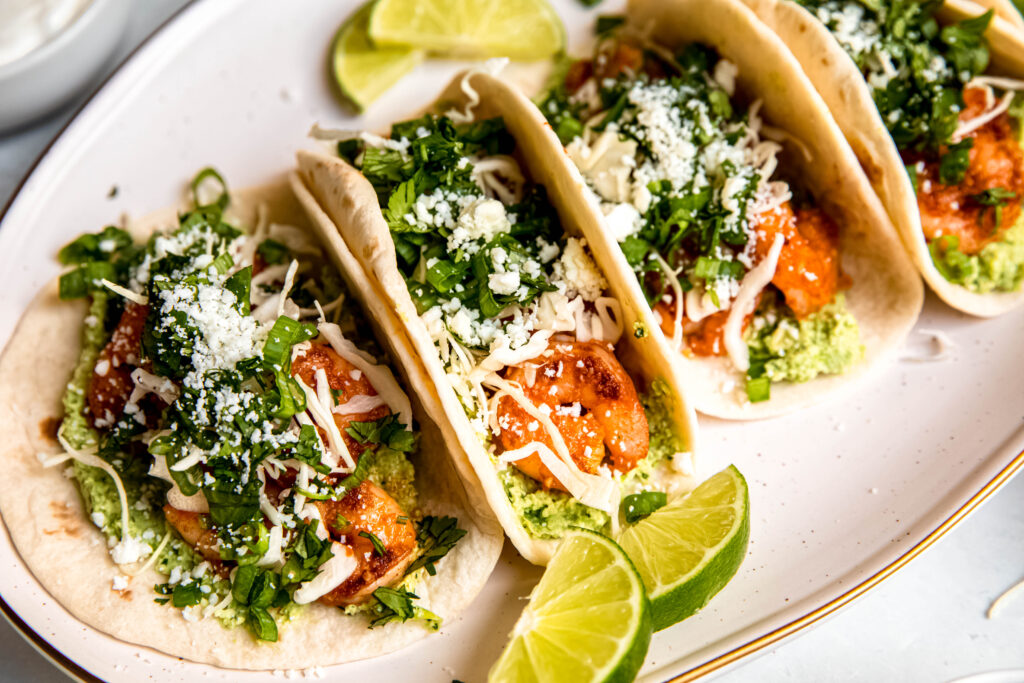
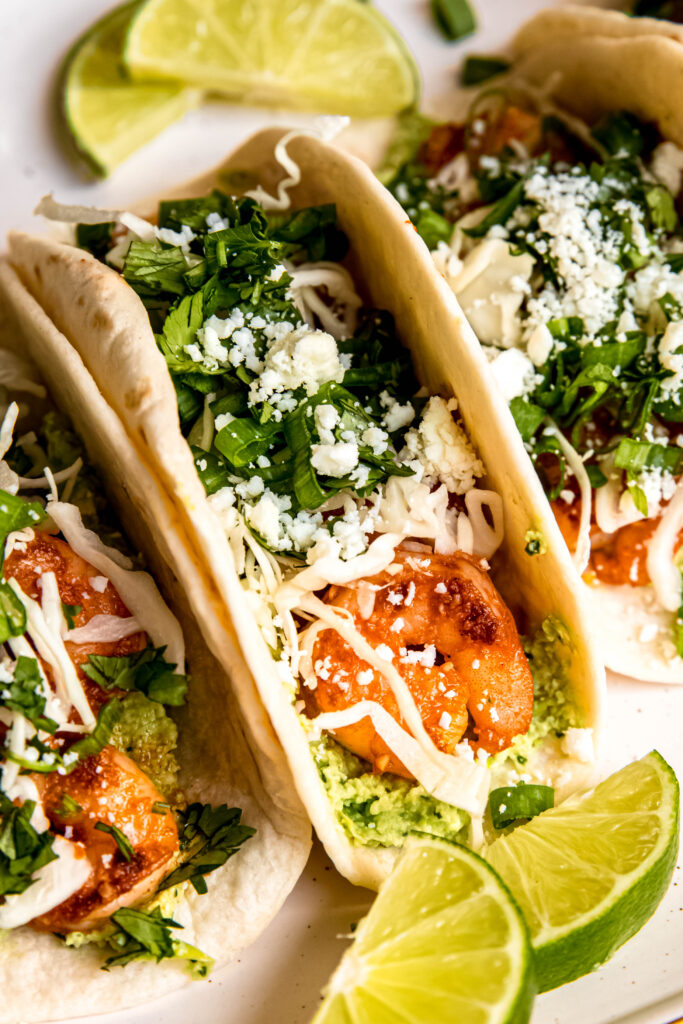
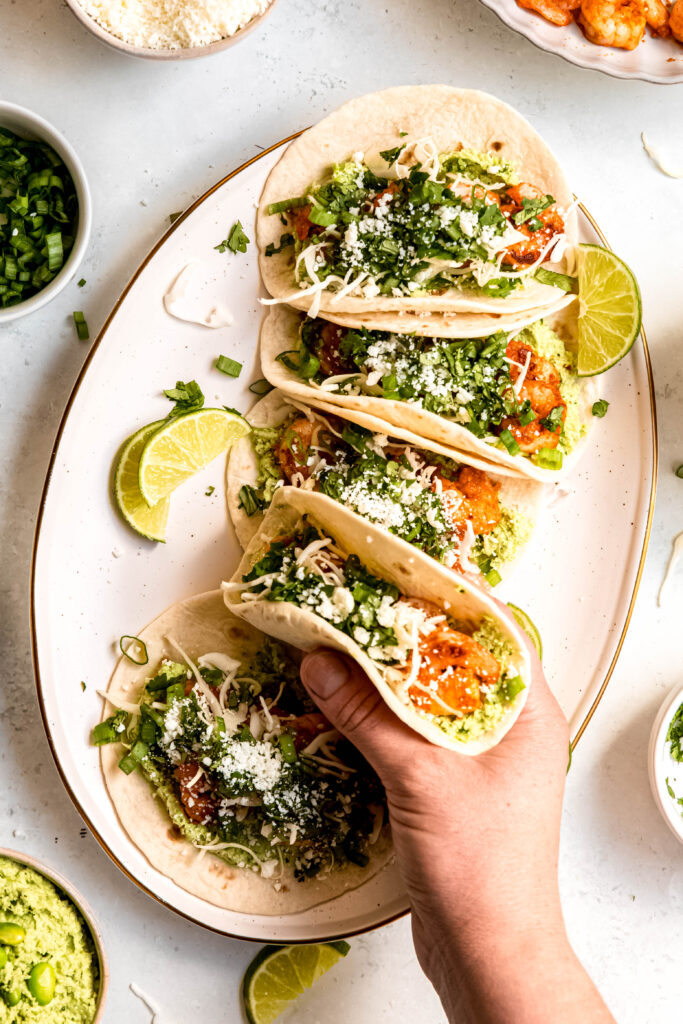
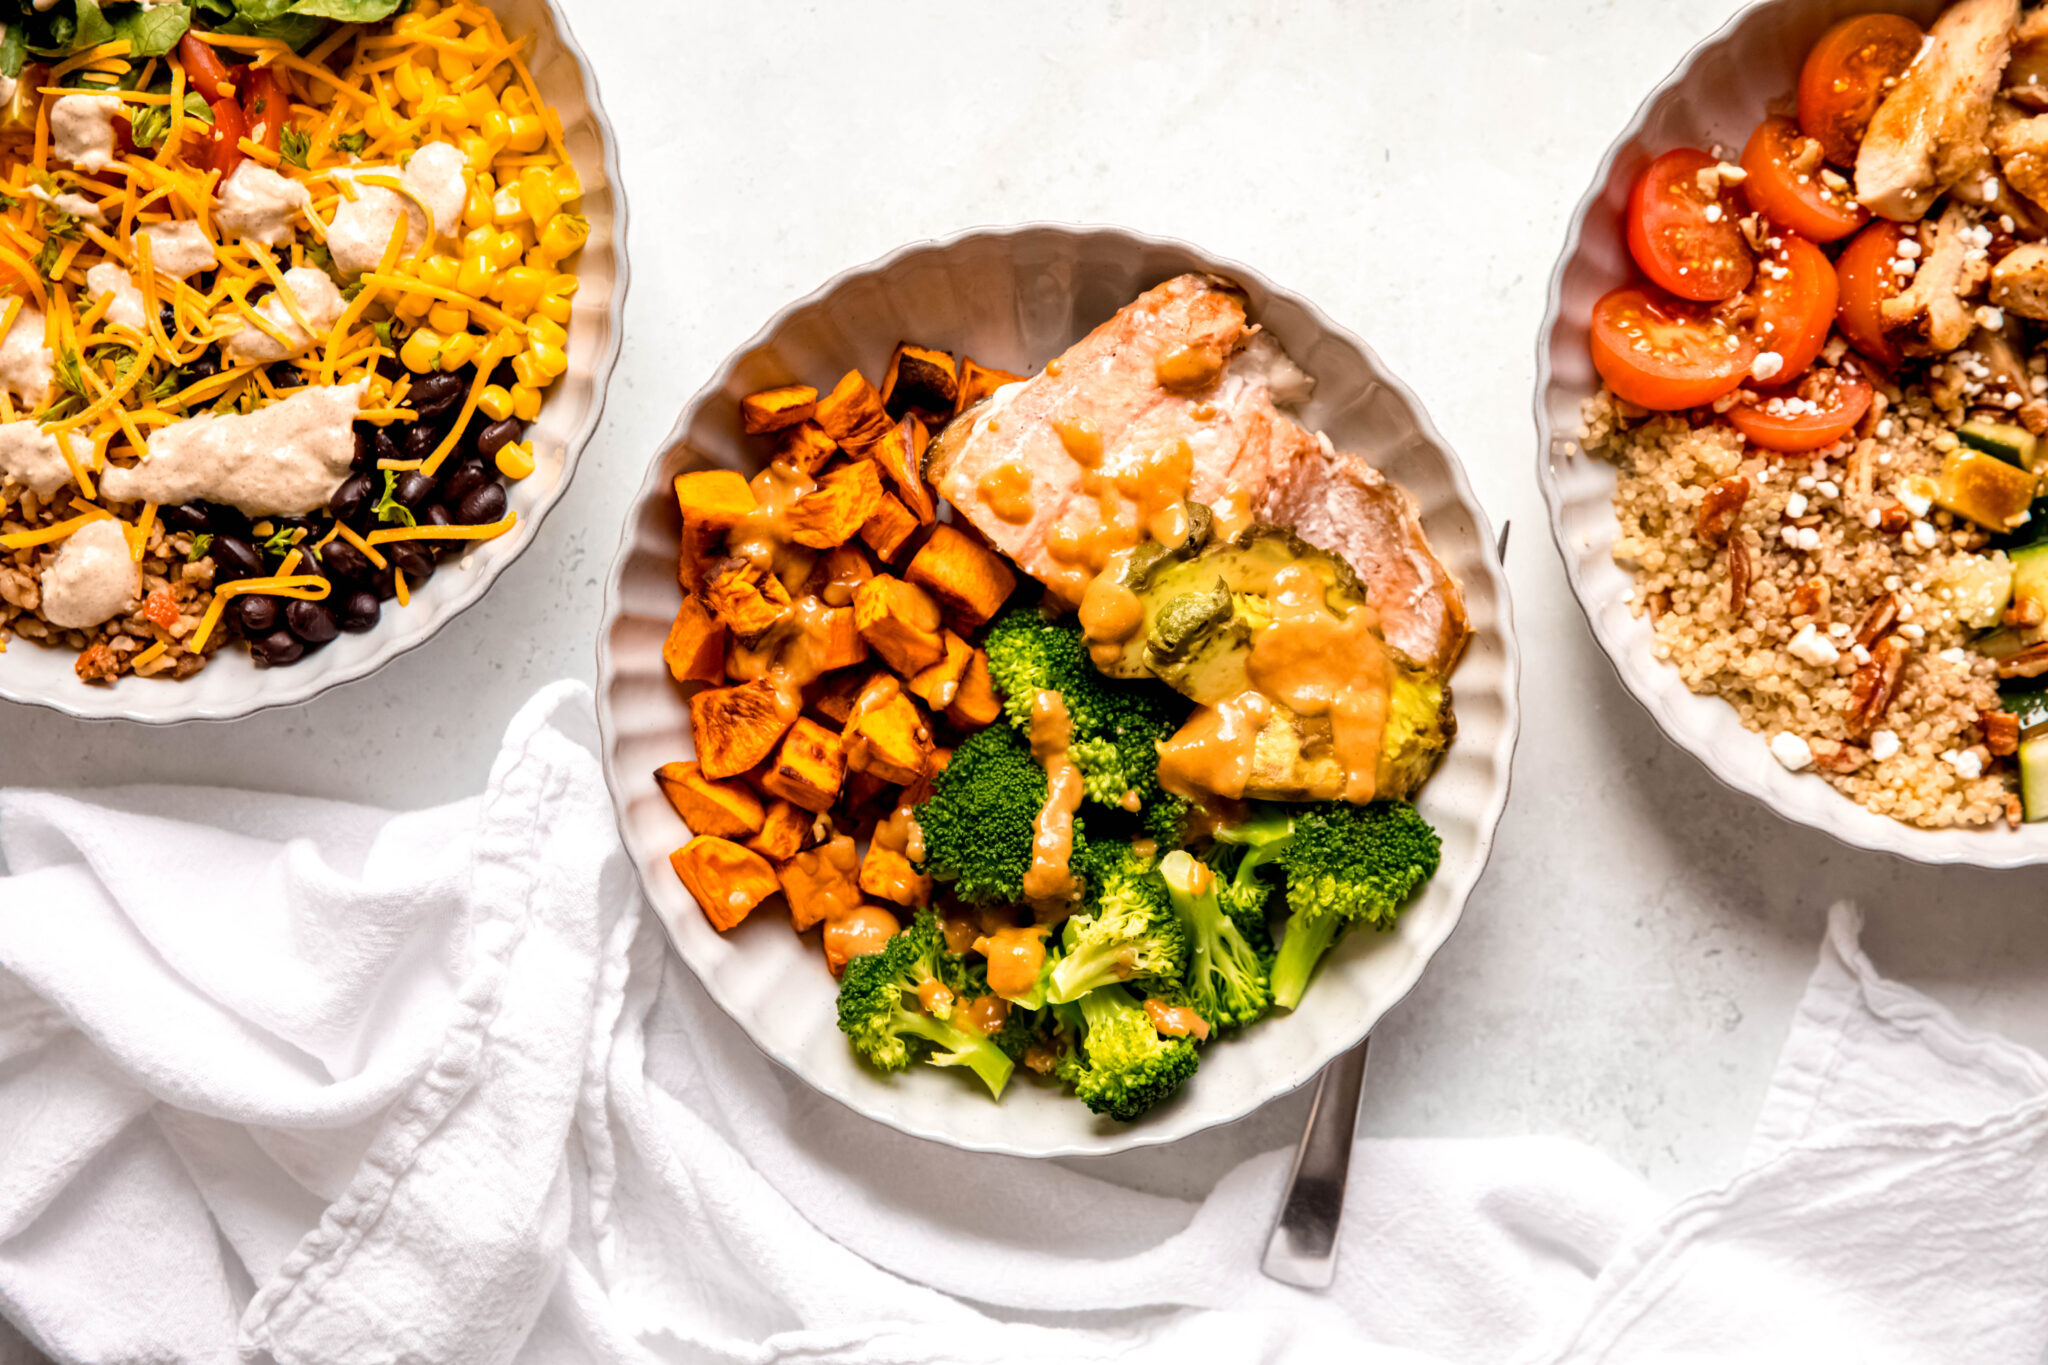
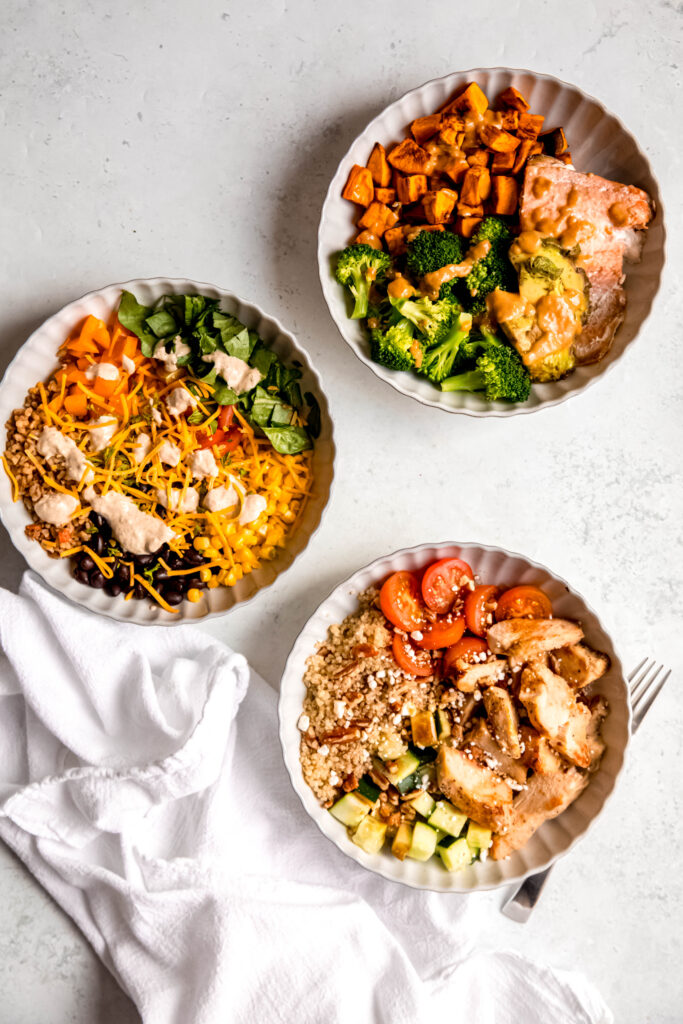
This customizable power bowl is filled with delicious, healthy ingredients like grains, veggies, and lean protein to provide long-lasting energy throughout the day. Mix up this recipe template for different dishes to meal prep all week long. Vegetarian, vegan, and gluten-free options, too!
What is a power bowl?
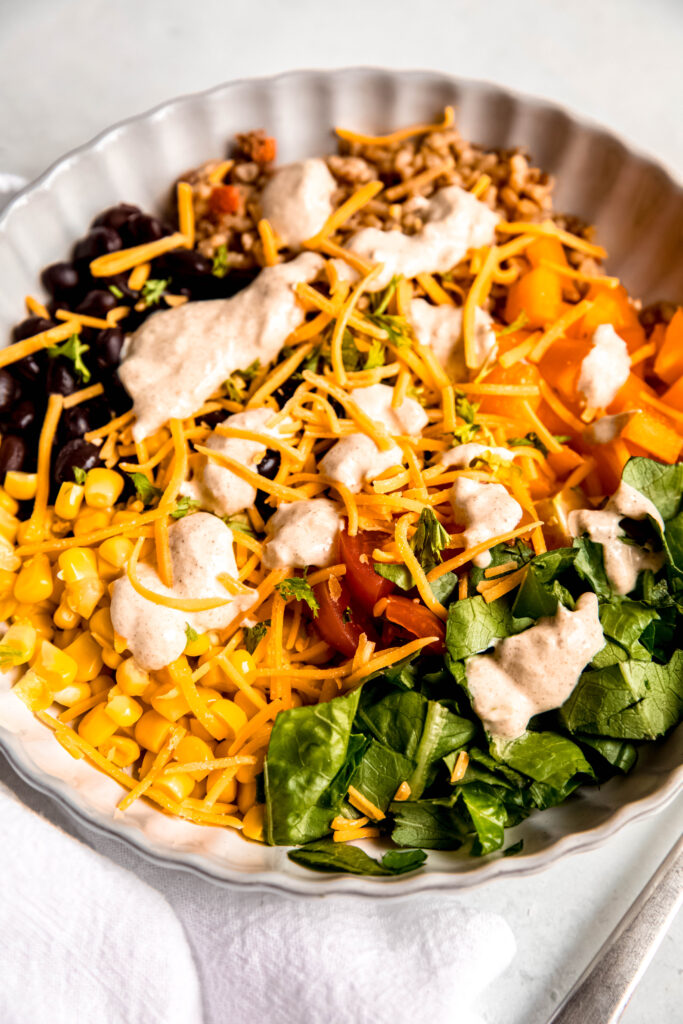
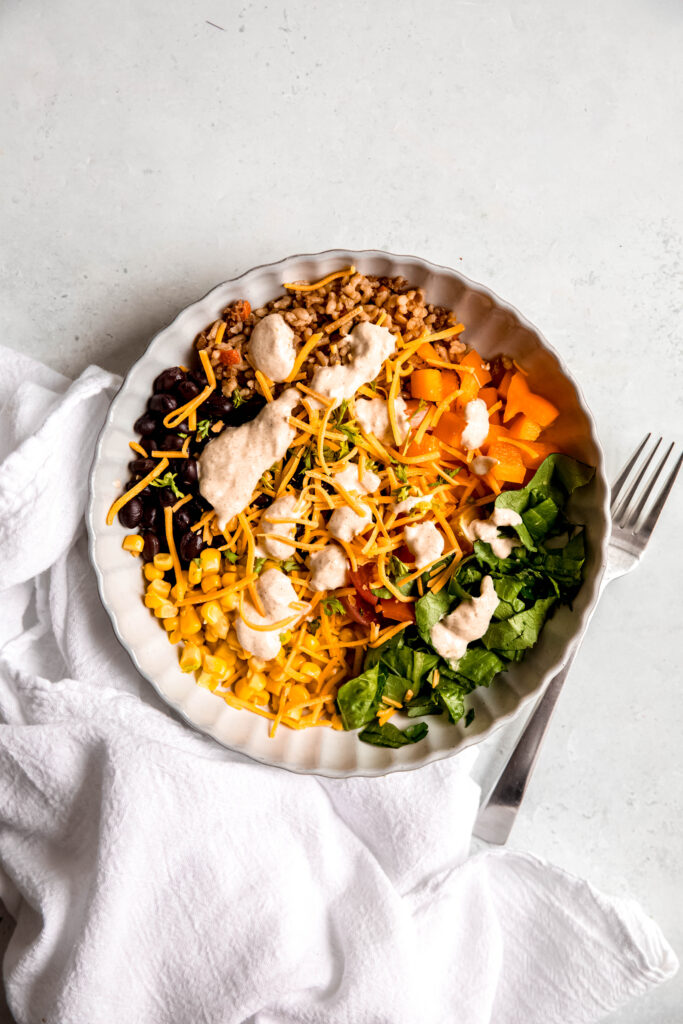
A power bowl is basically a bowl filled with a great balance of different healthy ingredients, which can satisfy and power us through the day. They are also commonly called "grain bowls" or "nourish bowls".
Getting lots of beneficial nutrients in our week is really important for living a healthy lifestyle!
How do I make a power bowl?
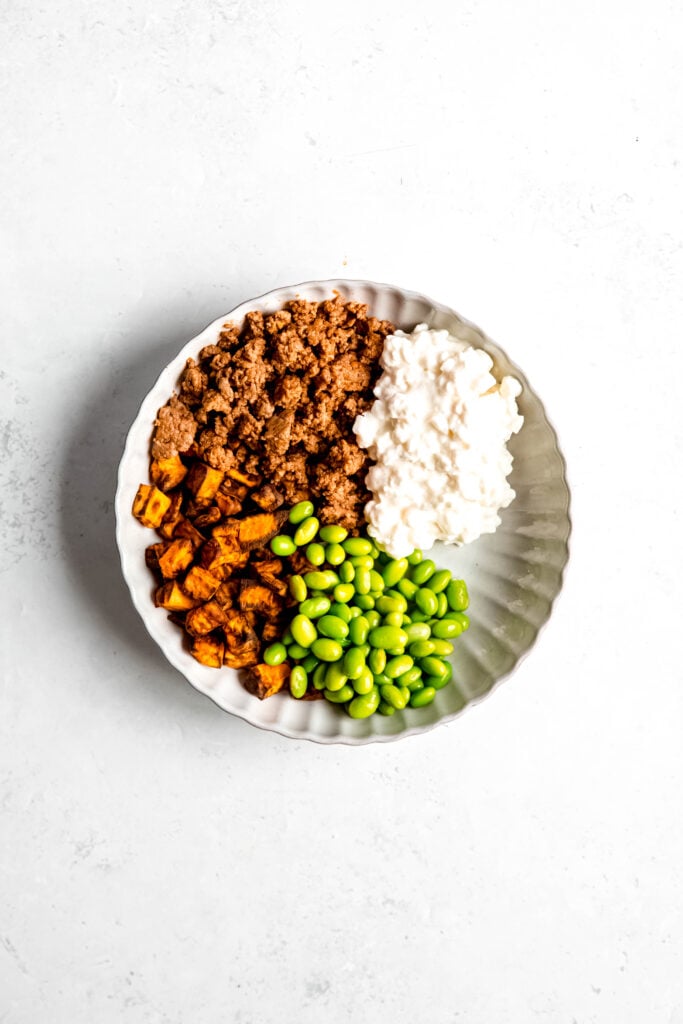
A power bowl is similar to MyPlate because it includes a balance of healthy carbohydrates, lean protein, and vegetables. I love power bowls because you can totally customize it to fit your favorite foods or dietary preferences.
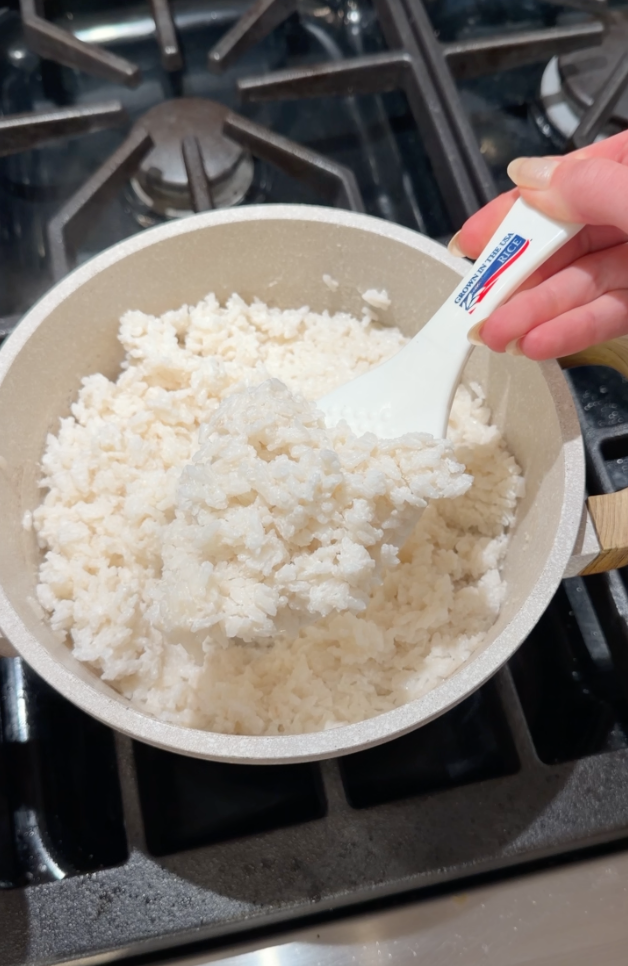
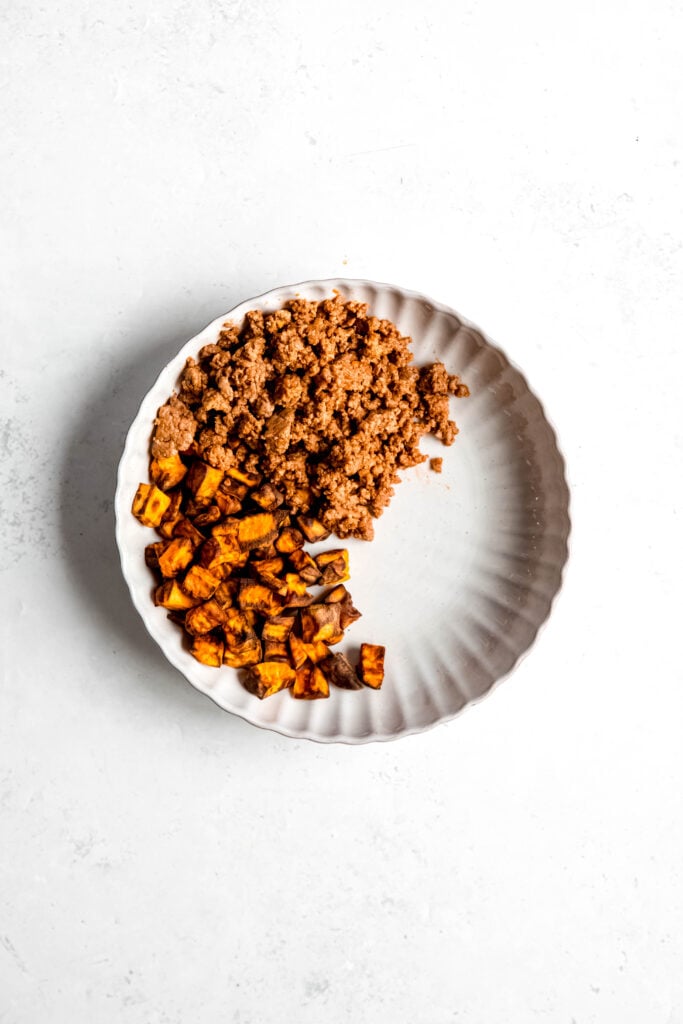
1. First, add some healthy carbs.
Carbohydrates get a bad rap but they are actually very important for us. There's no need to cut them out from our diet. It's just about choosing the right kinds of carbohydrates.
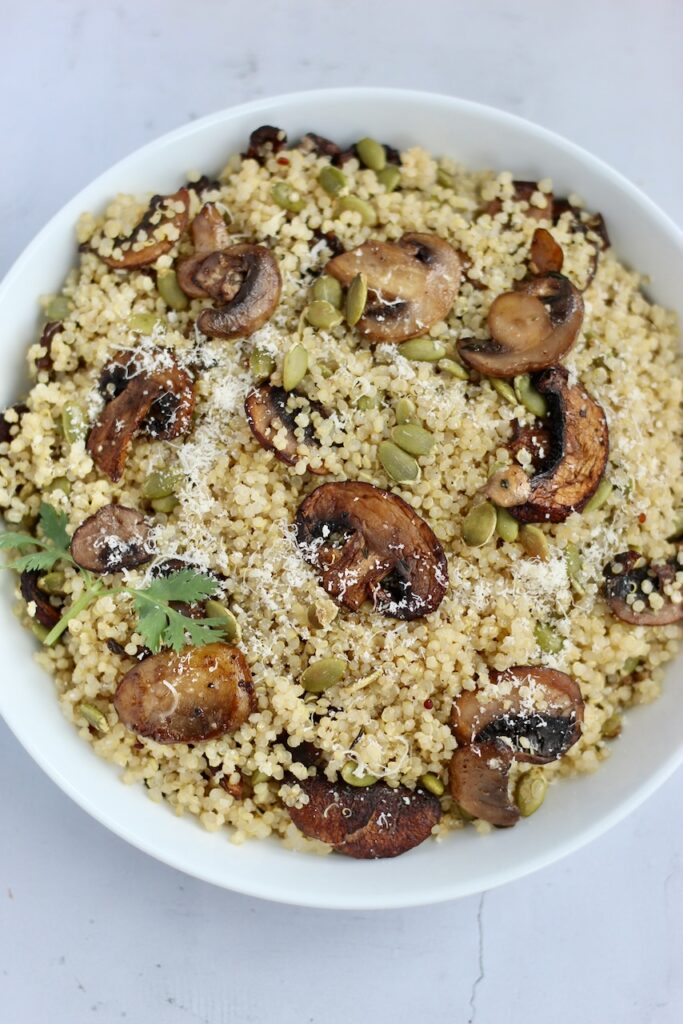
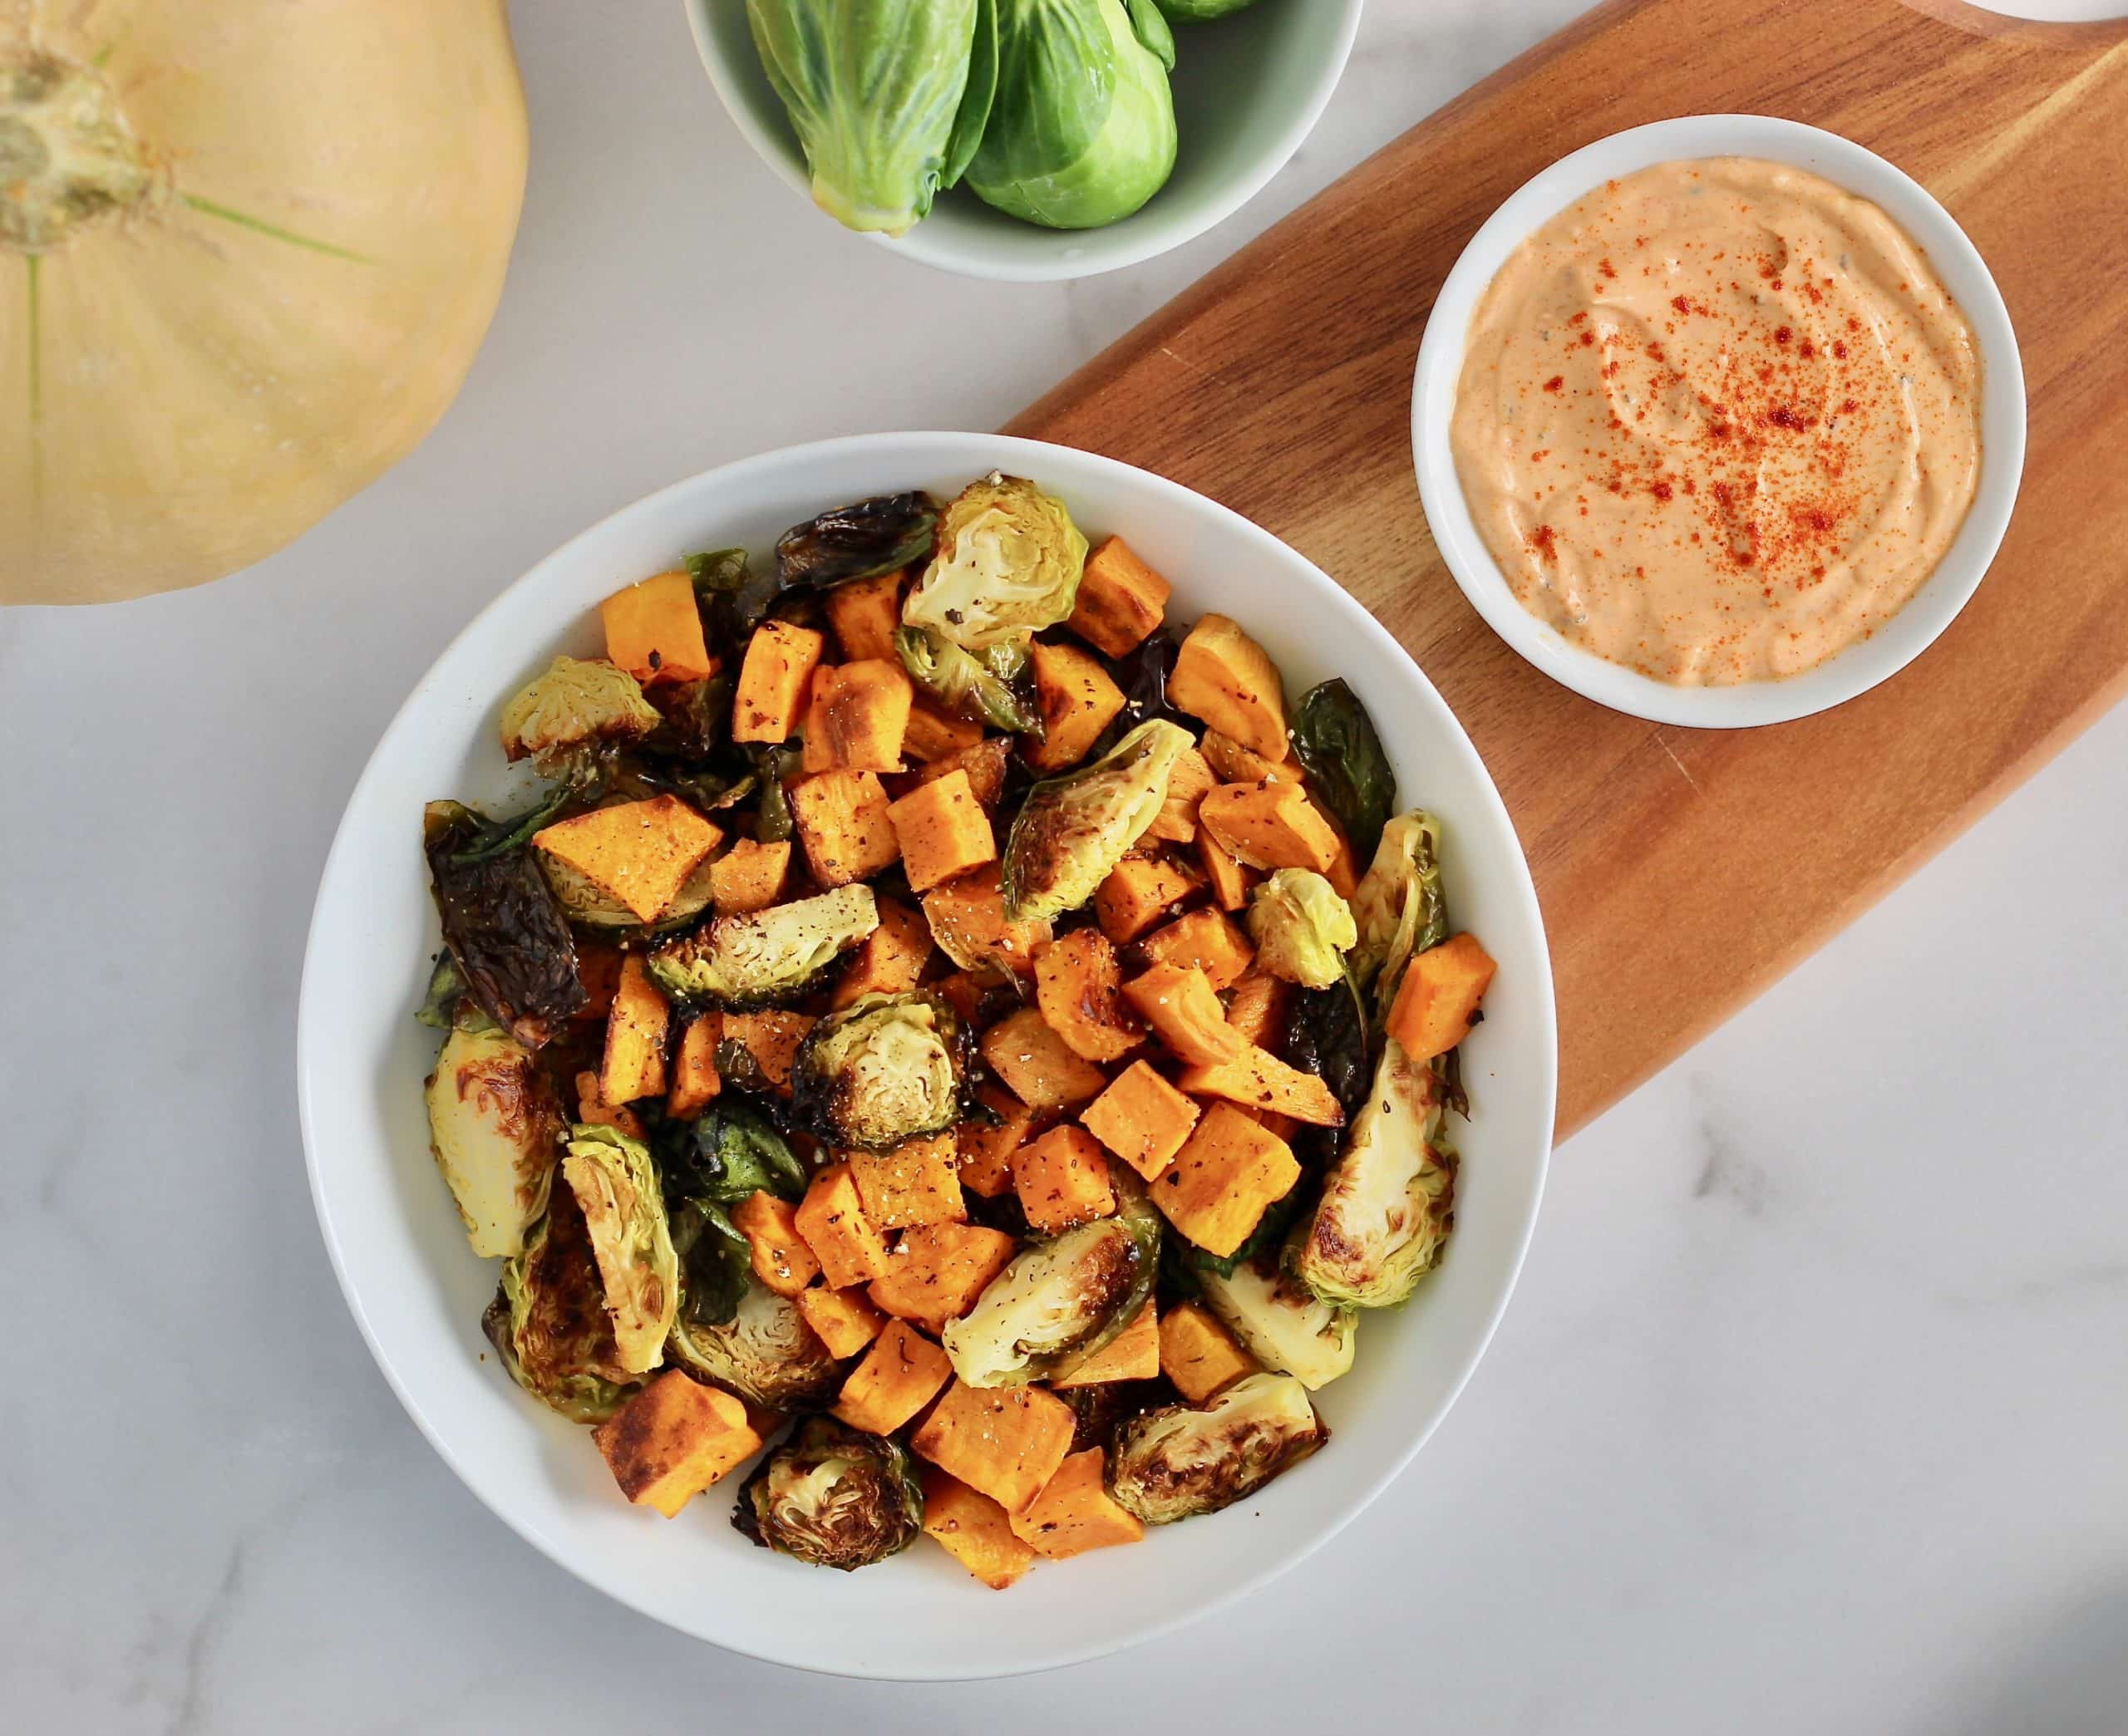
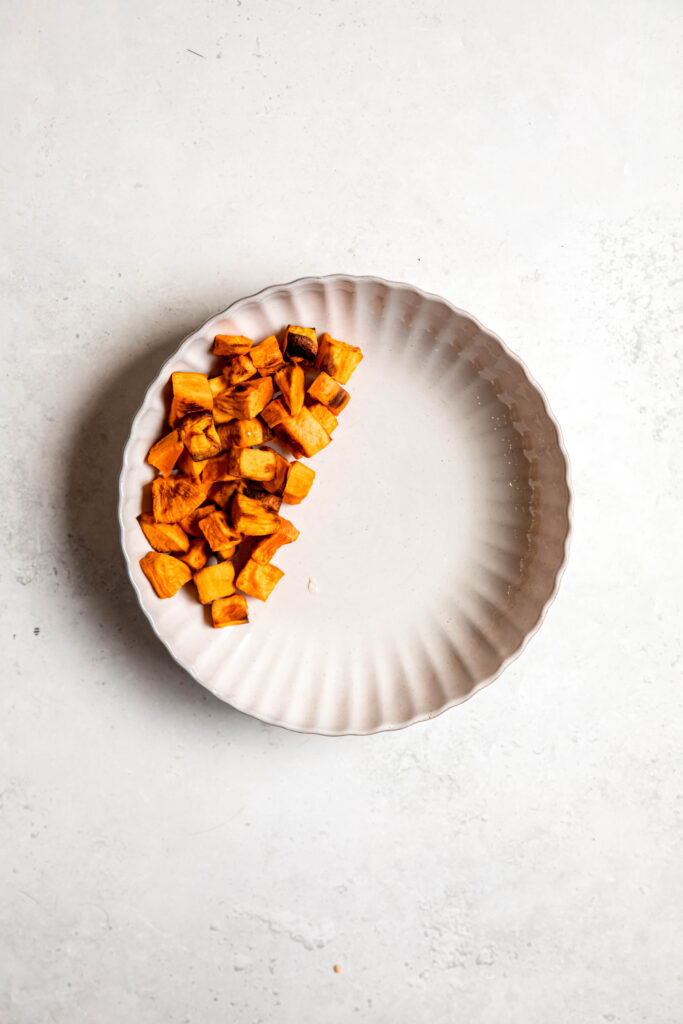
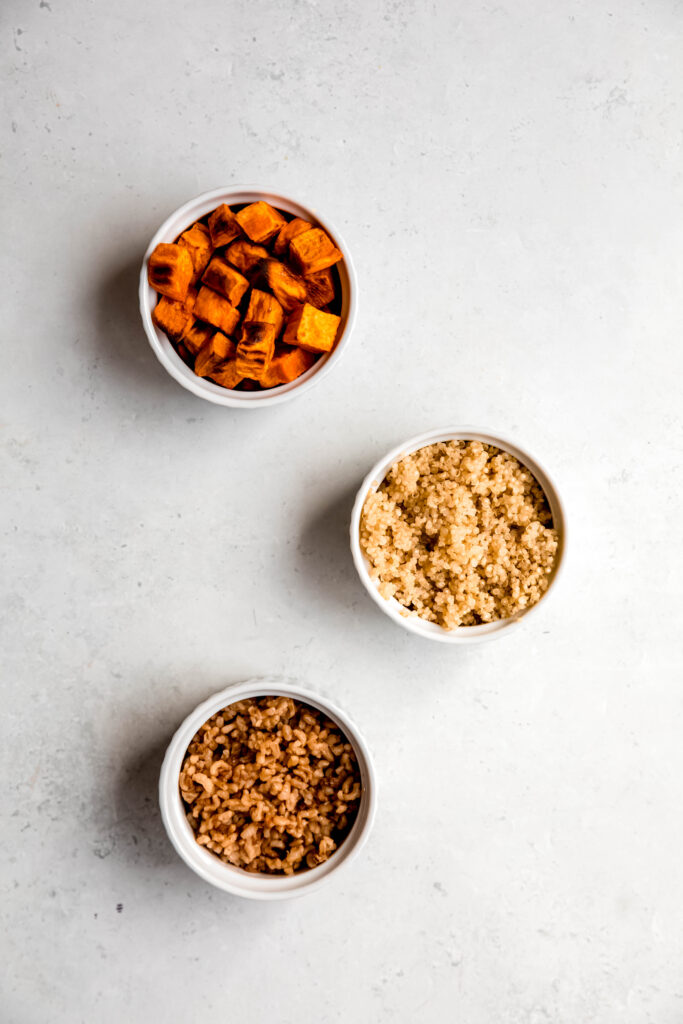
For this bowl, healthy carbohydrates to use would be whole grains or starchy vegetables. These kinds of carbs provide us with a lot of great vitamins and minerals as well as fiber. Fiber helps aid our digestion, control blood glucose, and keeps us fuller longer.
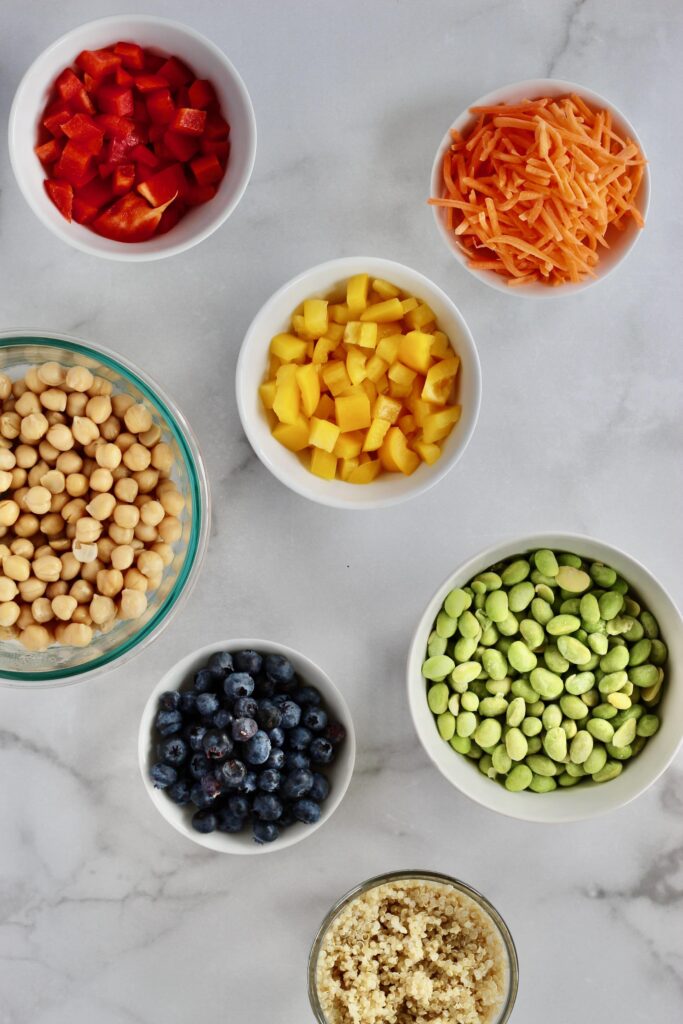
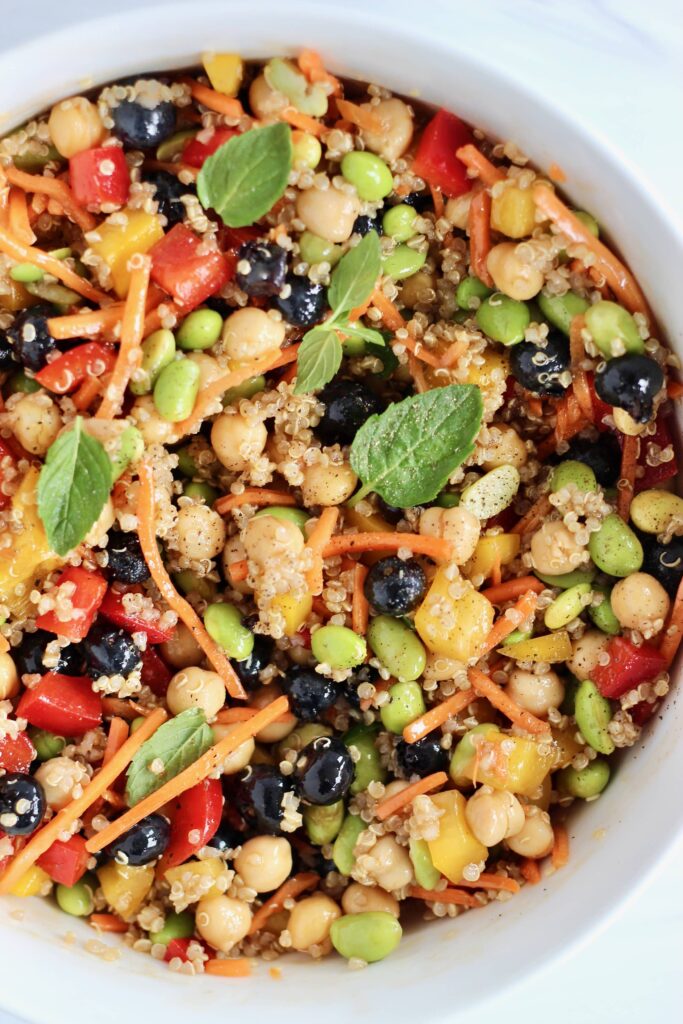
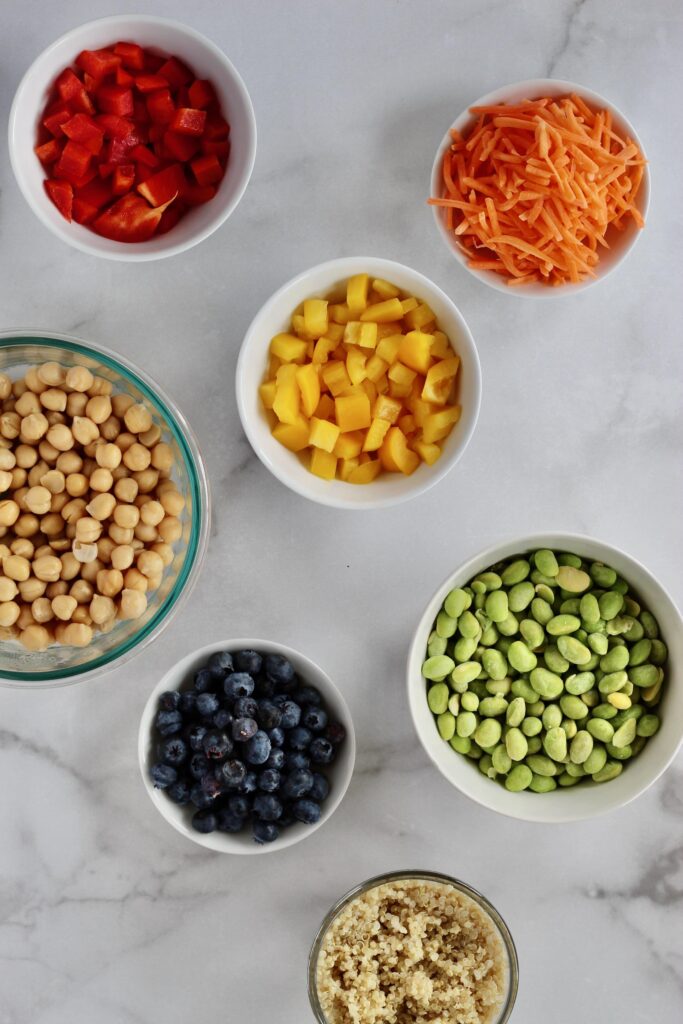
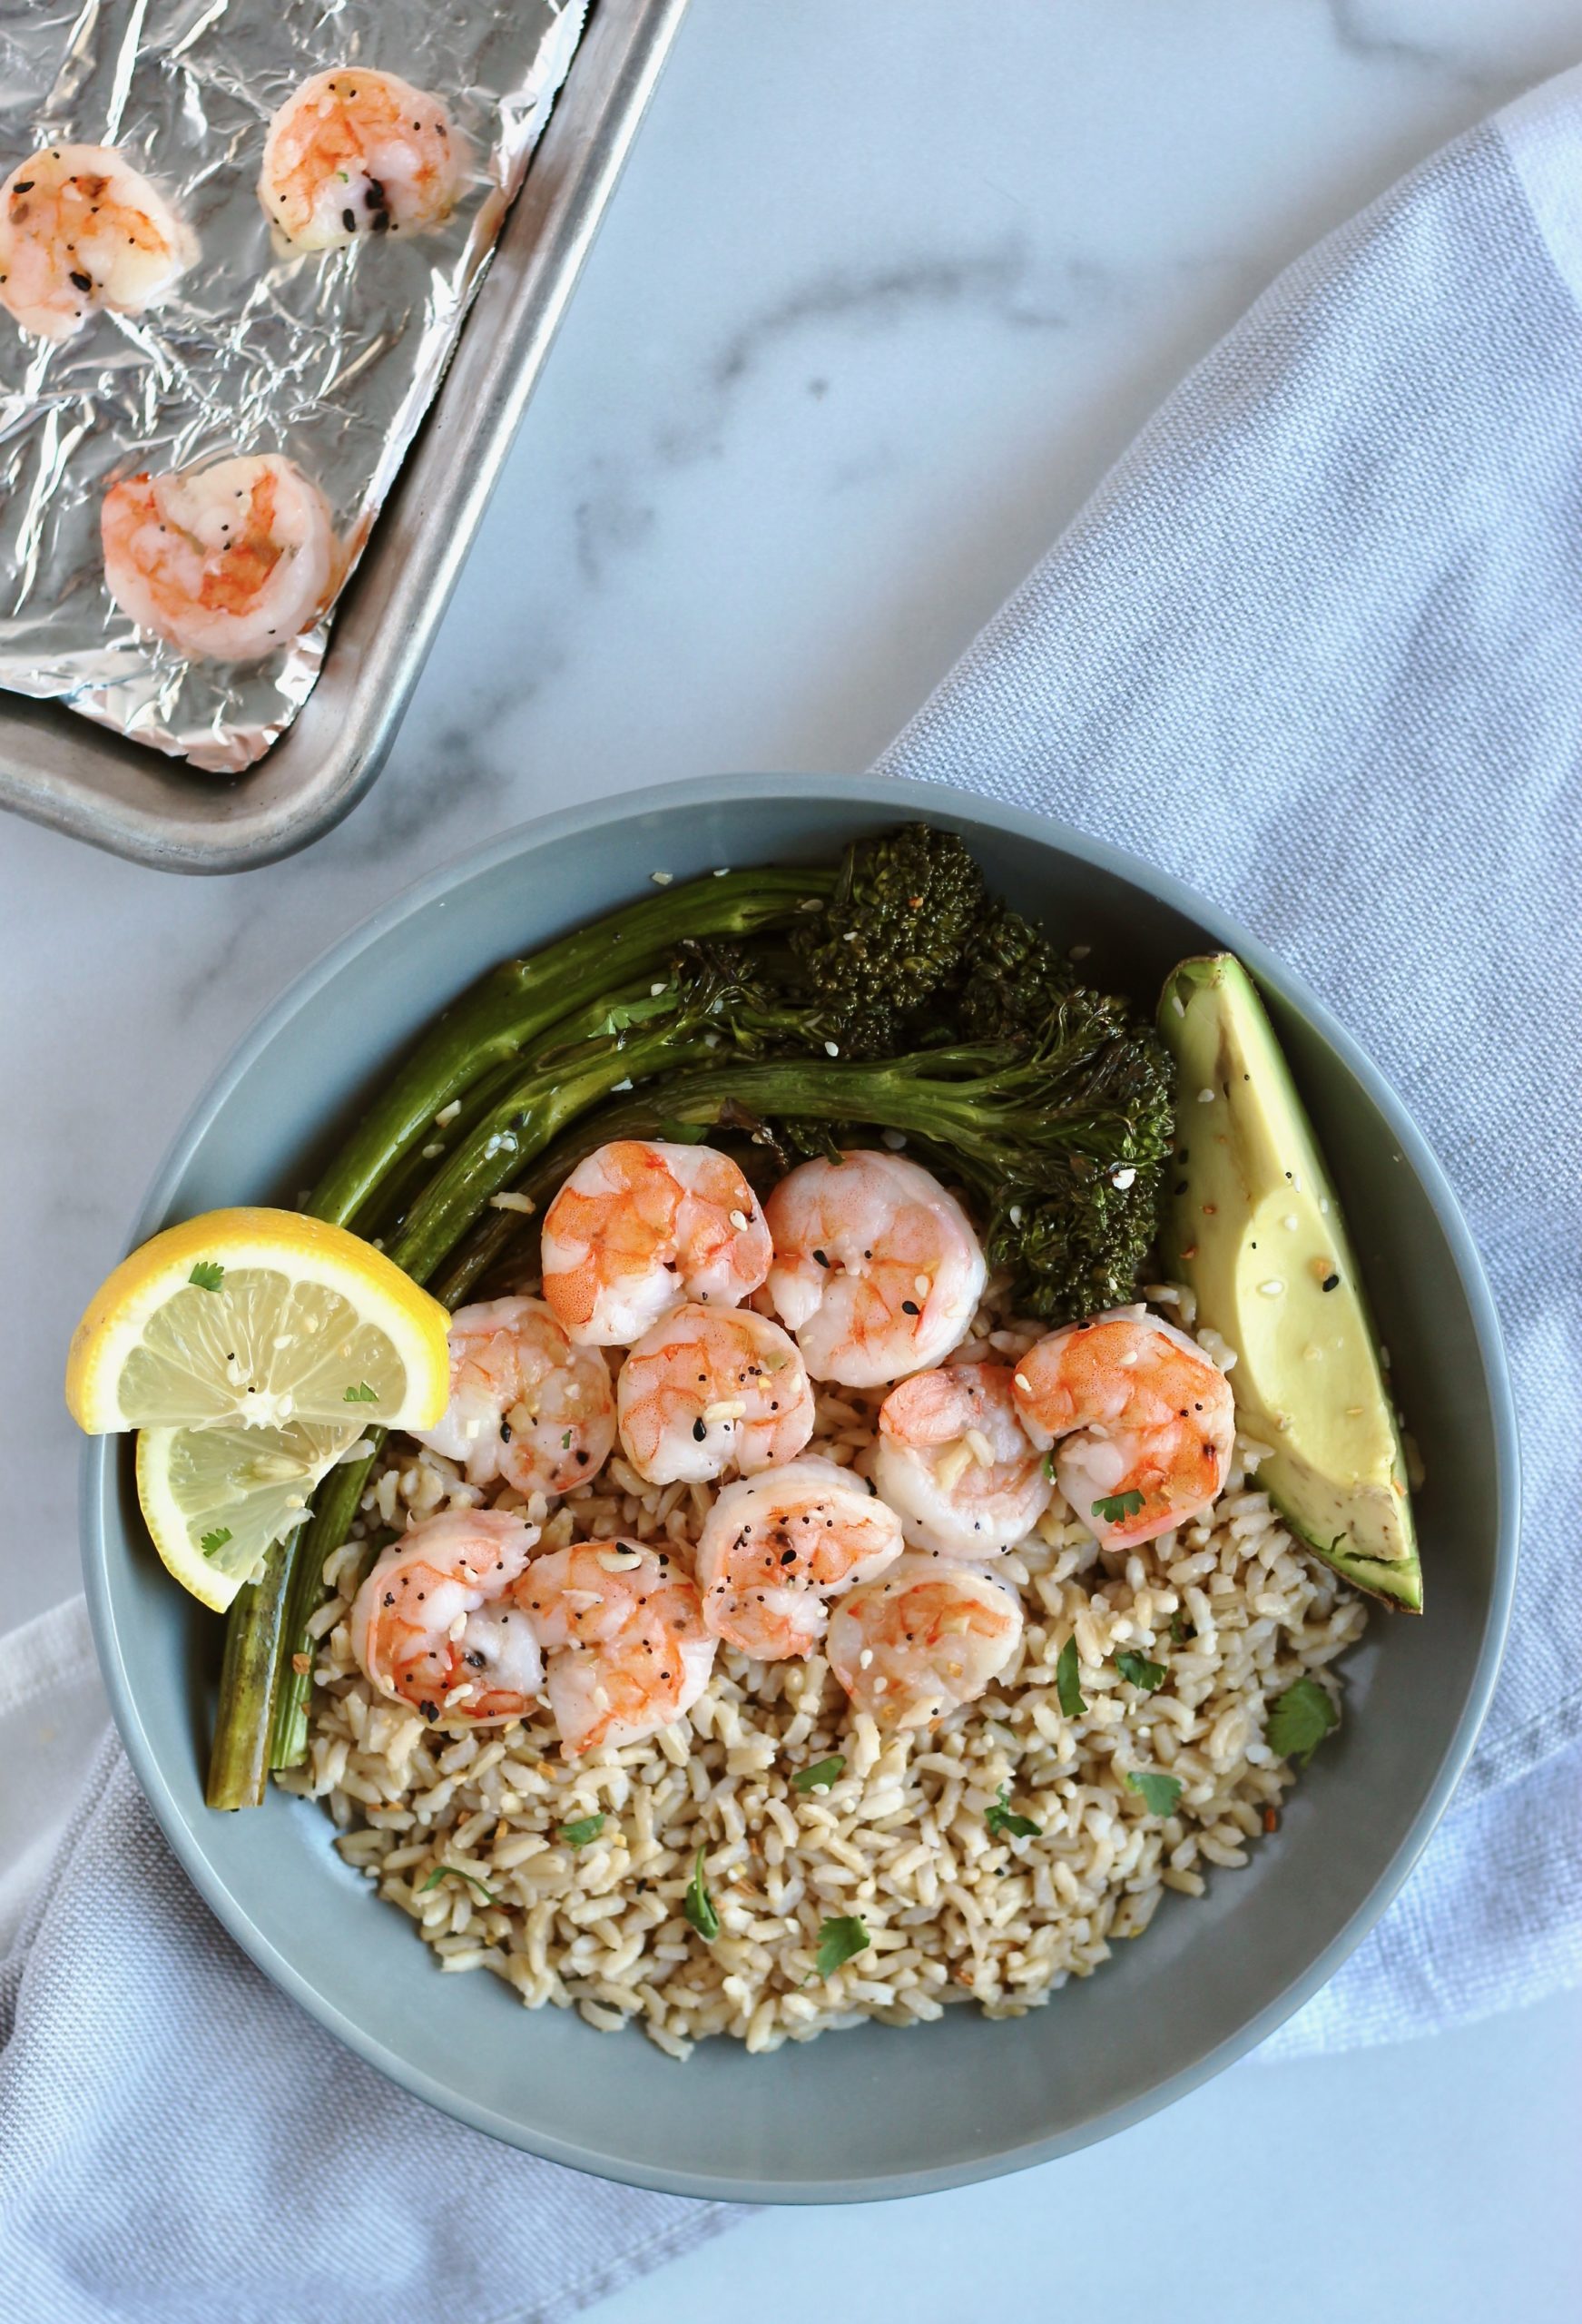
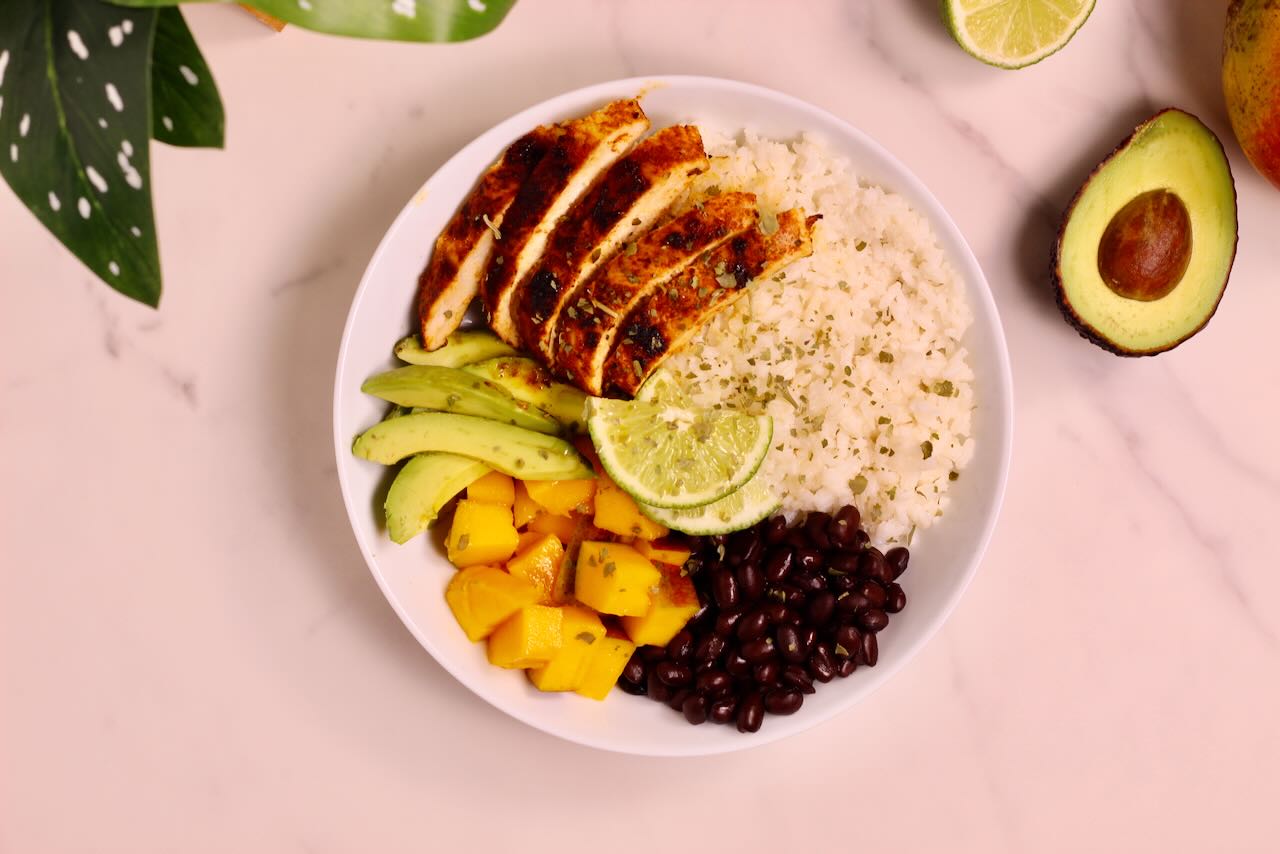
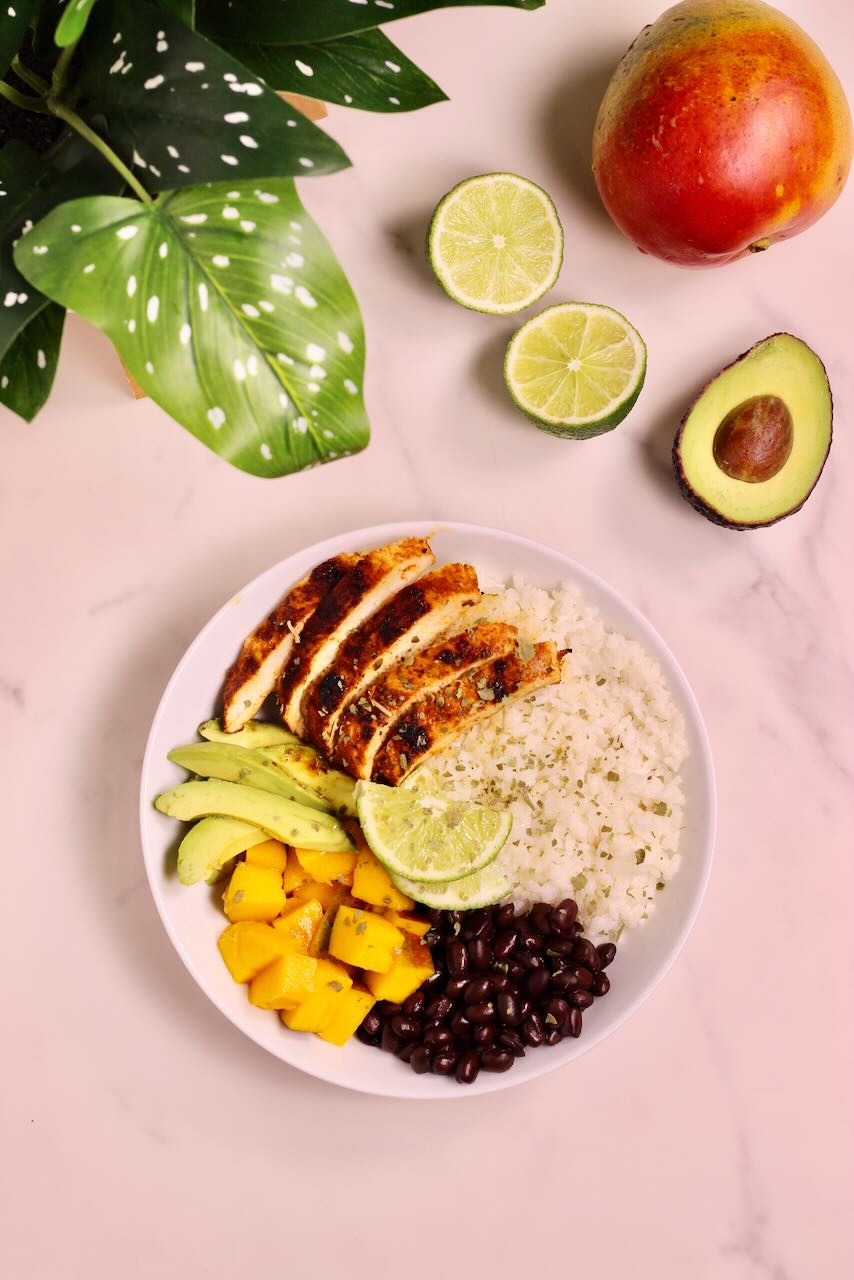
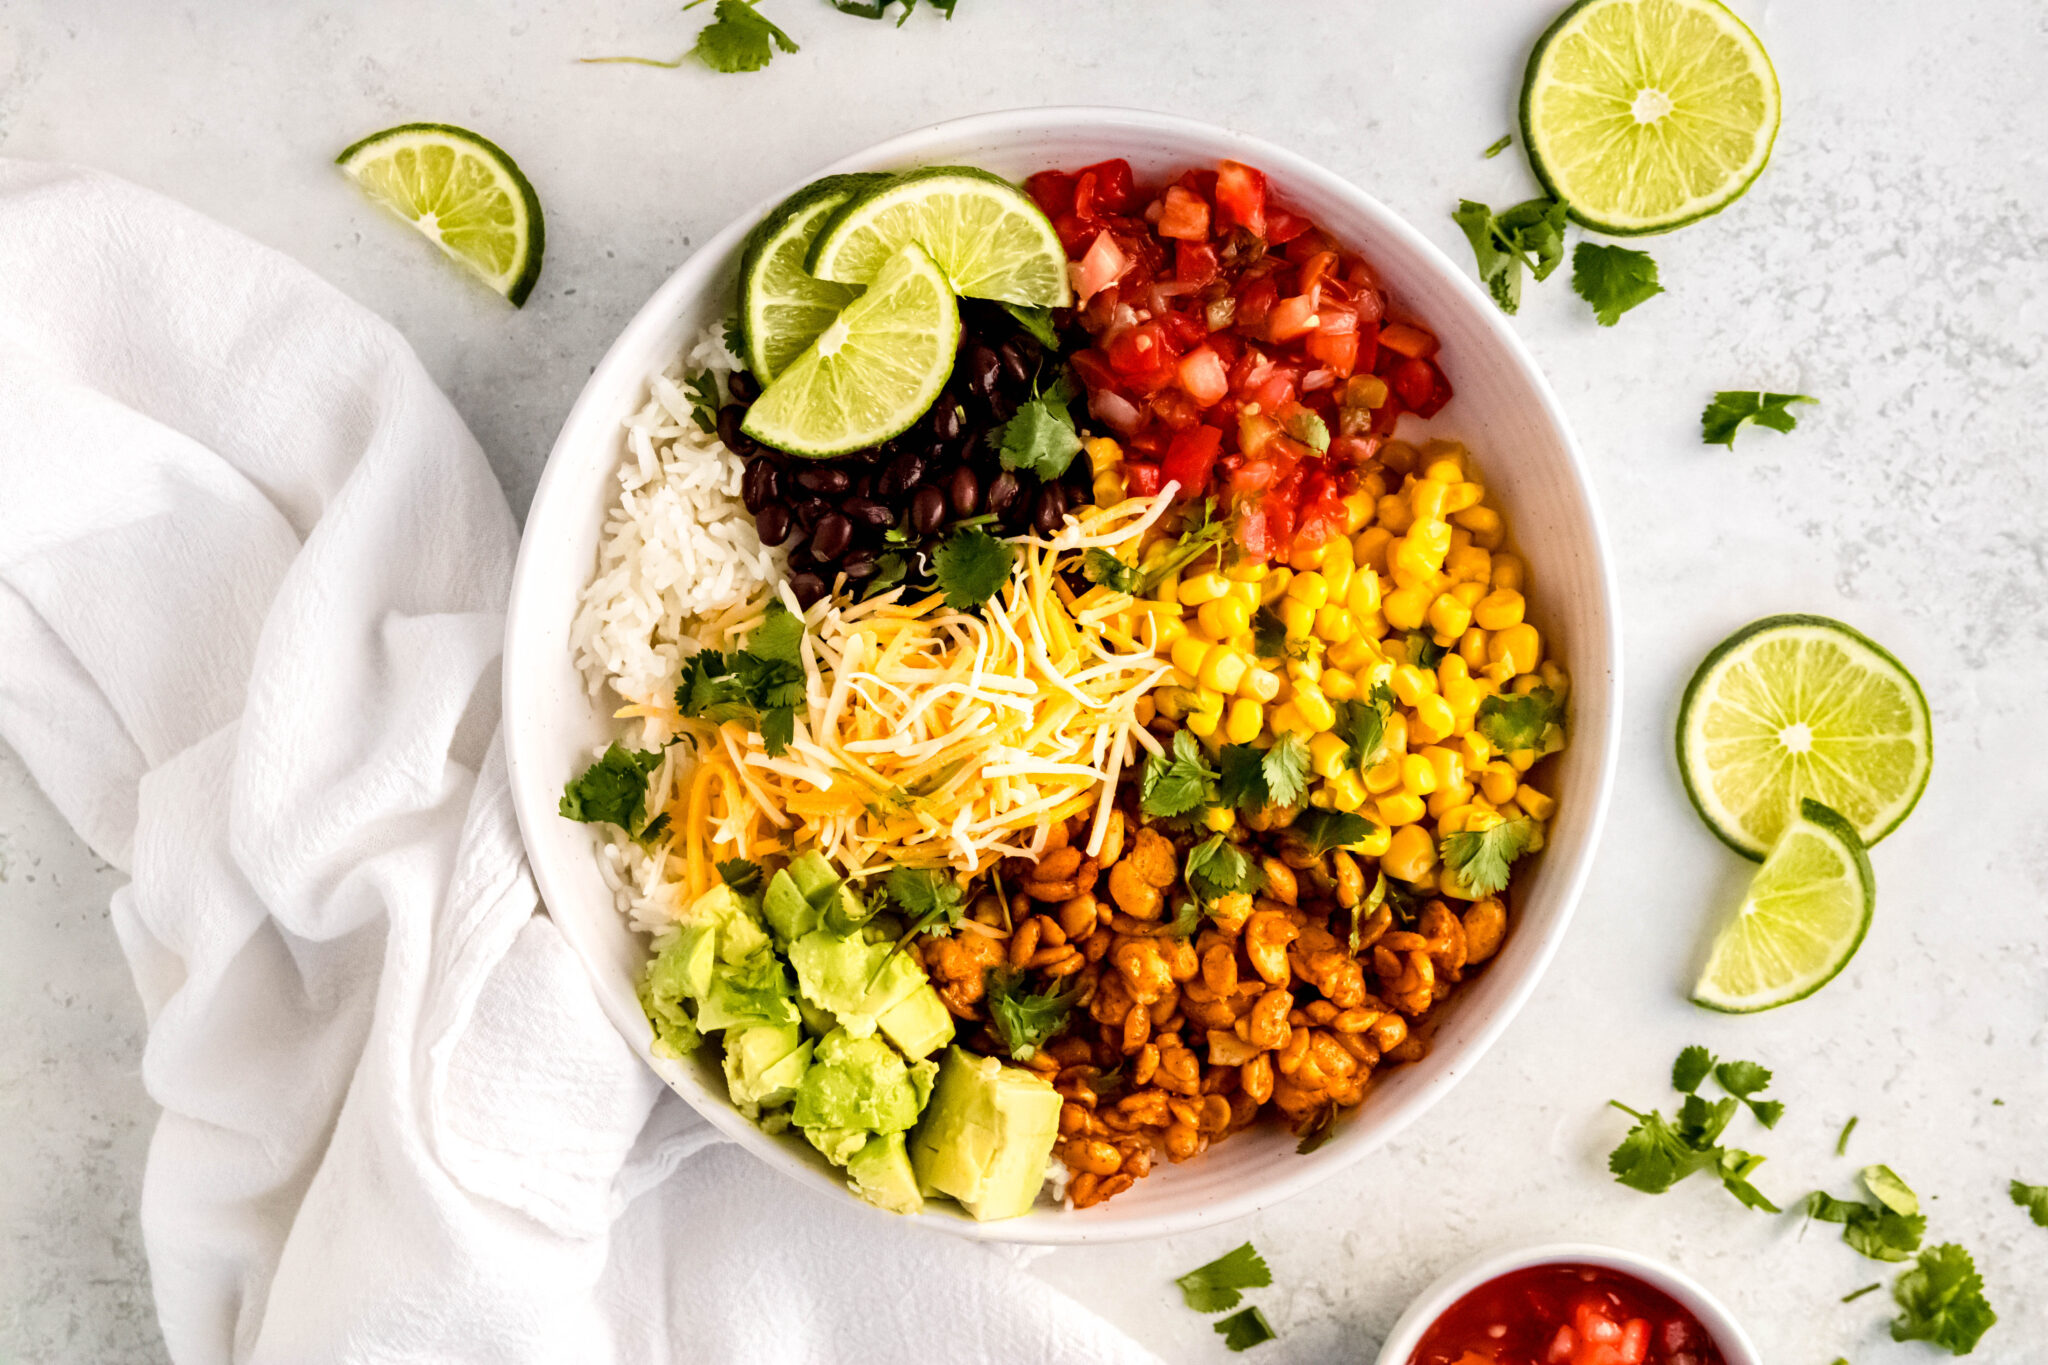
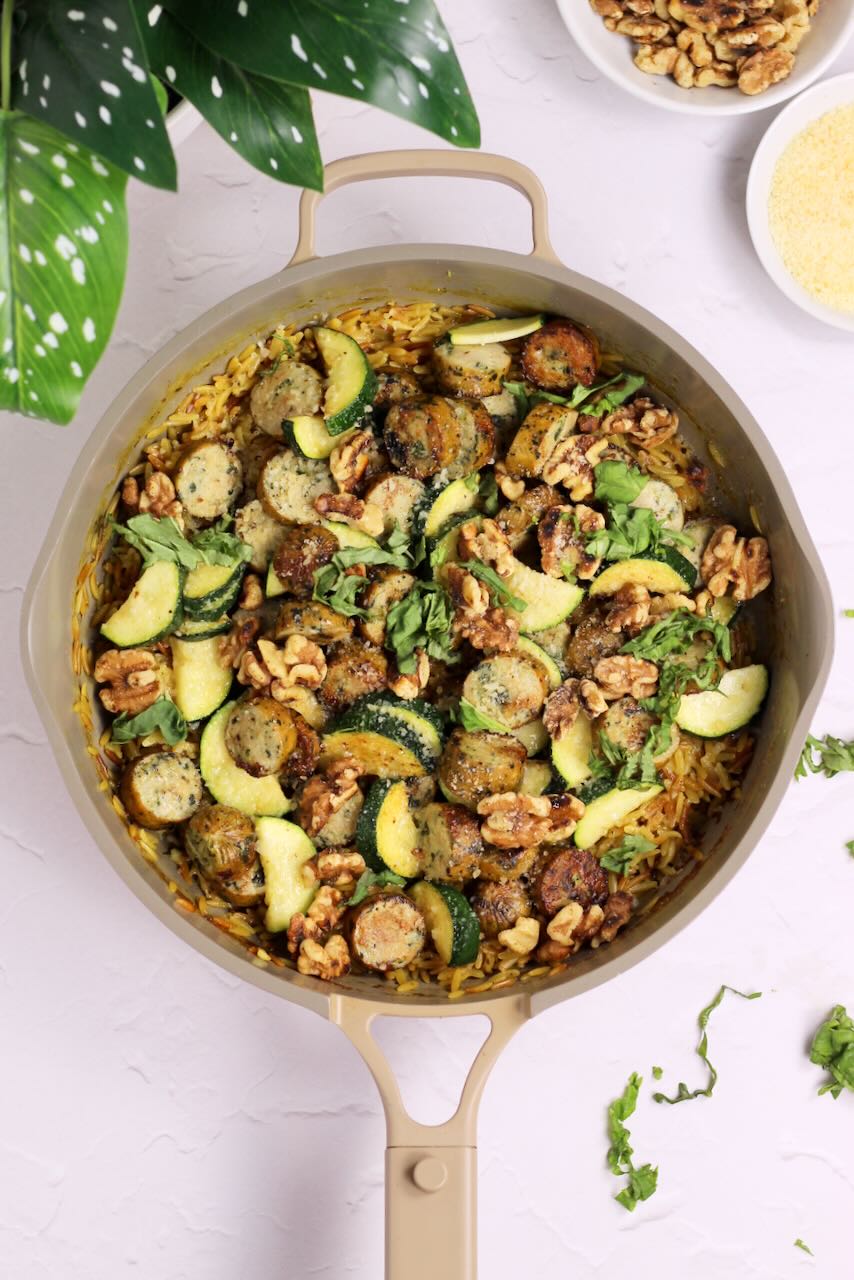
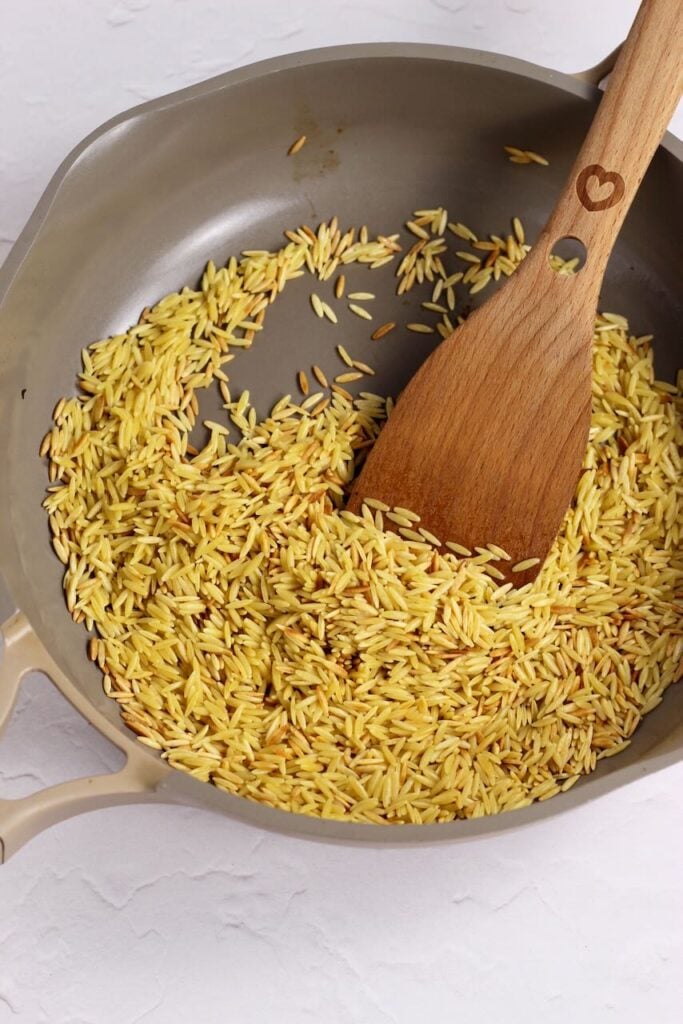
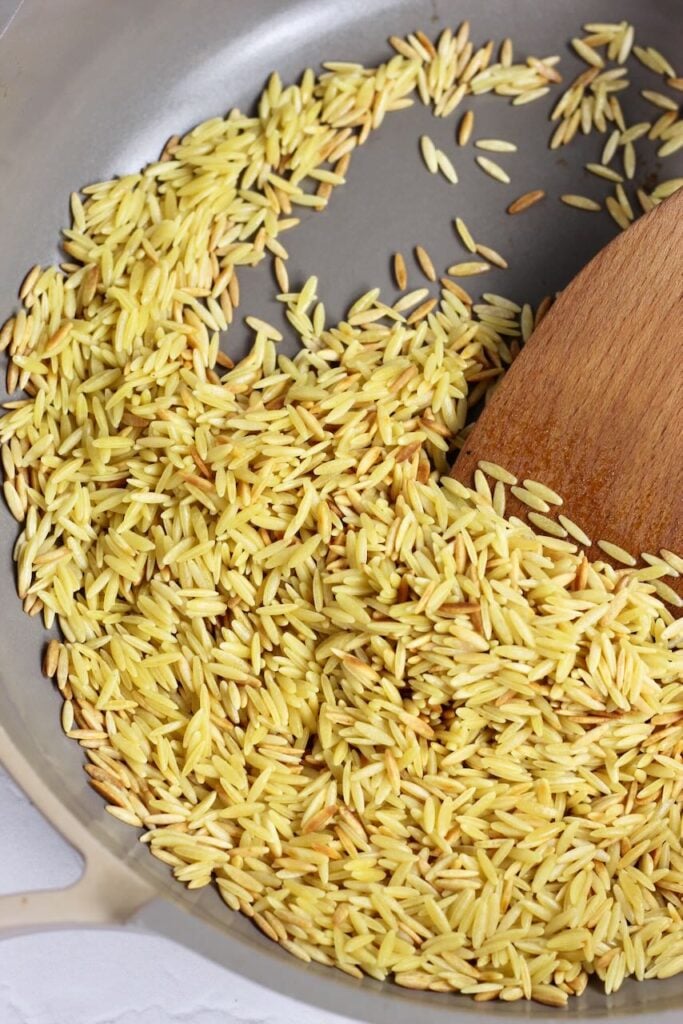
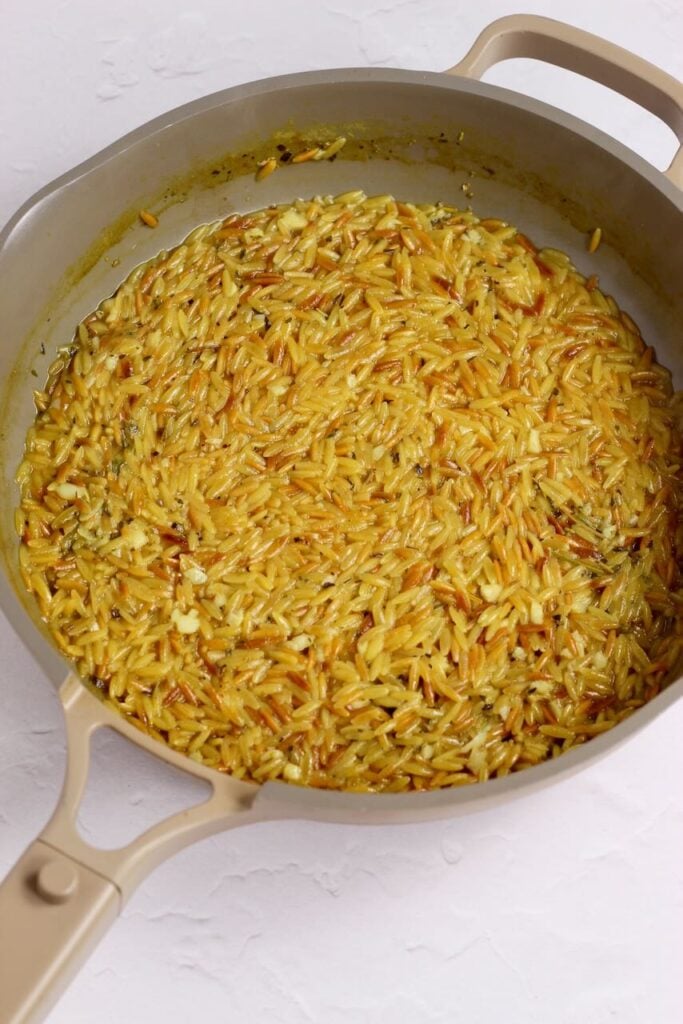
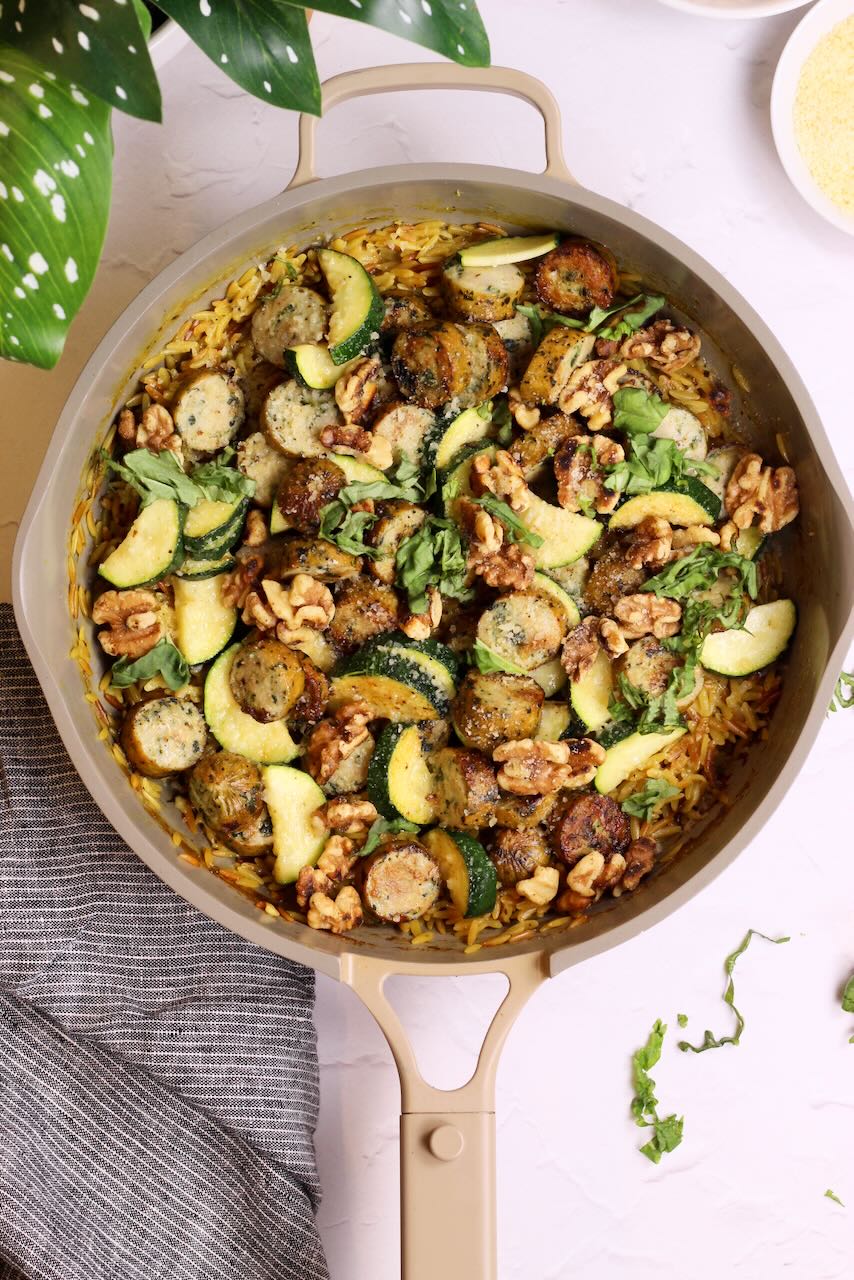
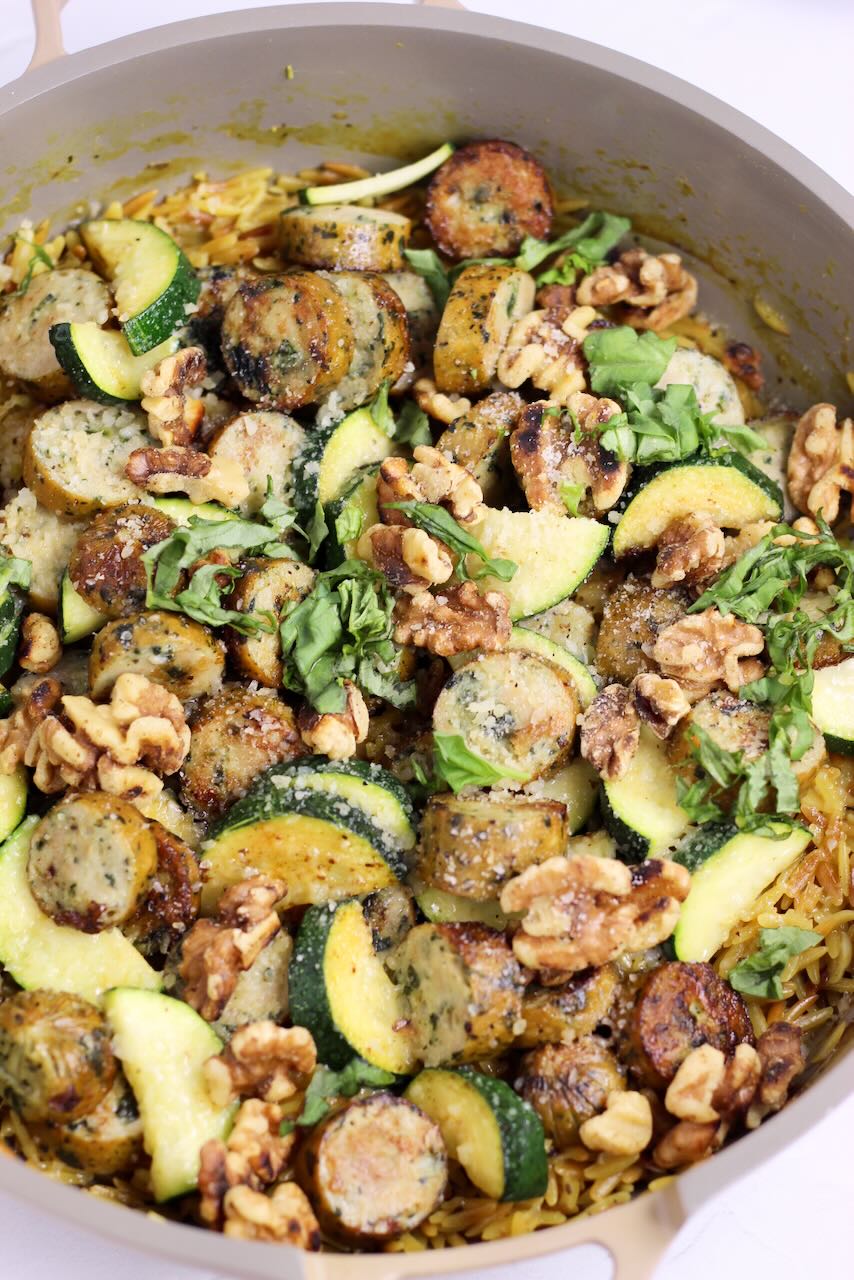
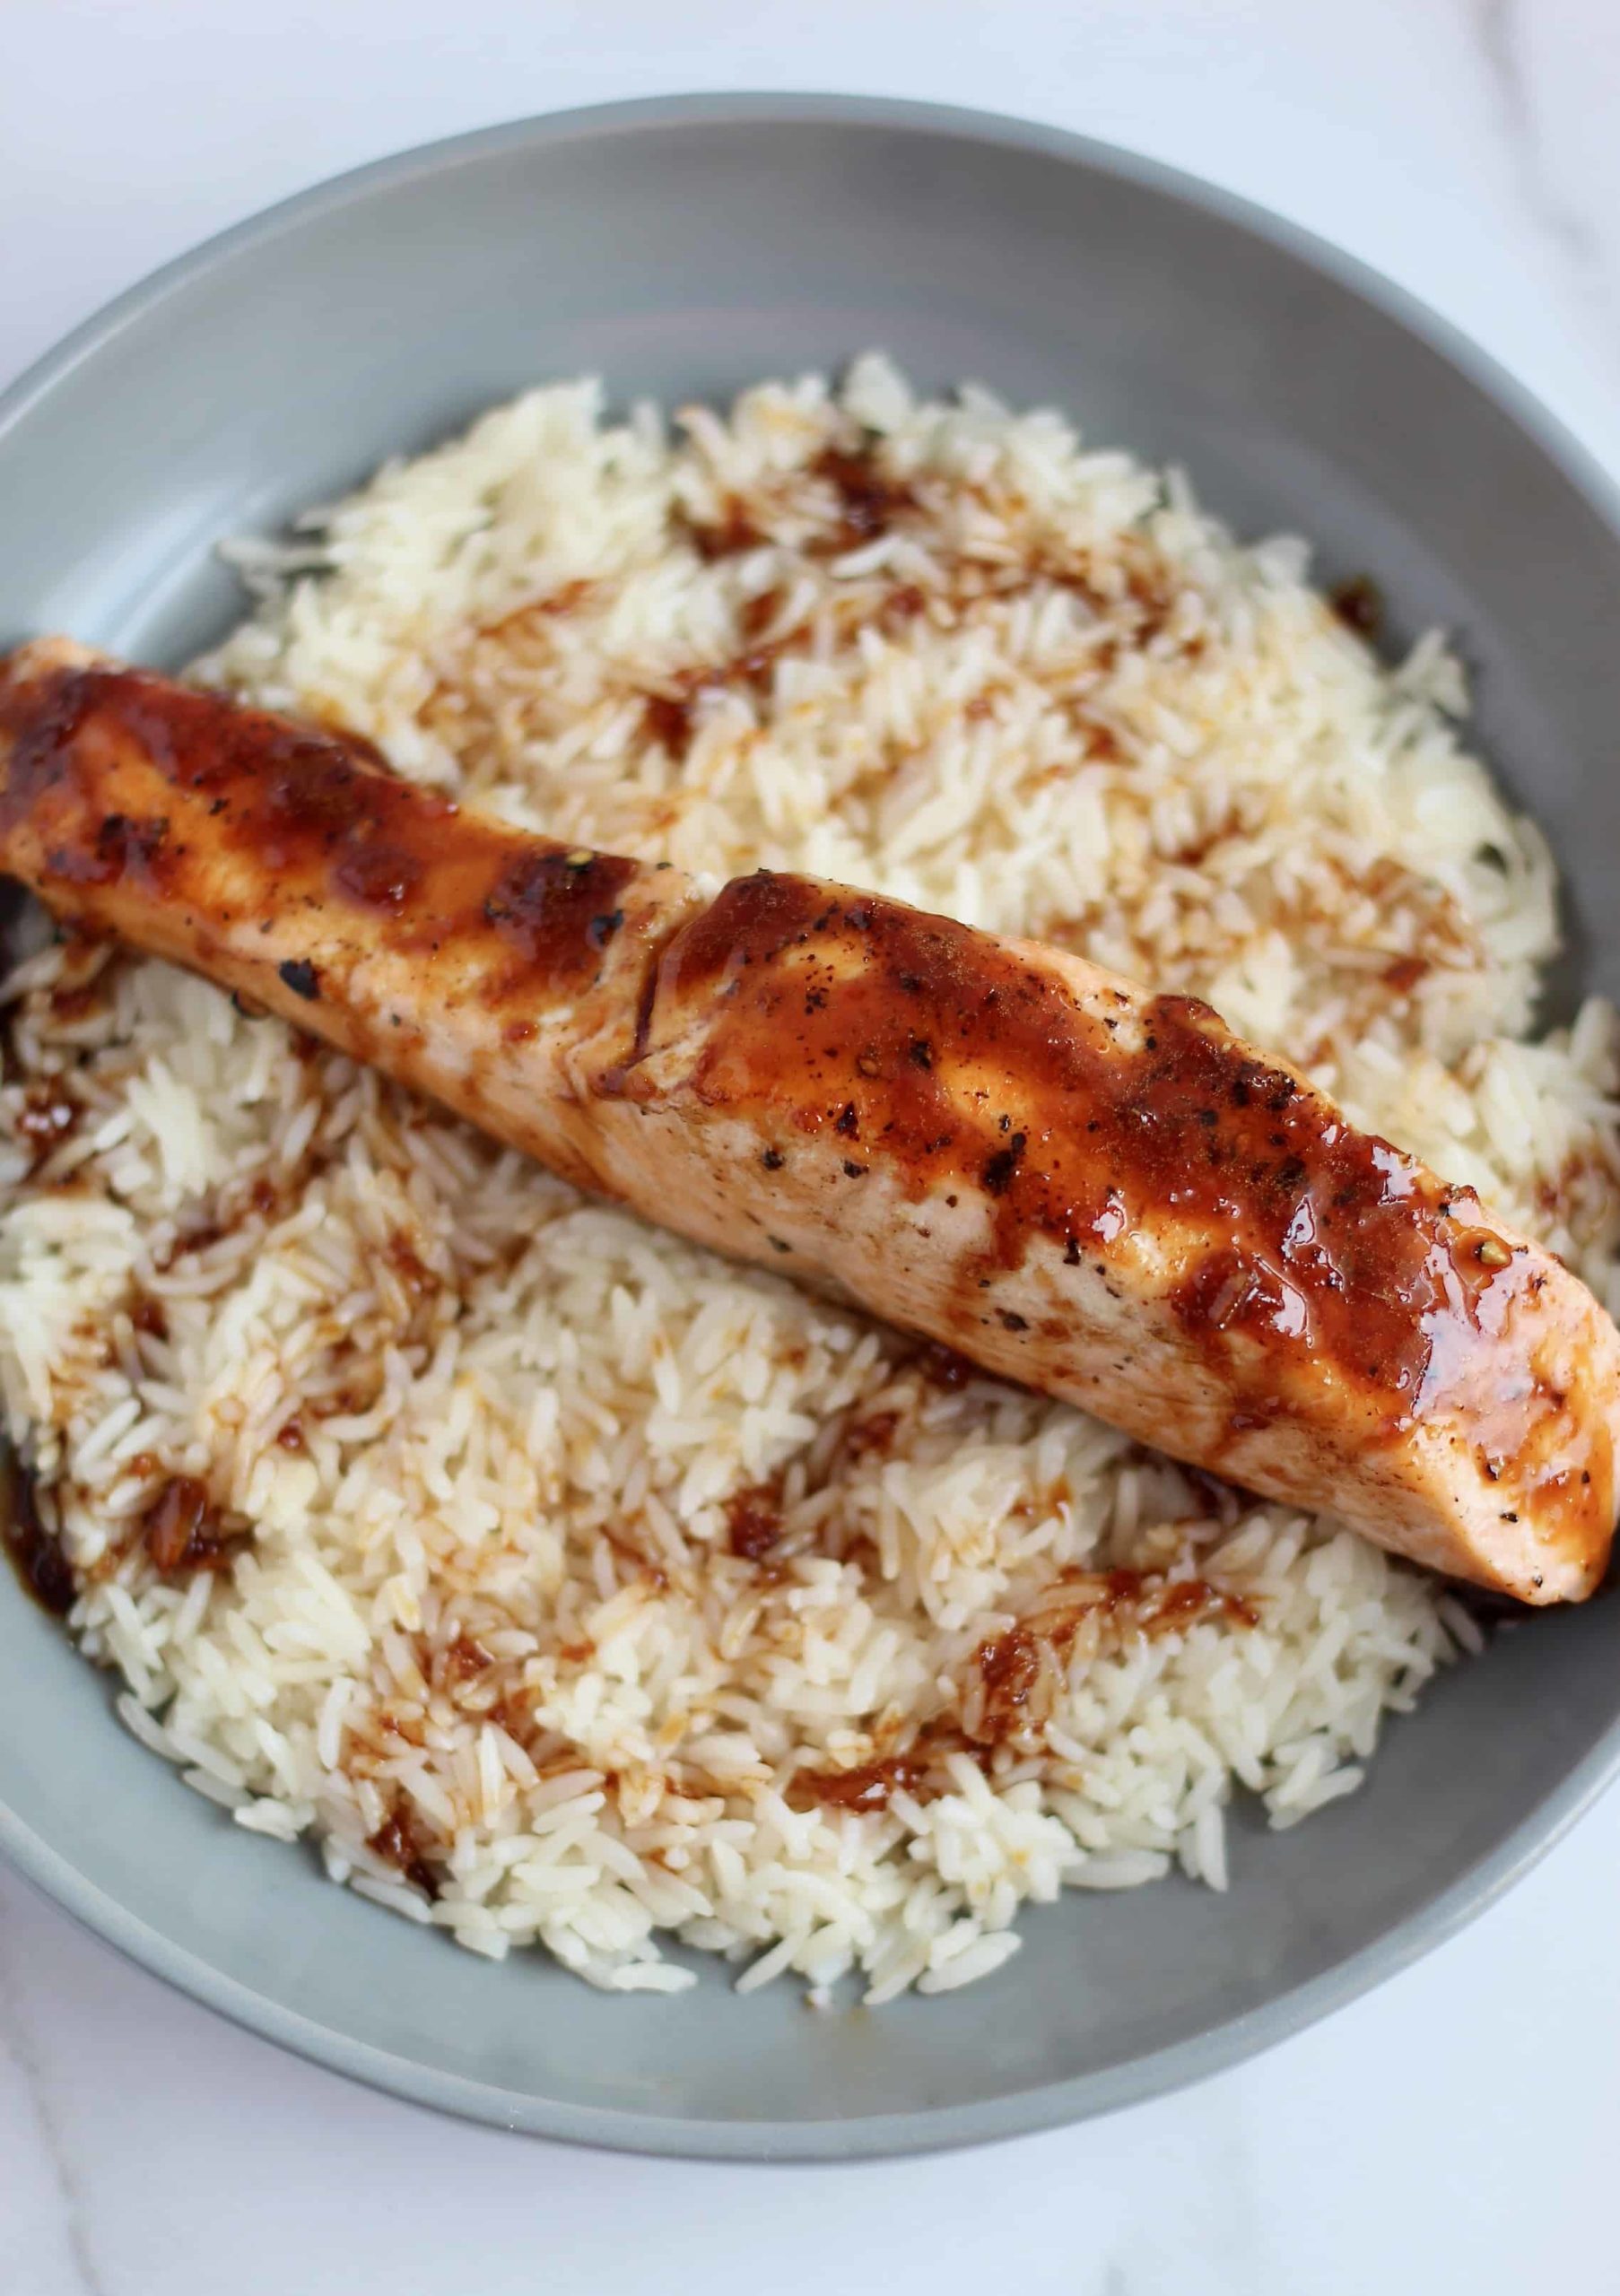
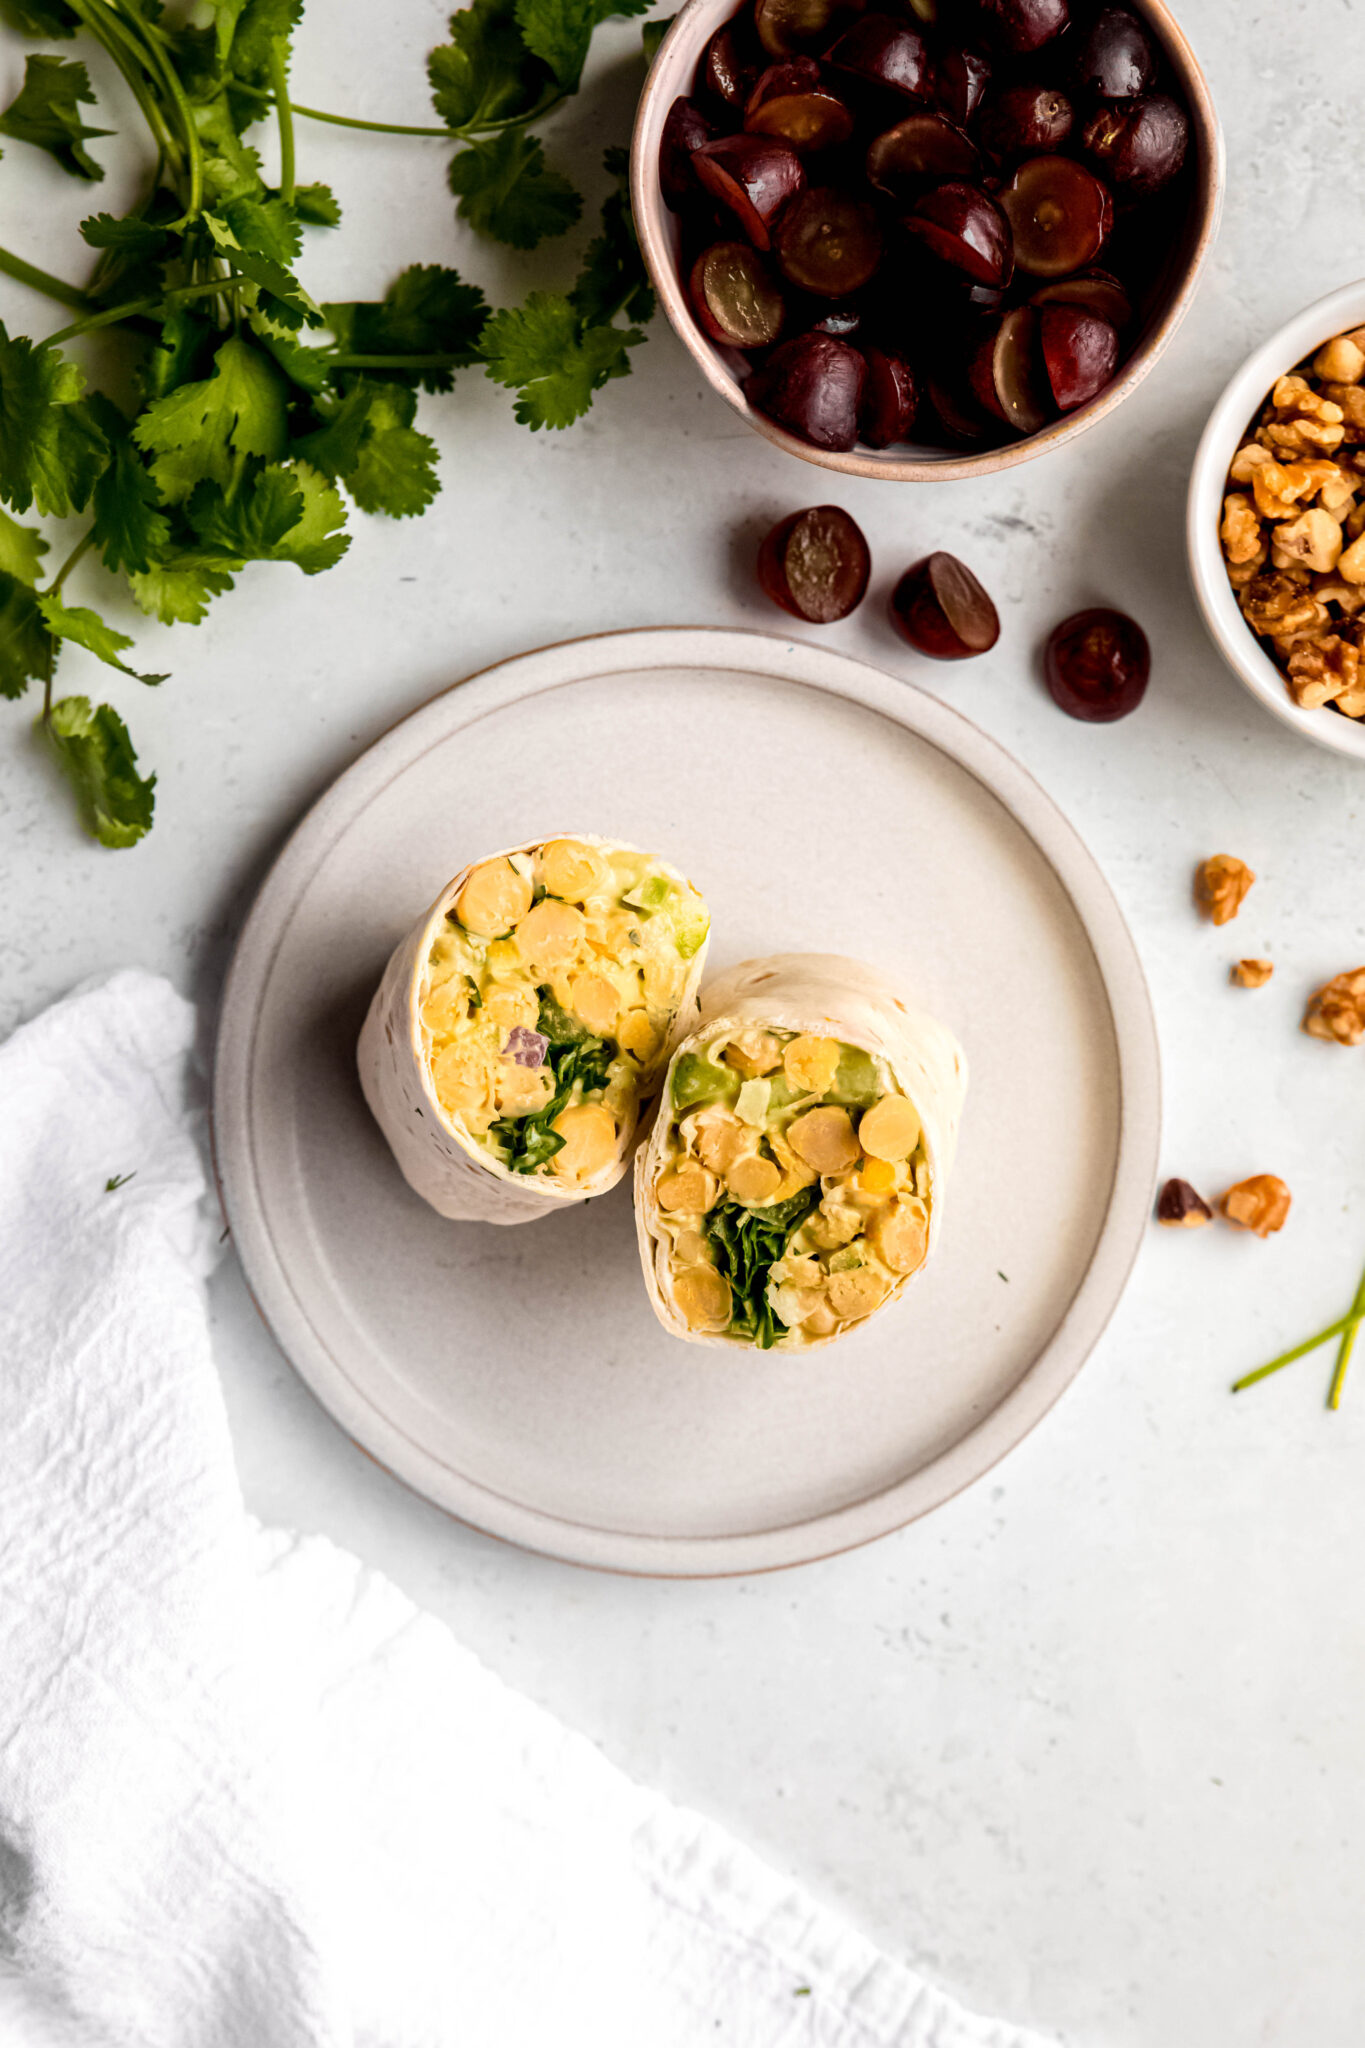
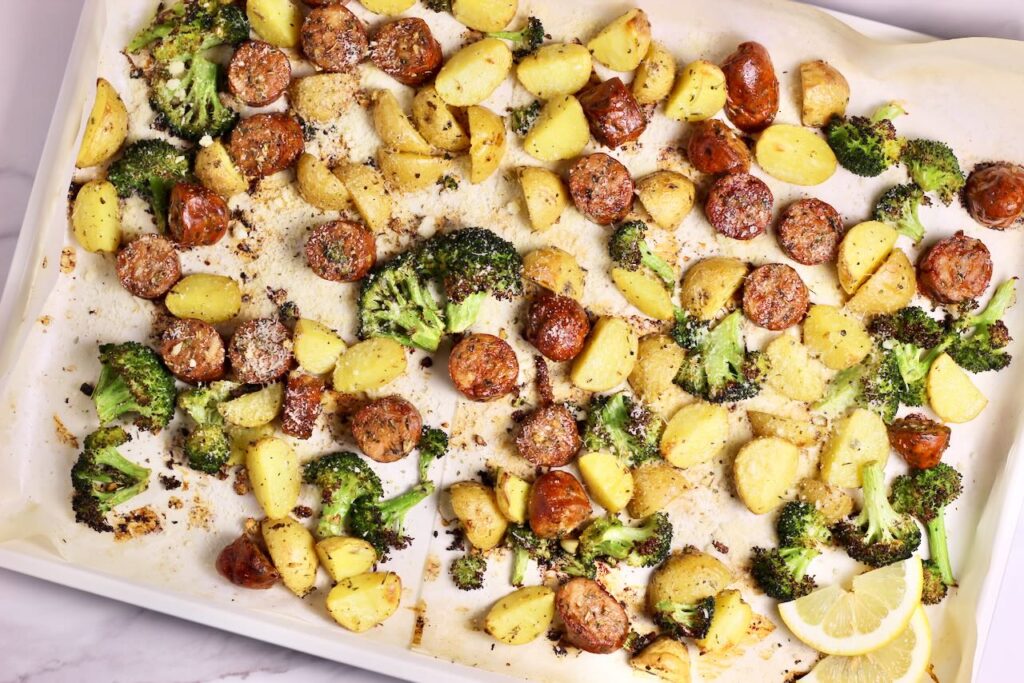
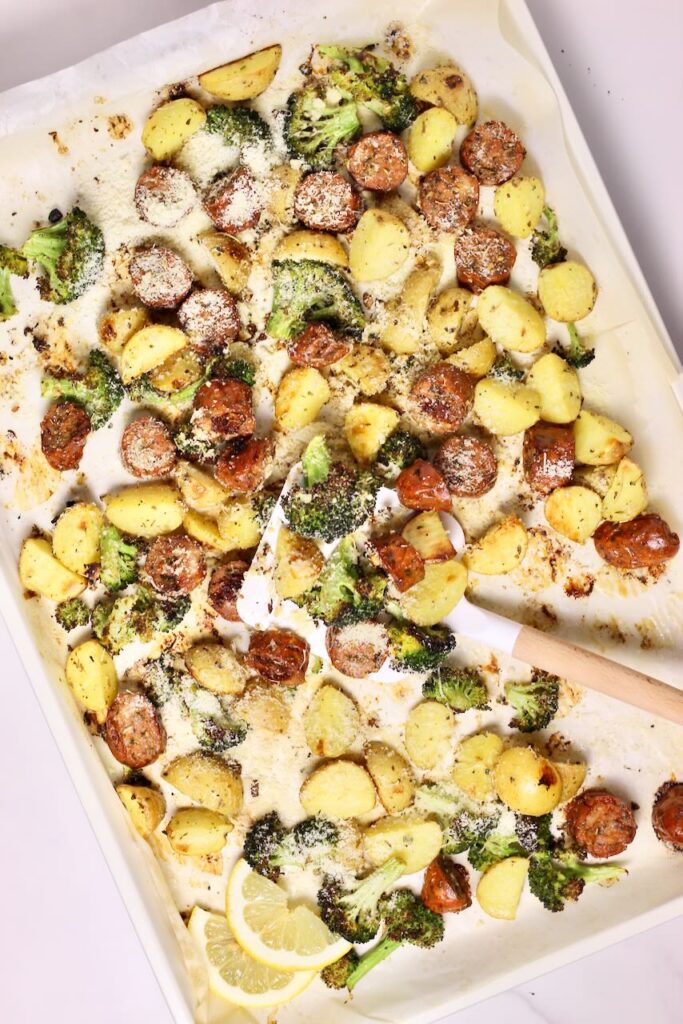
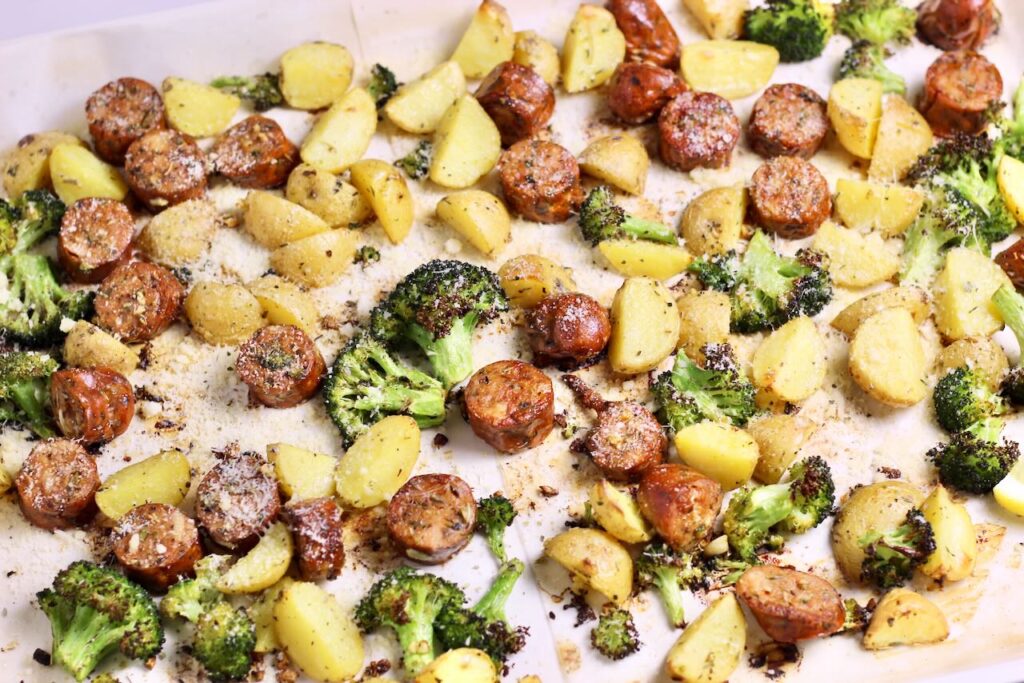
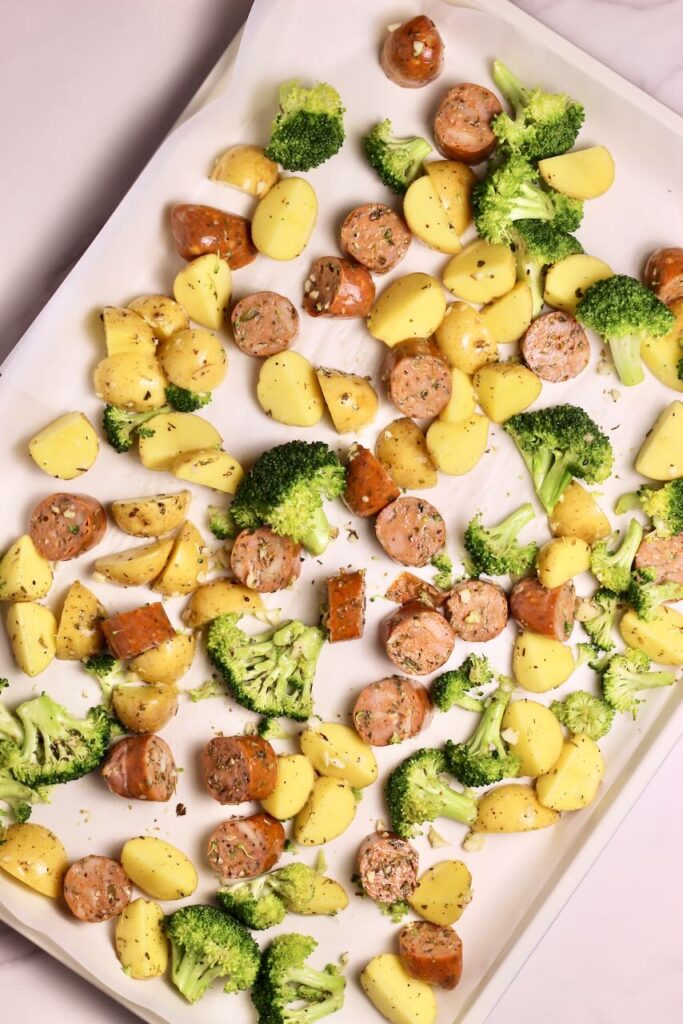
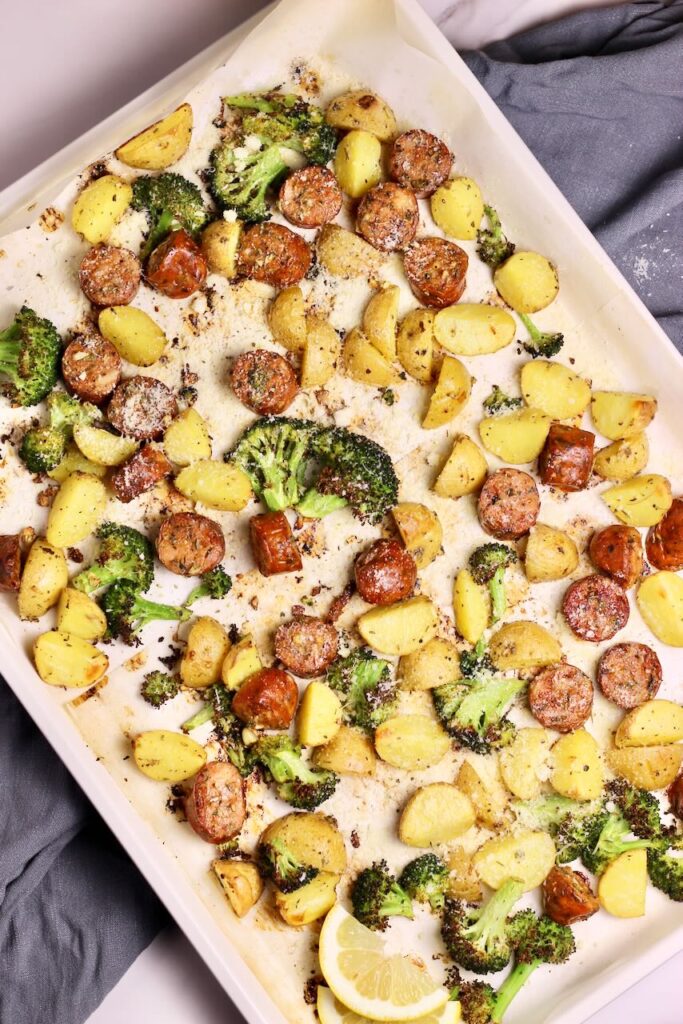
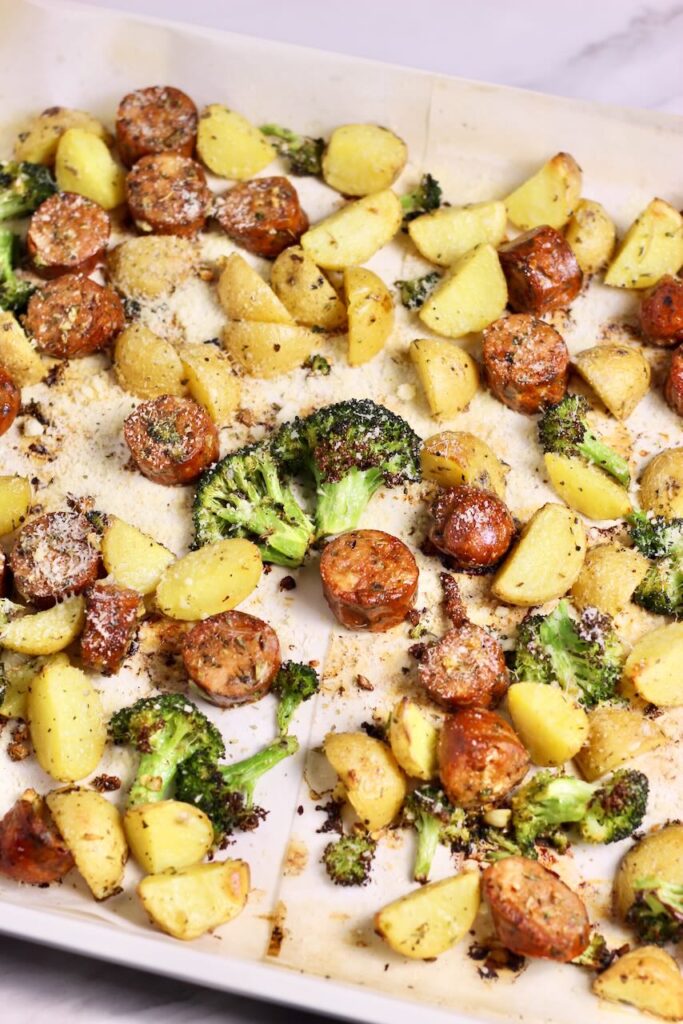
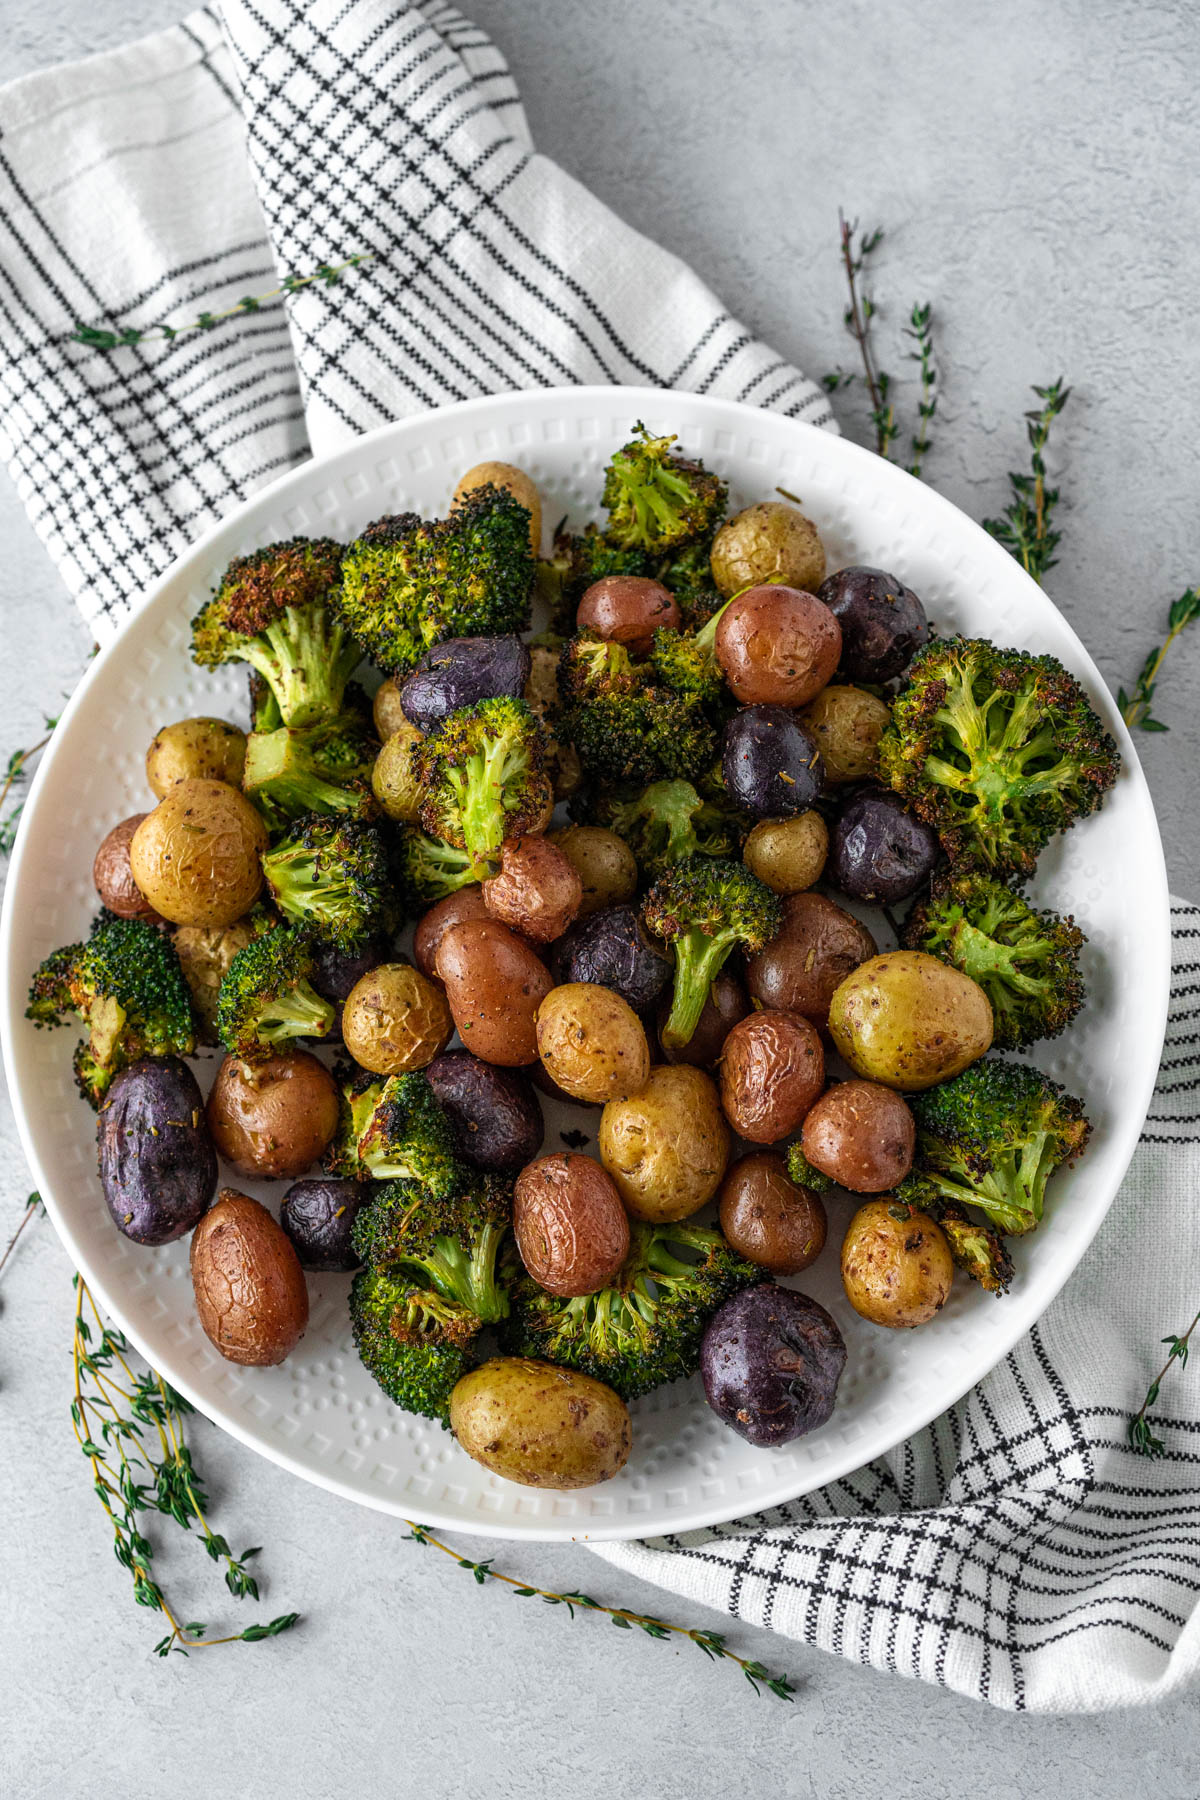
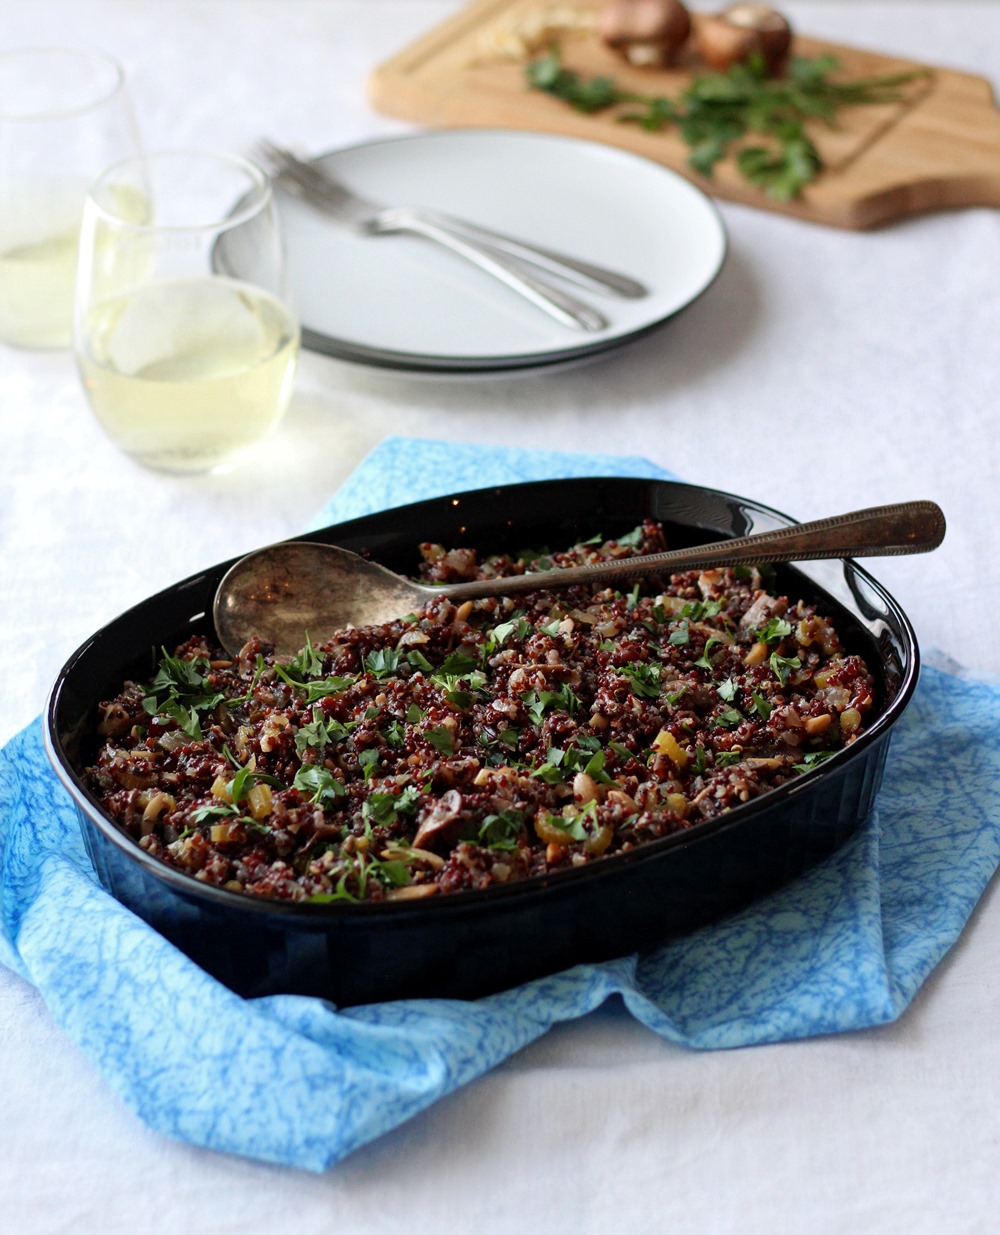
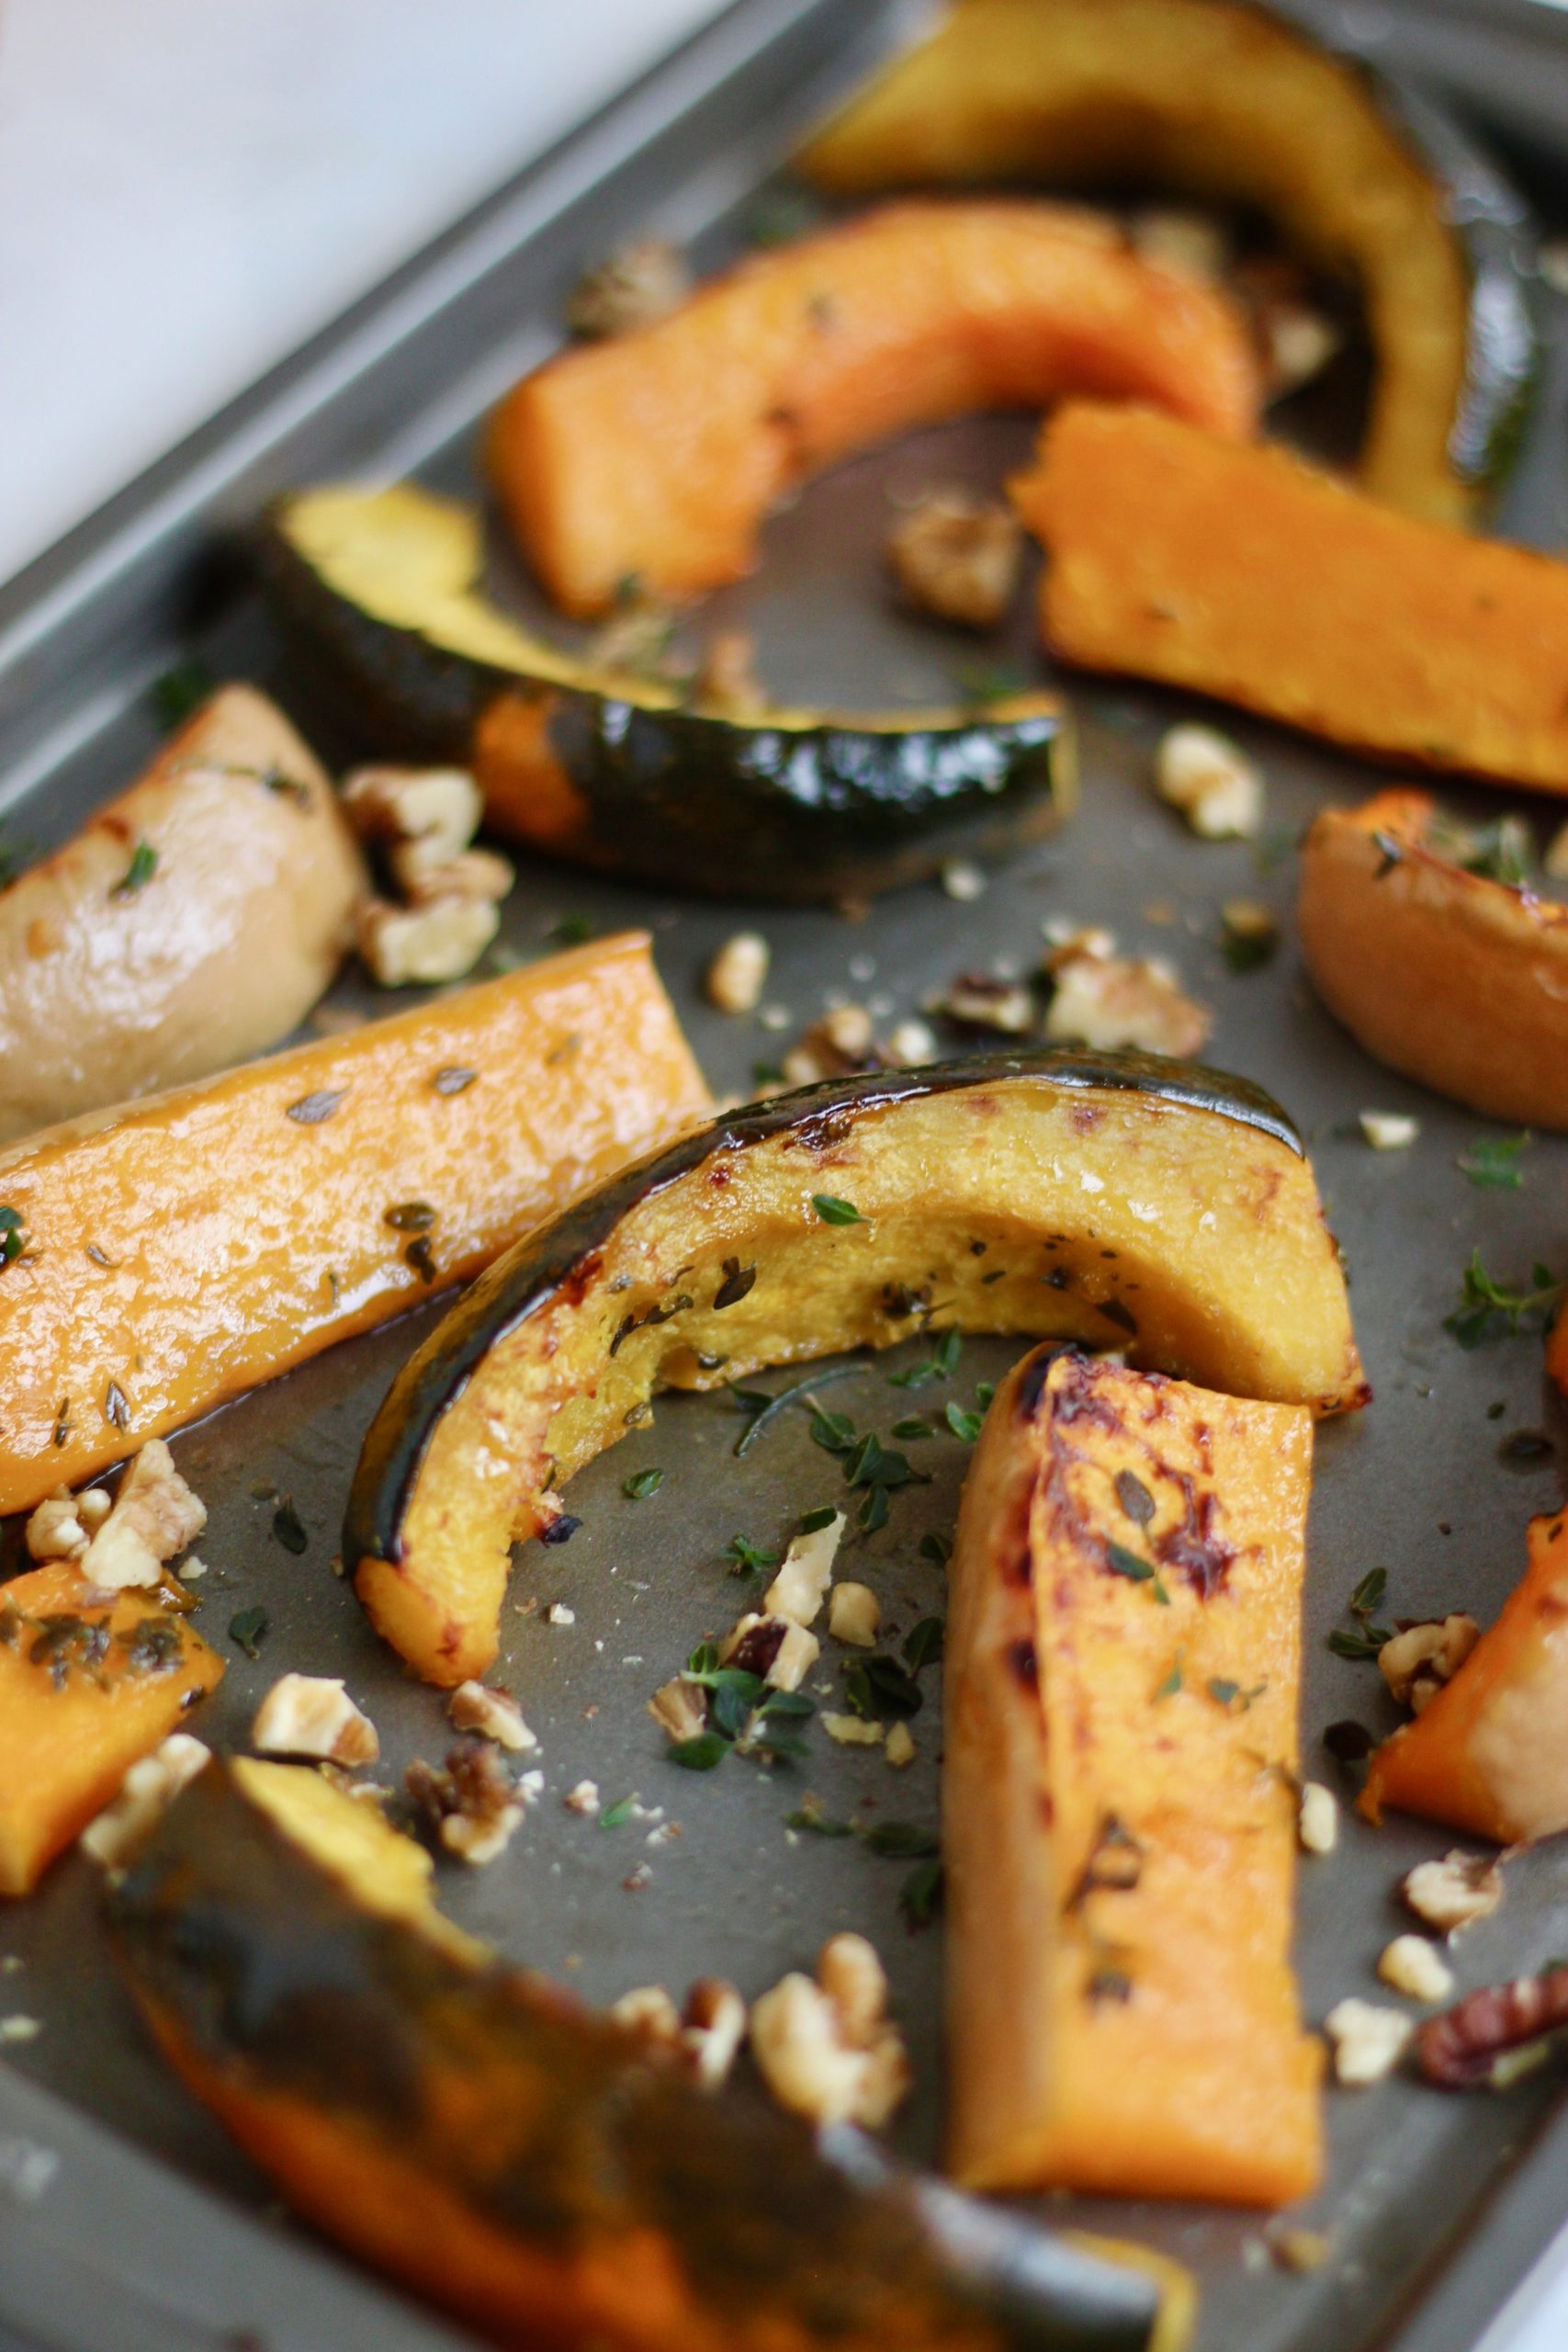
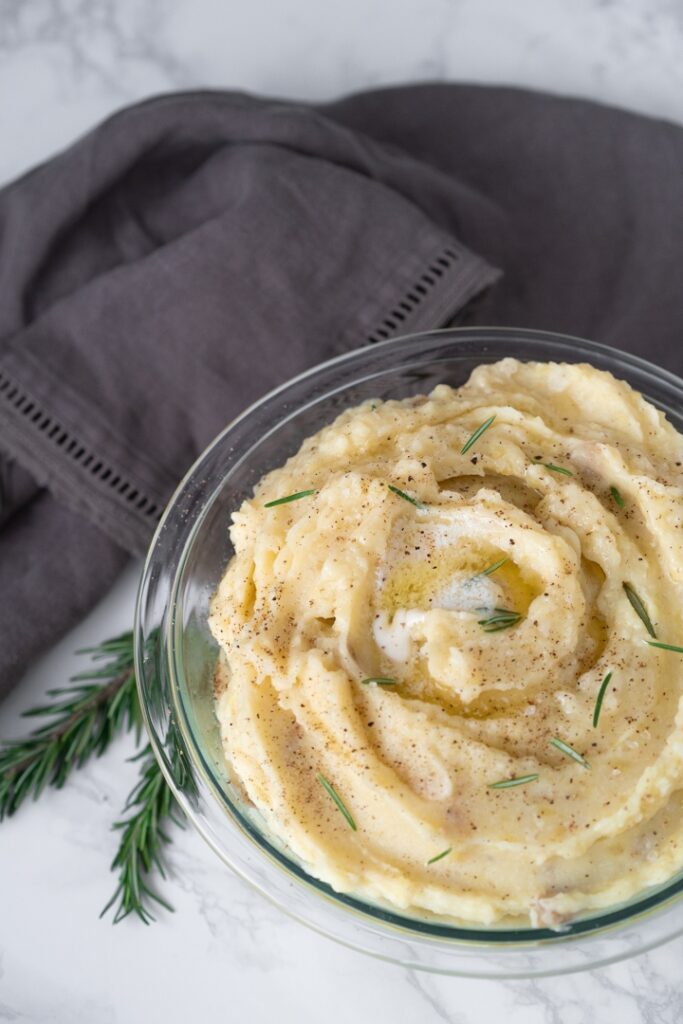
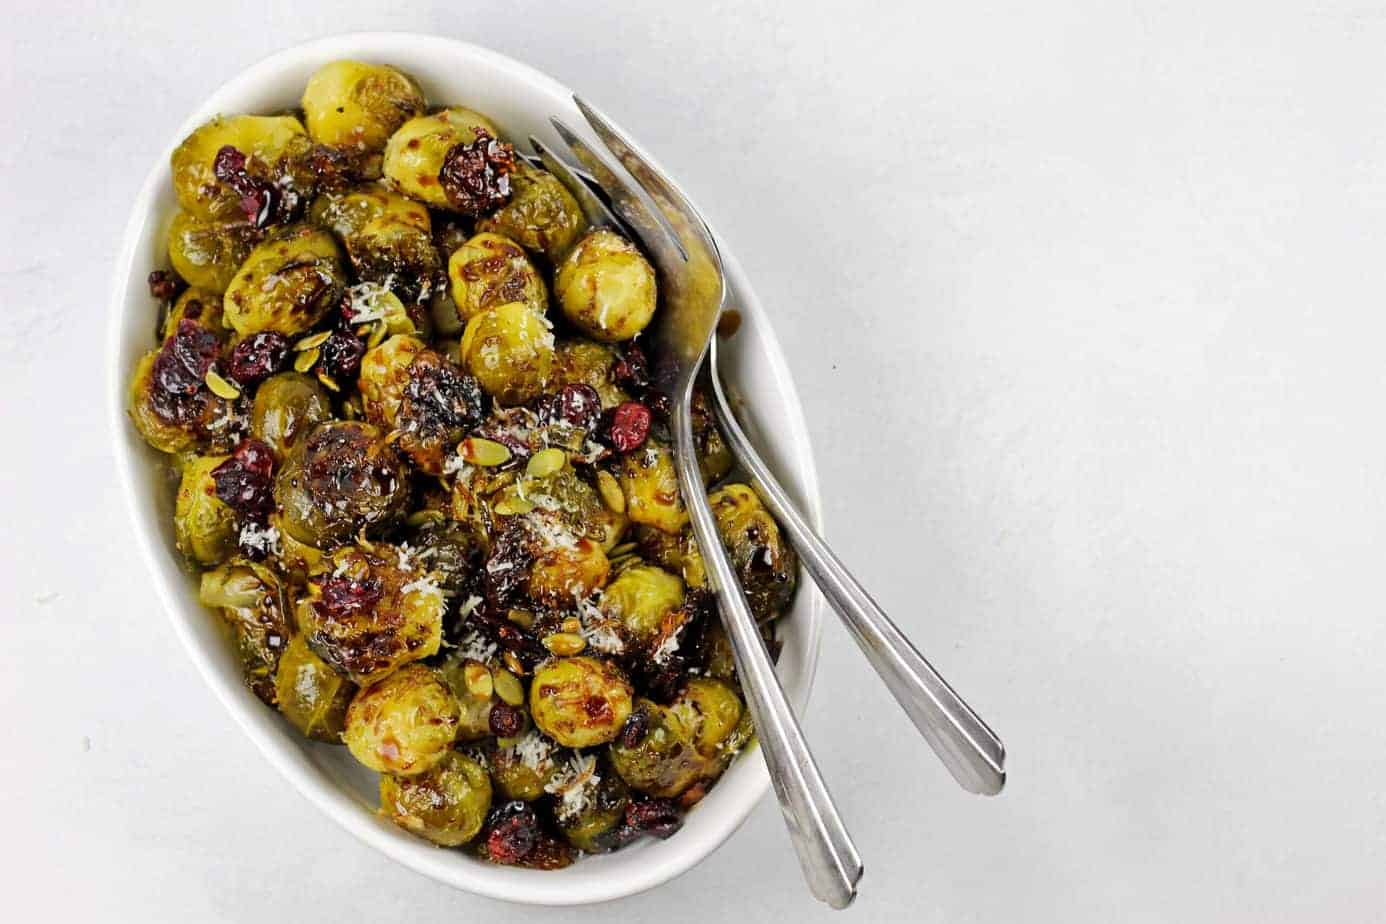
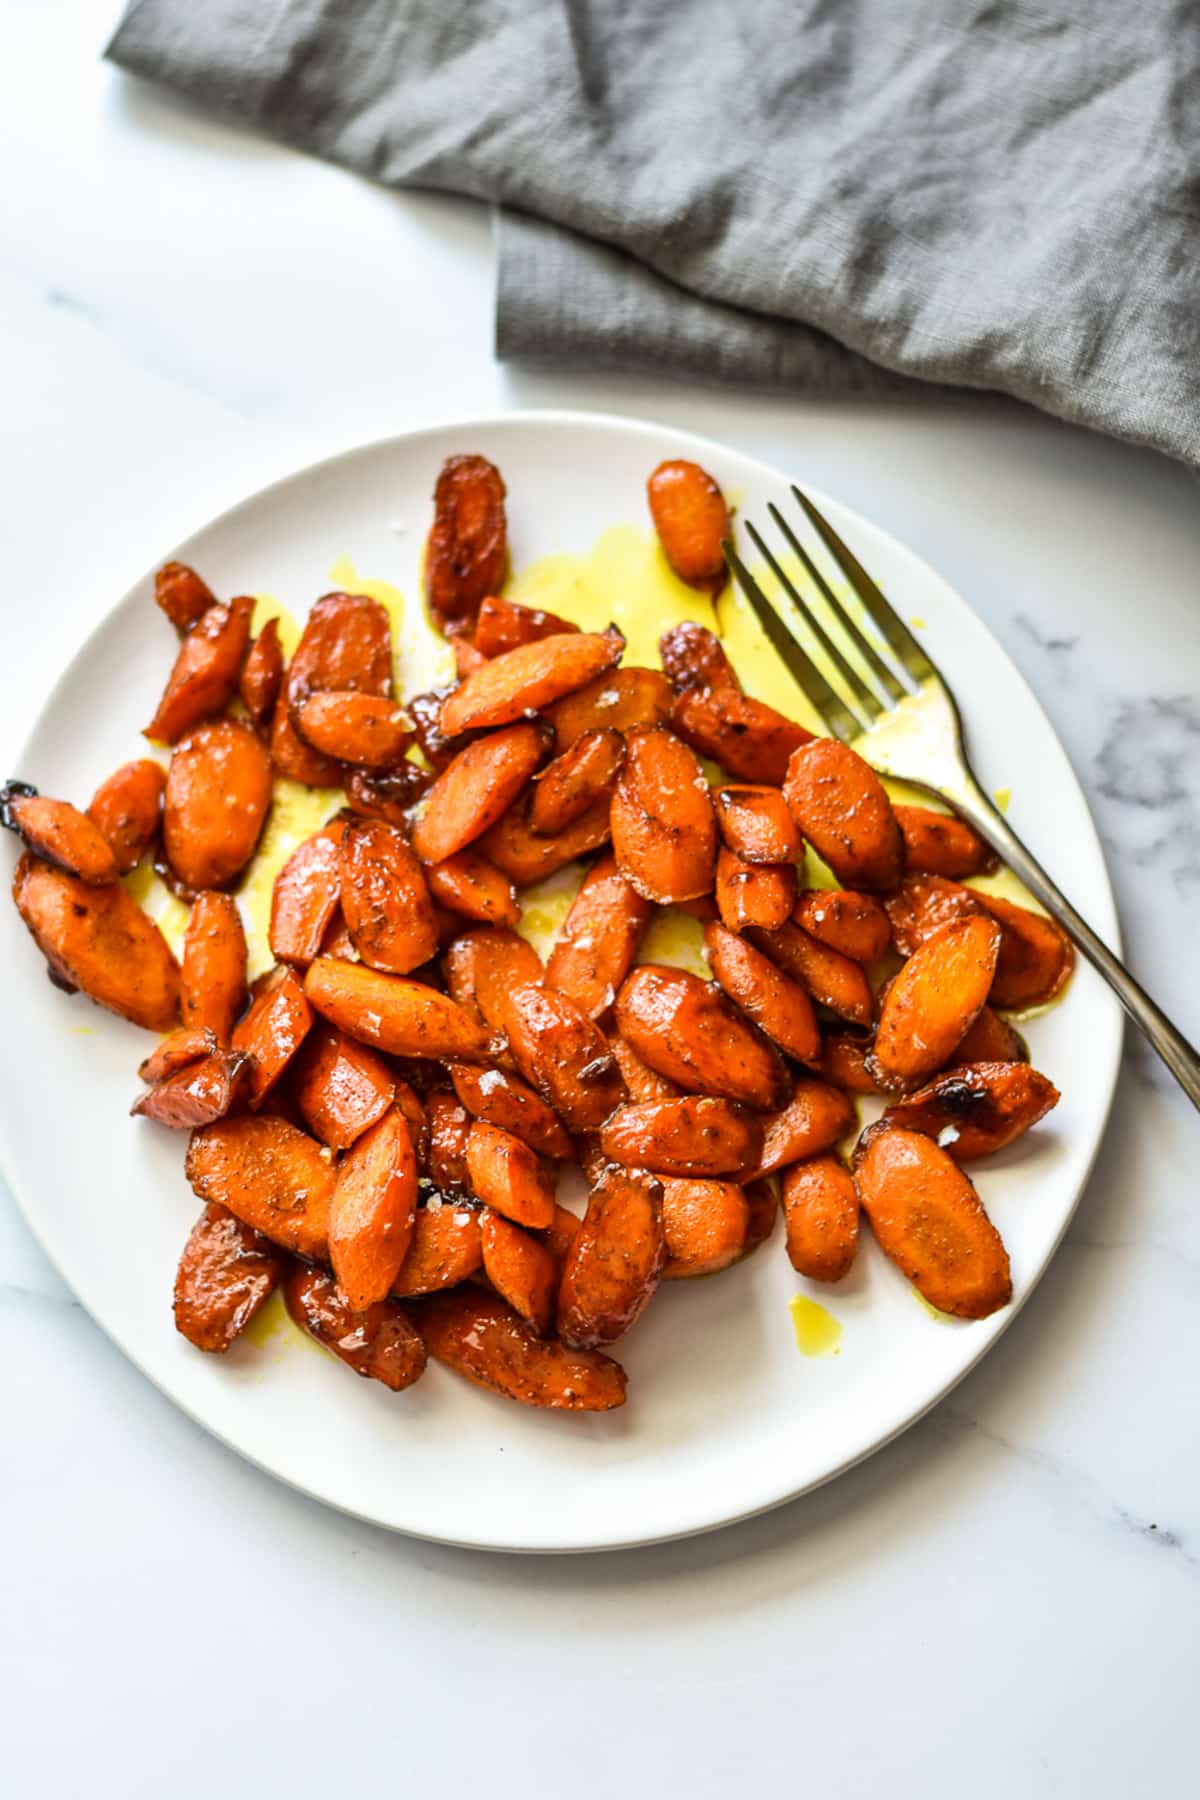
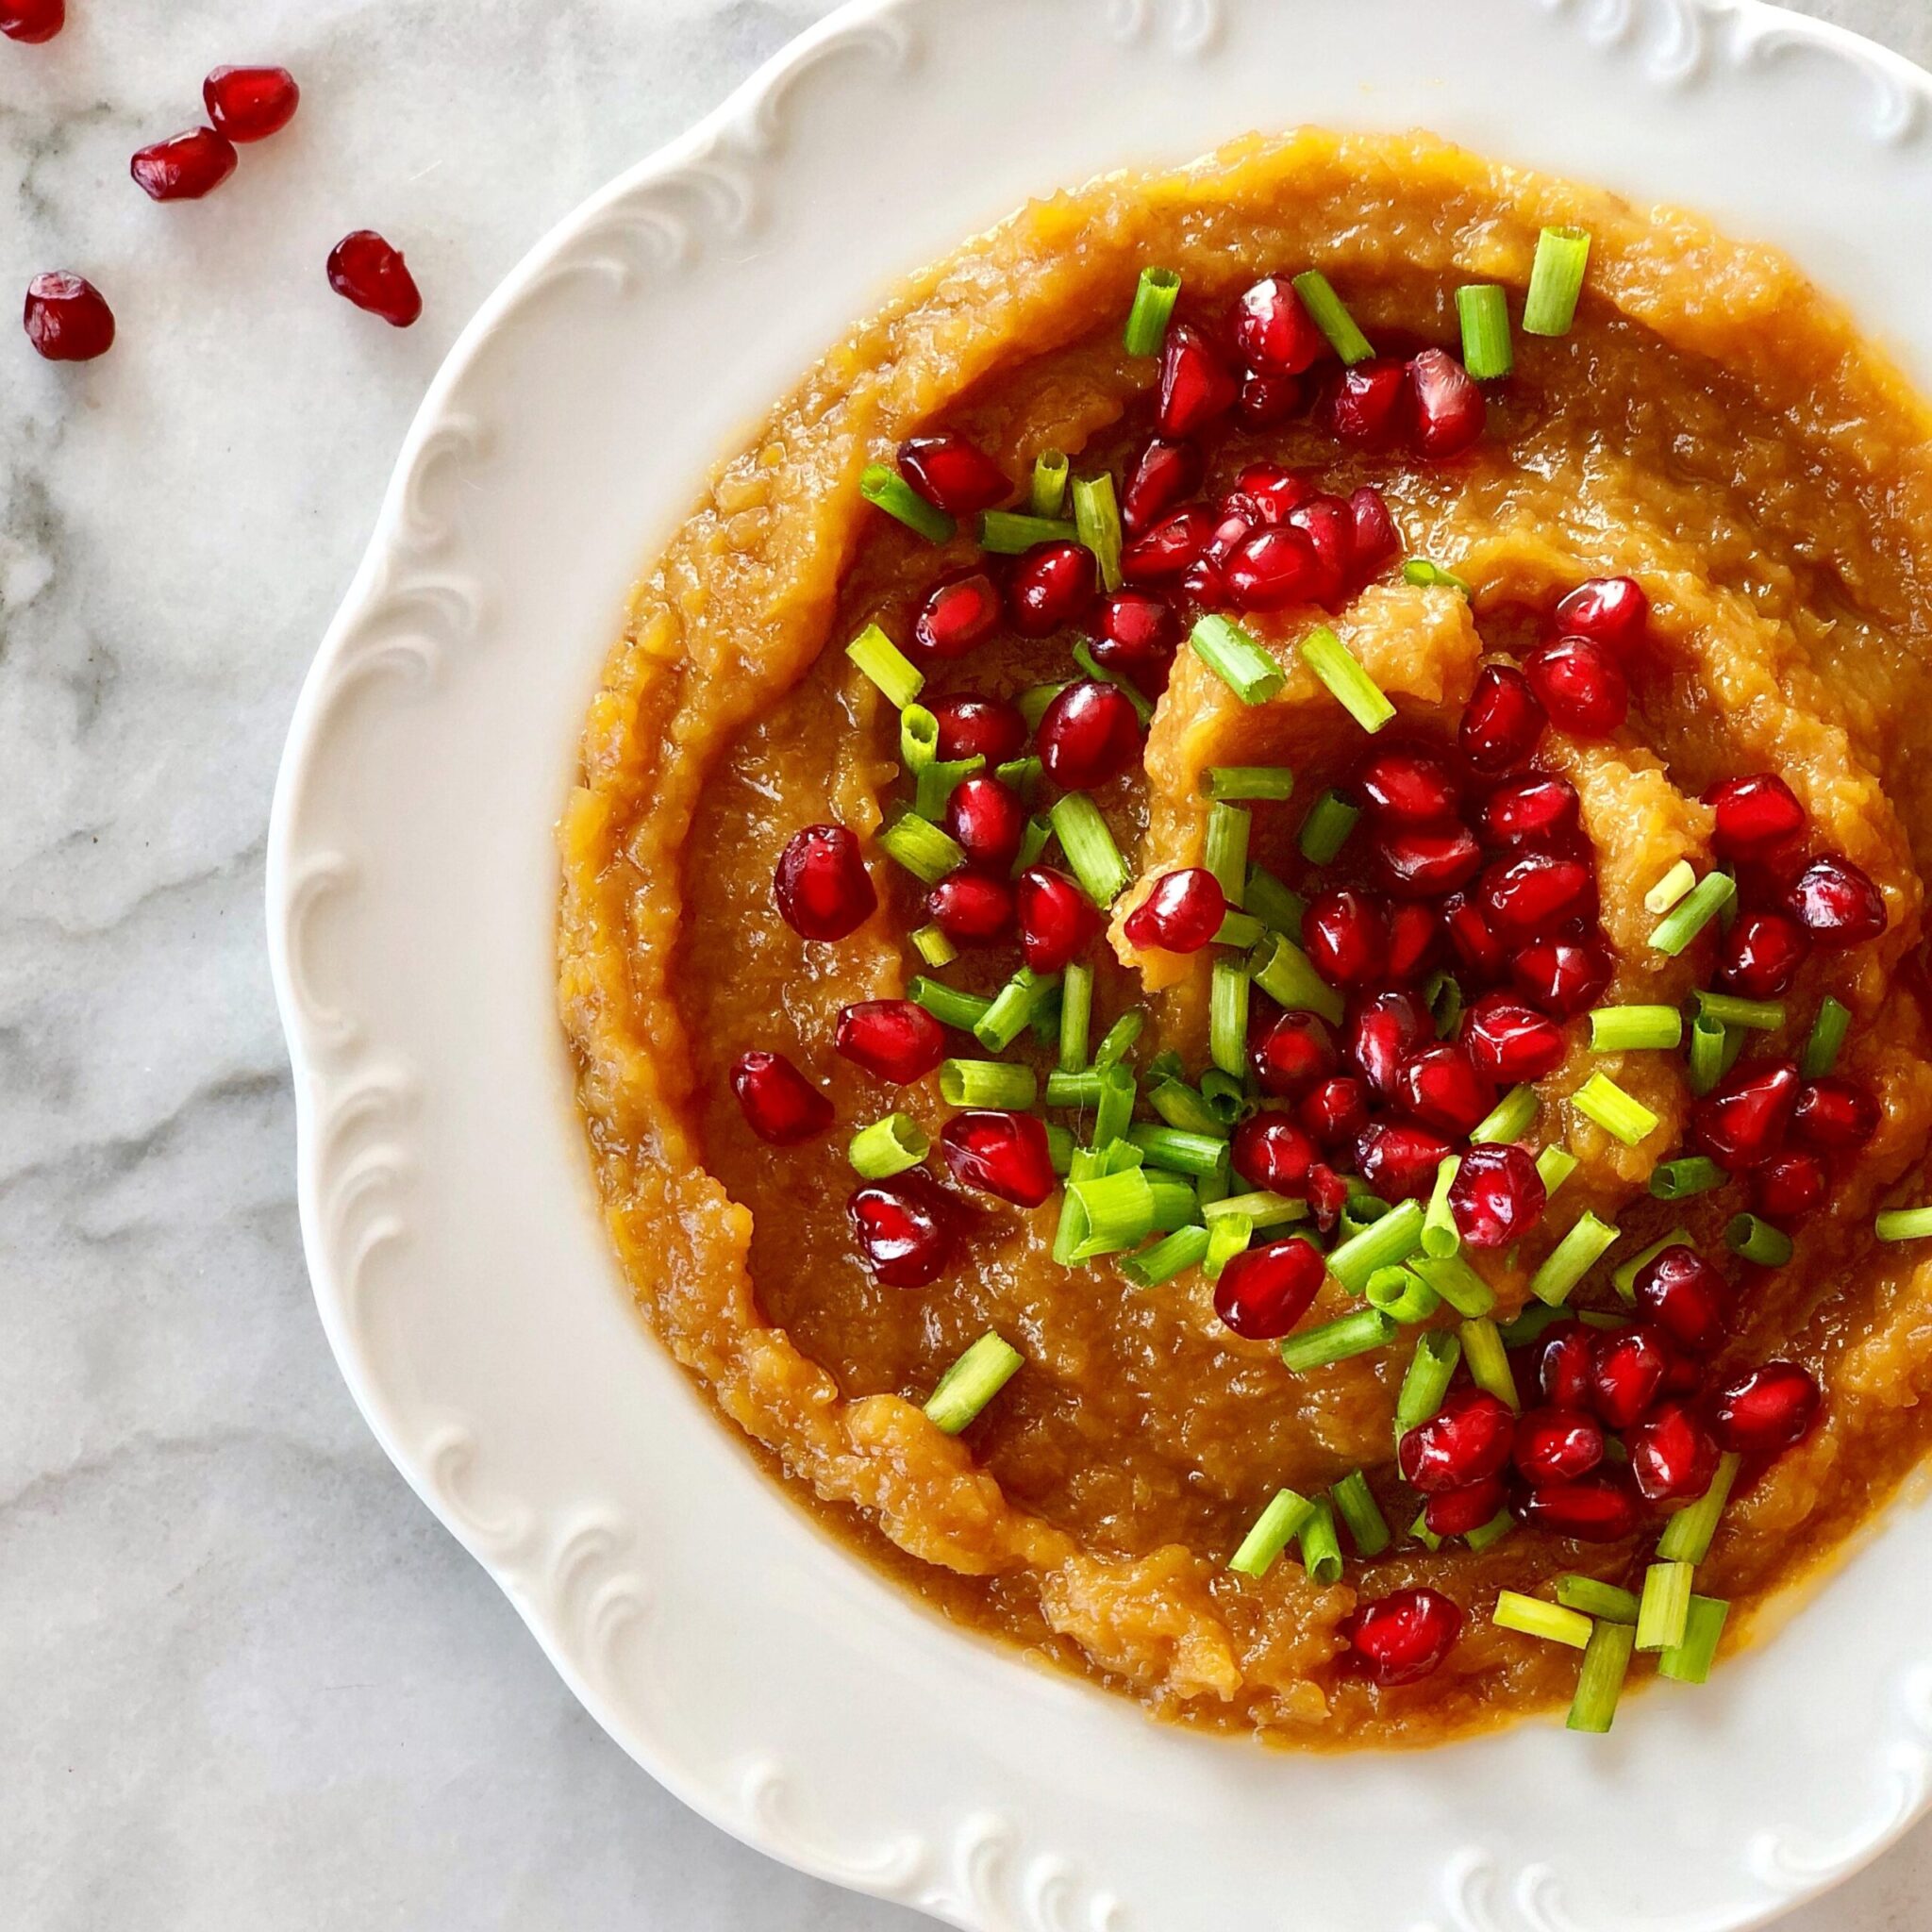
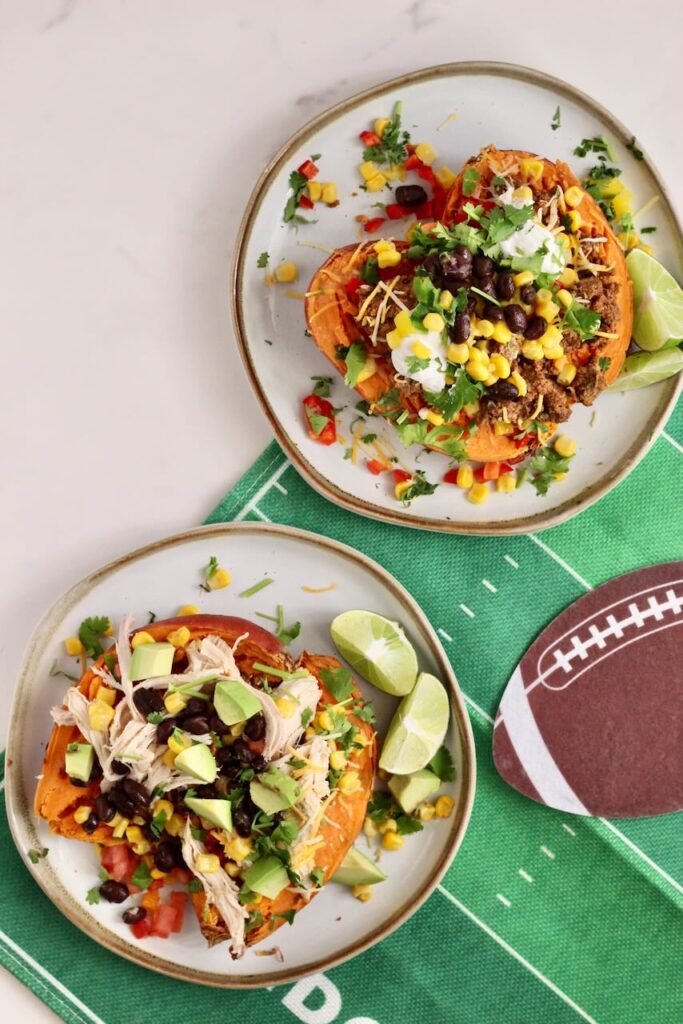
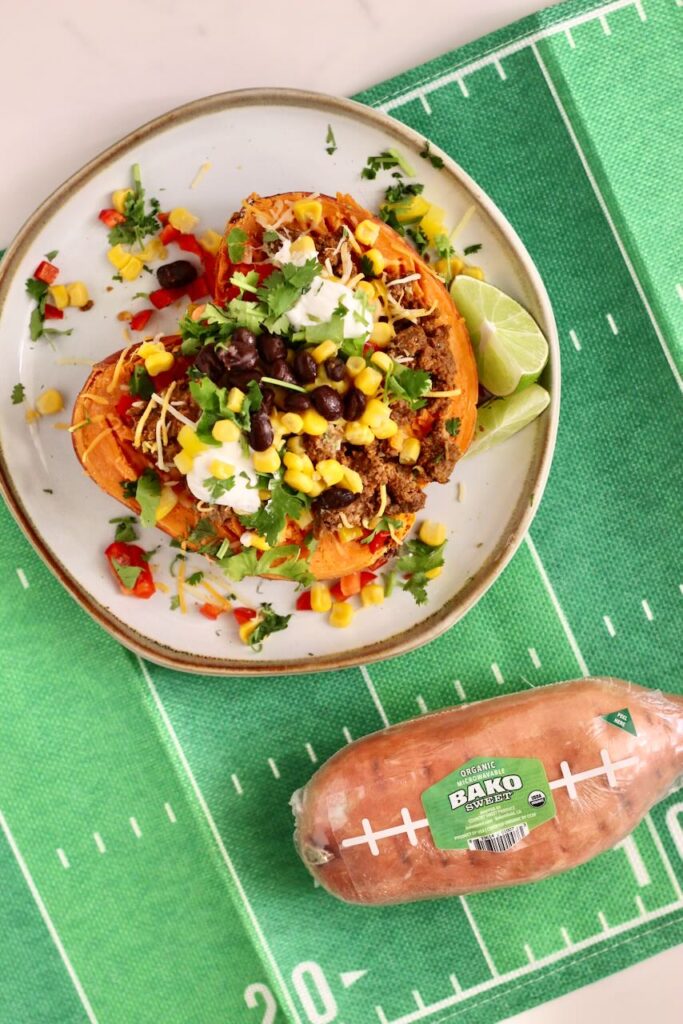
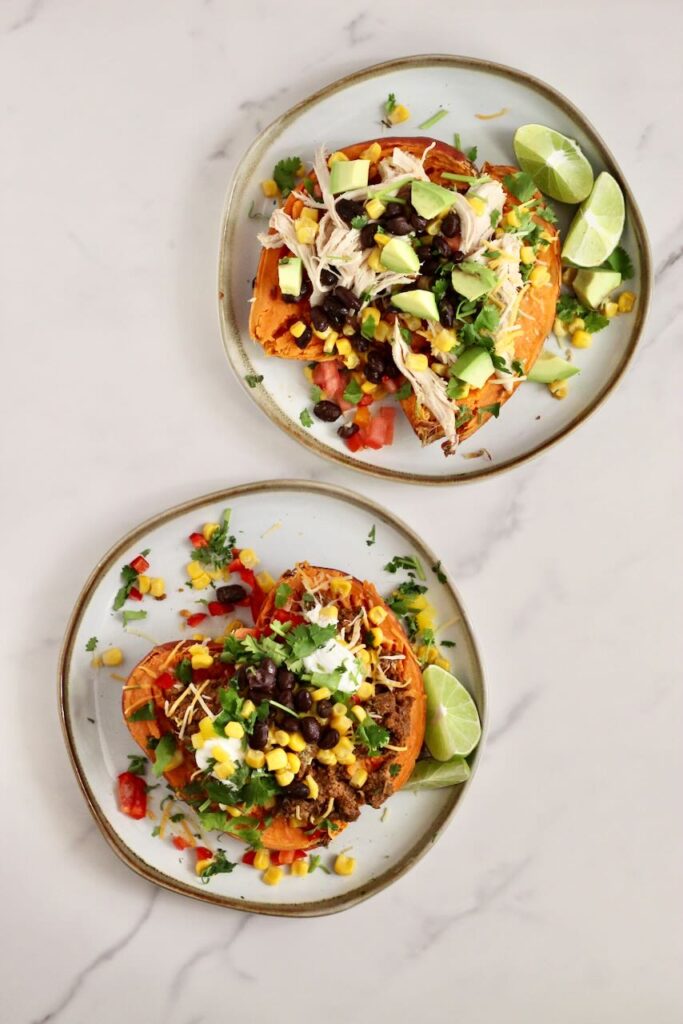
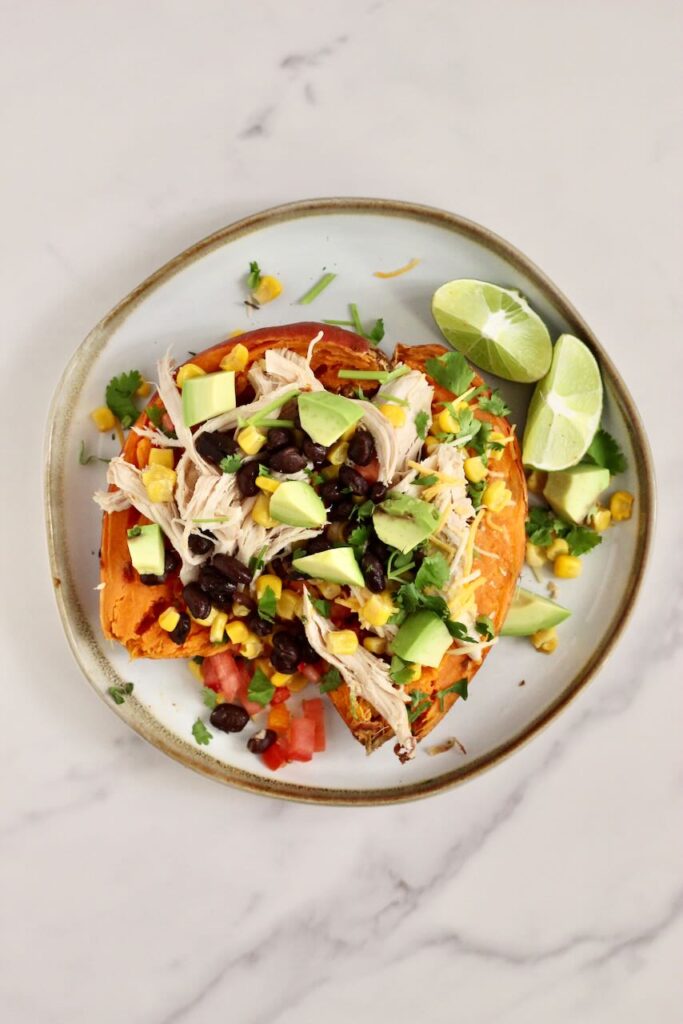
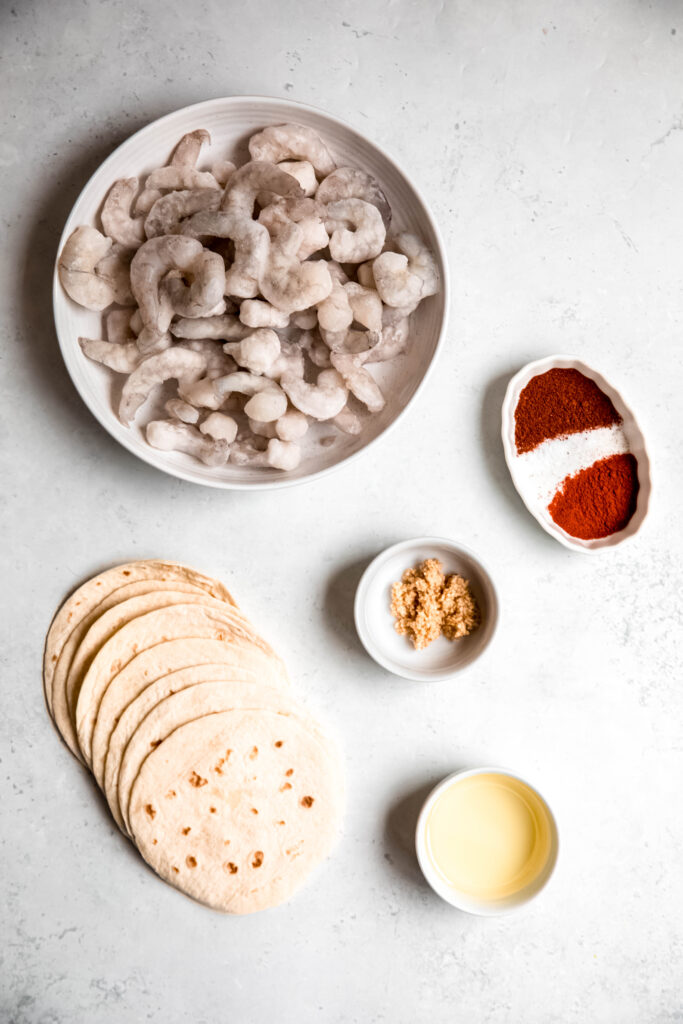
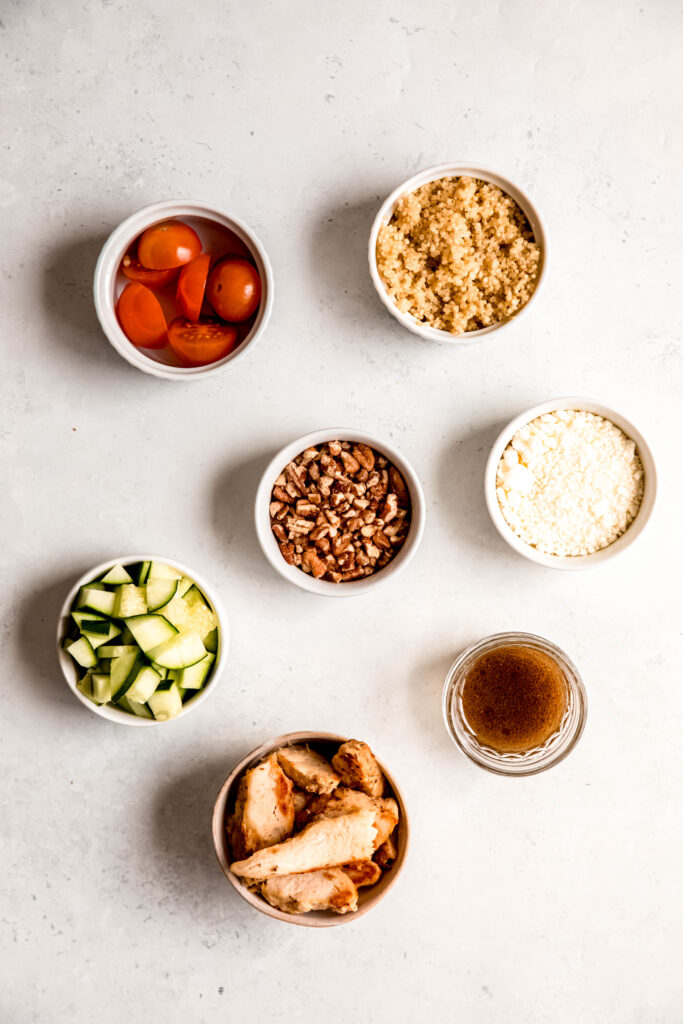
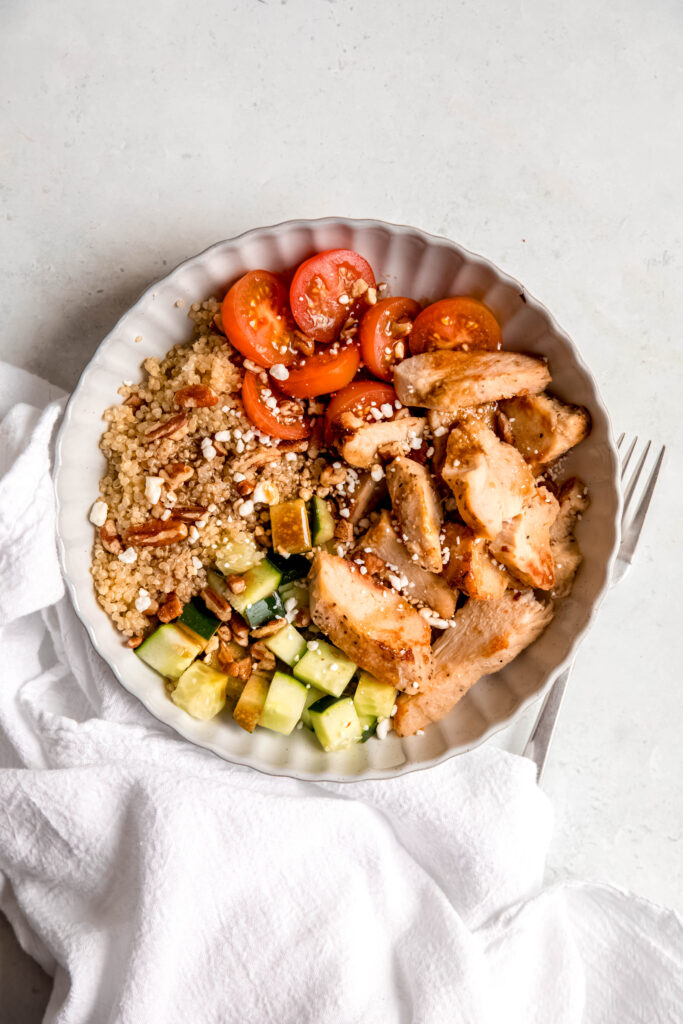
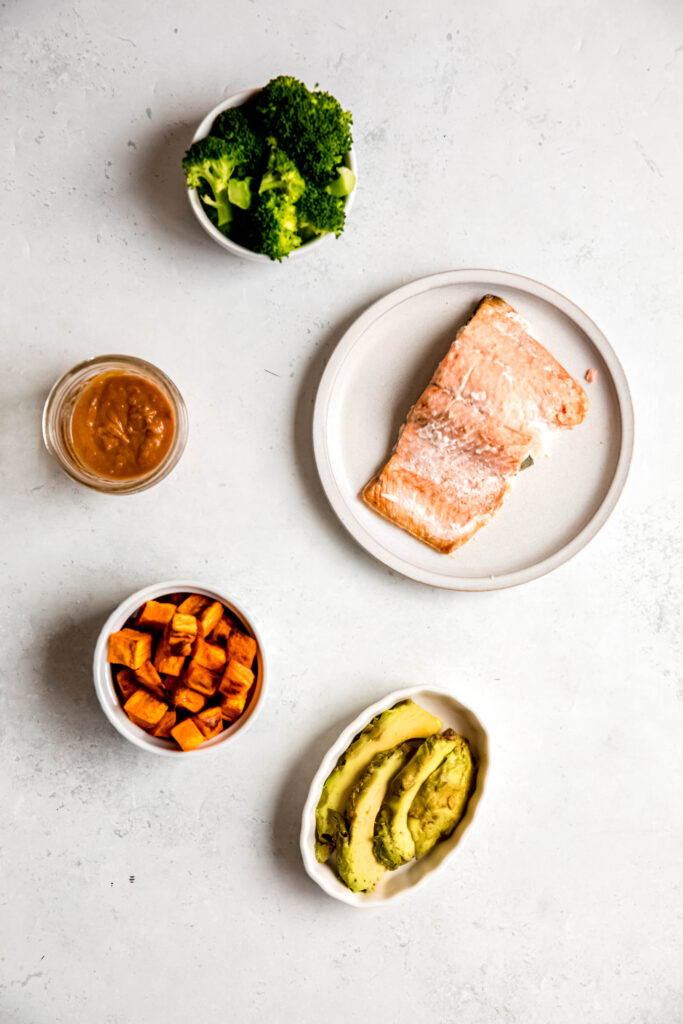
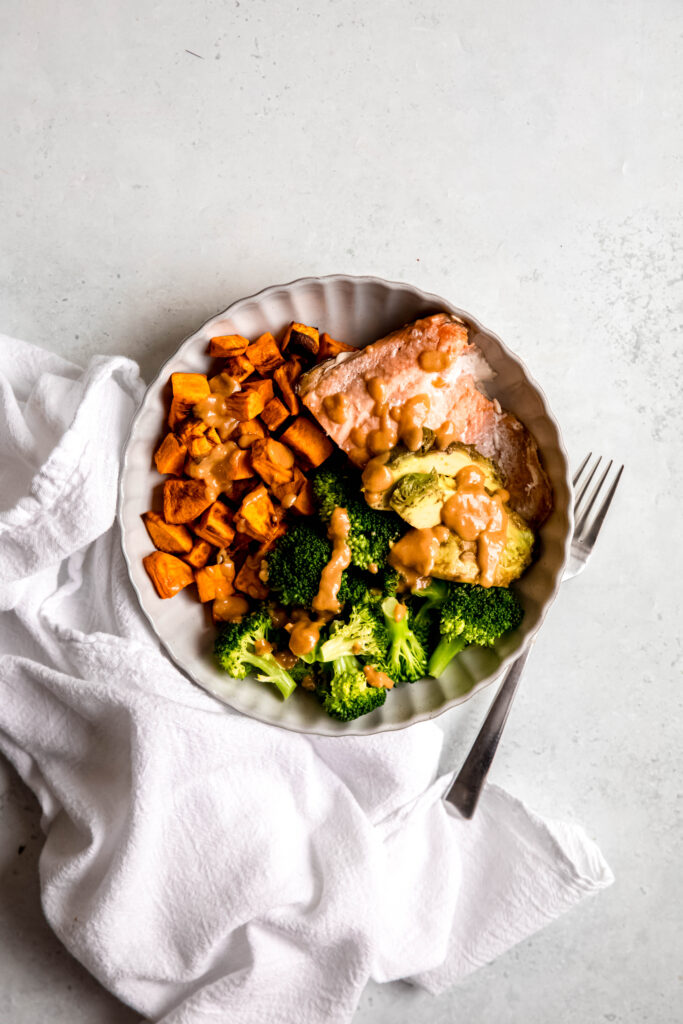
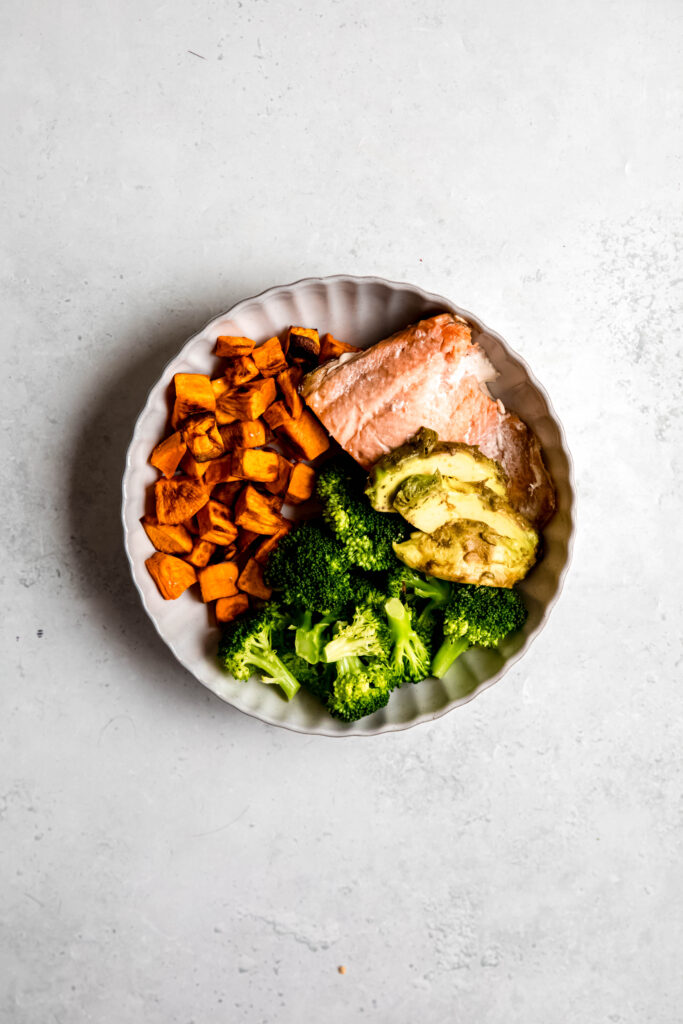
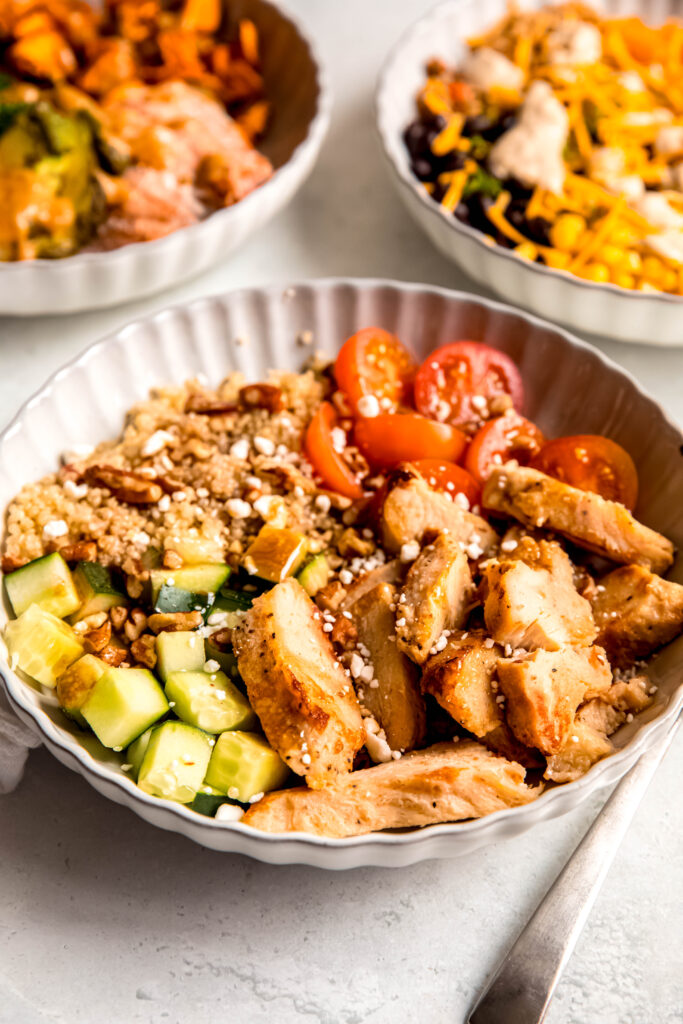
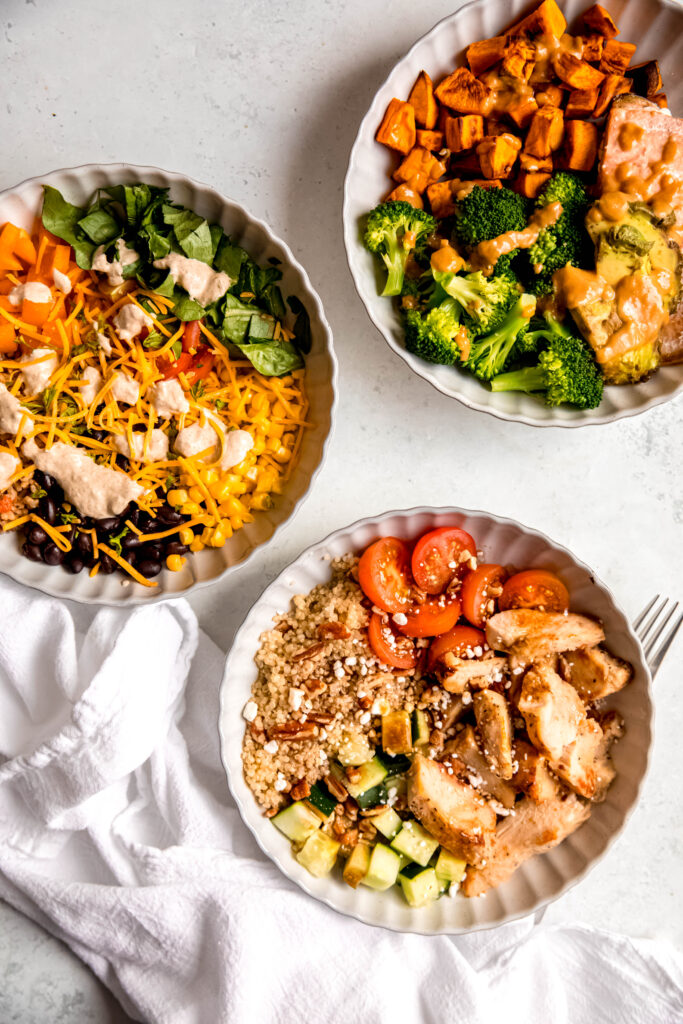
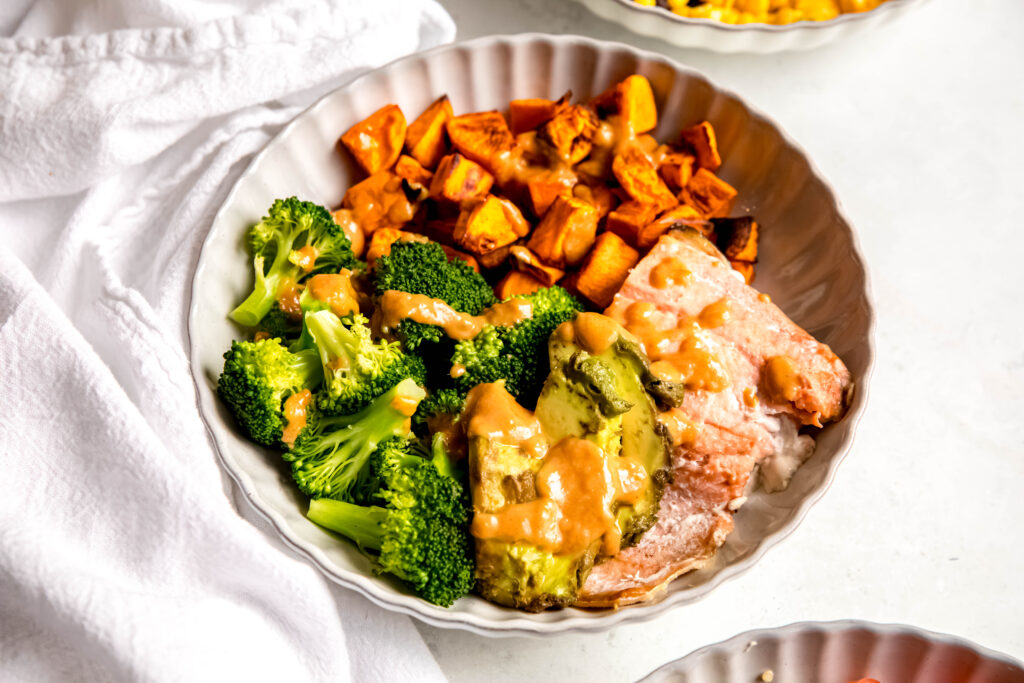
Try mixing it up with different kinds of carbs such as quinoa, brown rice, farro, barley, sweet potatoes, regular potatoes, squash or corn. In general, ½ cup of carbohydrates counts as one serving. However, if you are wanting something more filling you might considering using 1 cup of carbohydrates.
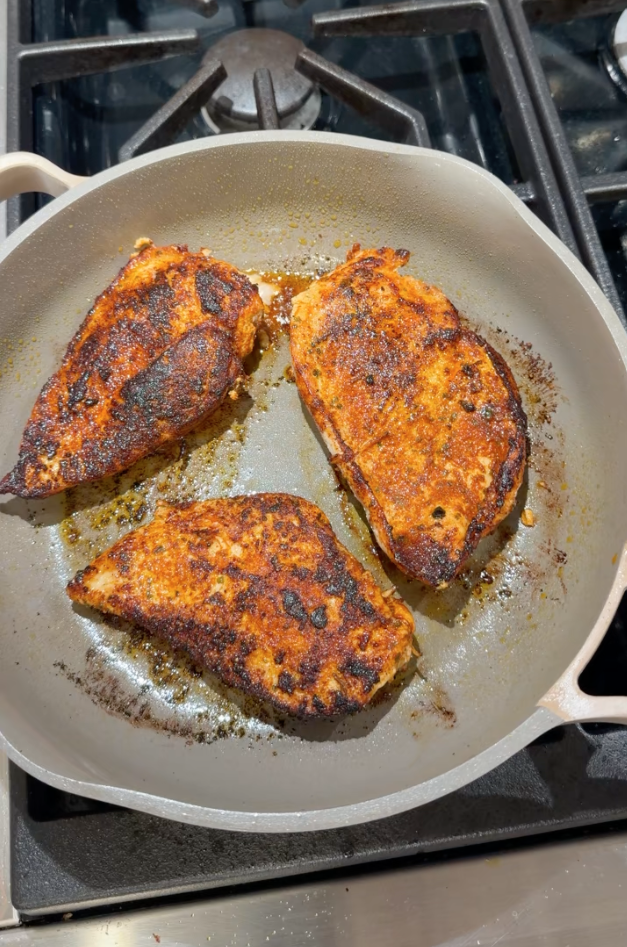
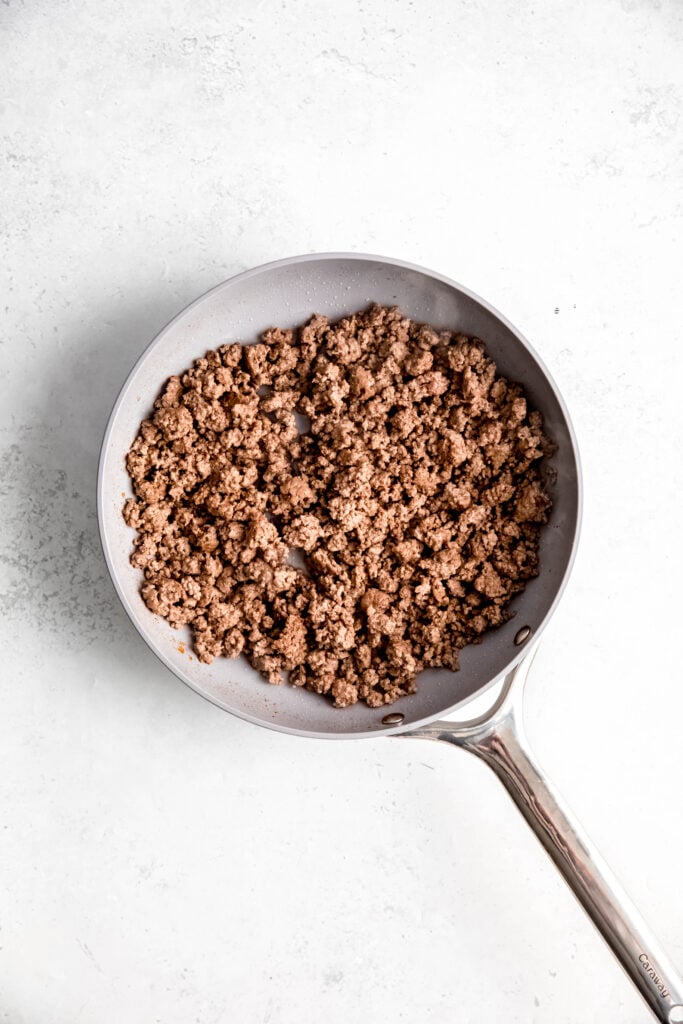
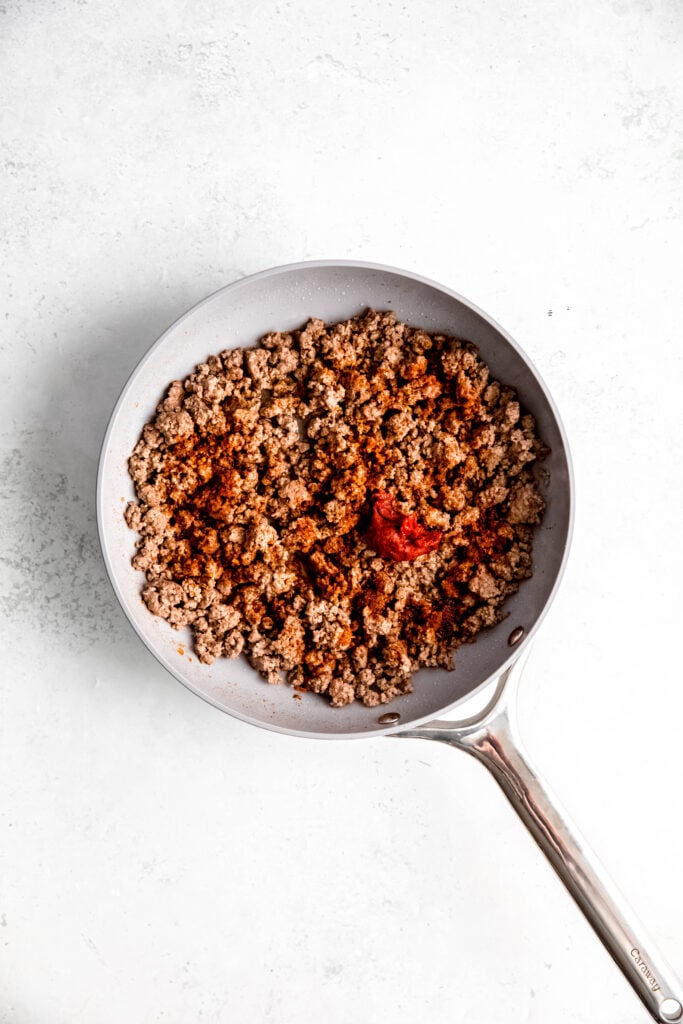
2. Then, add some protein in the mix.
Protein is important because it keeps our muscles strong and helps satisfy us. The general recommendation is 0.8 grams of protein per kilogram of body weight. This is about 46 grams a day for women or 56 grams a day for men. However, this number can be super different from person to person. It's best to see a registered dietitian for your specific protein needs.
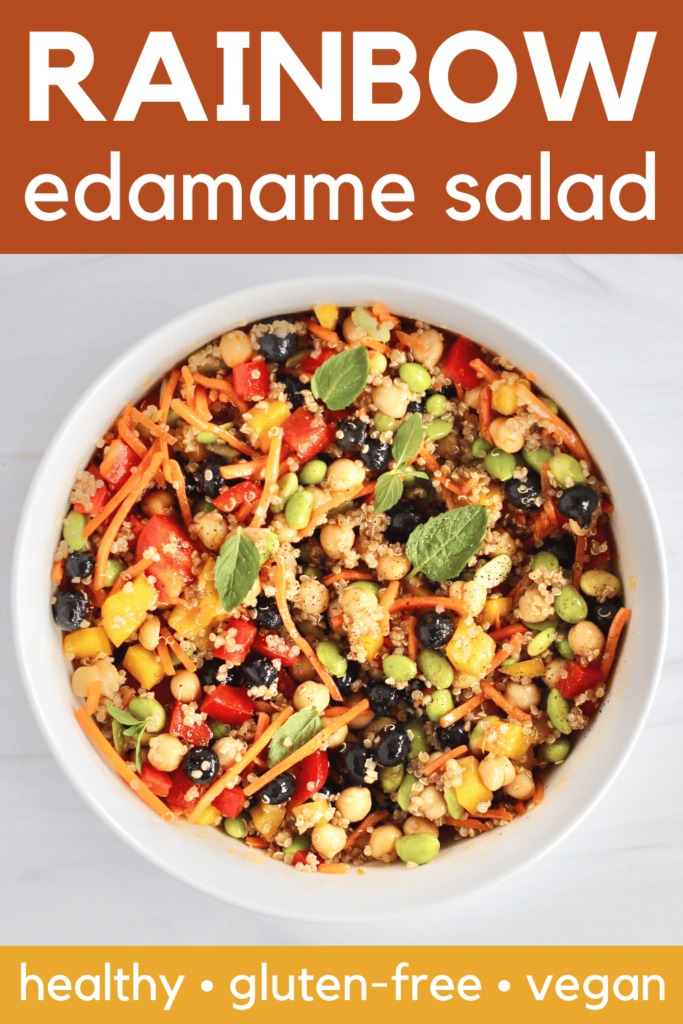
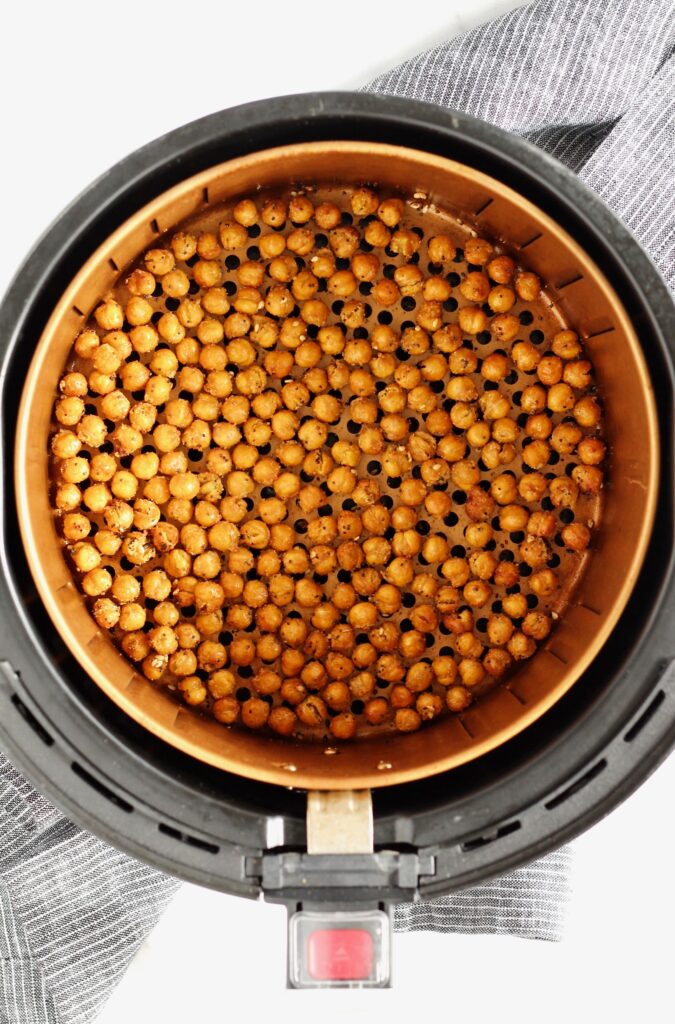
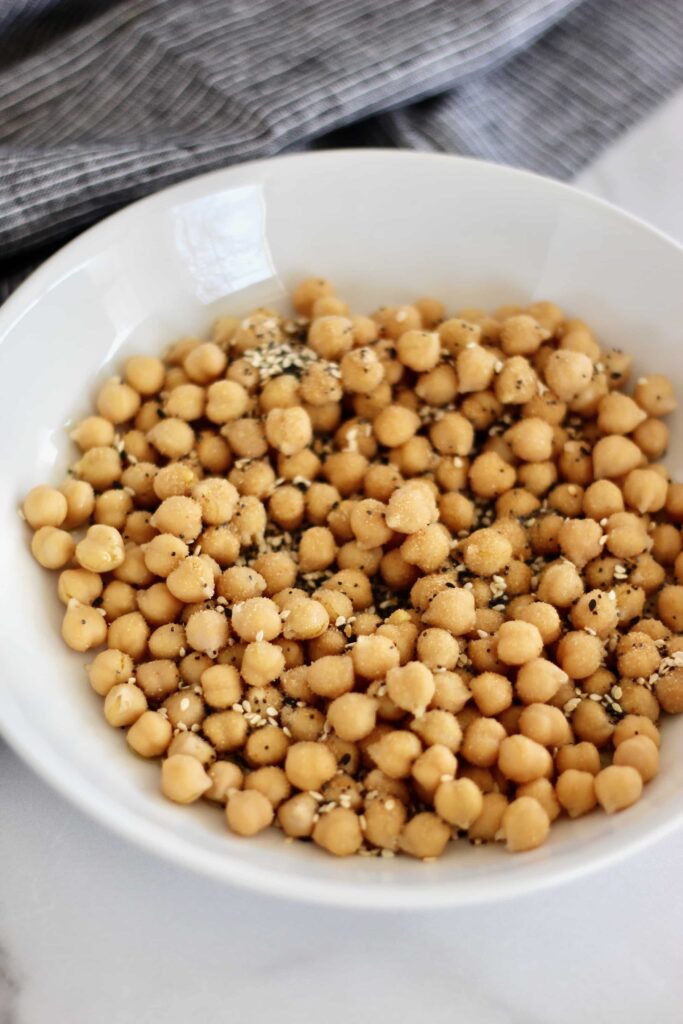
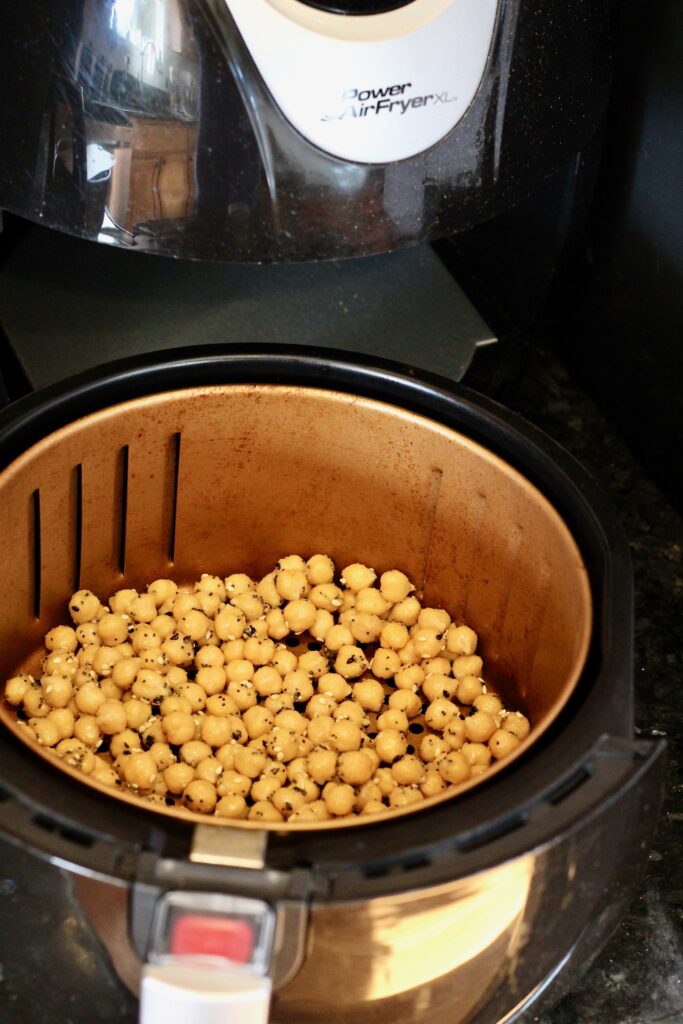
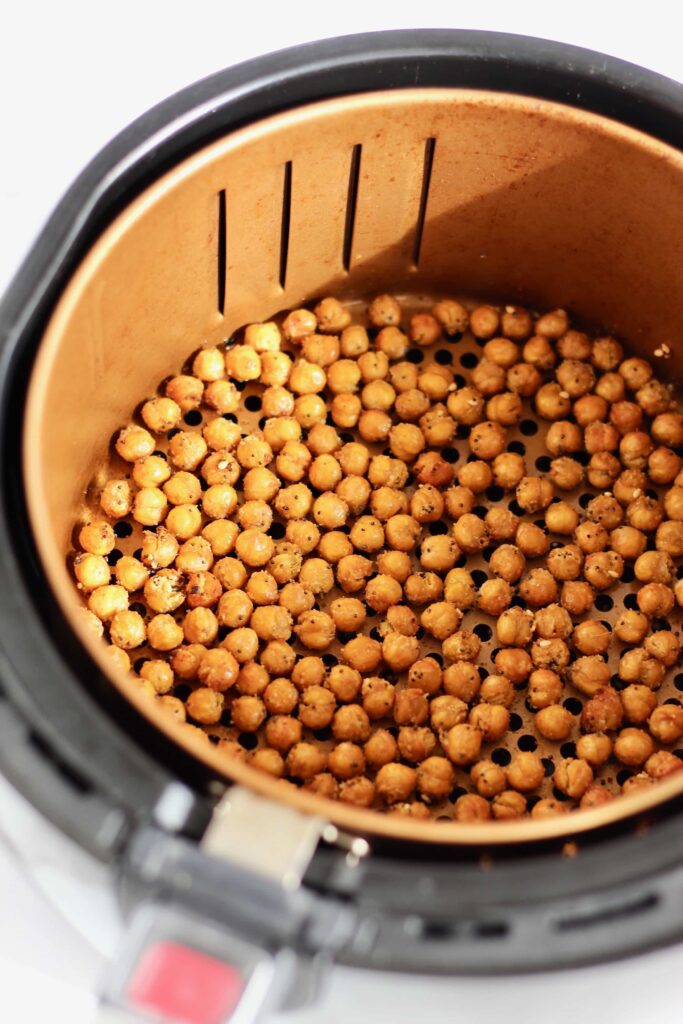
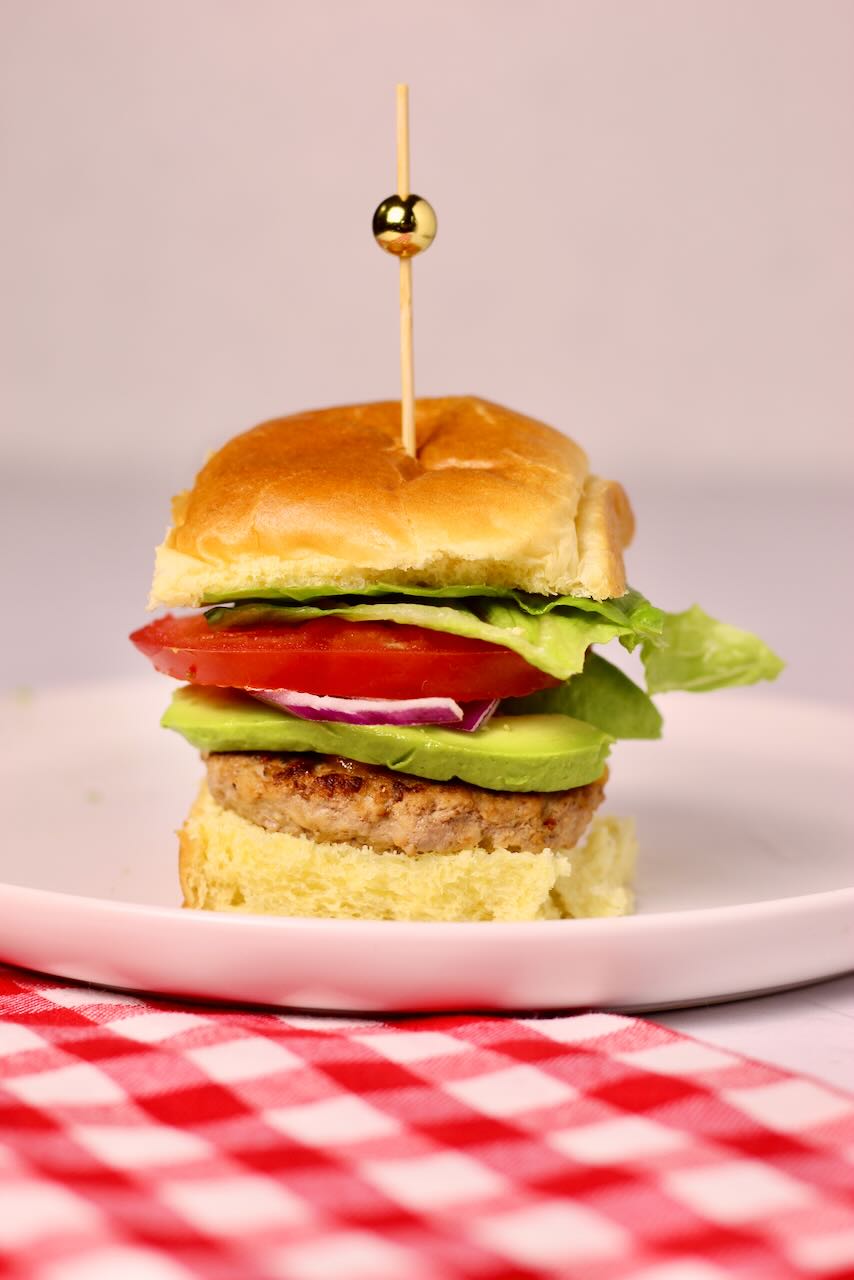
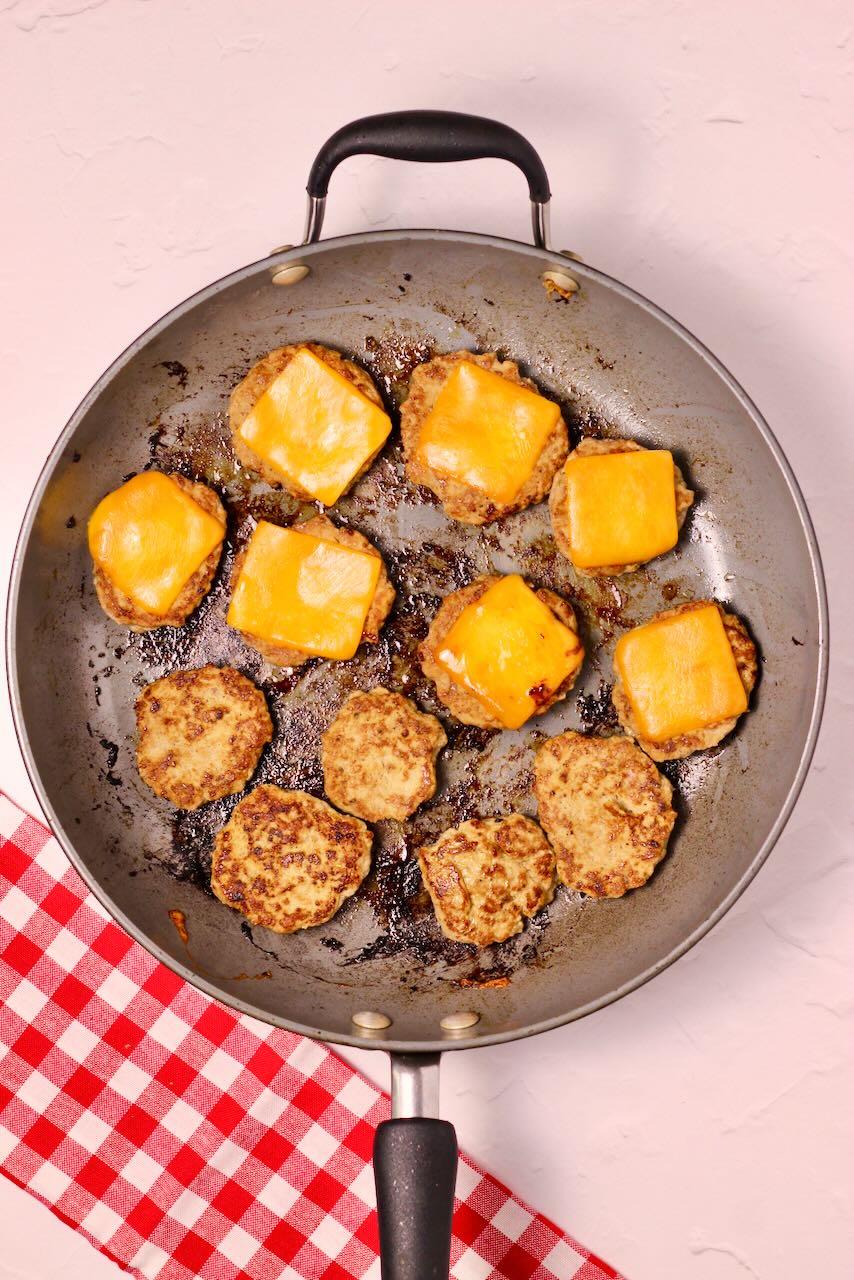
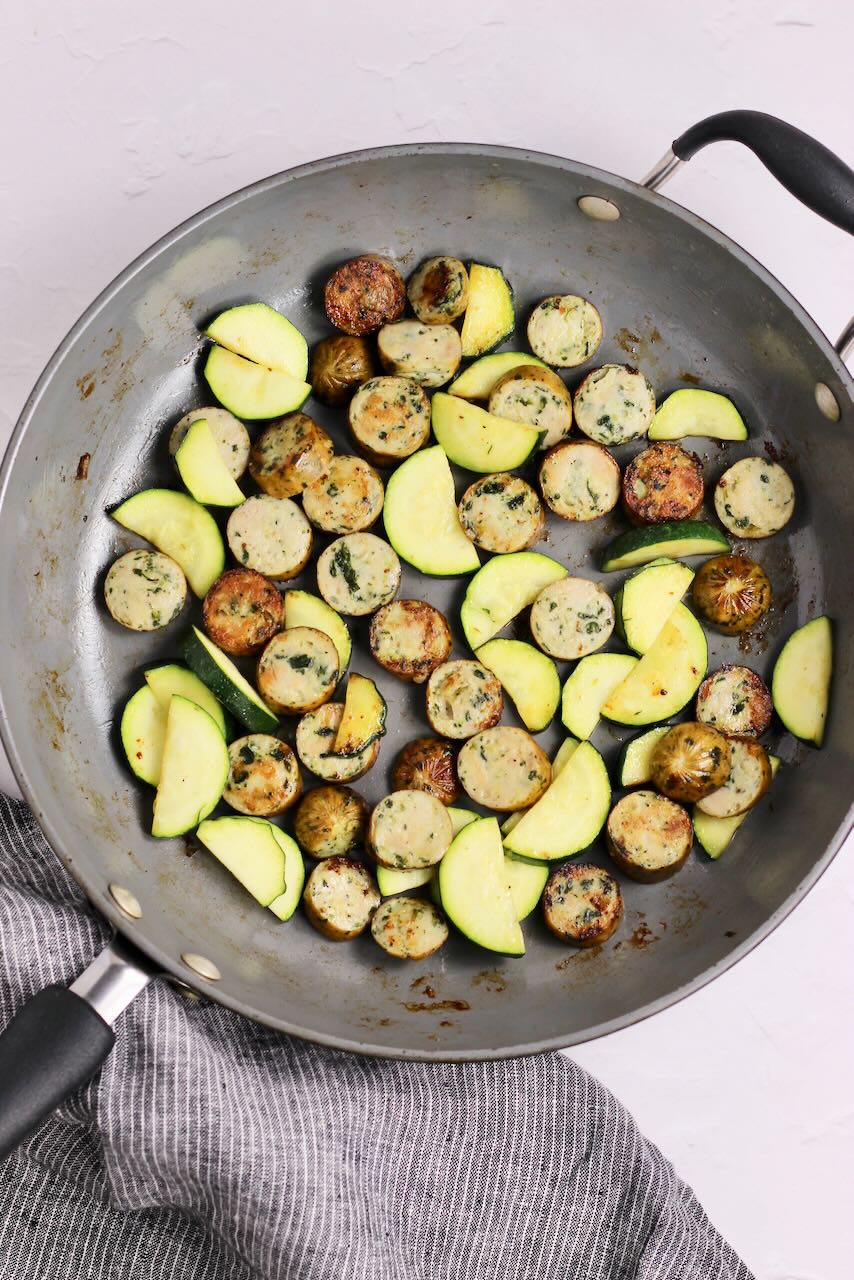
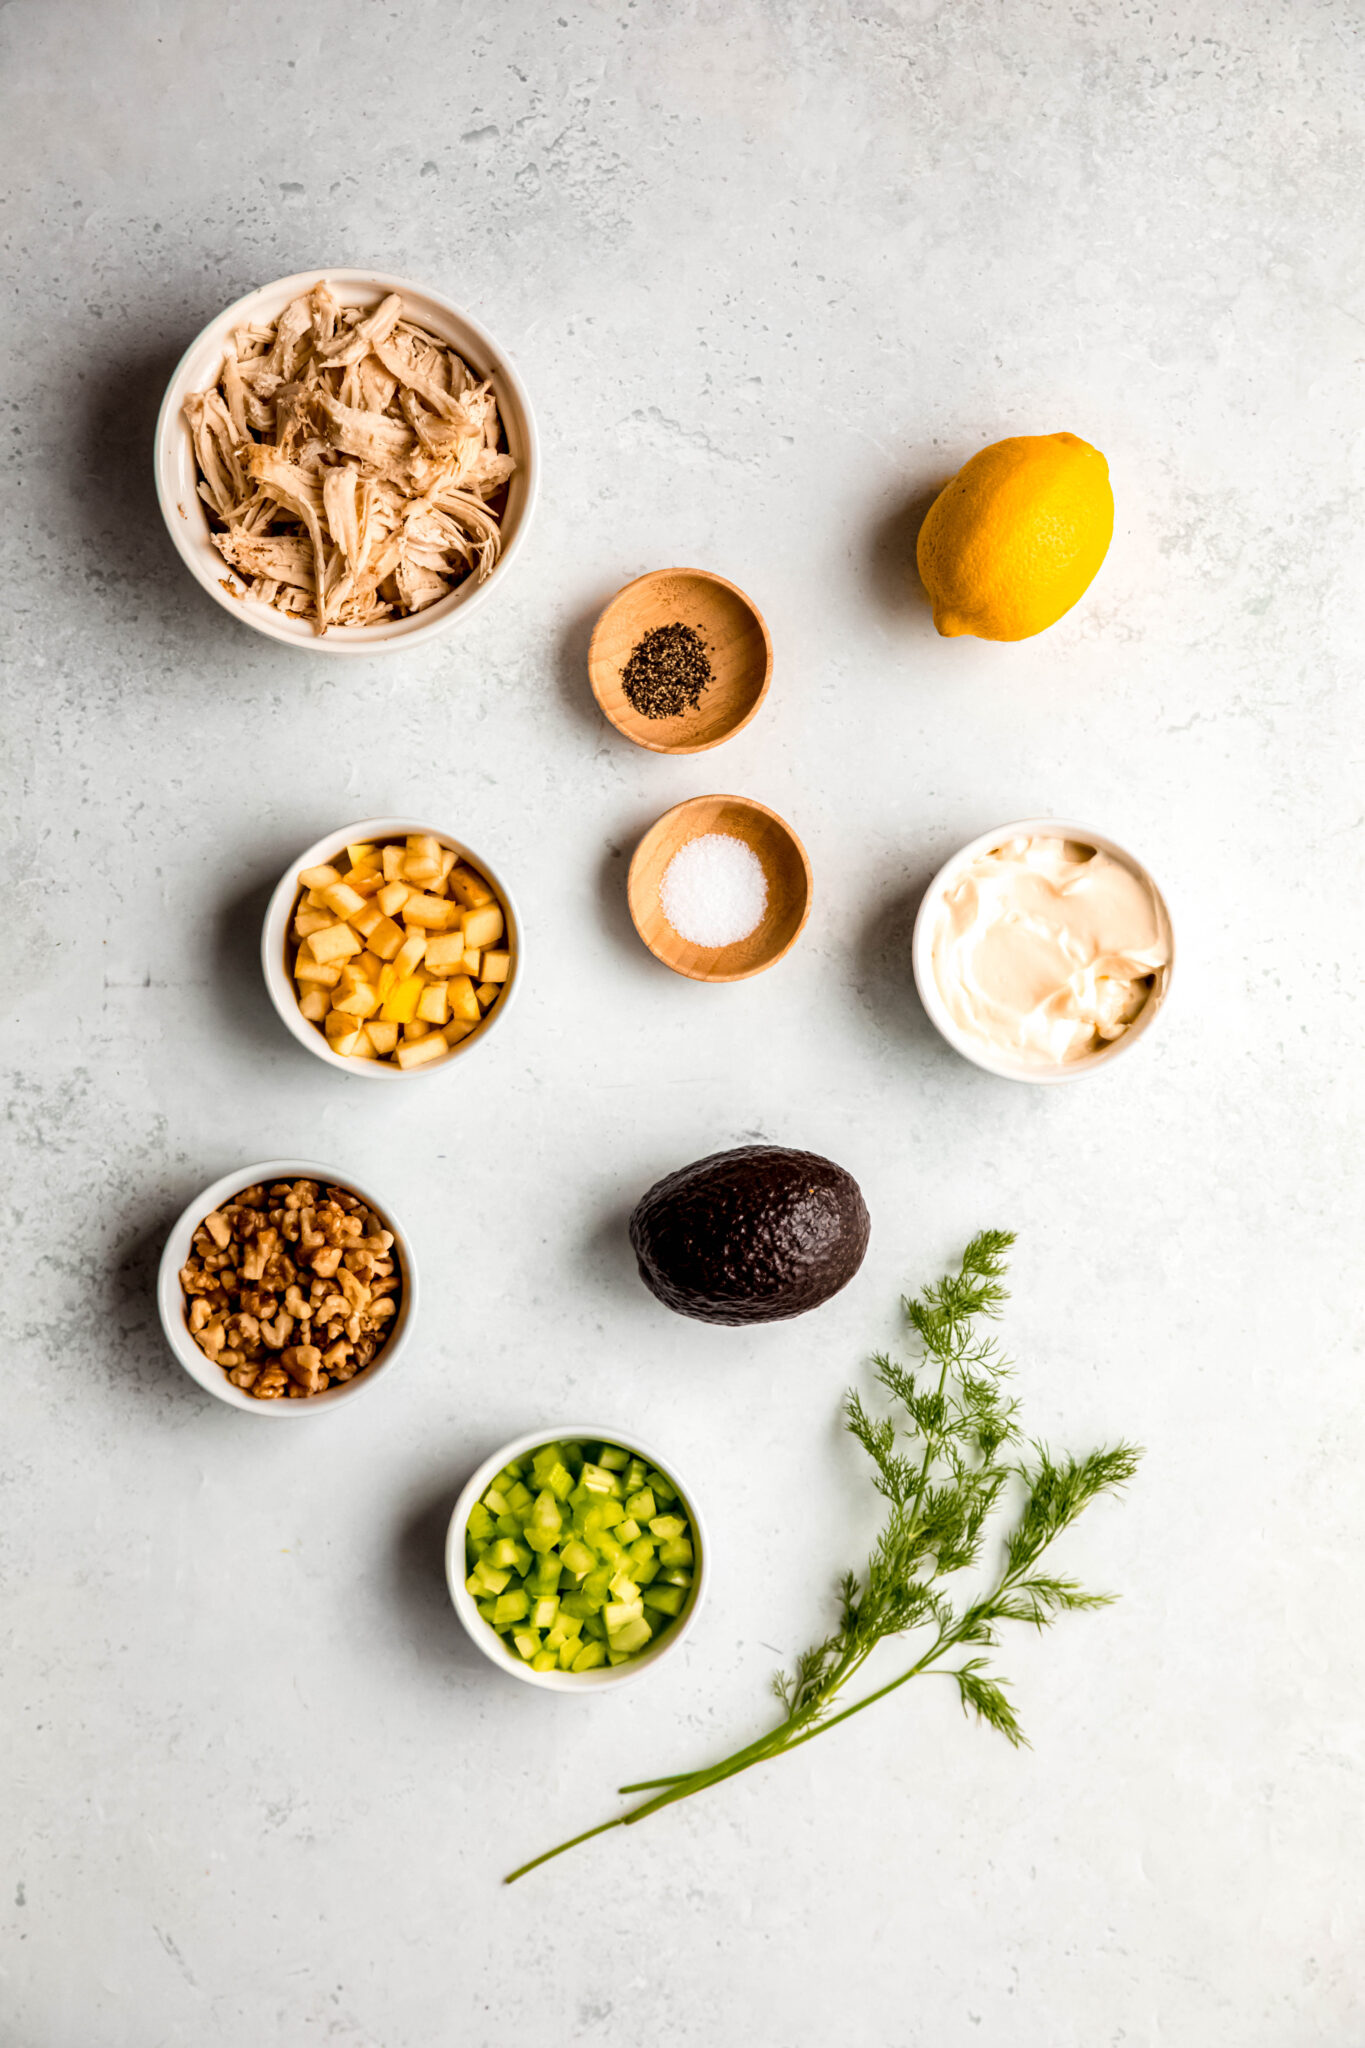
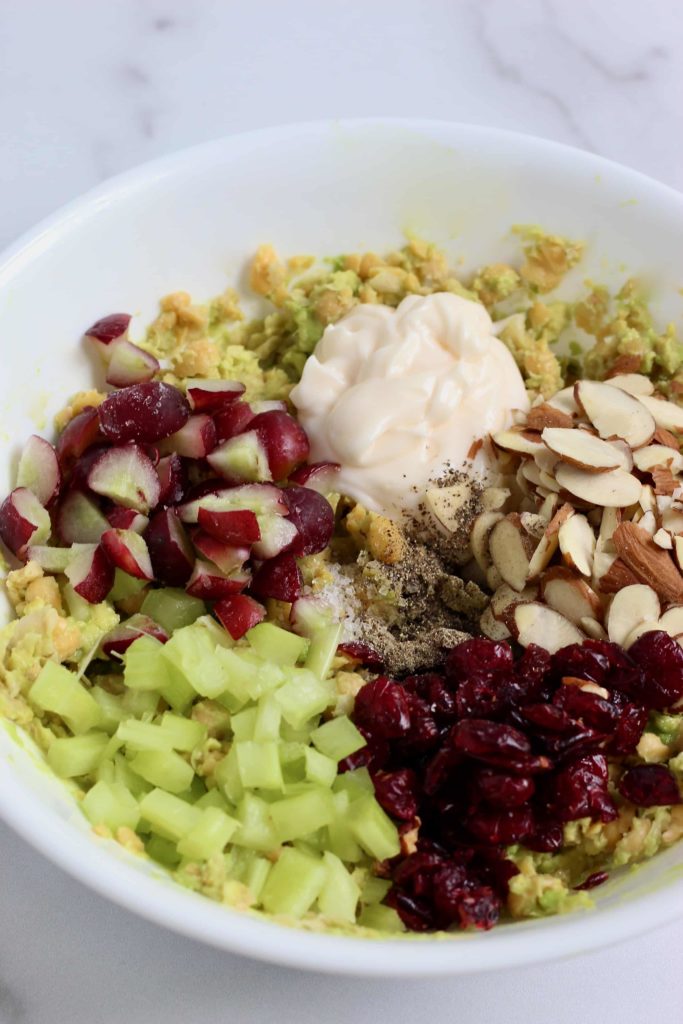
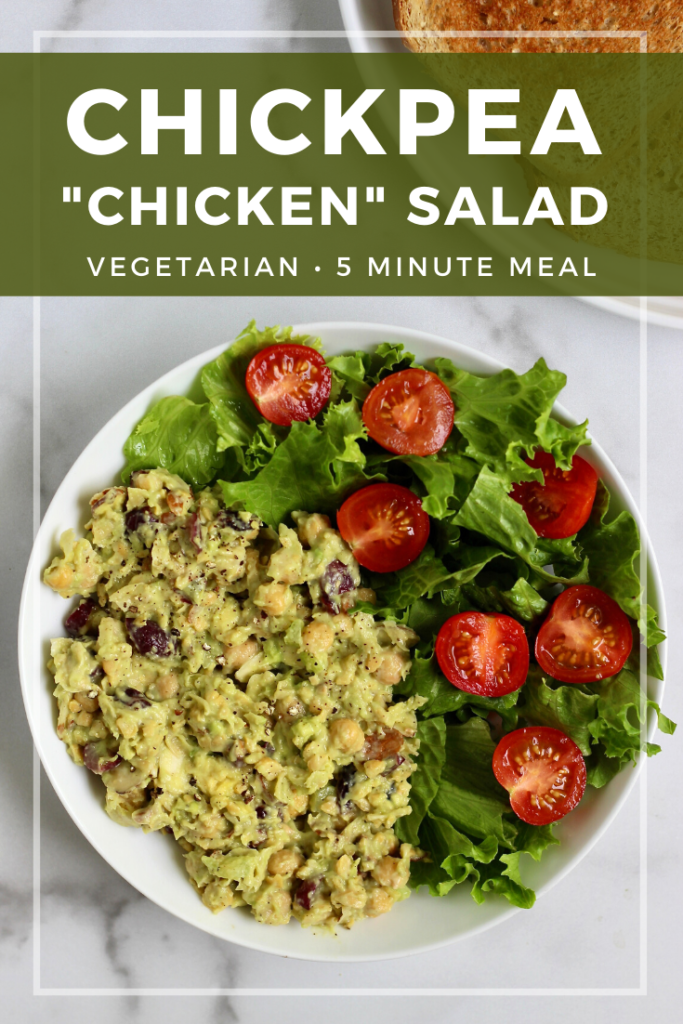
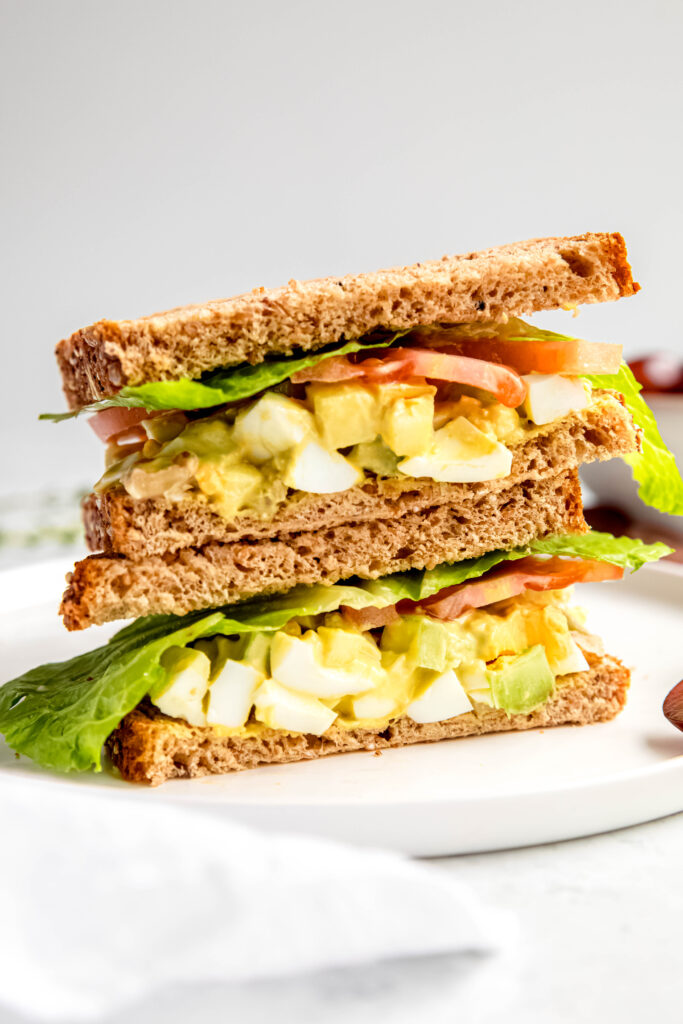
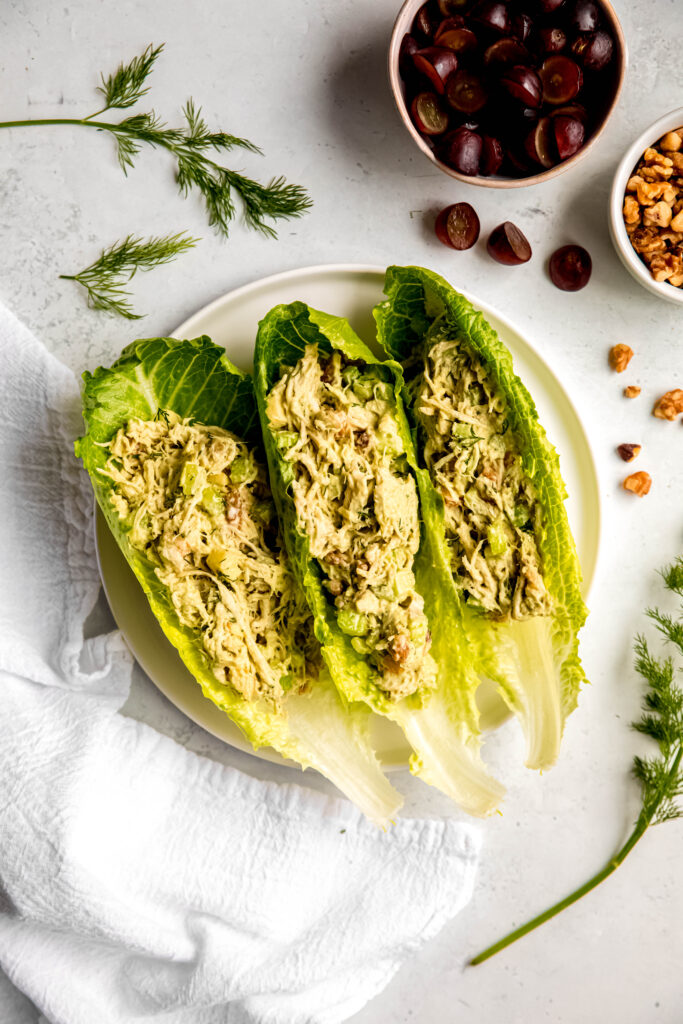
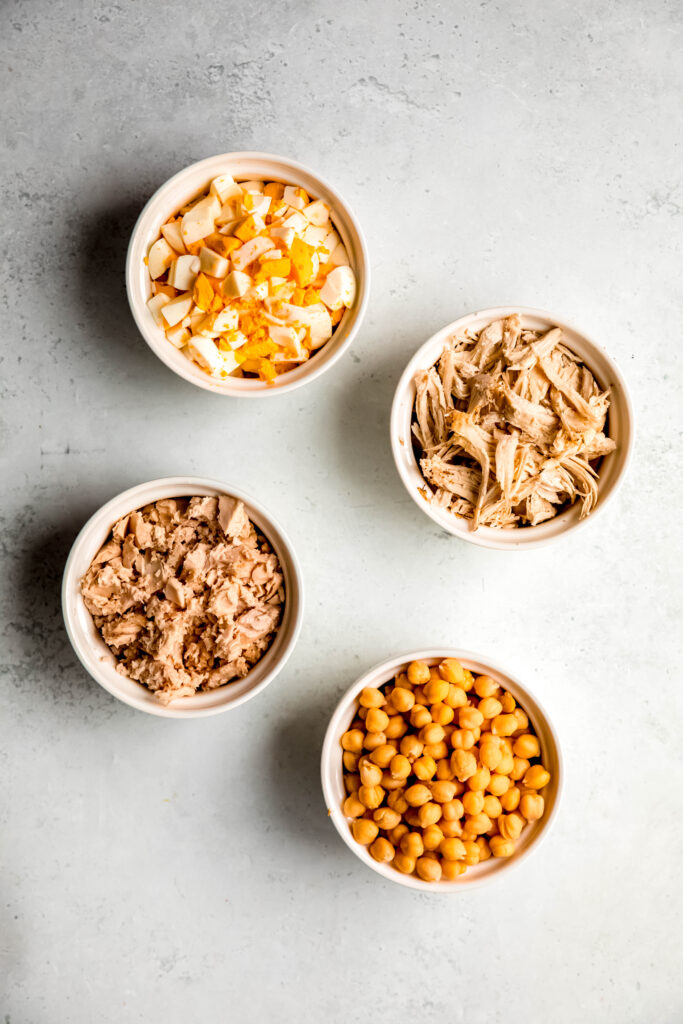
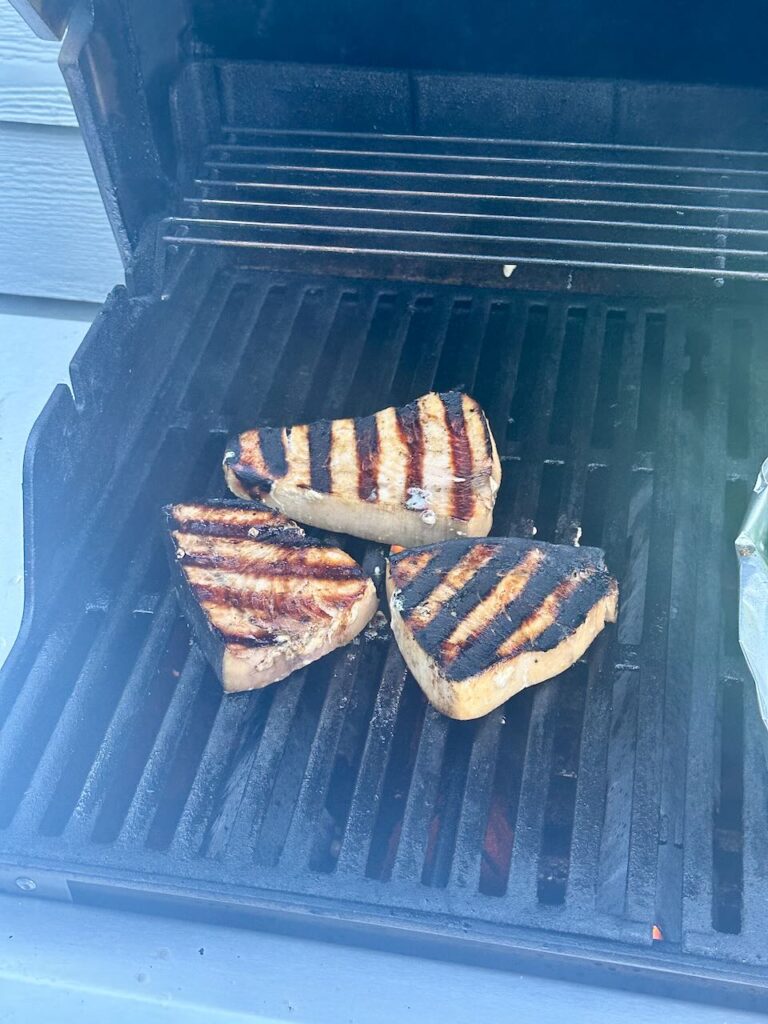
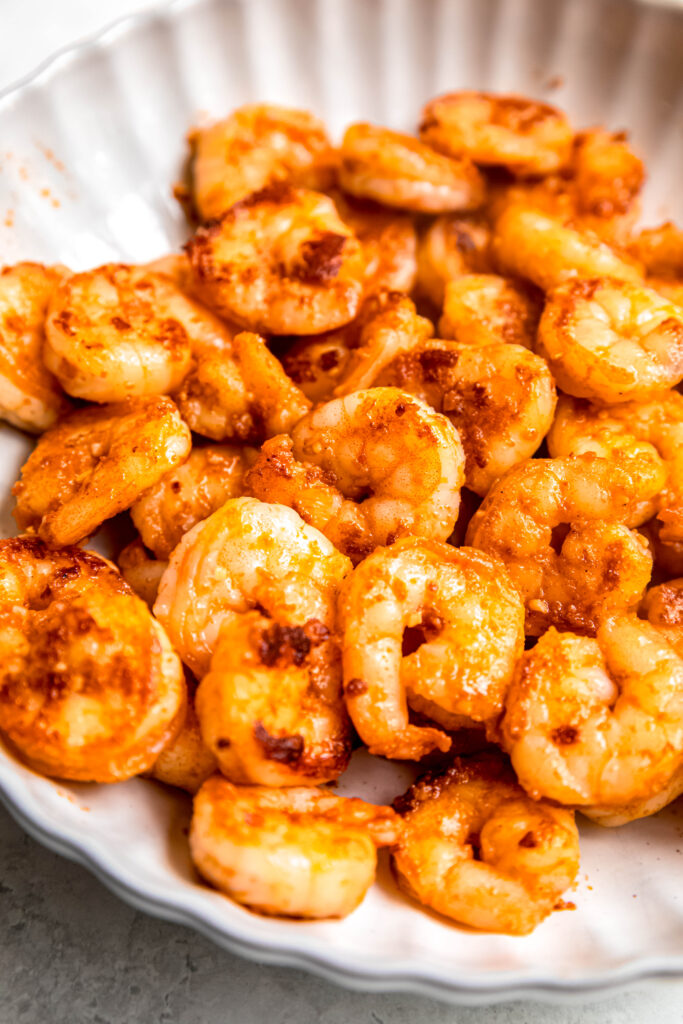
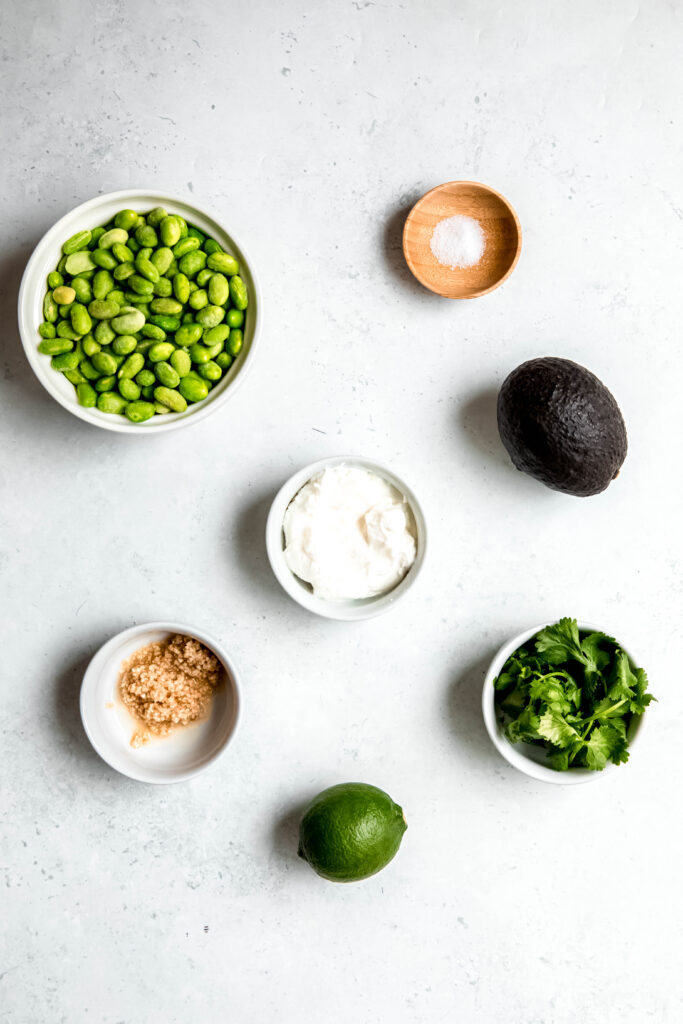
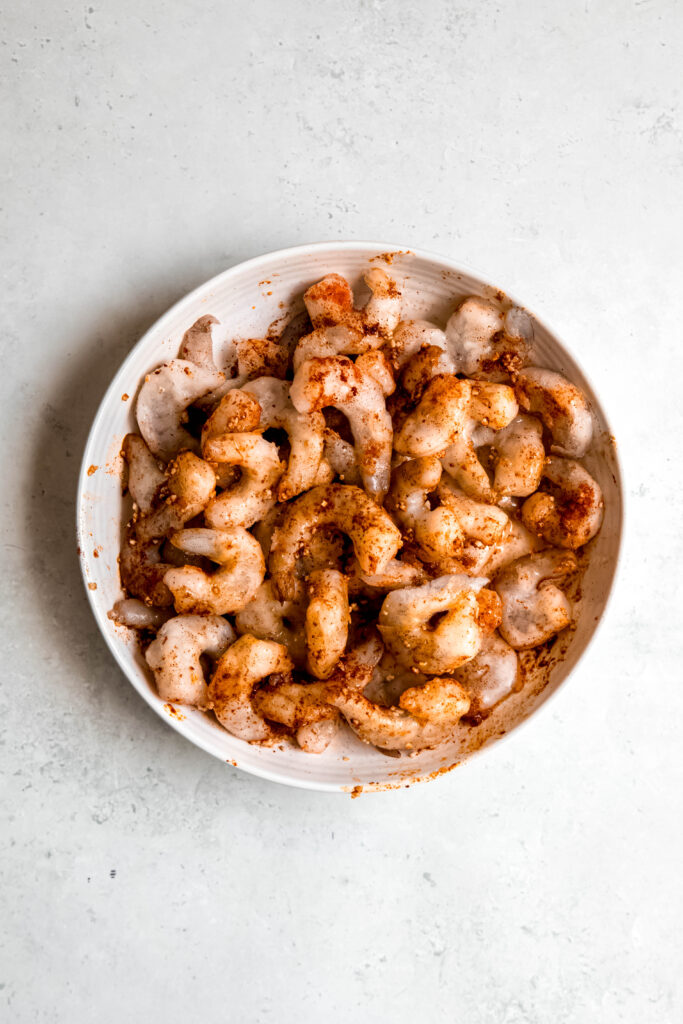
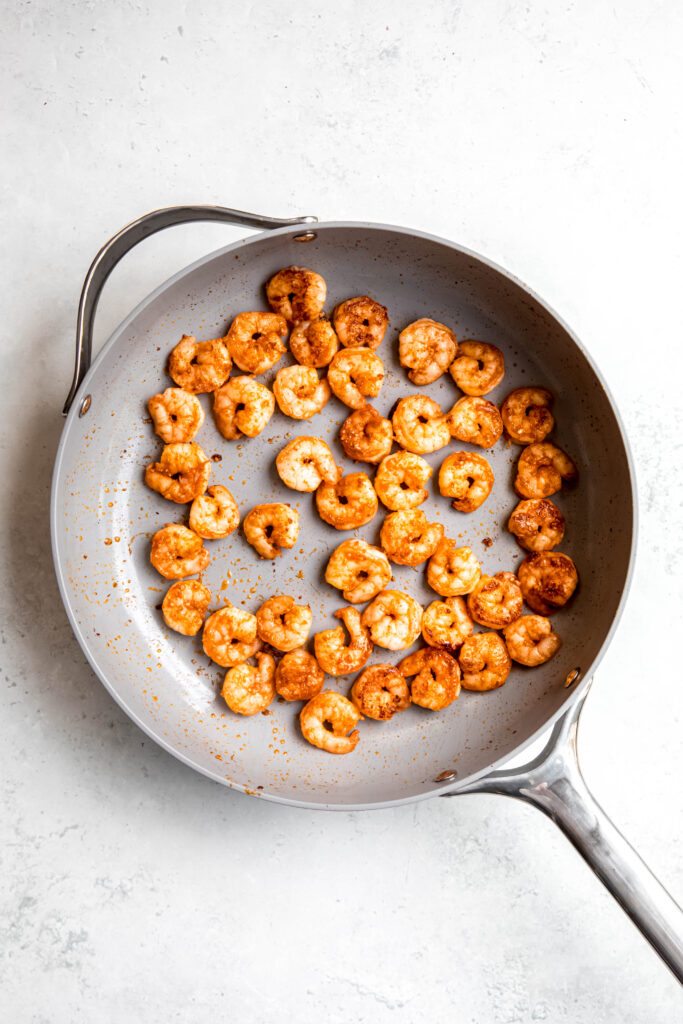
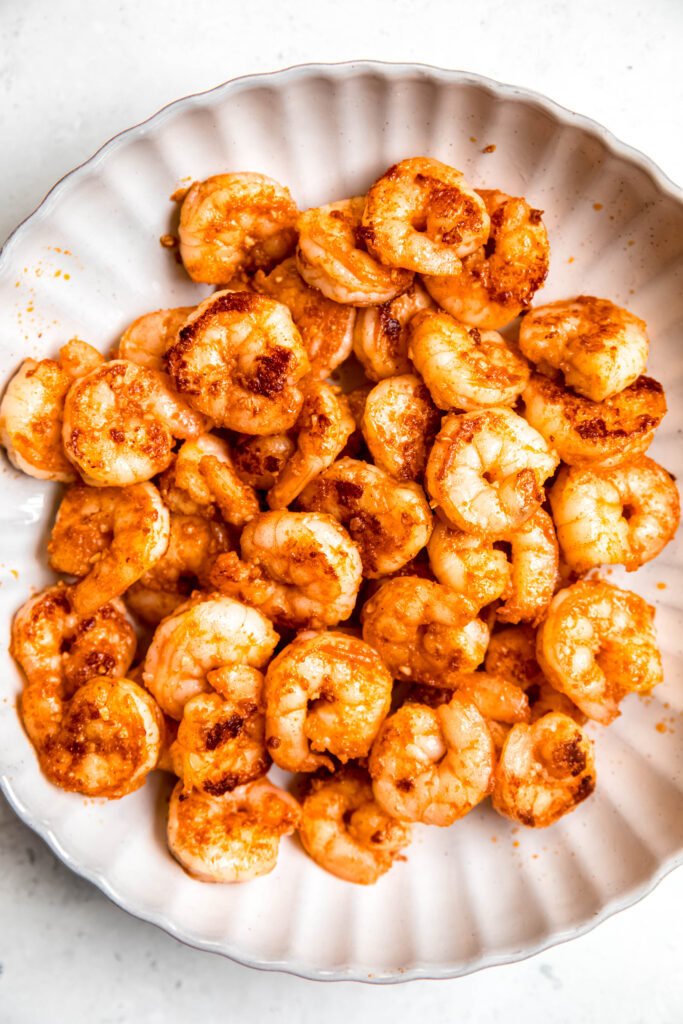
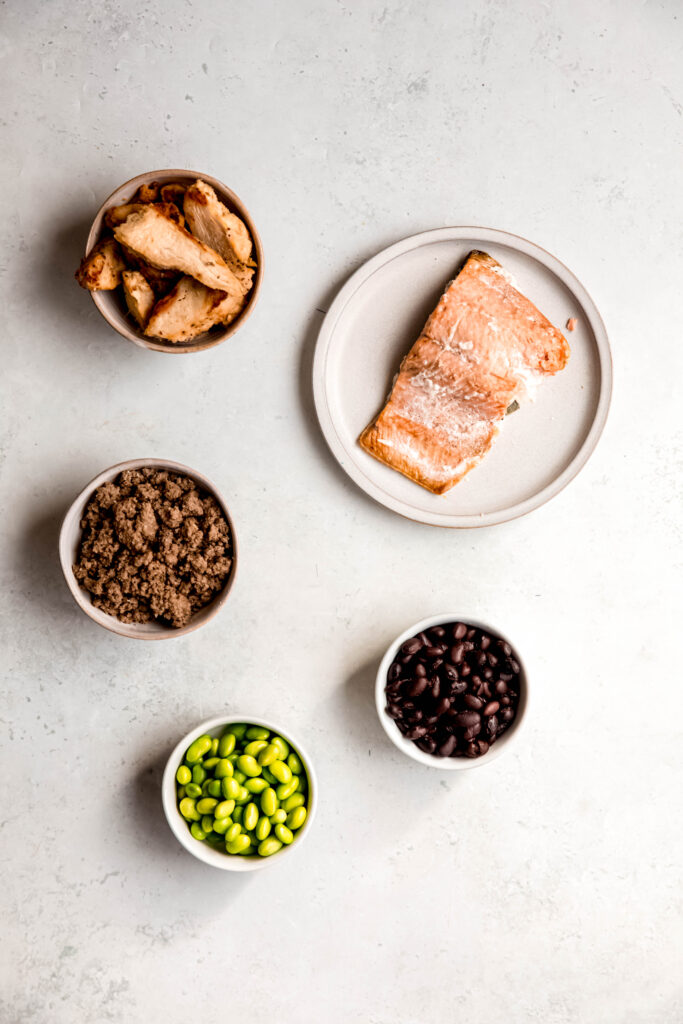
Focus on lean protein like chicken, fish, turkey, eggs, chickpeas, edamame, tofu, tempeh, lentils, or beans. A serving of protein would be about 4 ounces or about ½ cup.
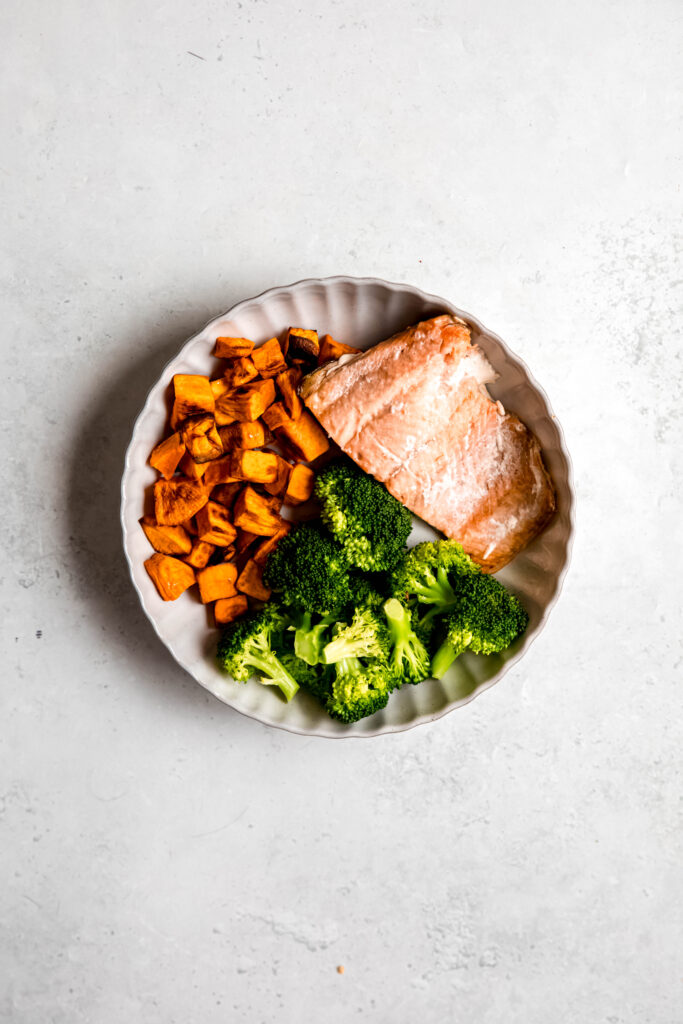
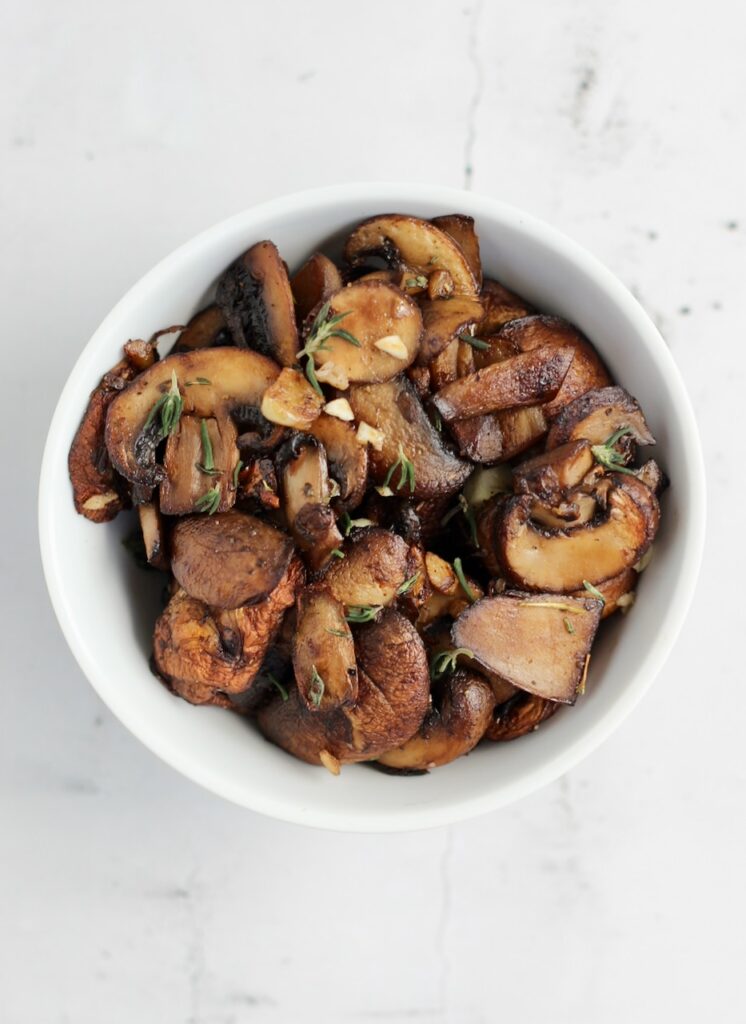
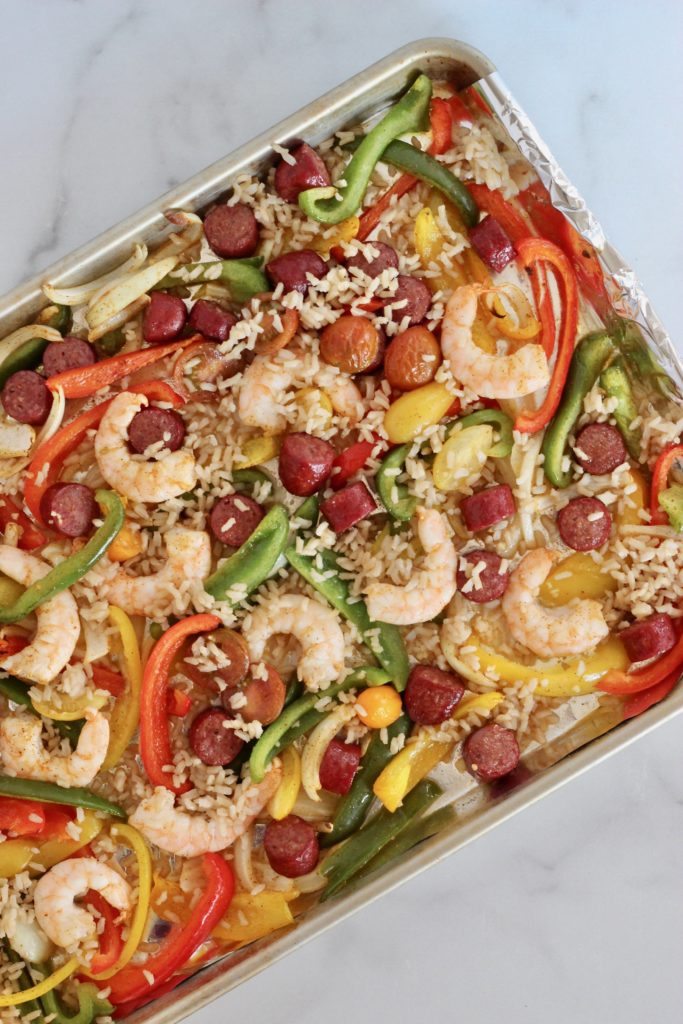
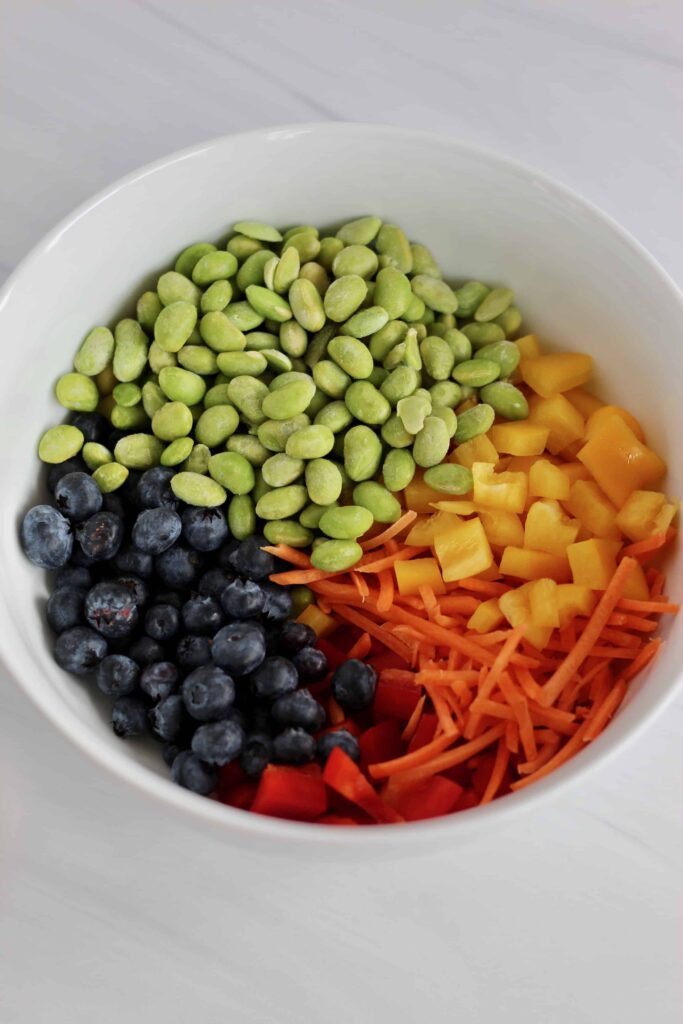
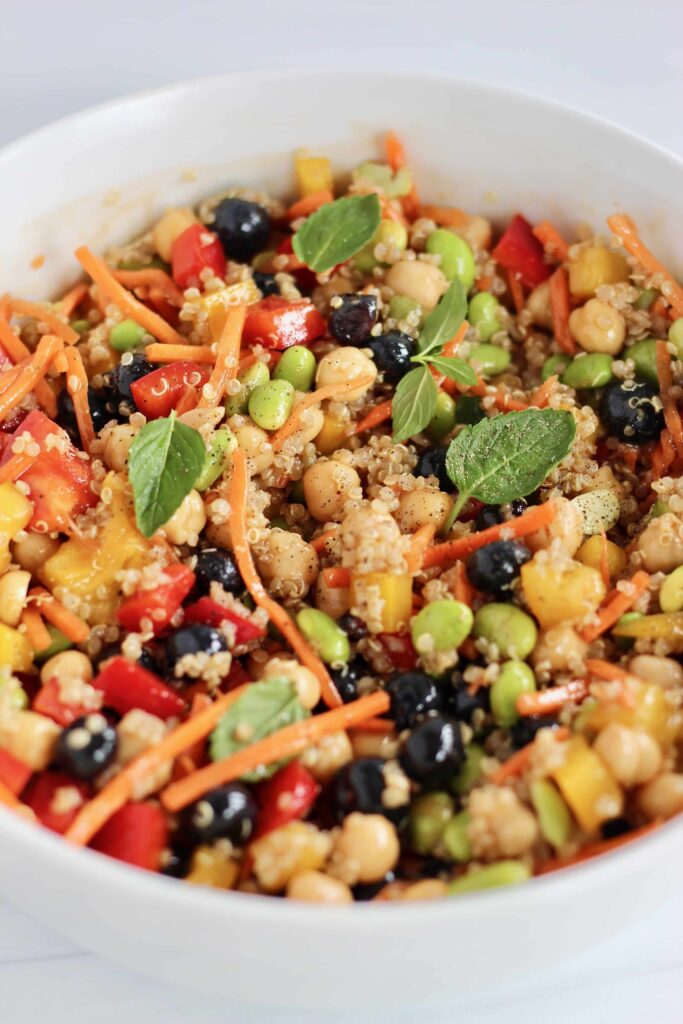
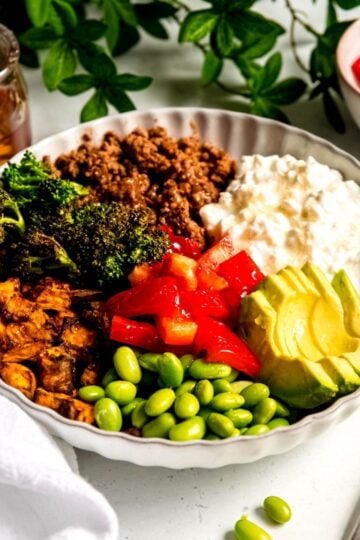
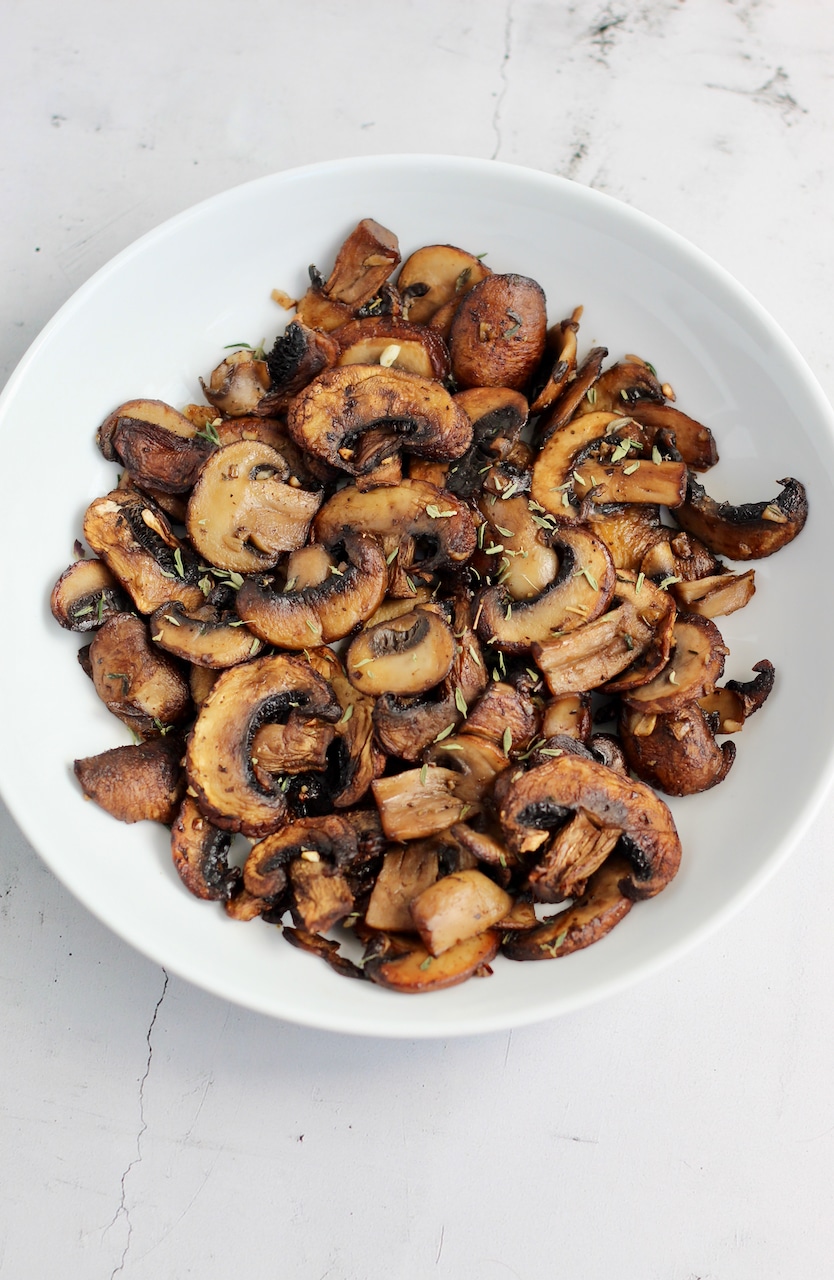
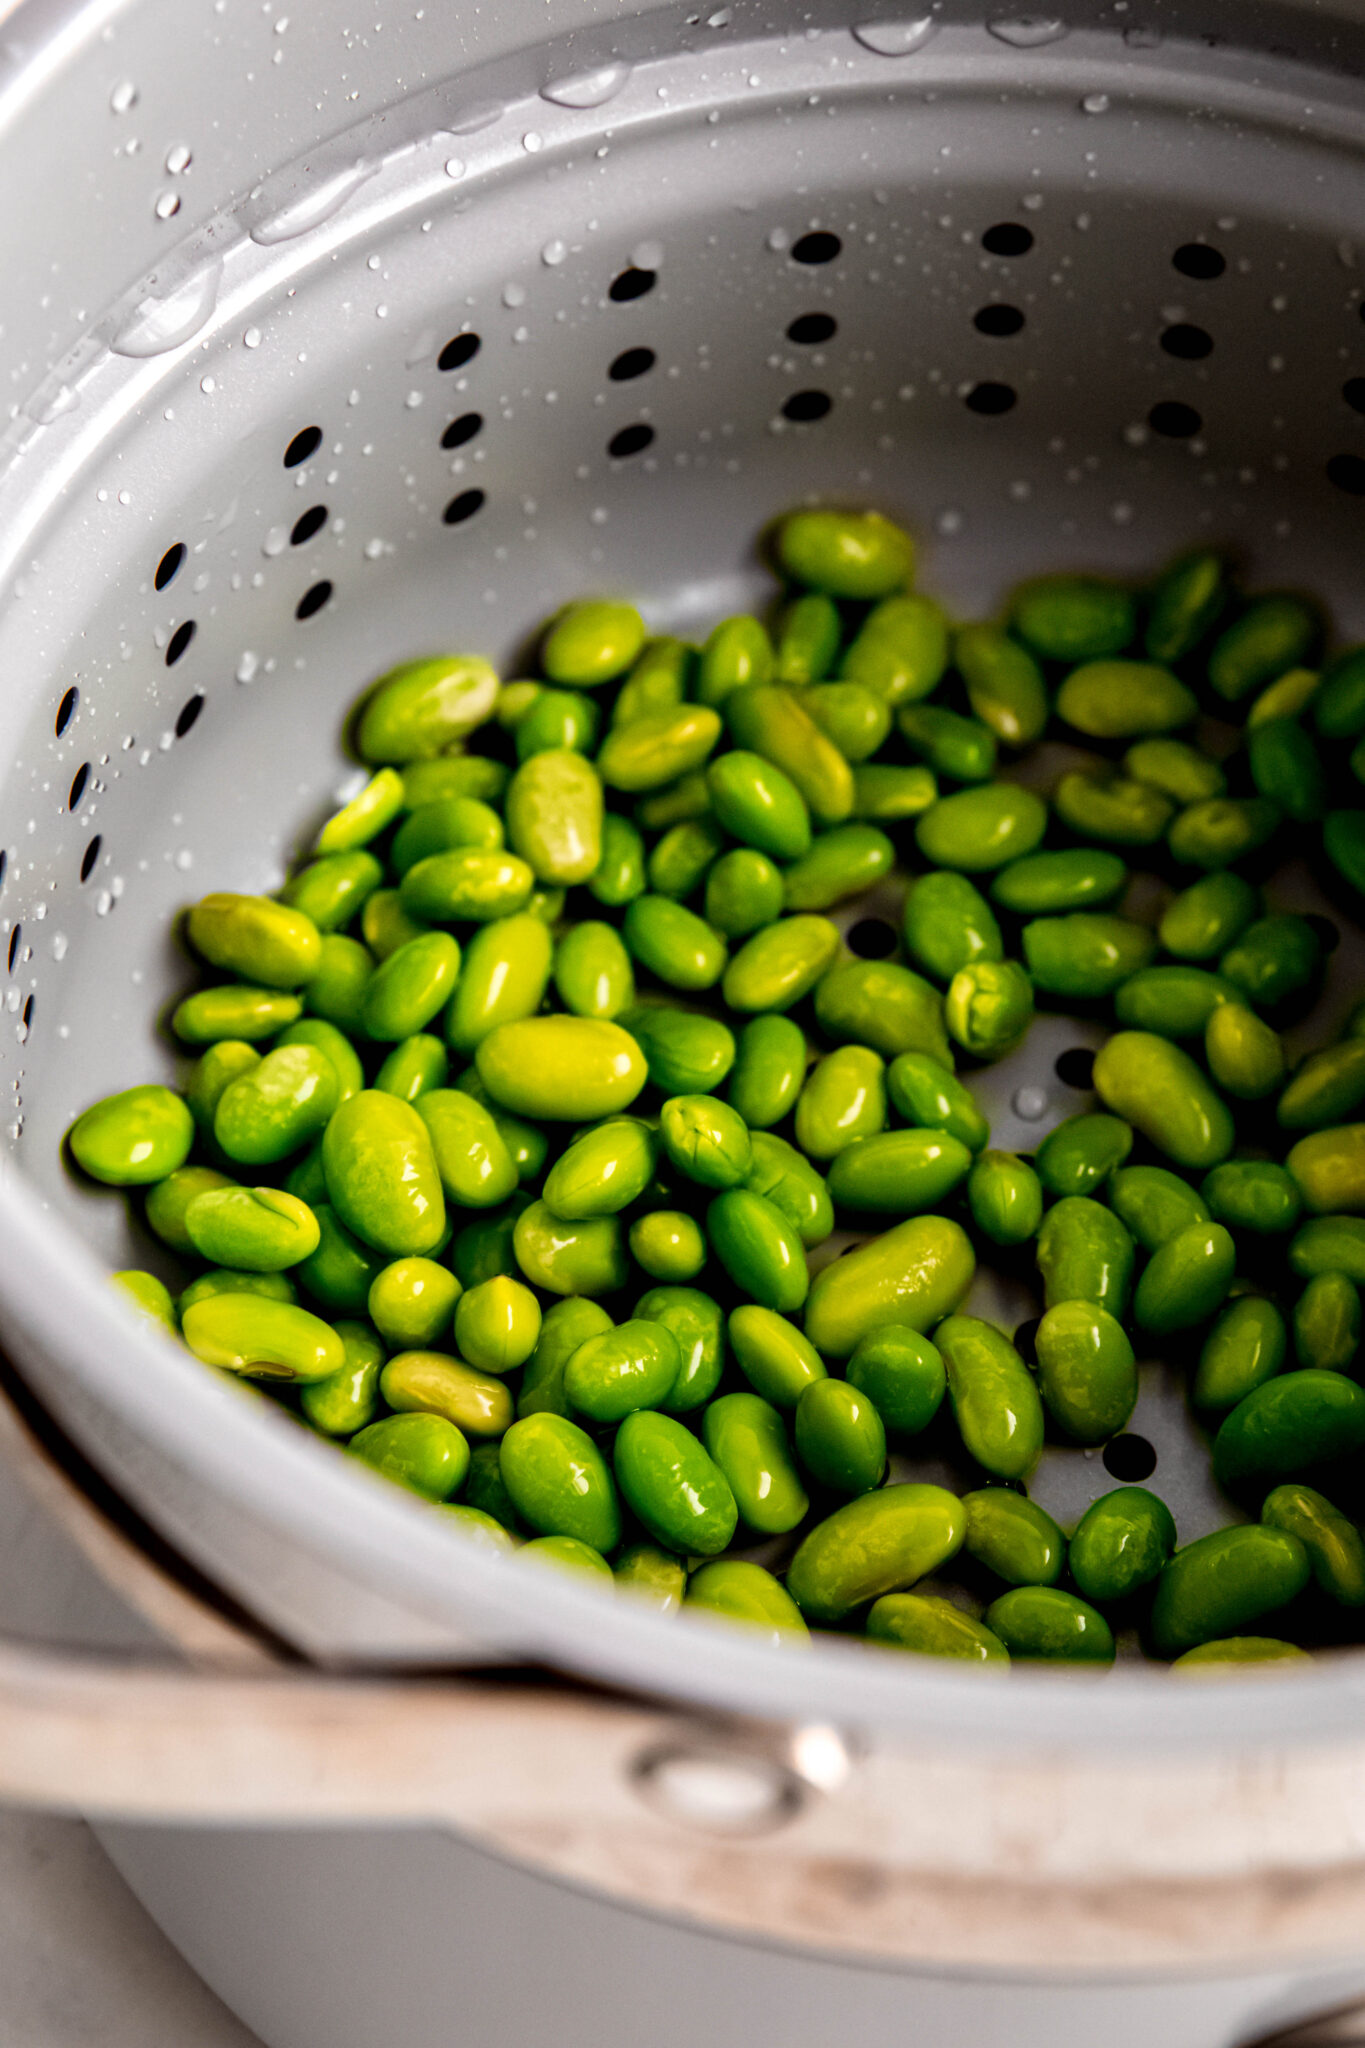
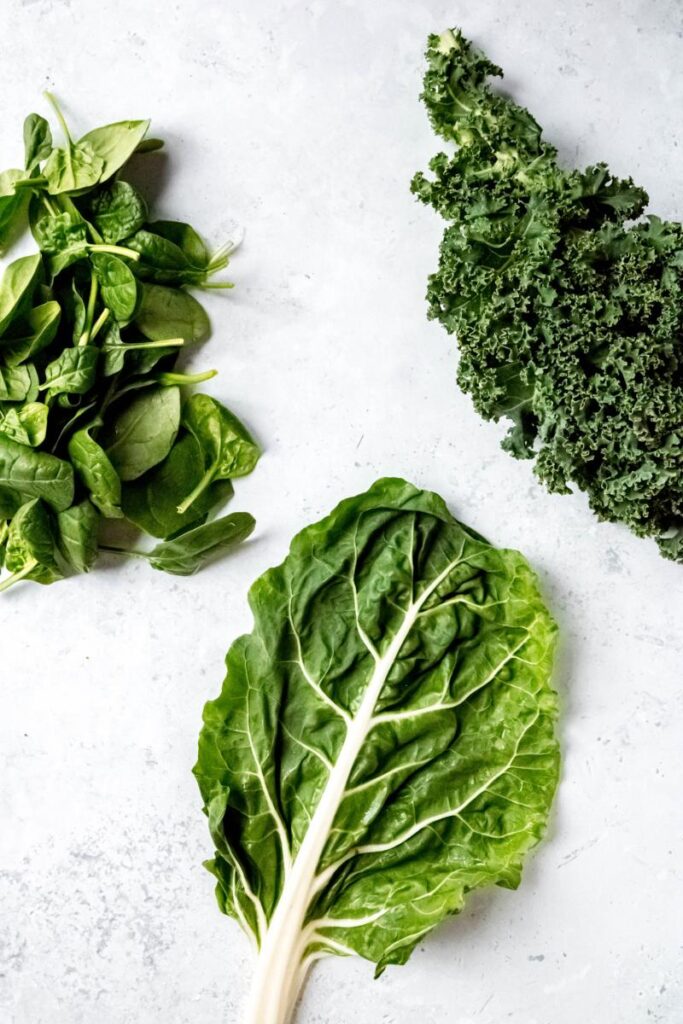
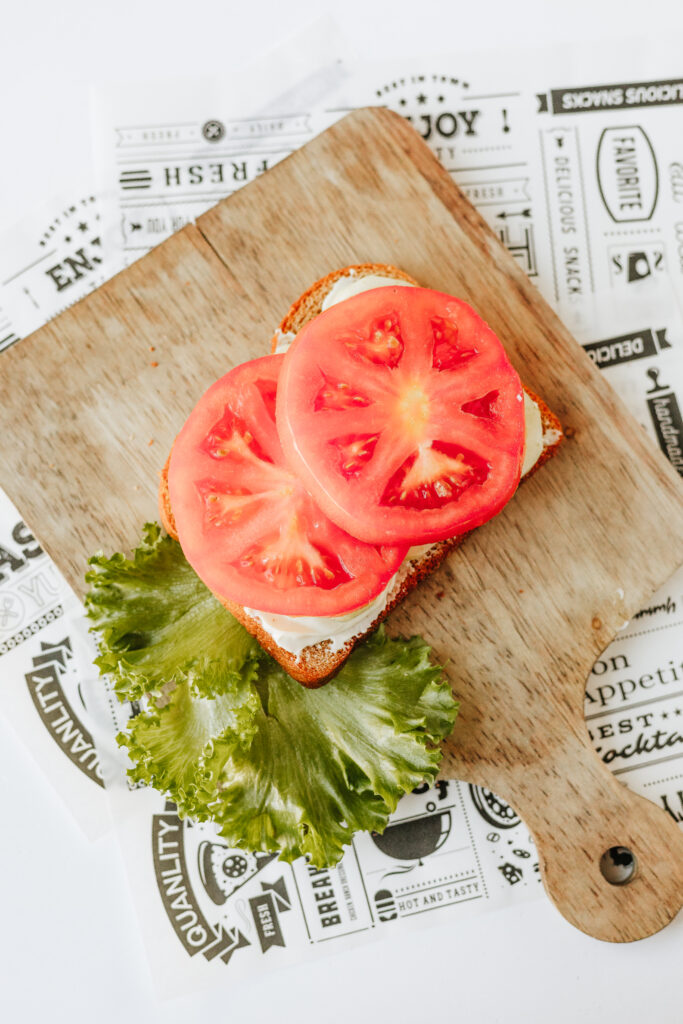
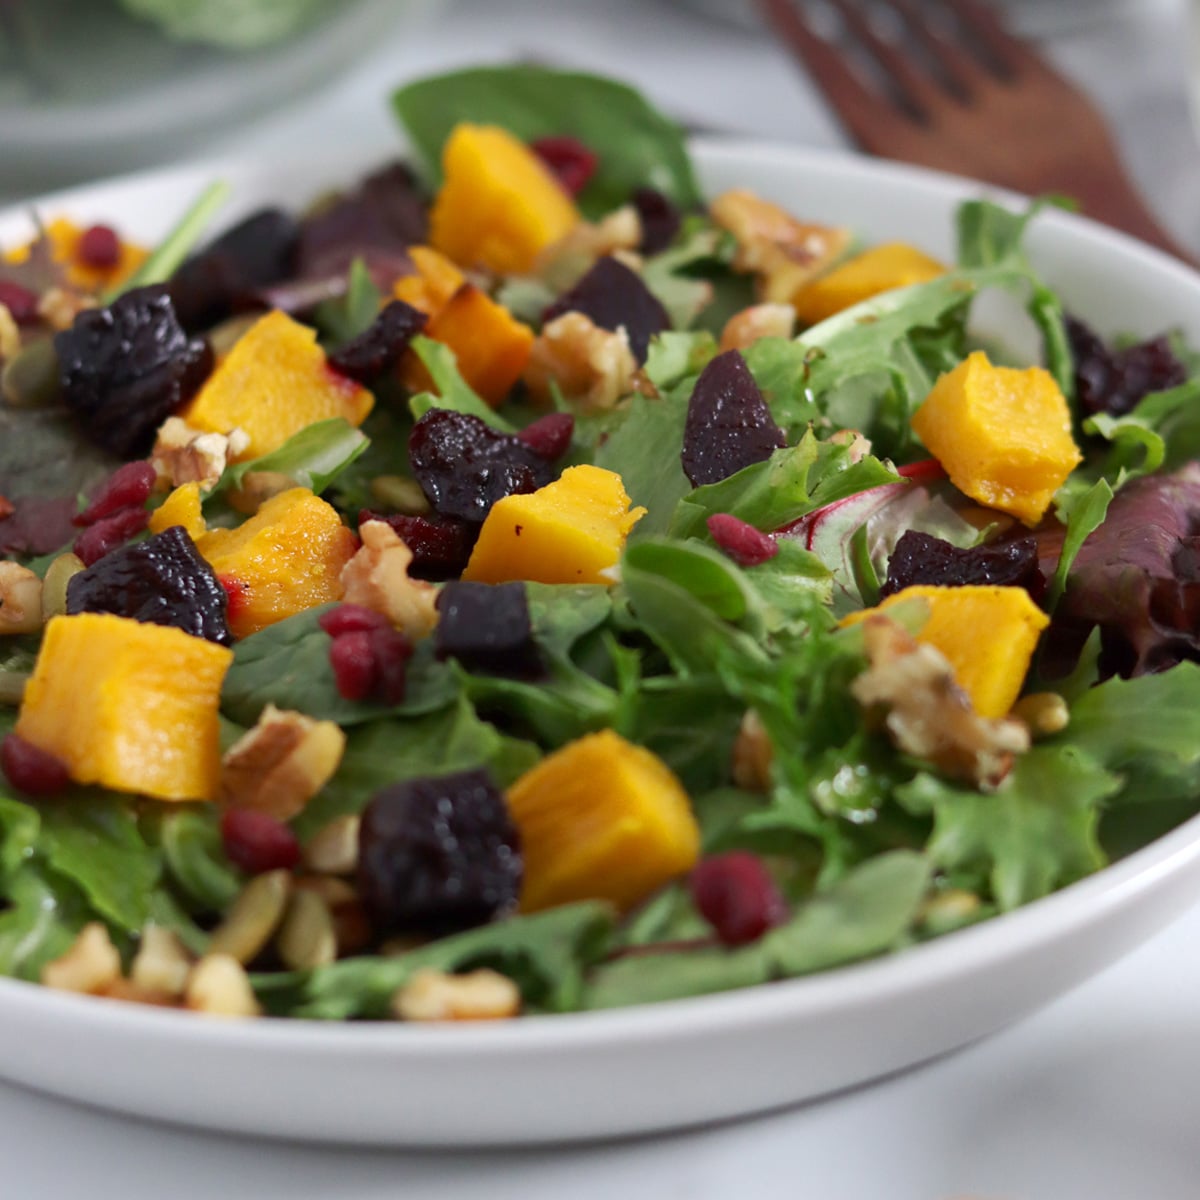
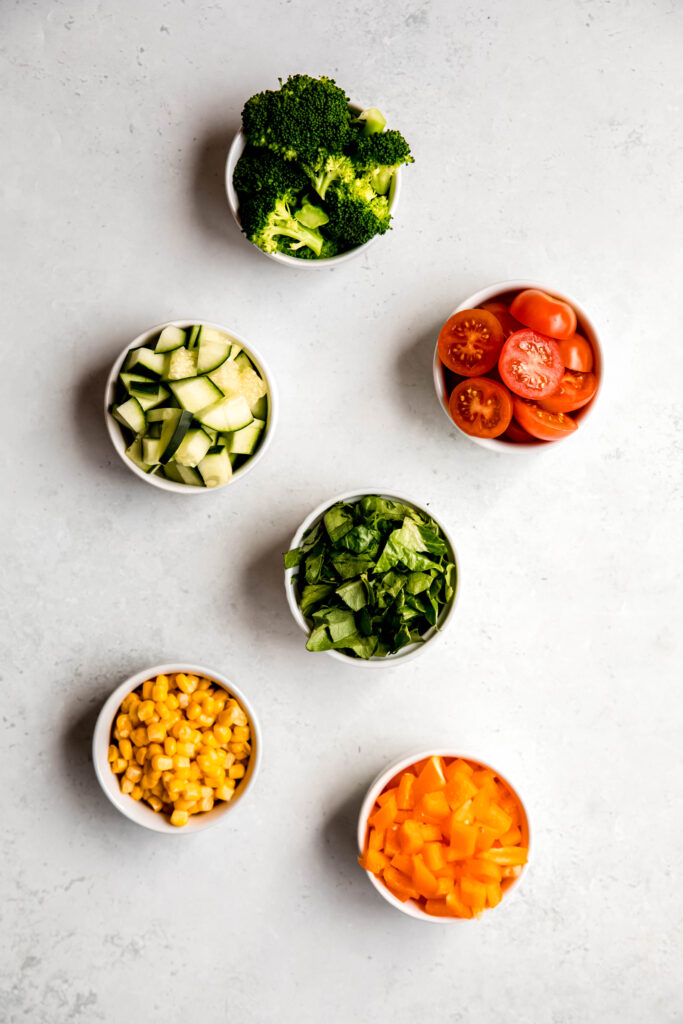
3. Next, pile on some colorful vegetables.
The goal is to get at least 3 servings of vegetables/day. One serving is typically about 1 cup, but the more vegetables the better! This recipe includes 1-2 servings of vegetables, helping you work towards this goal in just one meal.
You can use just one vegetable or multiple different ones. Use up whatever produce you have on hand or shop seasonal produce.
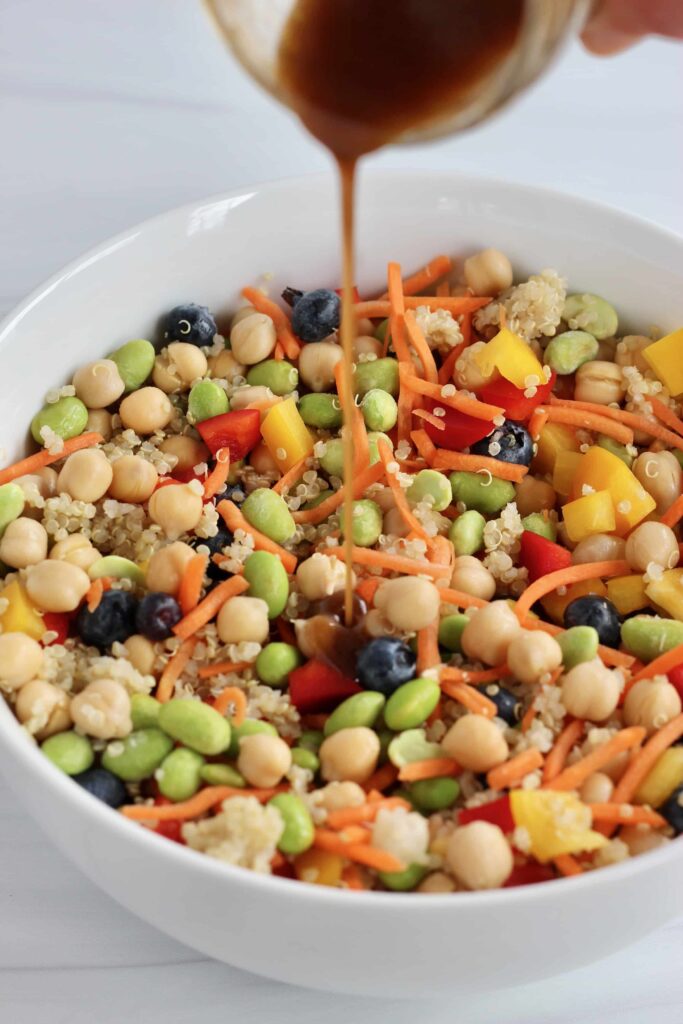
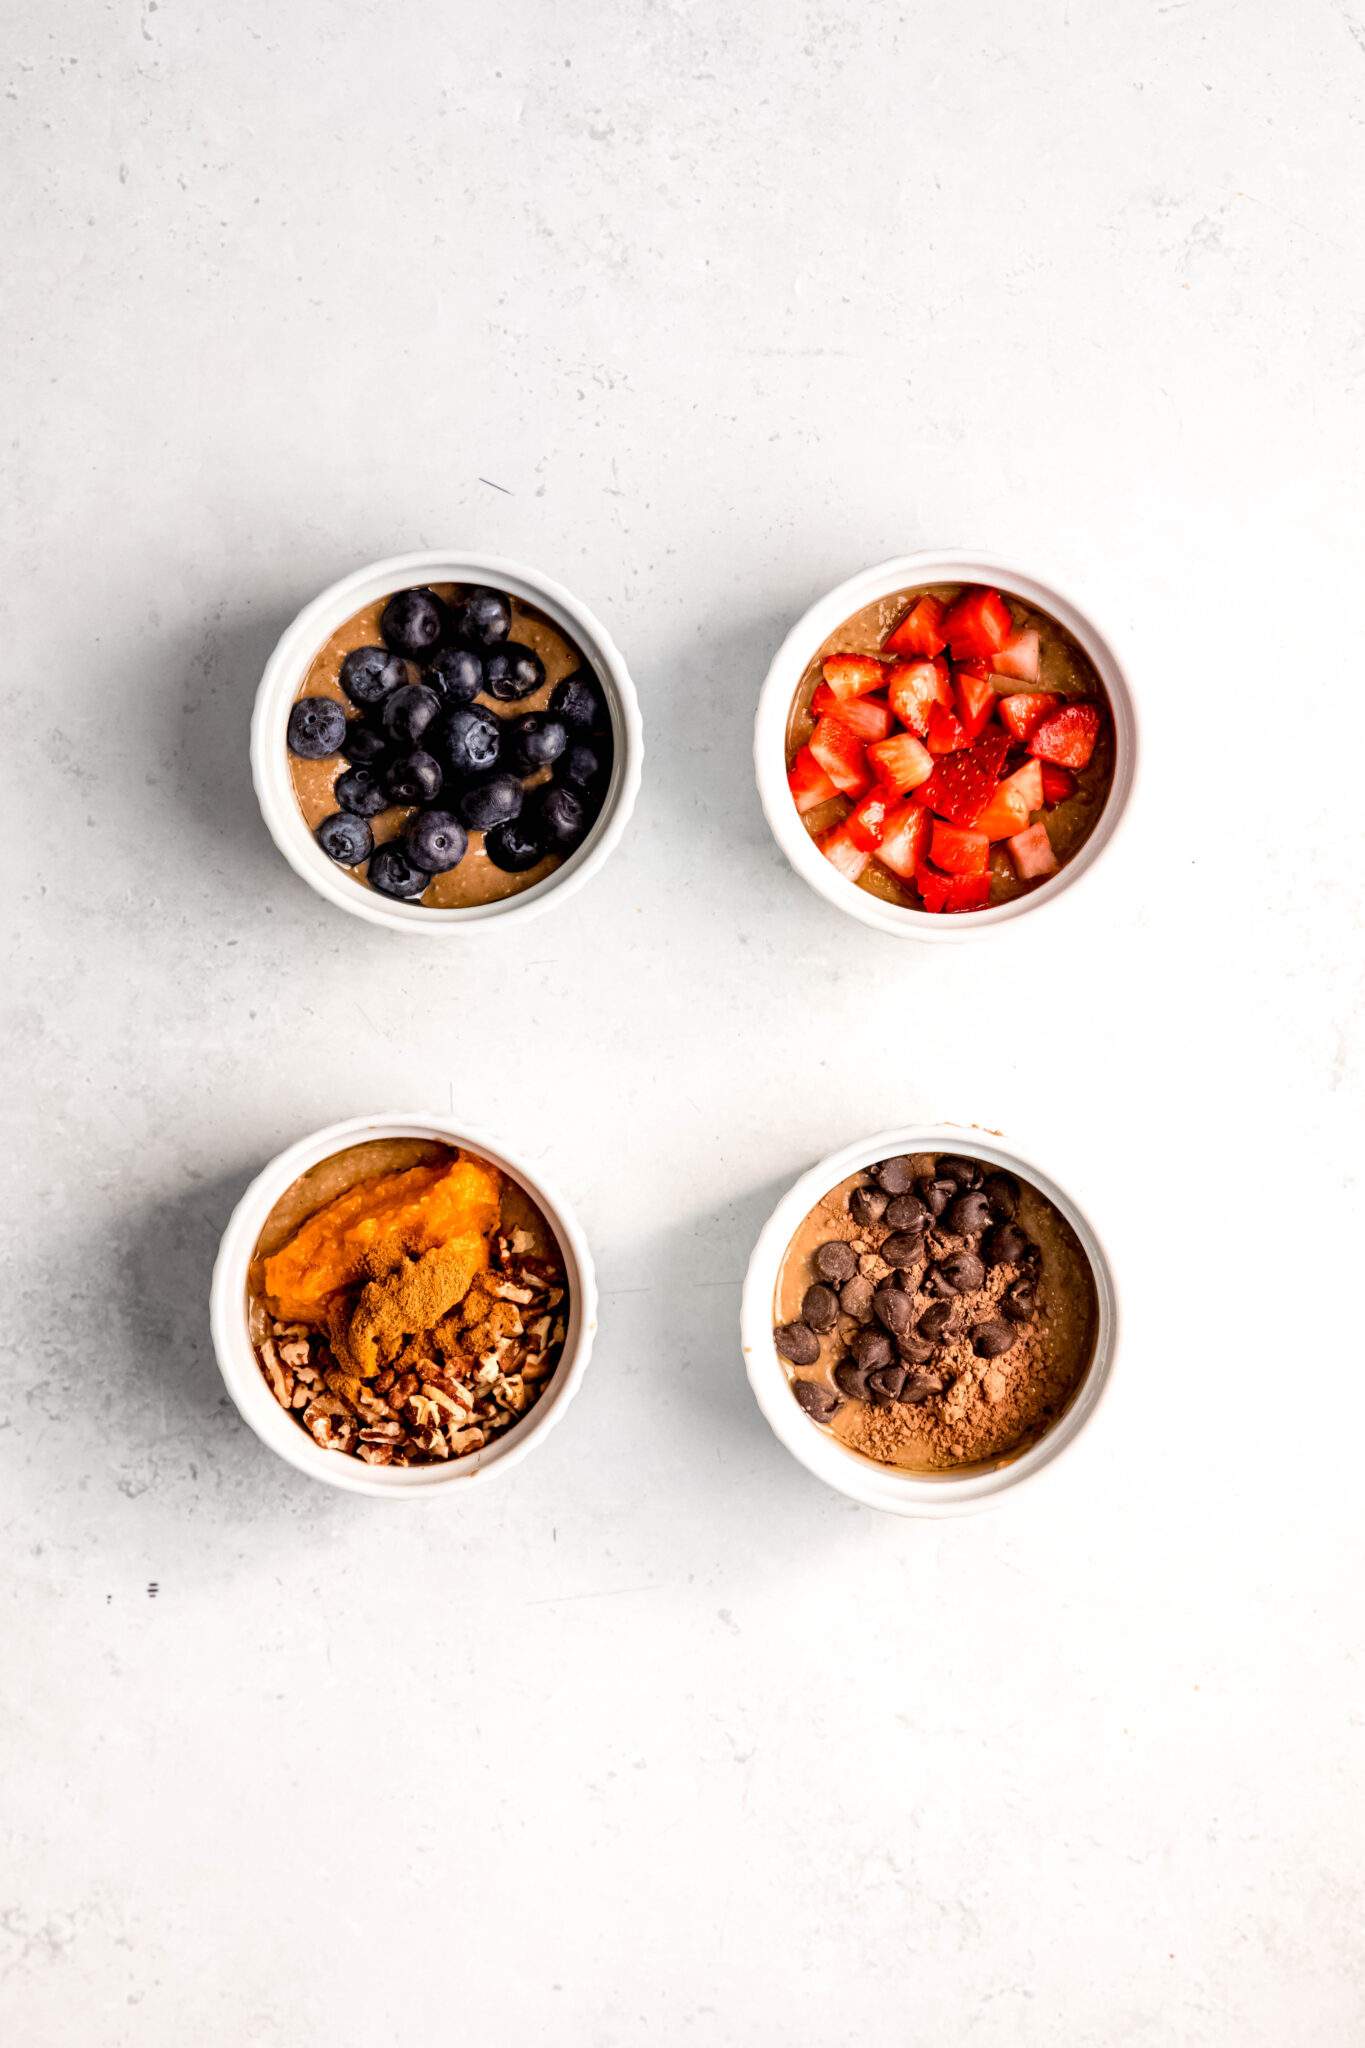
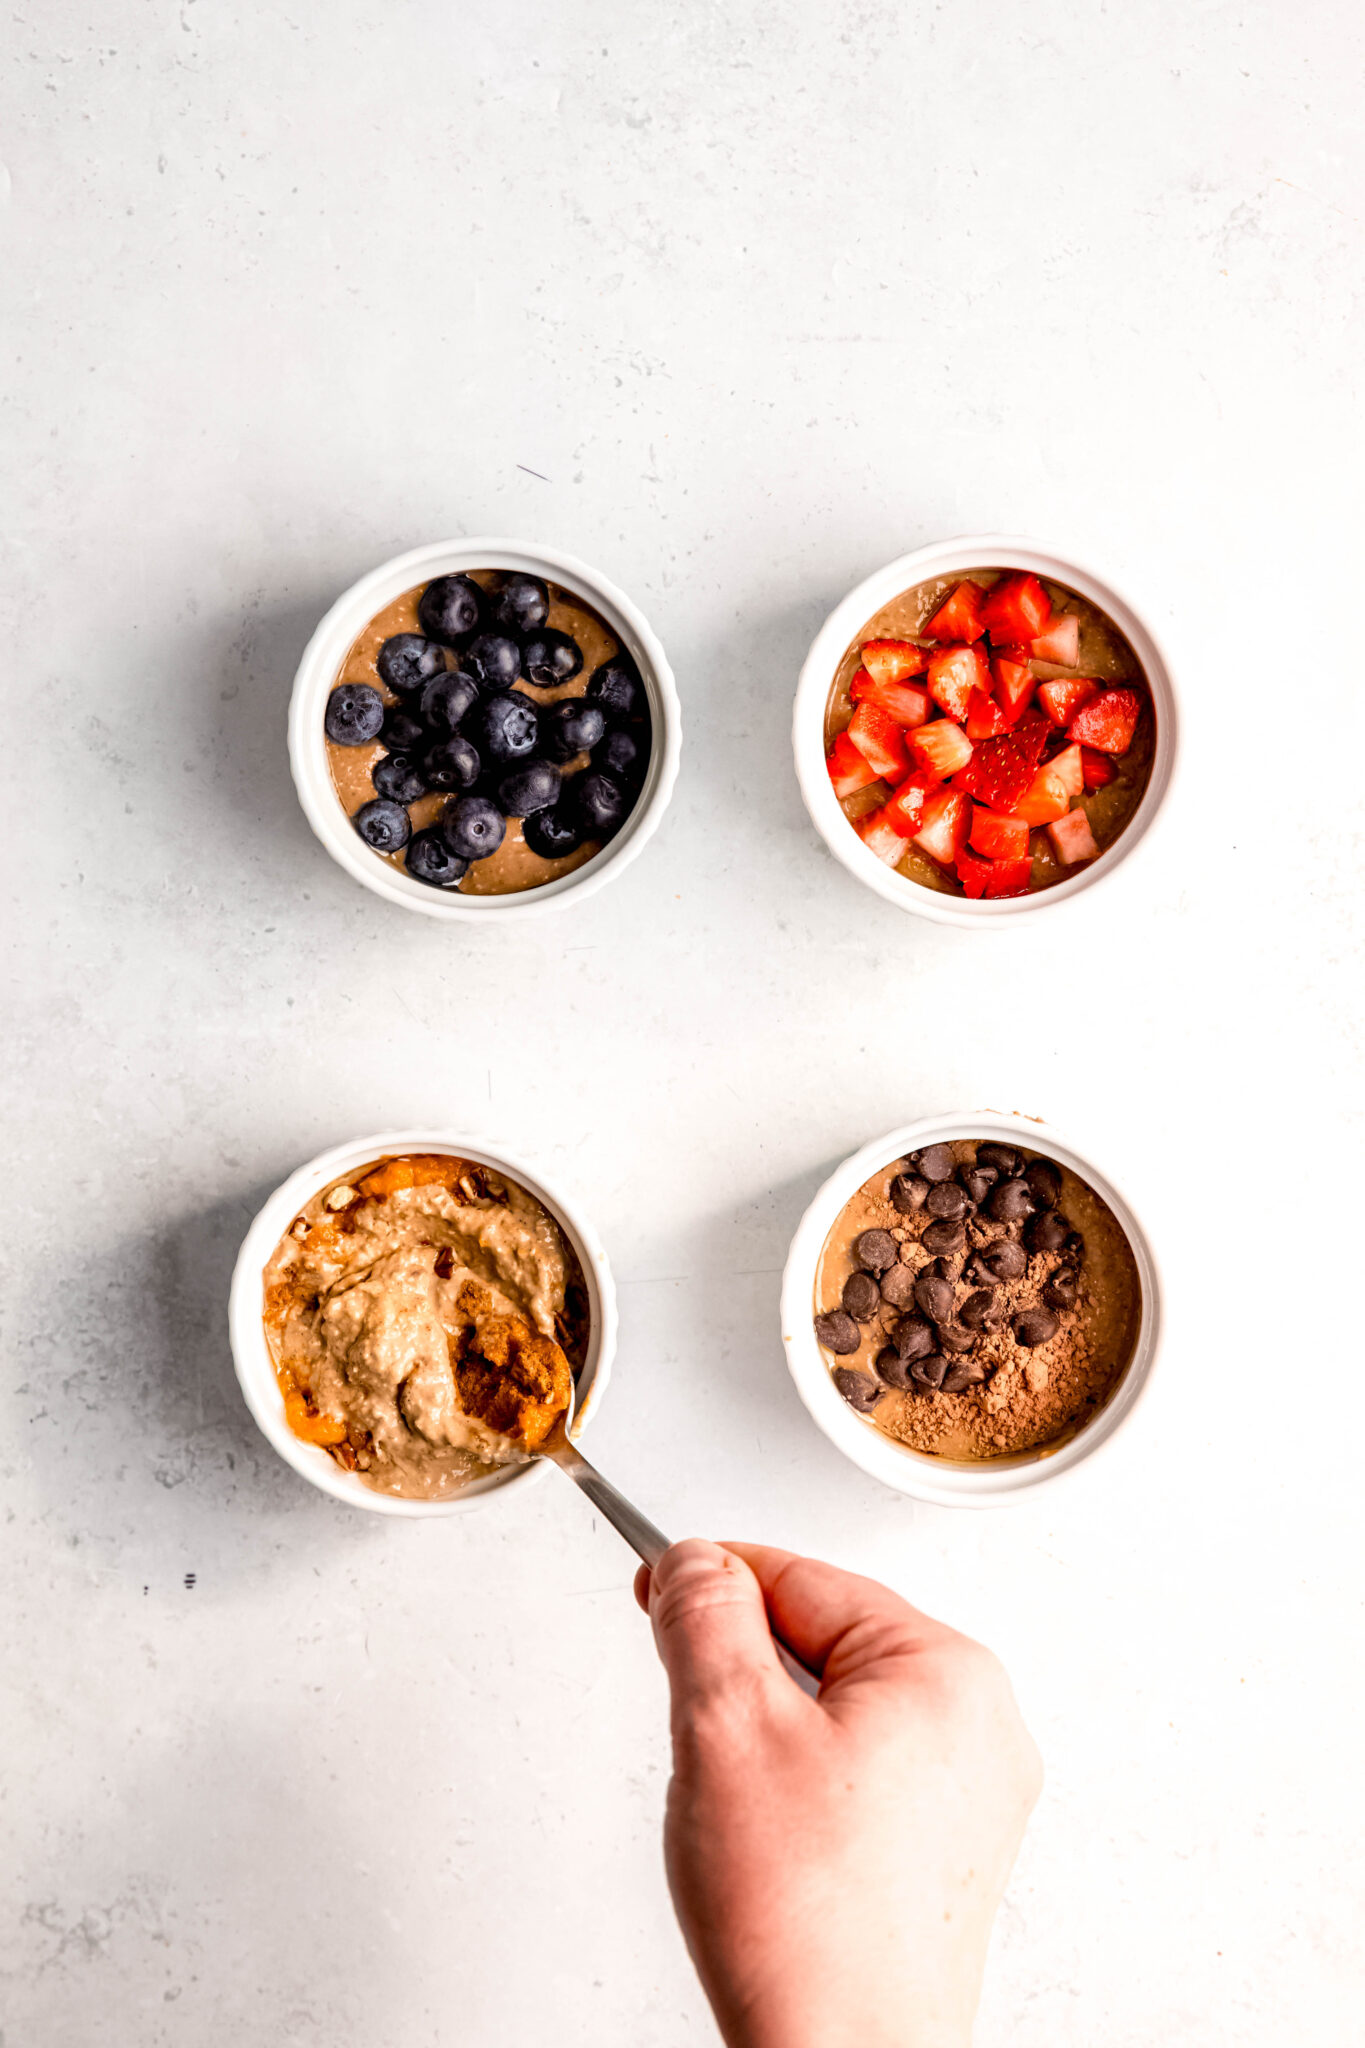
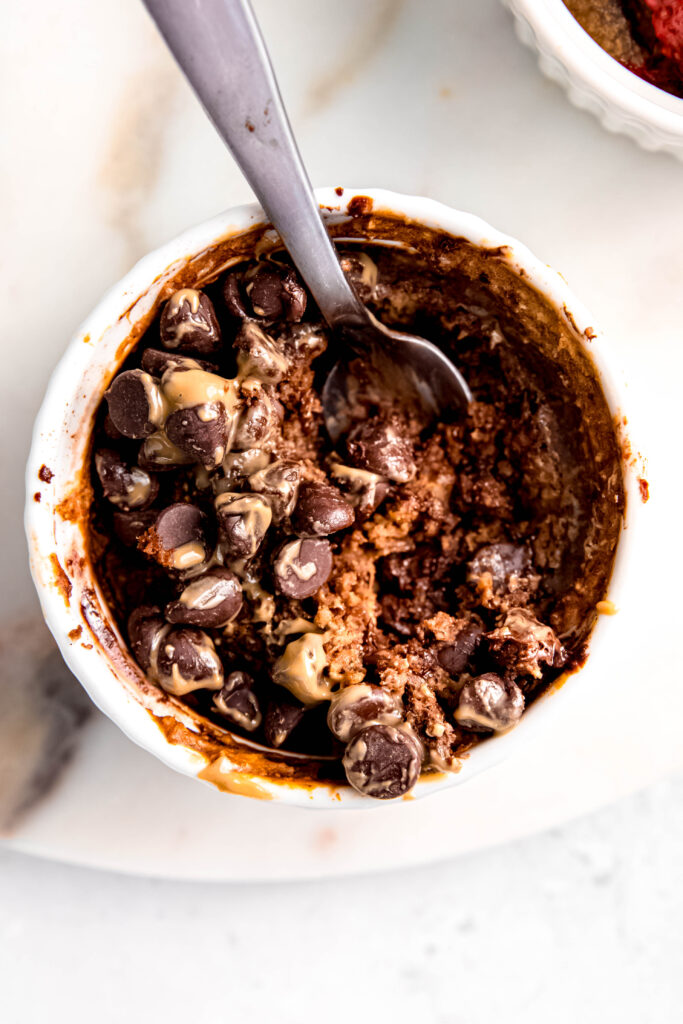
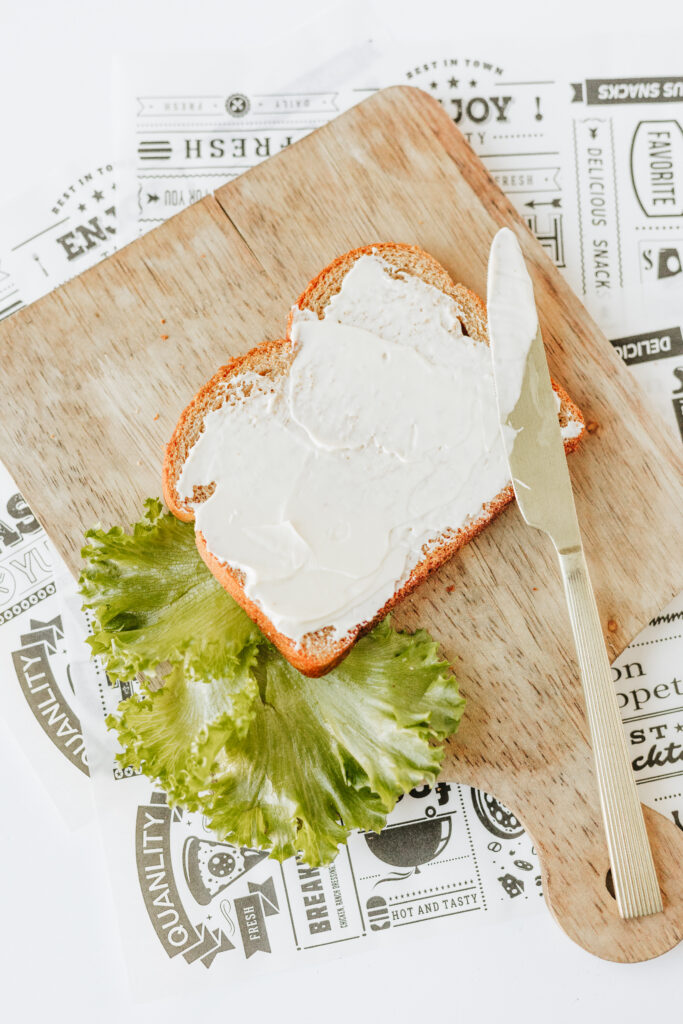
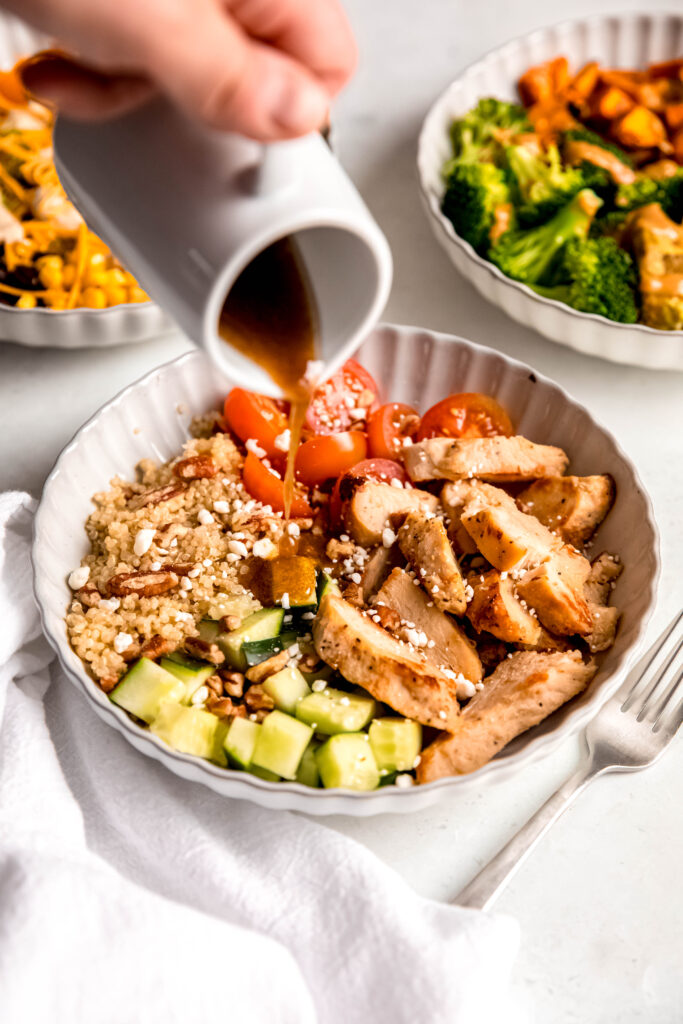
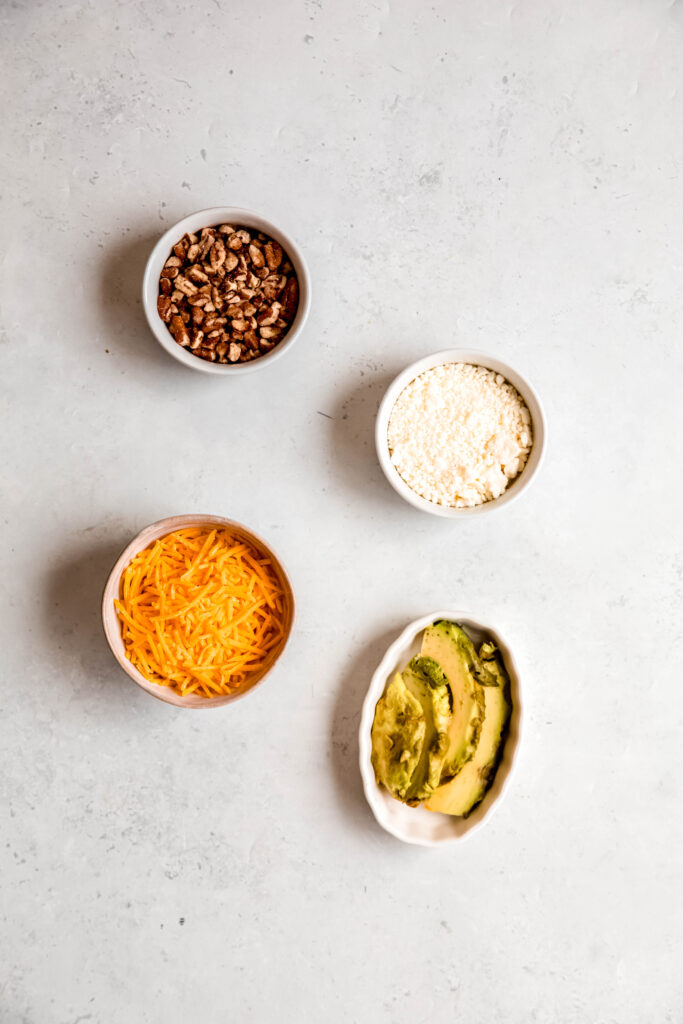
4. Last but not least, add toppings and sauce.
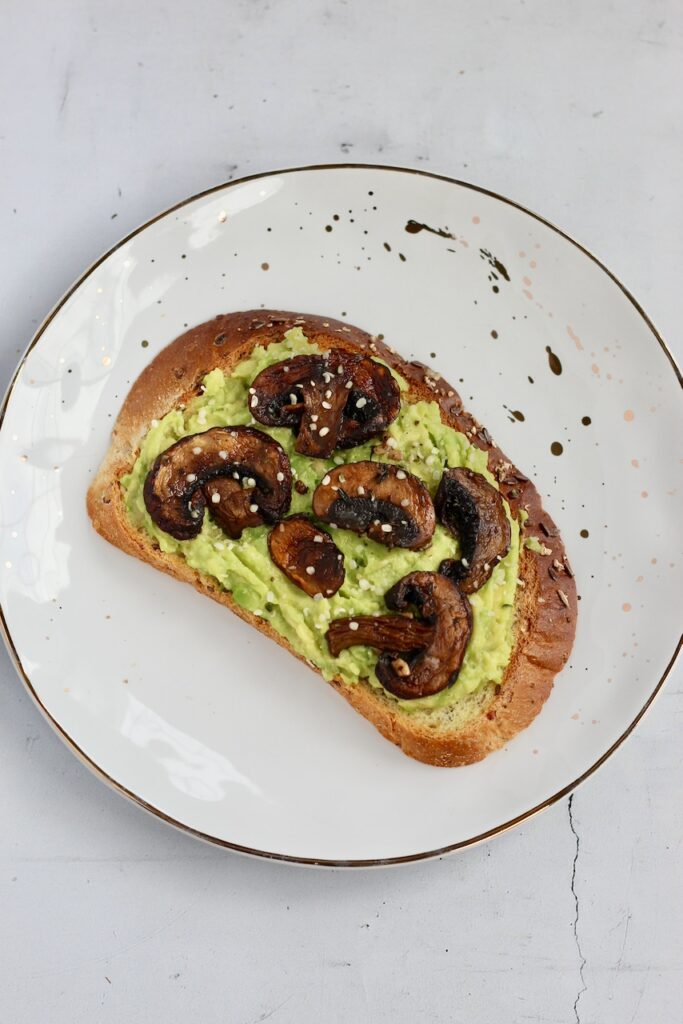
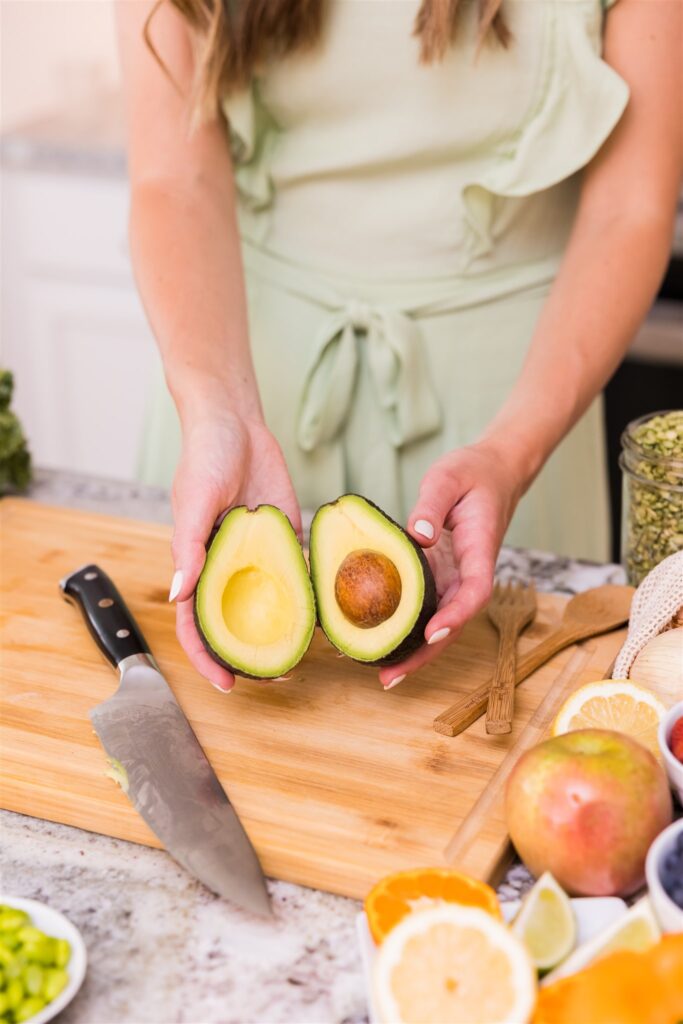
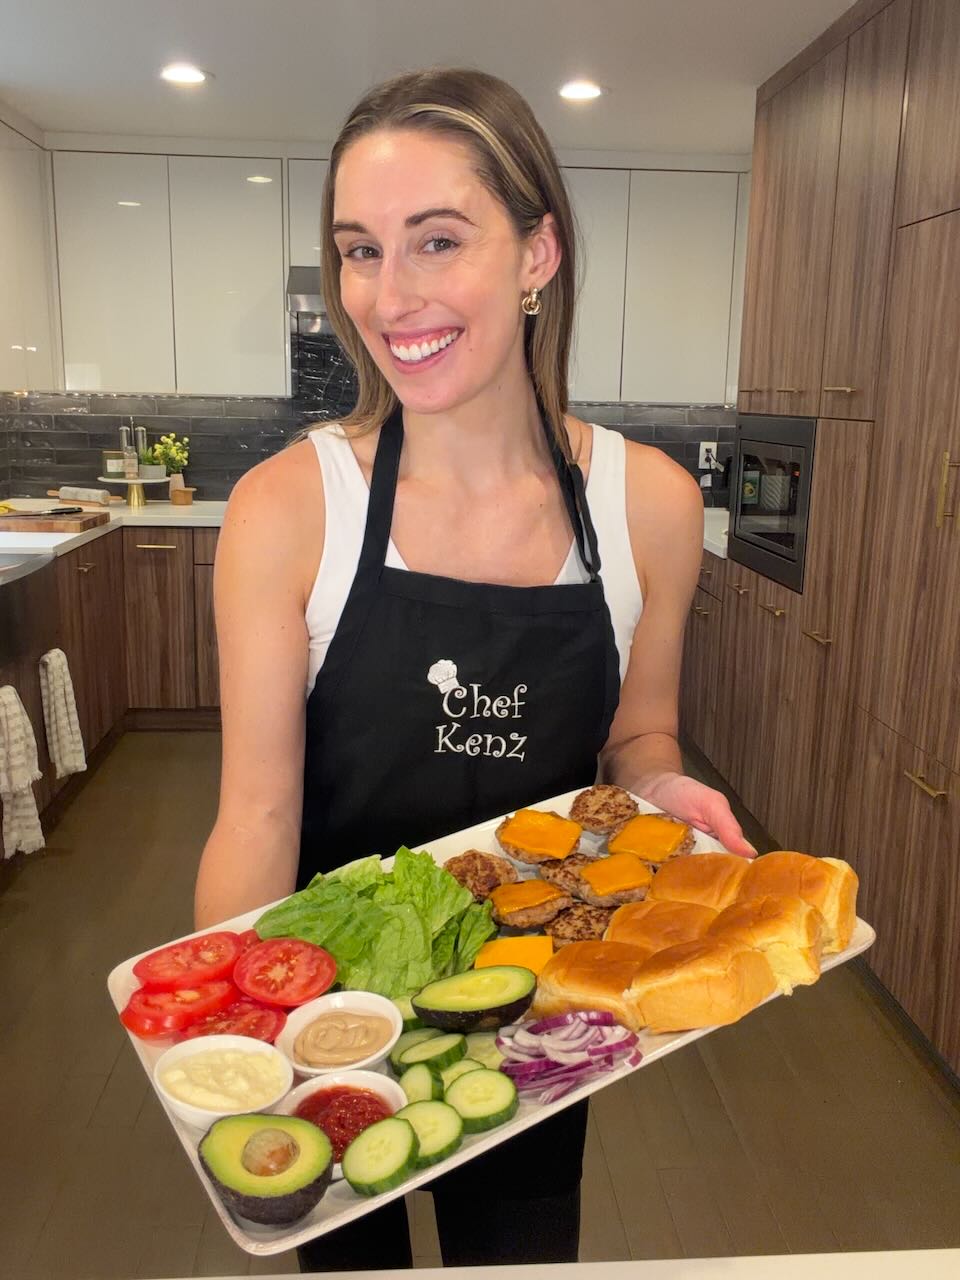
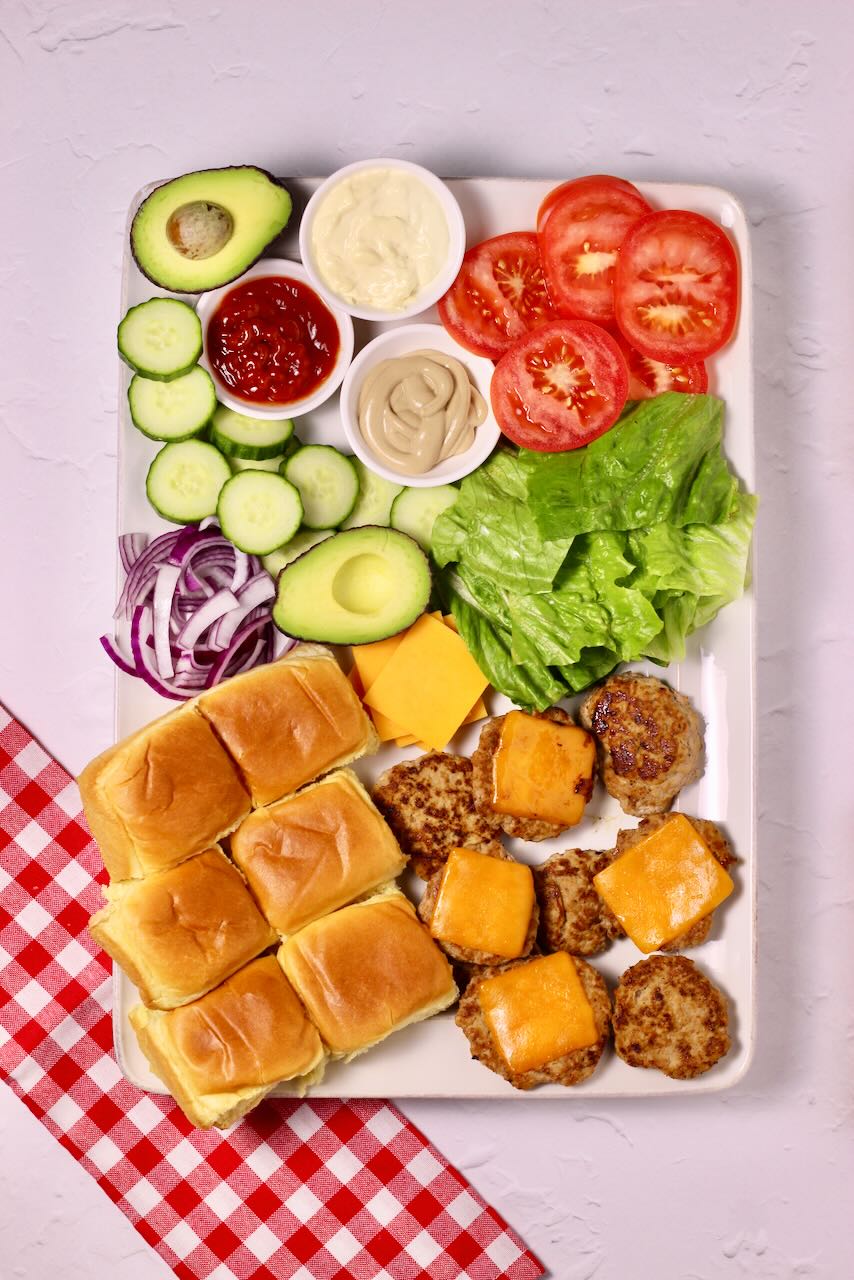
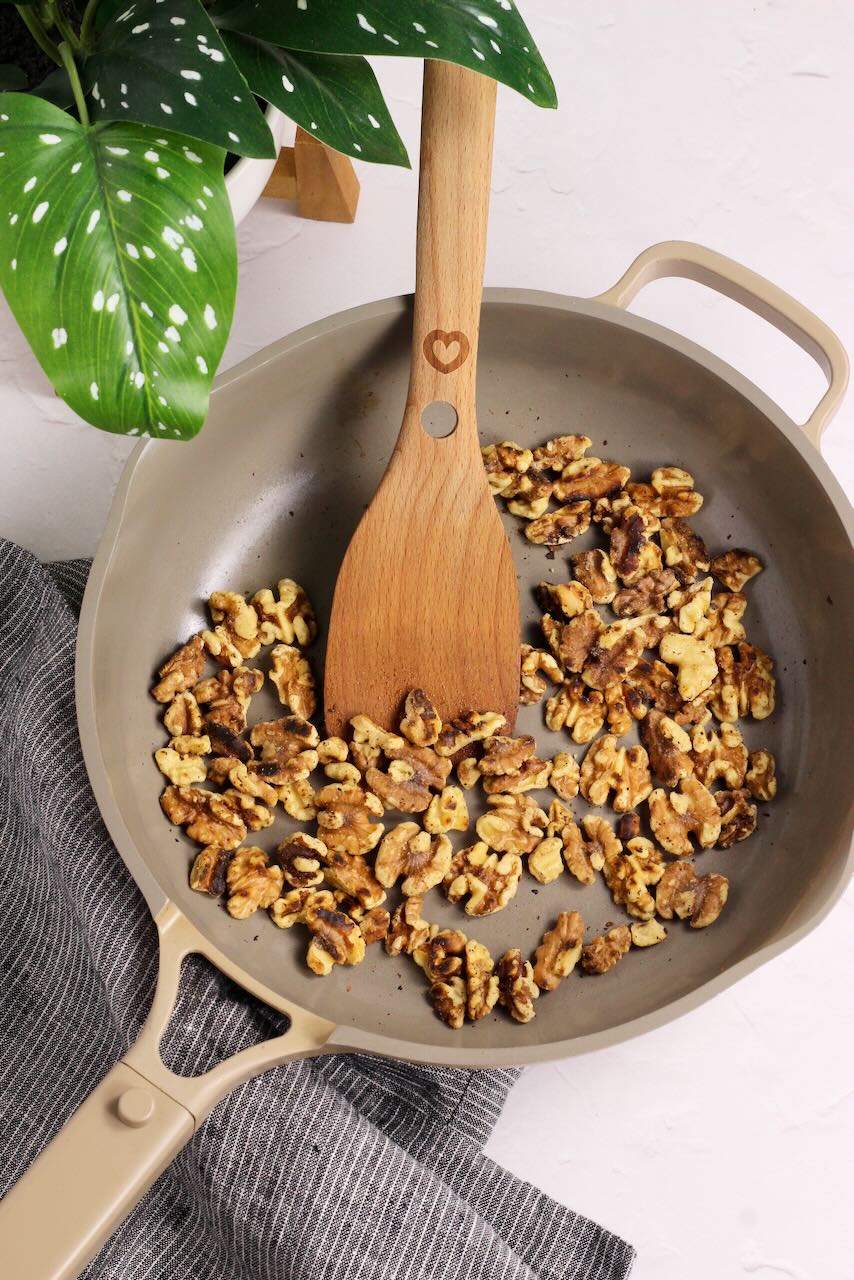
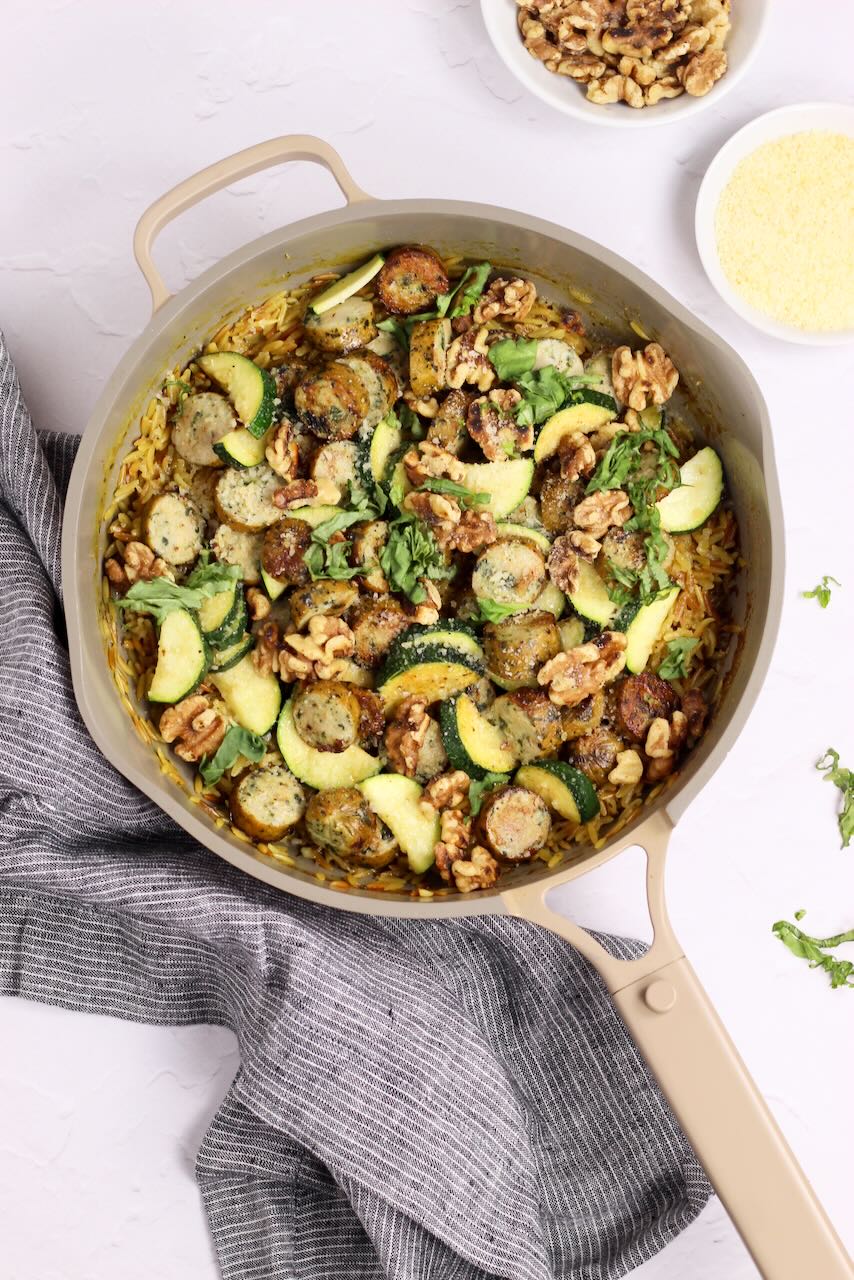
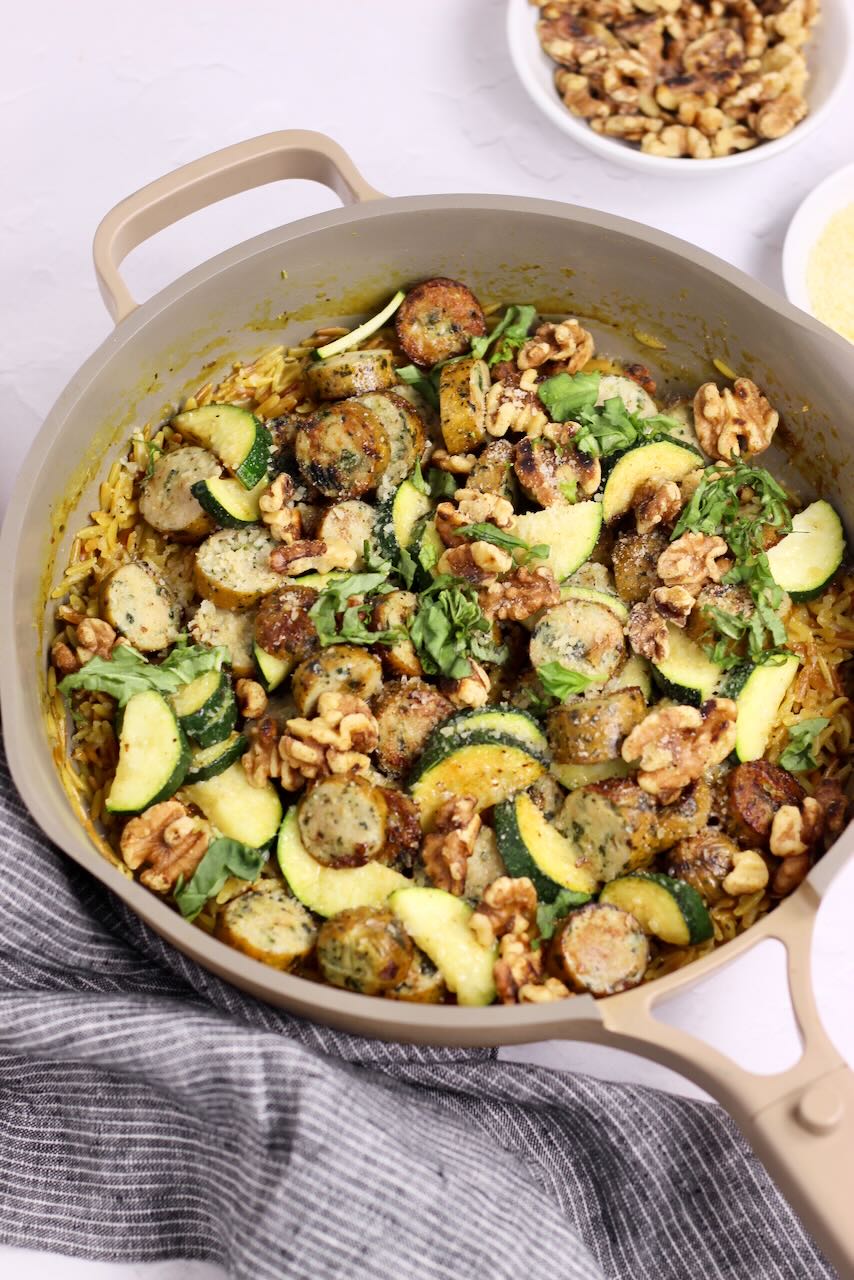
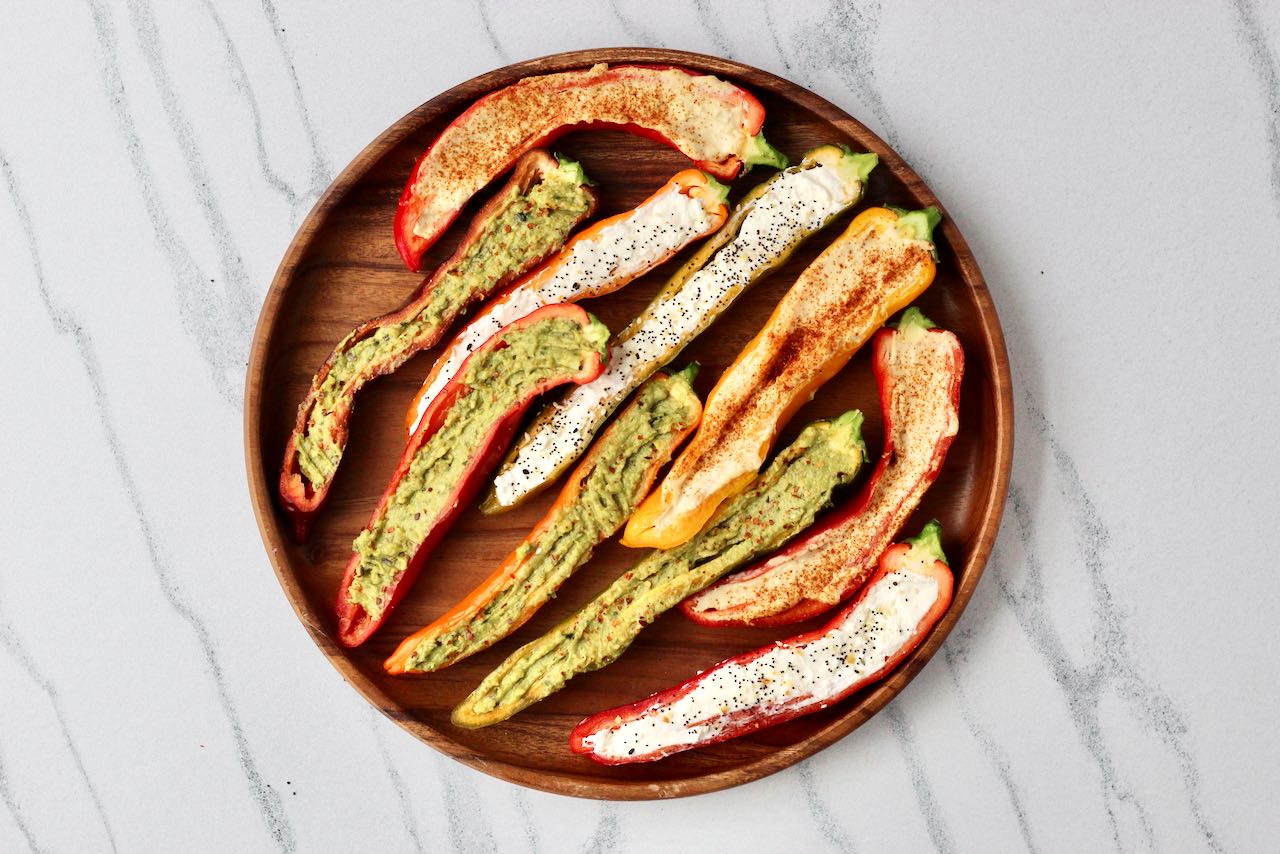
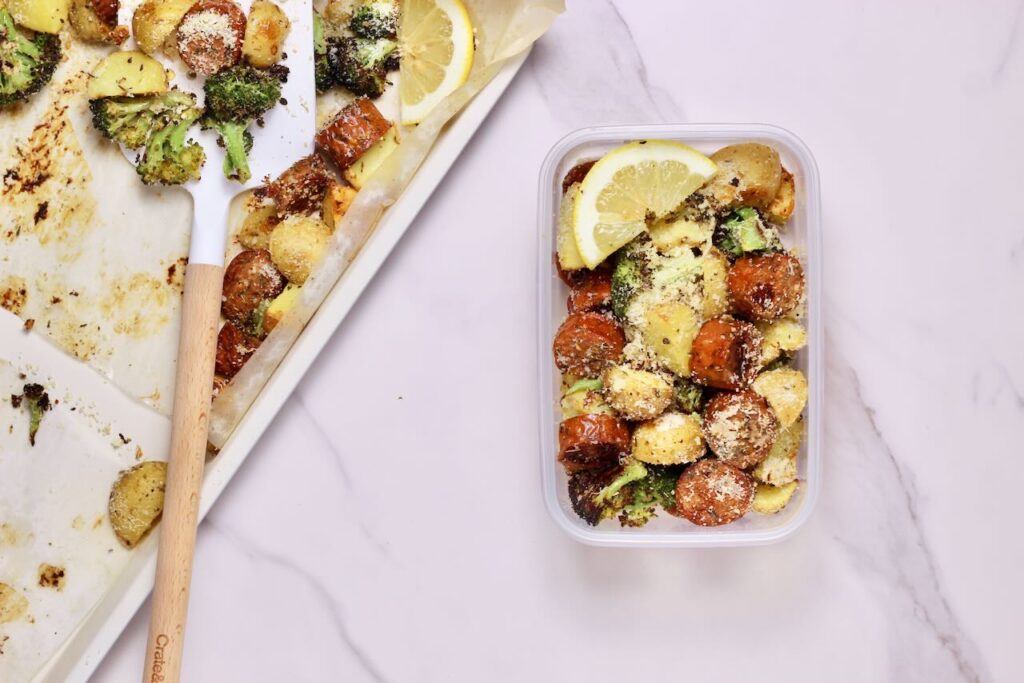
For the toppings, I like to use about ¼ cup of flavorful ingredients like avocado slices, nuts, or cheese.
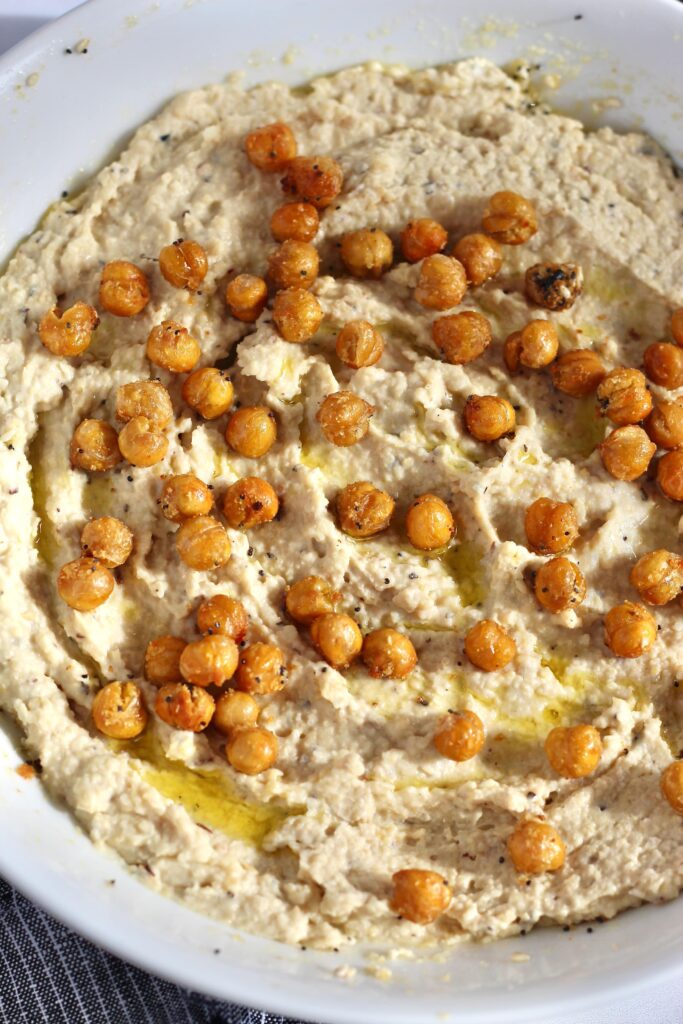
You could also pile on fresh herbs, hummus, kimchi, lemon slices, green onions, sesame seeds, or anything else you like.
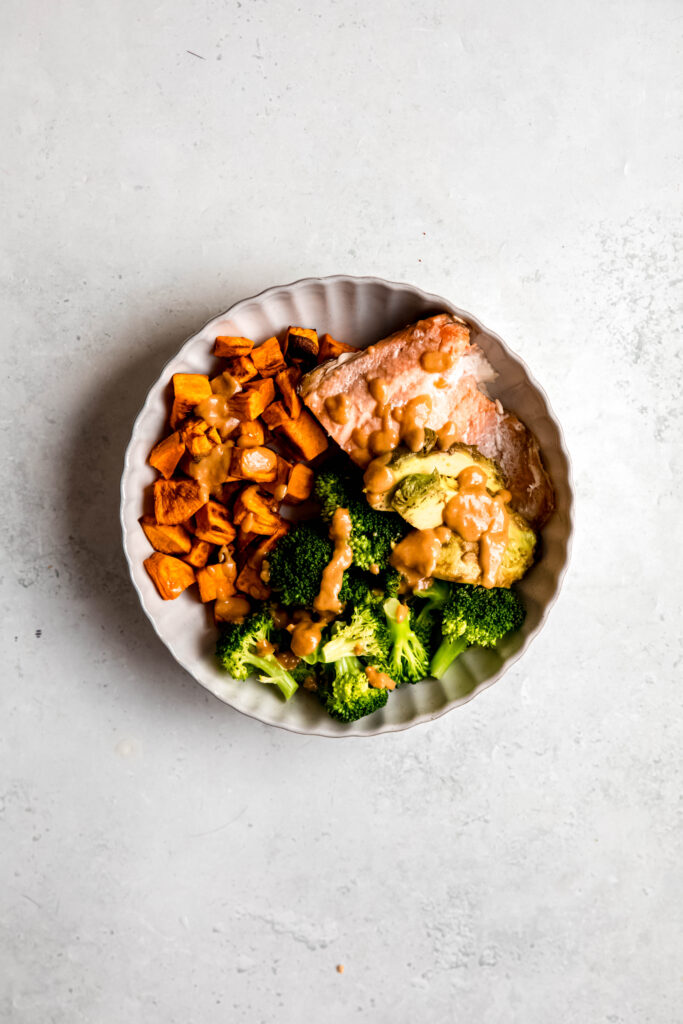
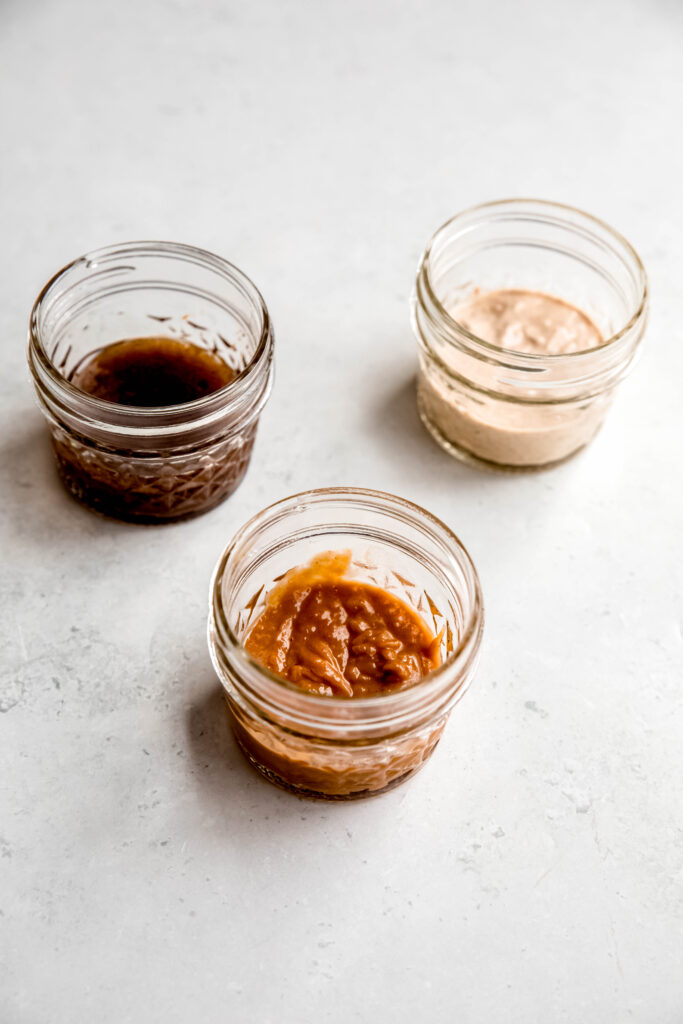
This recipe includes three simple sauces I've created to choose from. Feel free to use any of your favorite sauces or salad dressings too.
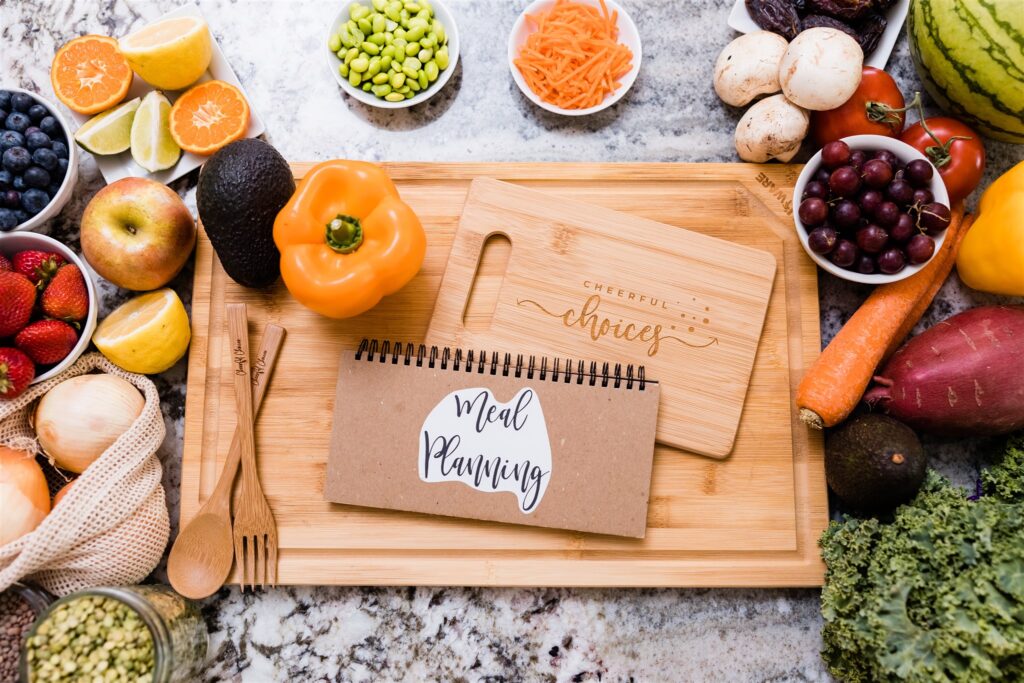
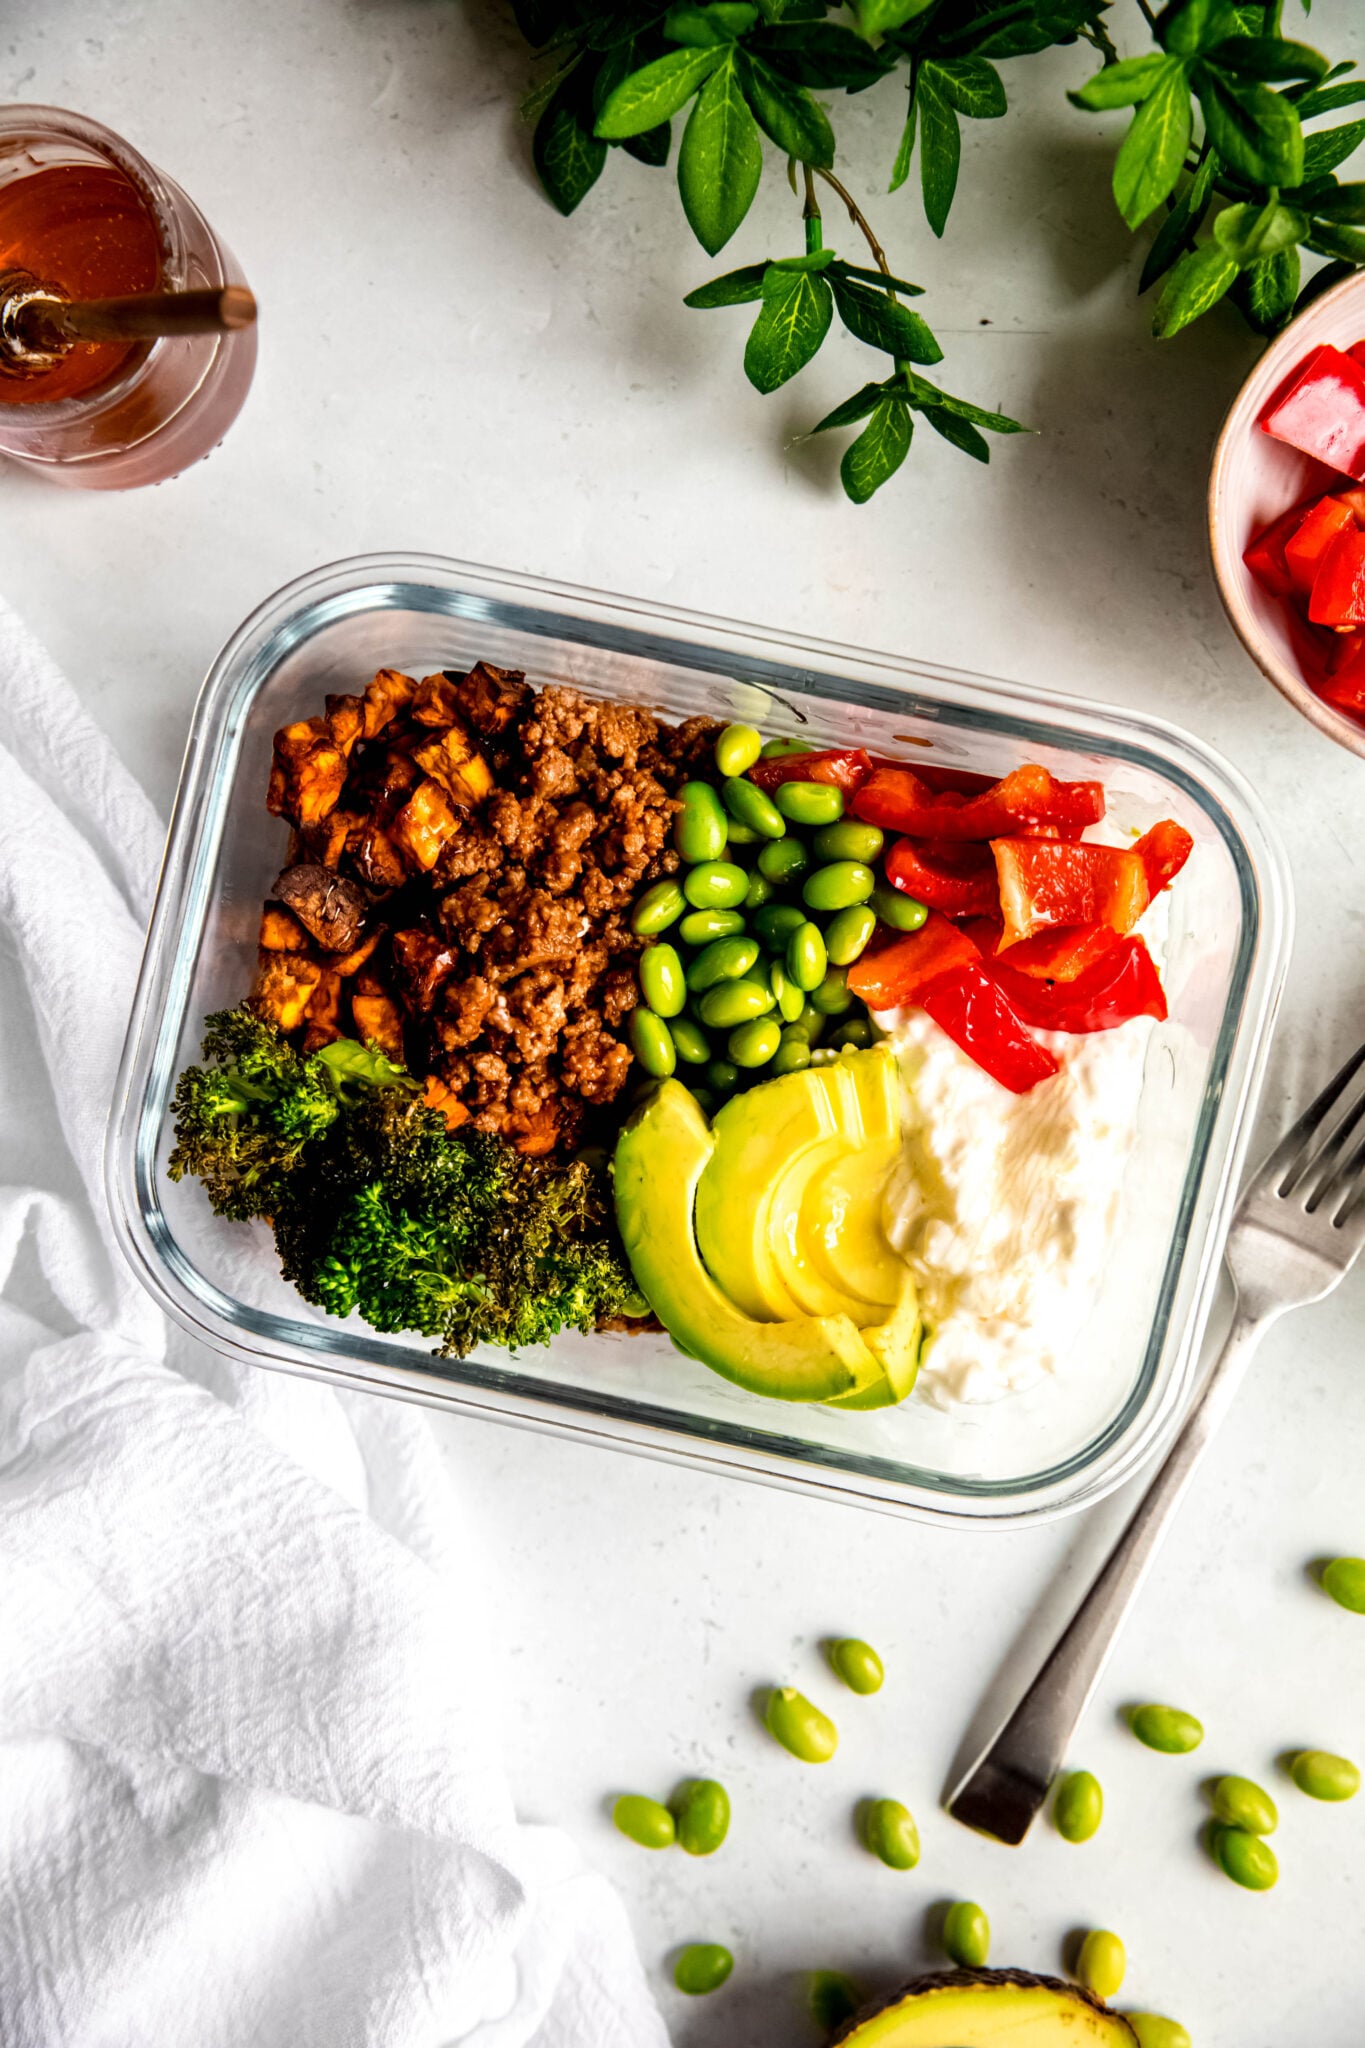
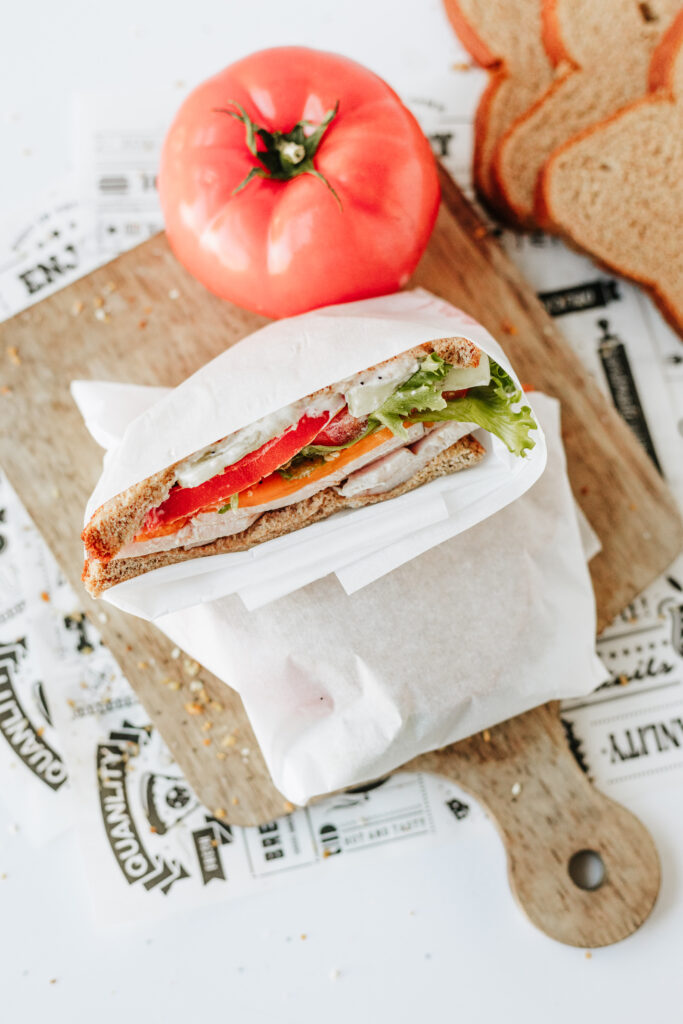
This power bowl is perfect for meal prep.
Eating healthy is a common New Year's resolution, so healthy meal prep is very important. I think the key to meal prep is mixing it up and planning it out.
- Mix up your typical meal prep routine so you don't get sick of the same meals.
- Plan out your meals in advance so they are ready to go the day before.
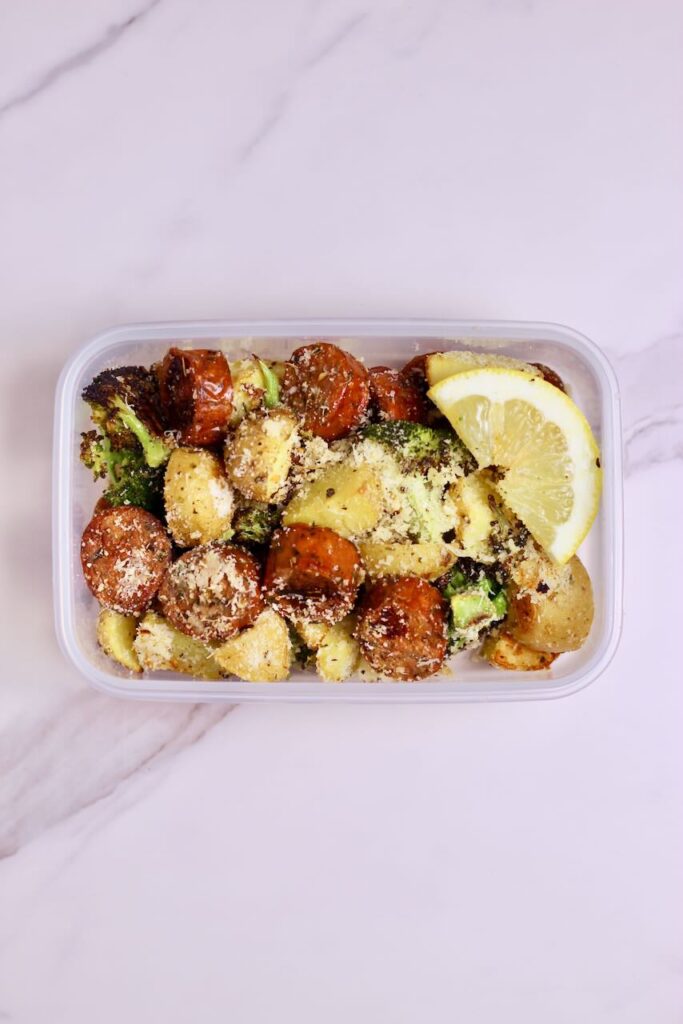
Depending on what you use, this bowl can be stored up to 3-4 days in the fridge, making it a perfect meal prep dish.

How many does this power bowl serve?
This recipe makes enough for one bowl. The sauces also make enough for one serving to drizzle on top. If you want to make multiple bowls, simply multiply the recipe. What are your favorite ingredients to use for this customizable power bowl? I would love to see your creations.

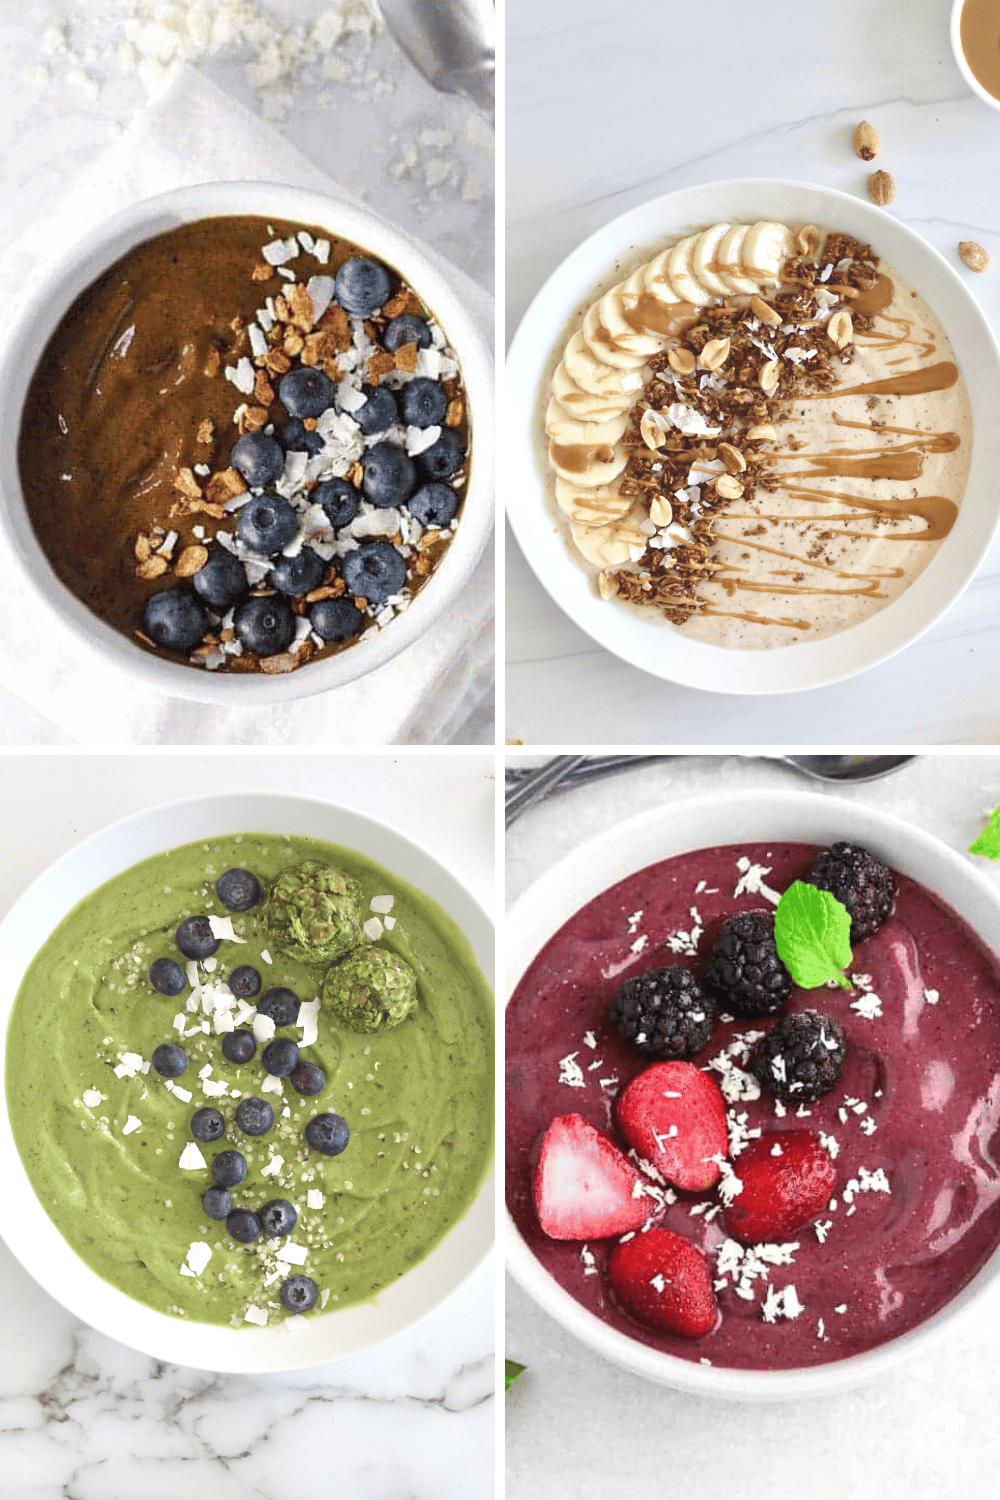
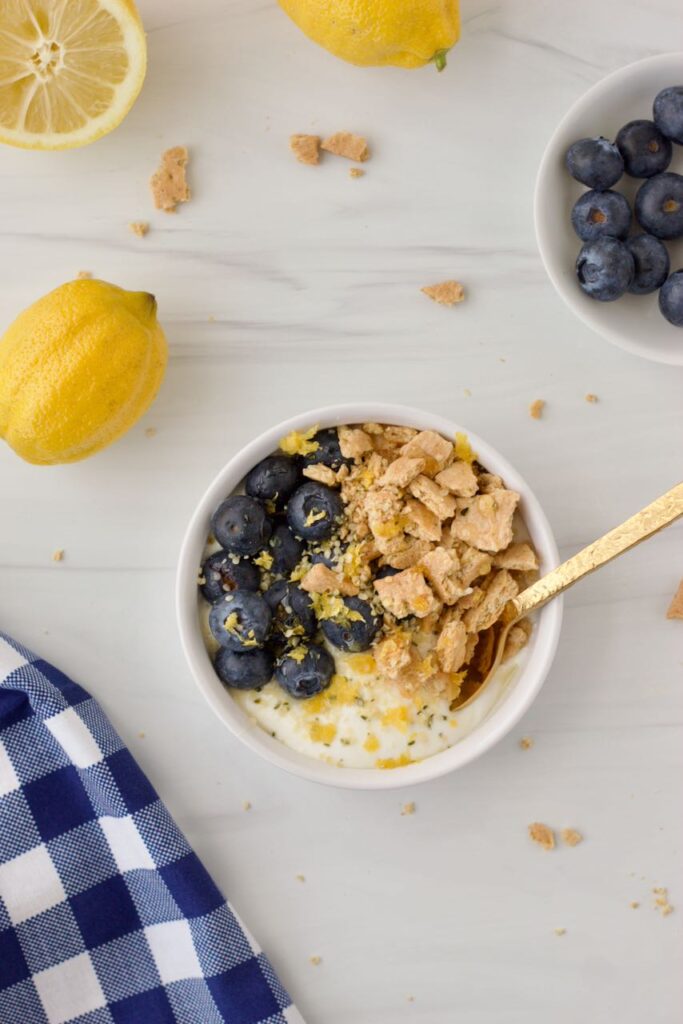
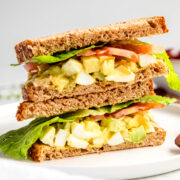
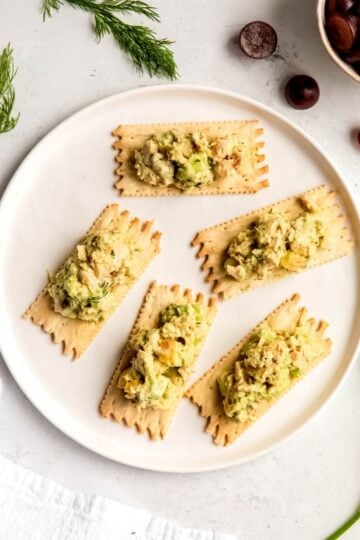
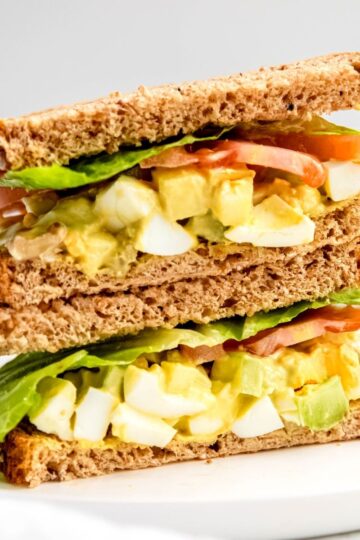
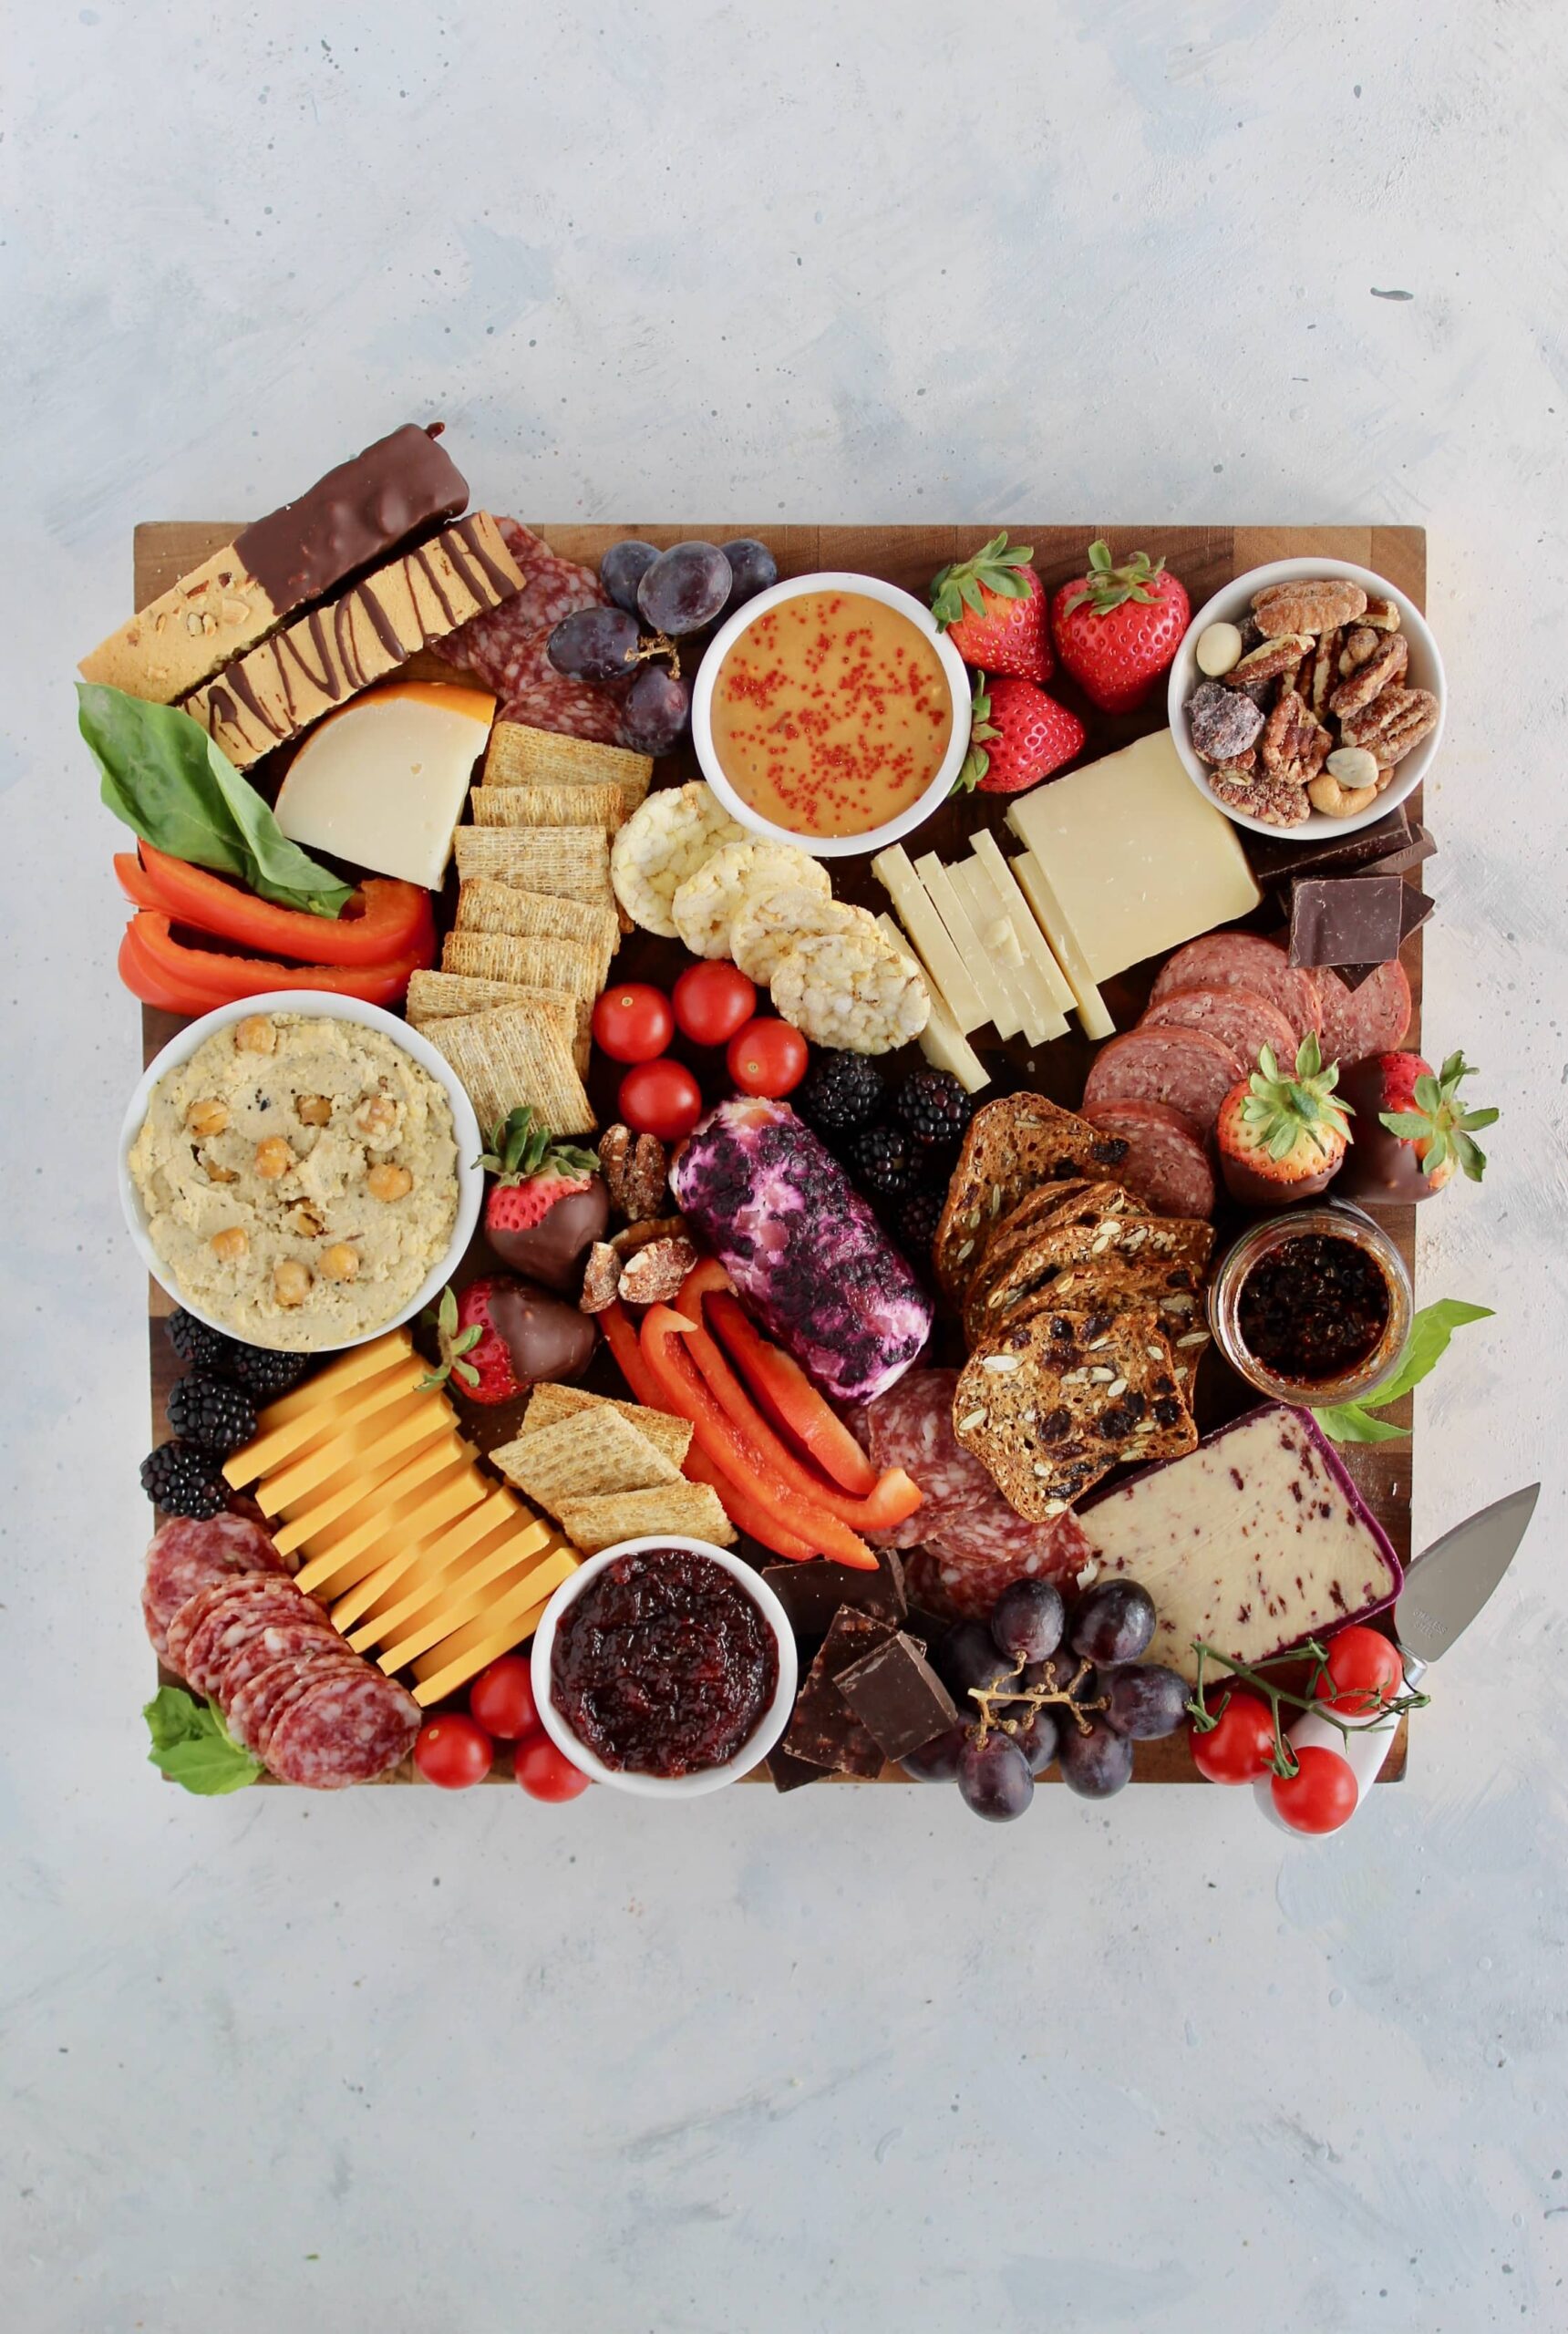
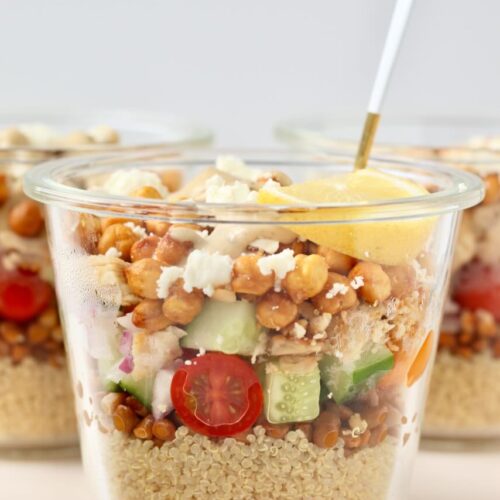
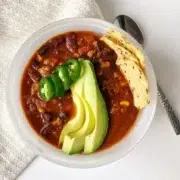
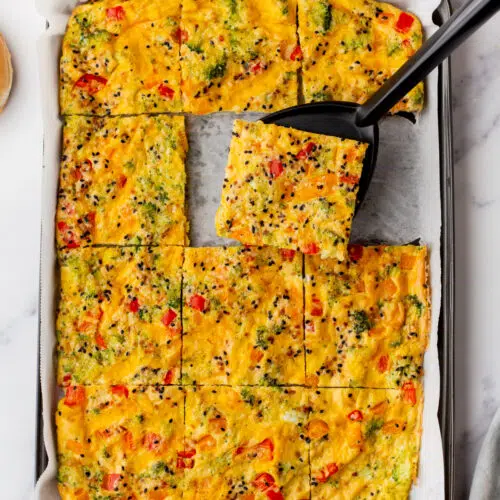
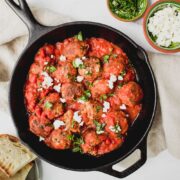
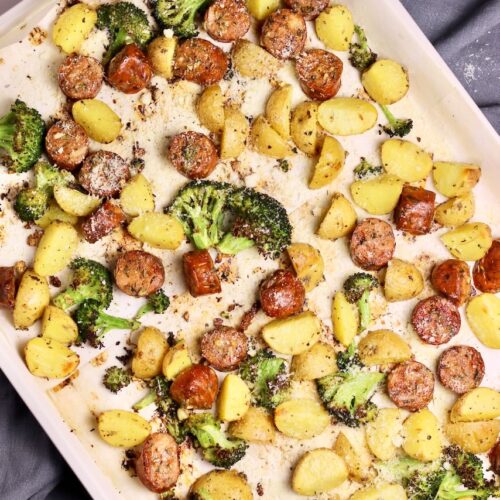
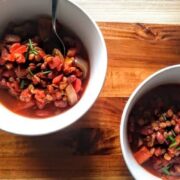
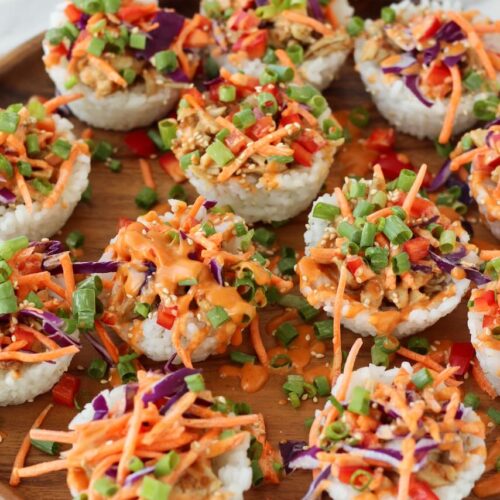
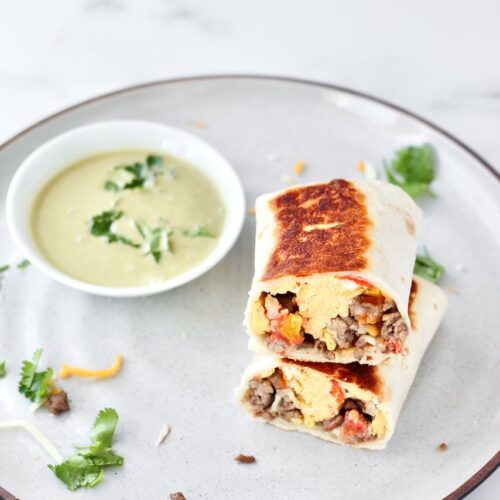
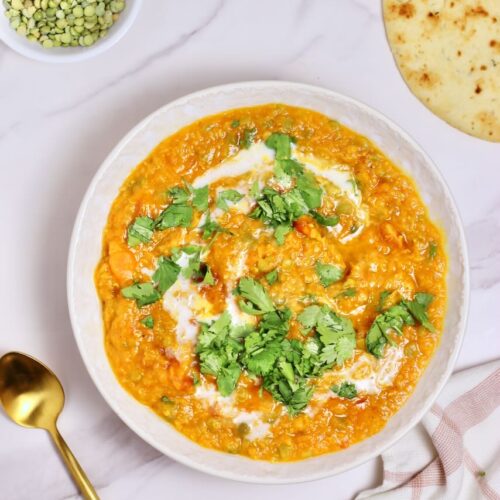
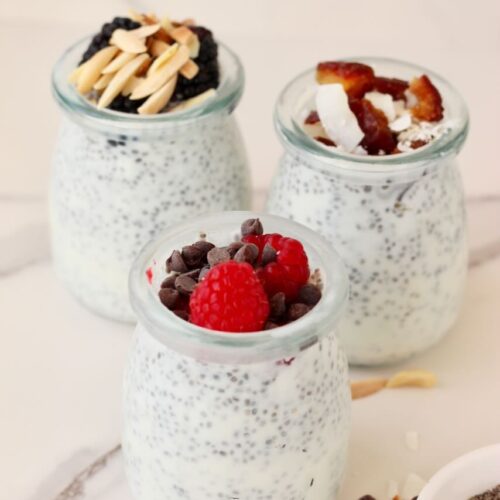
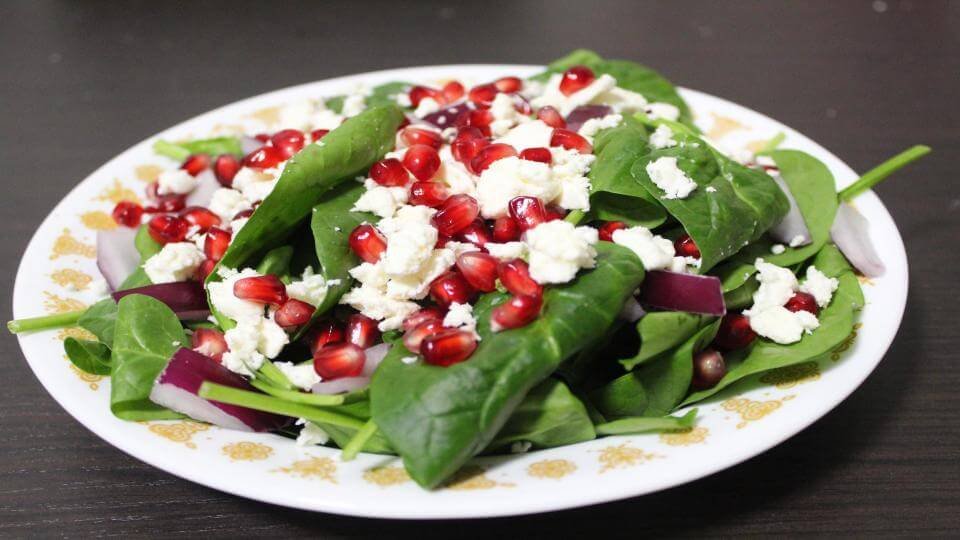
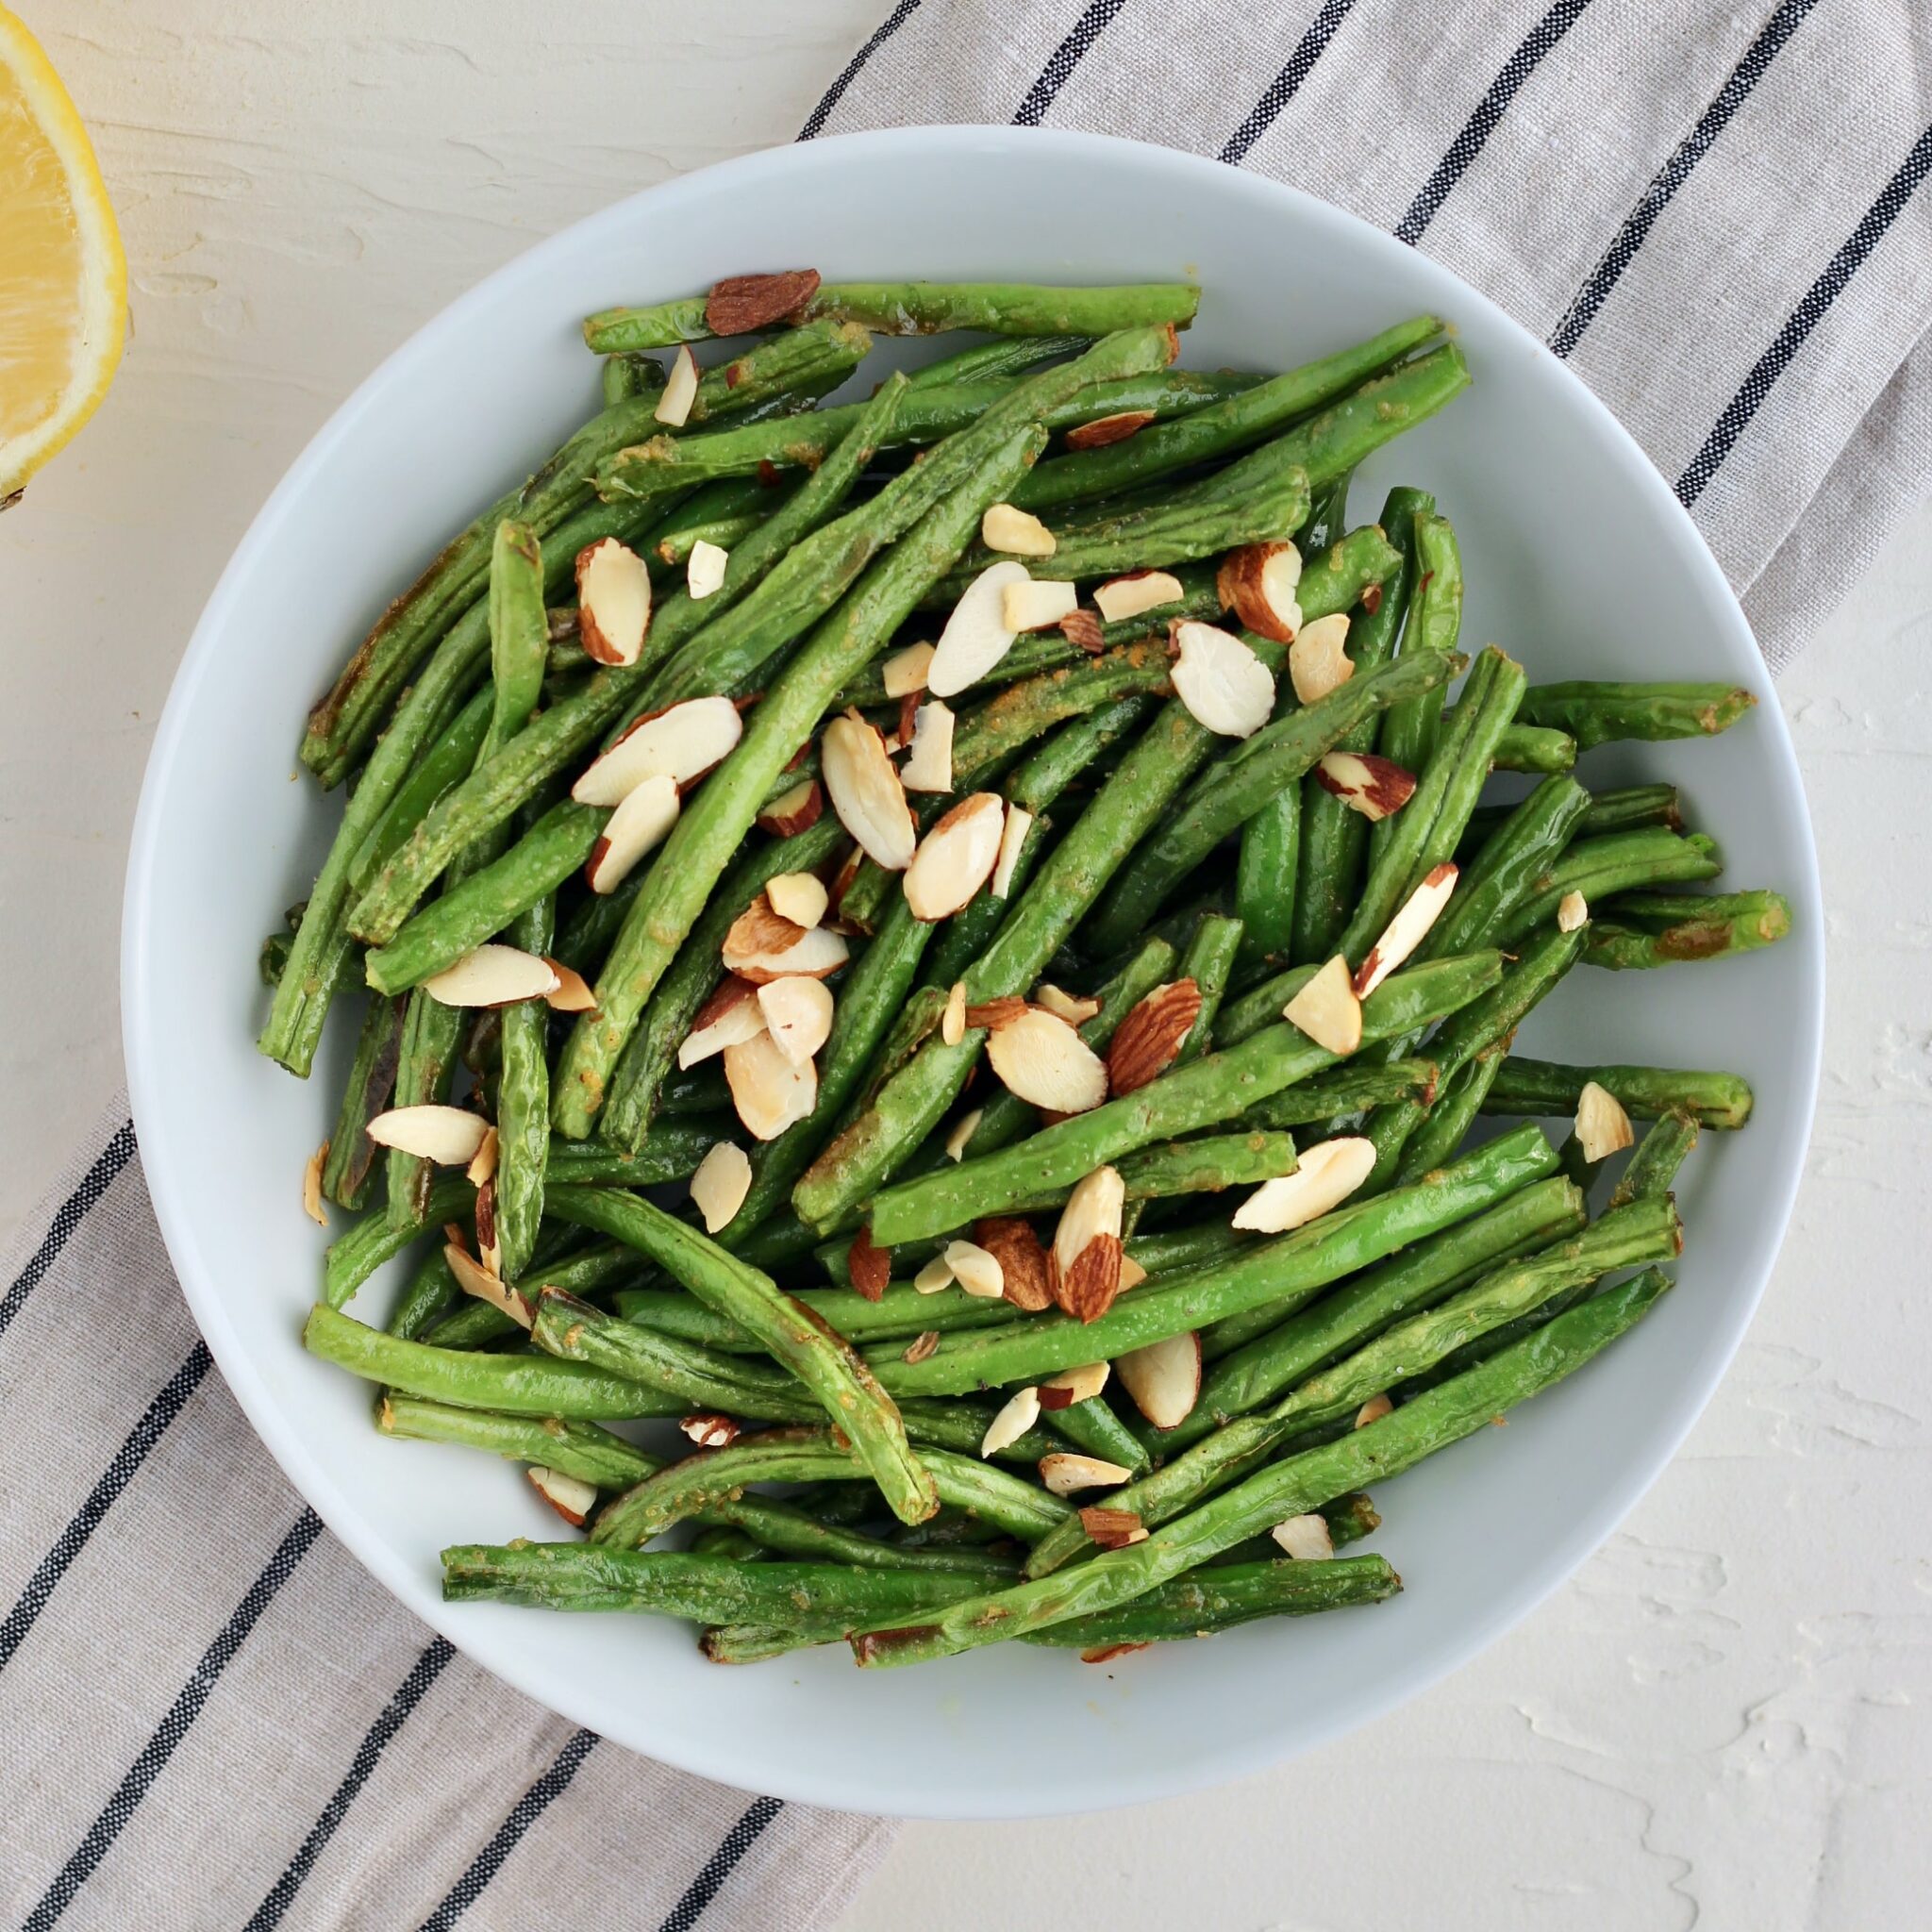
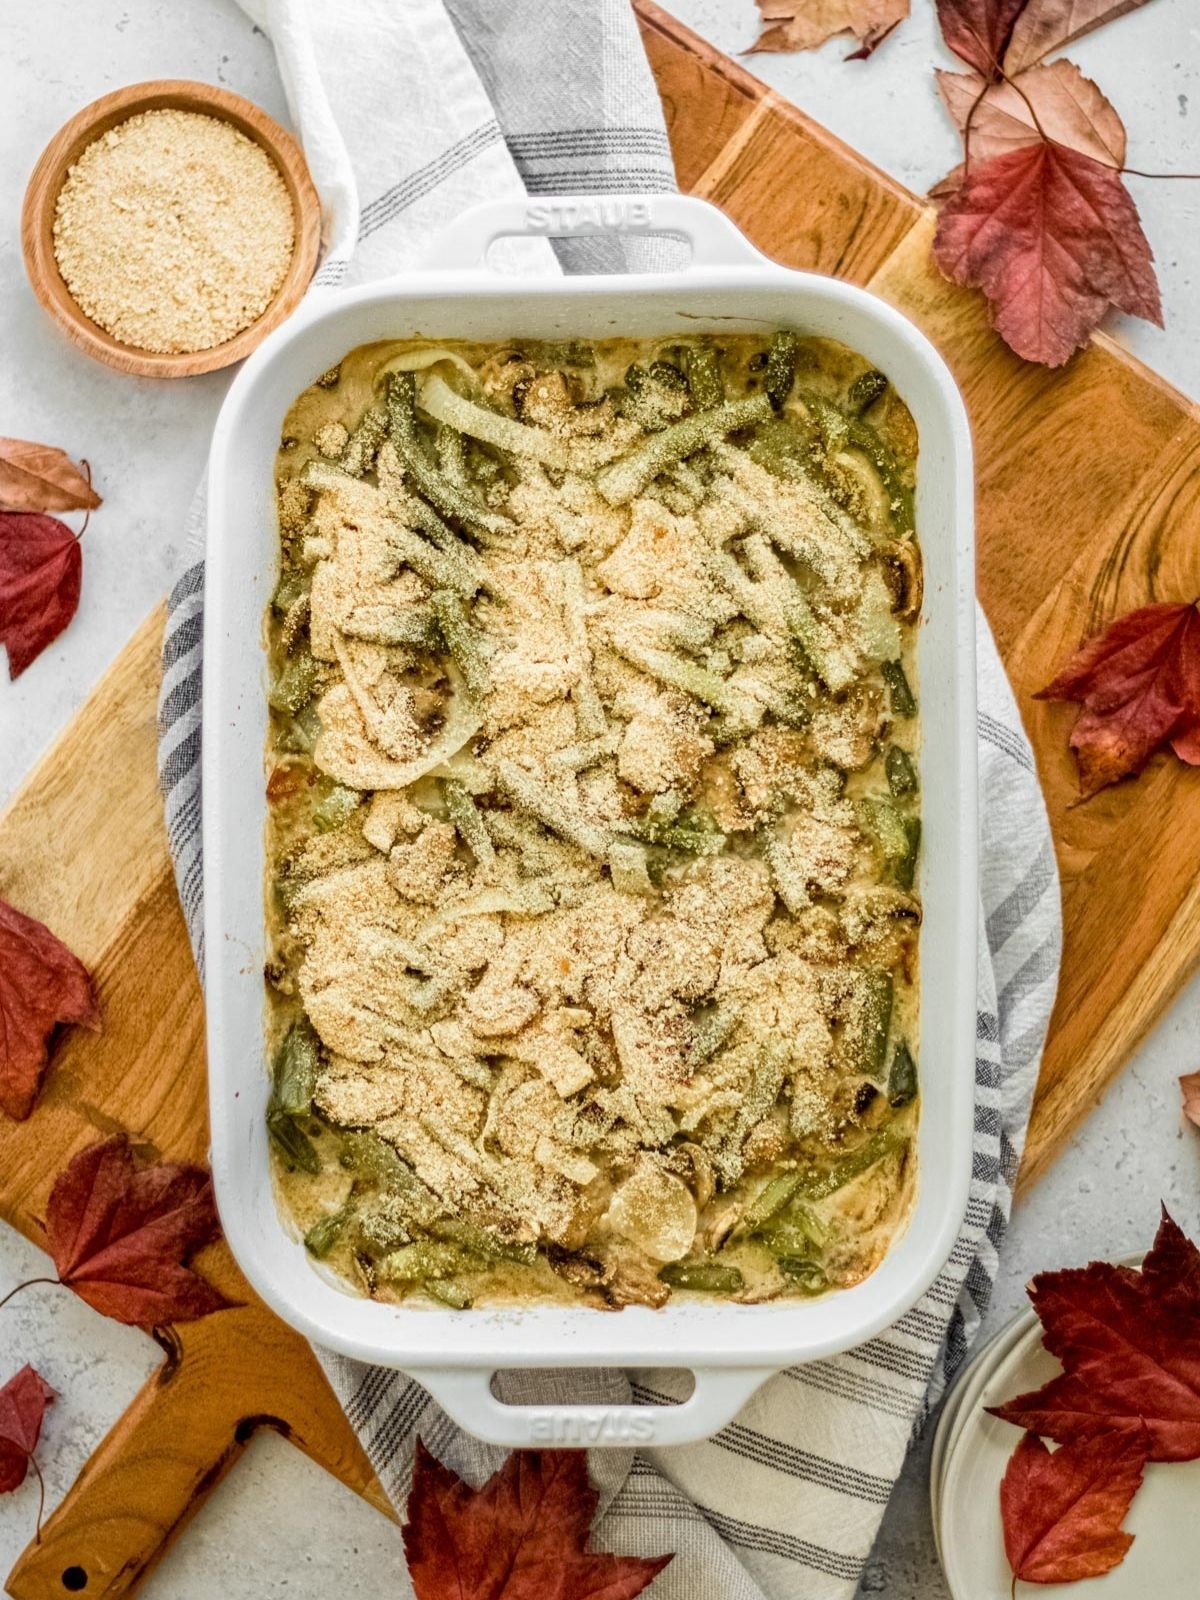
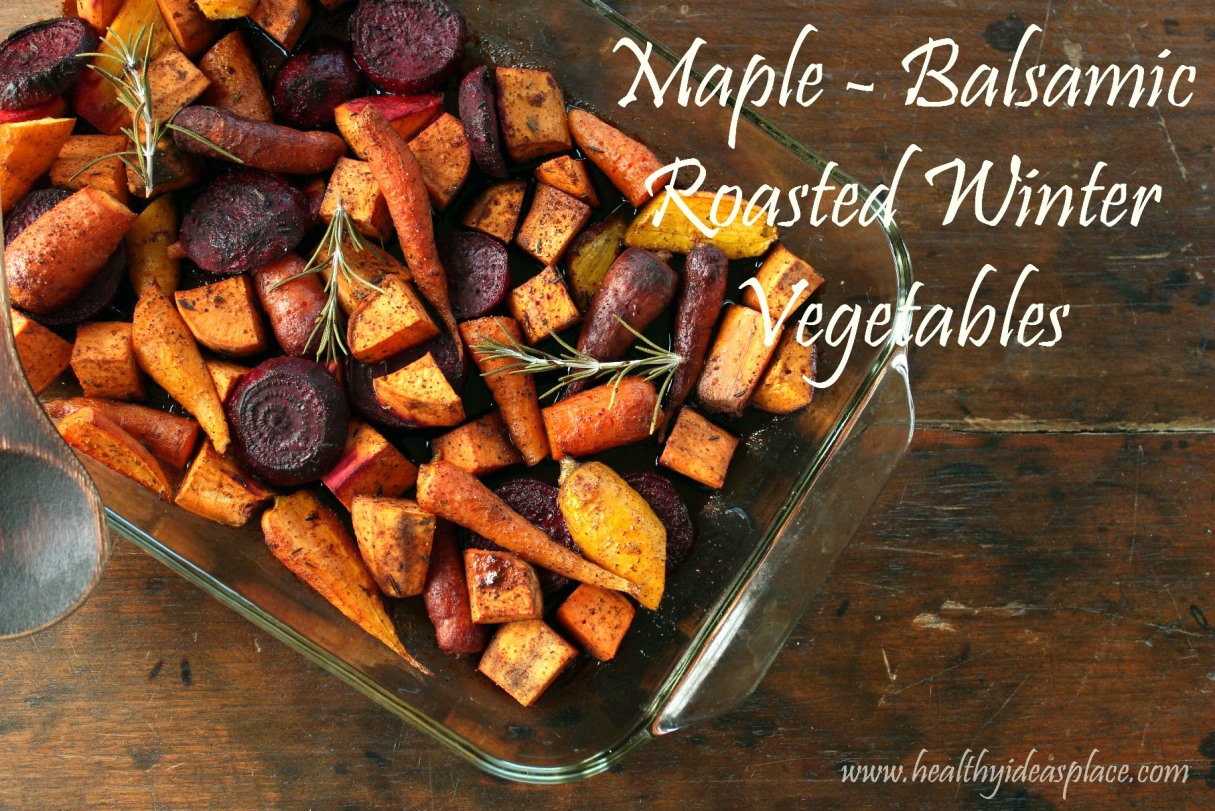
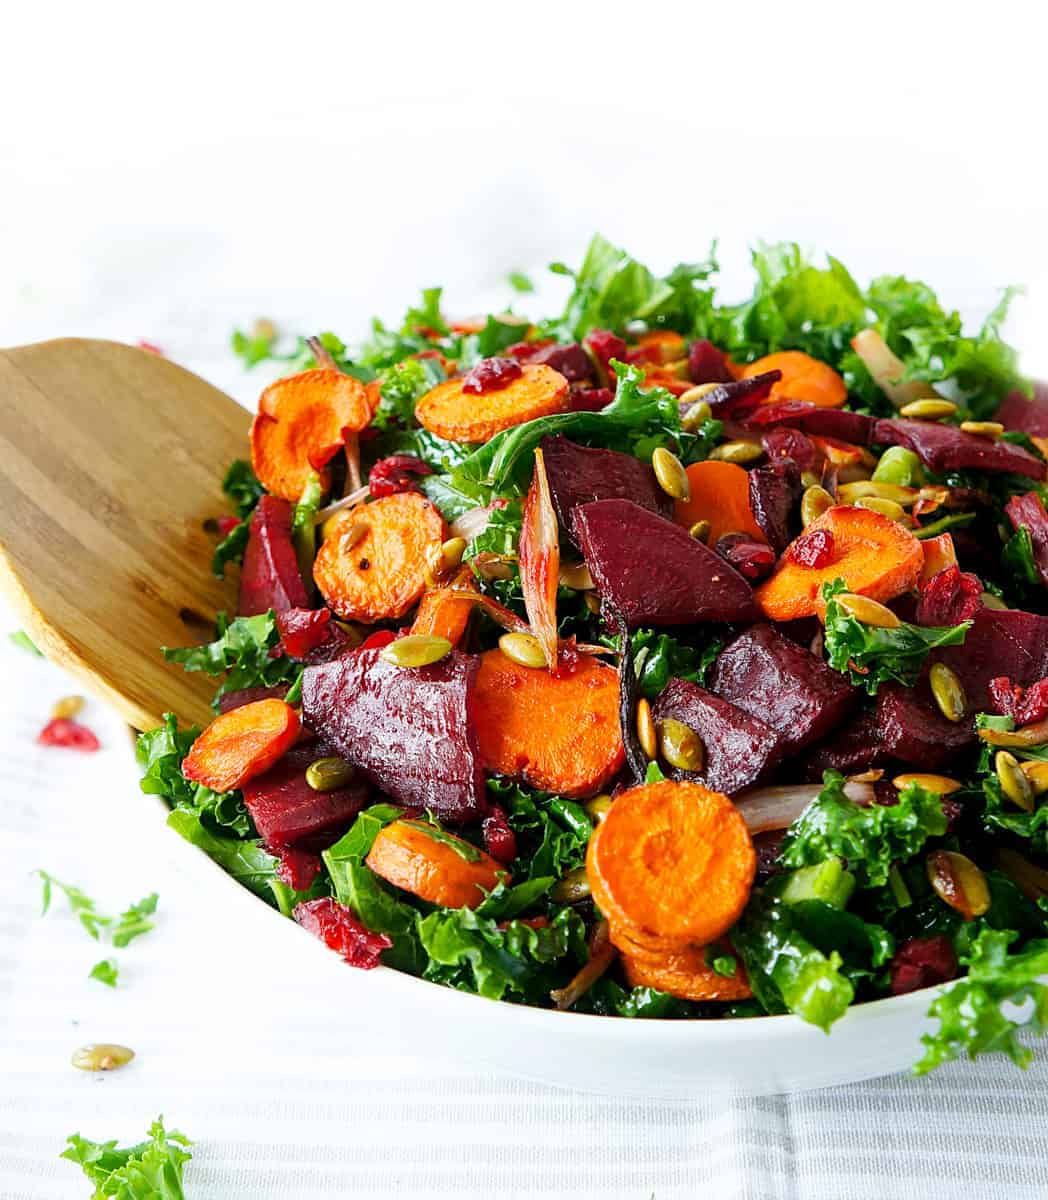
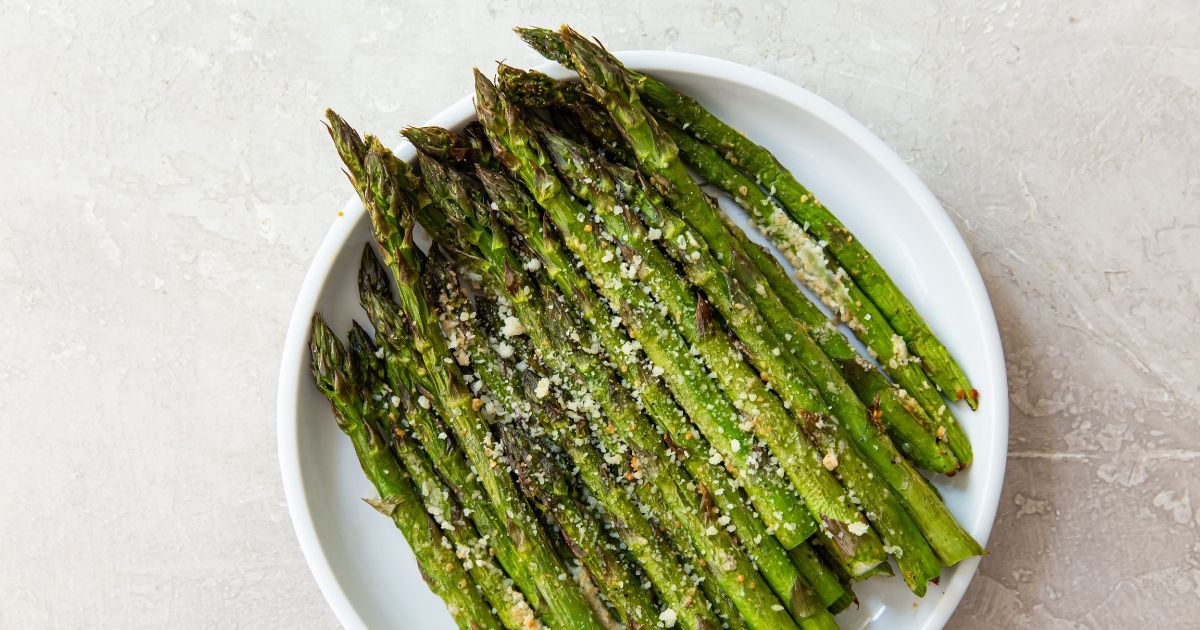
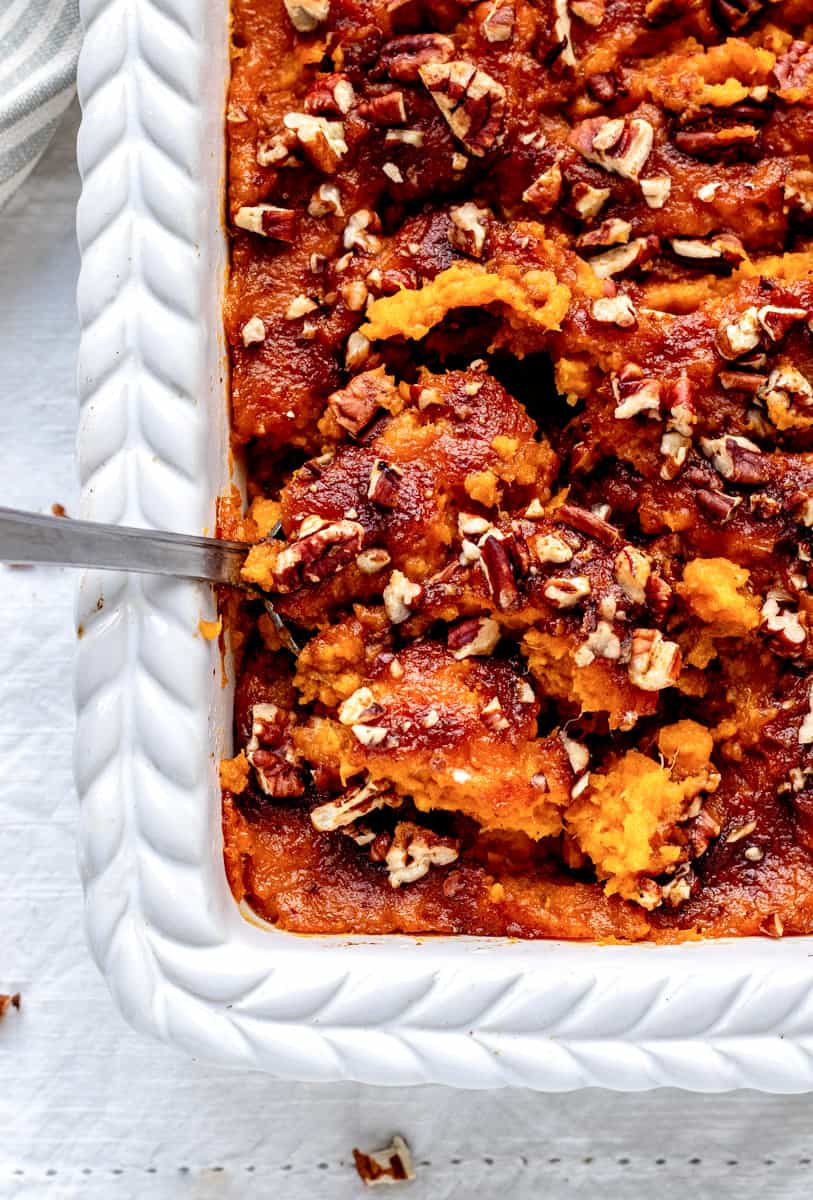
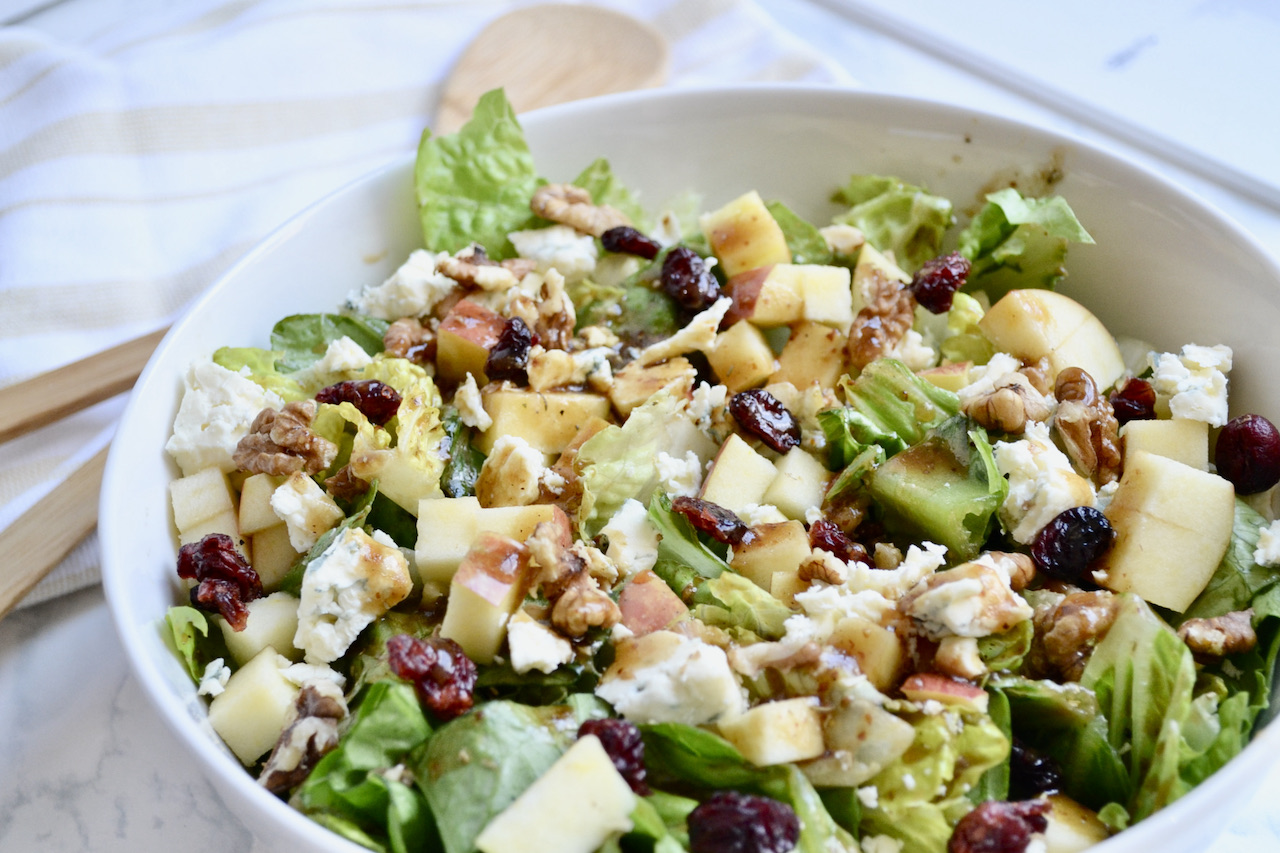
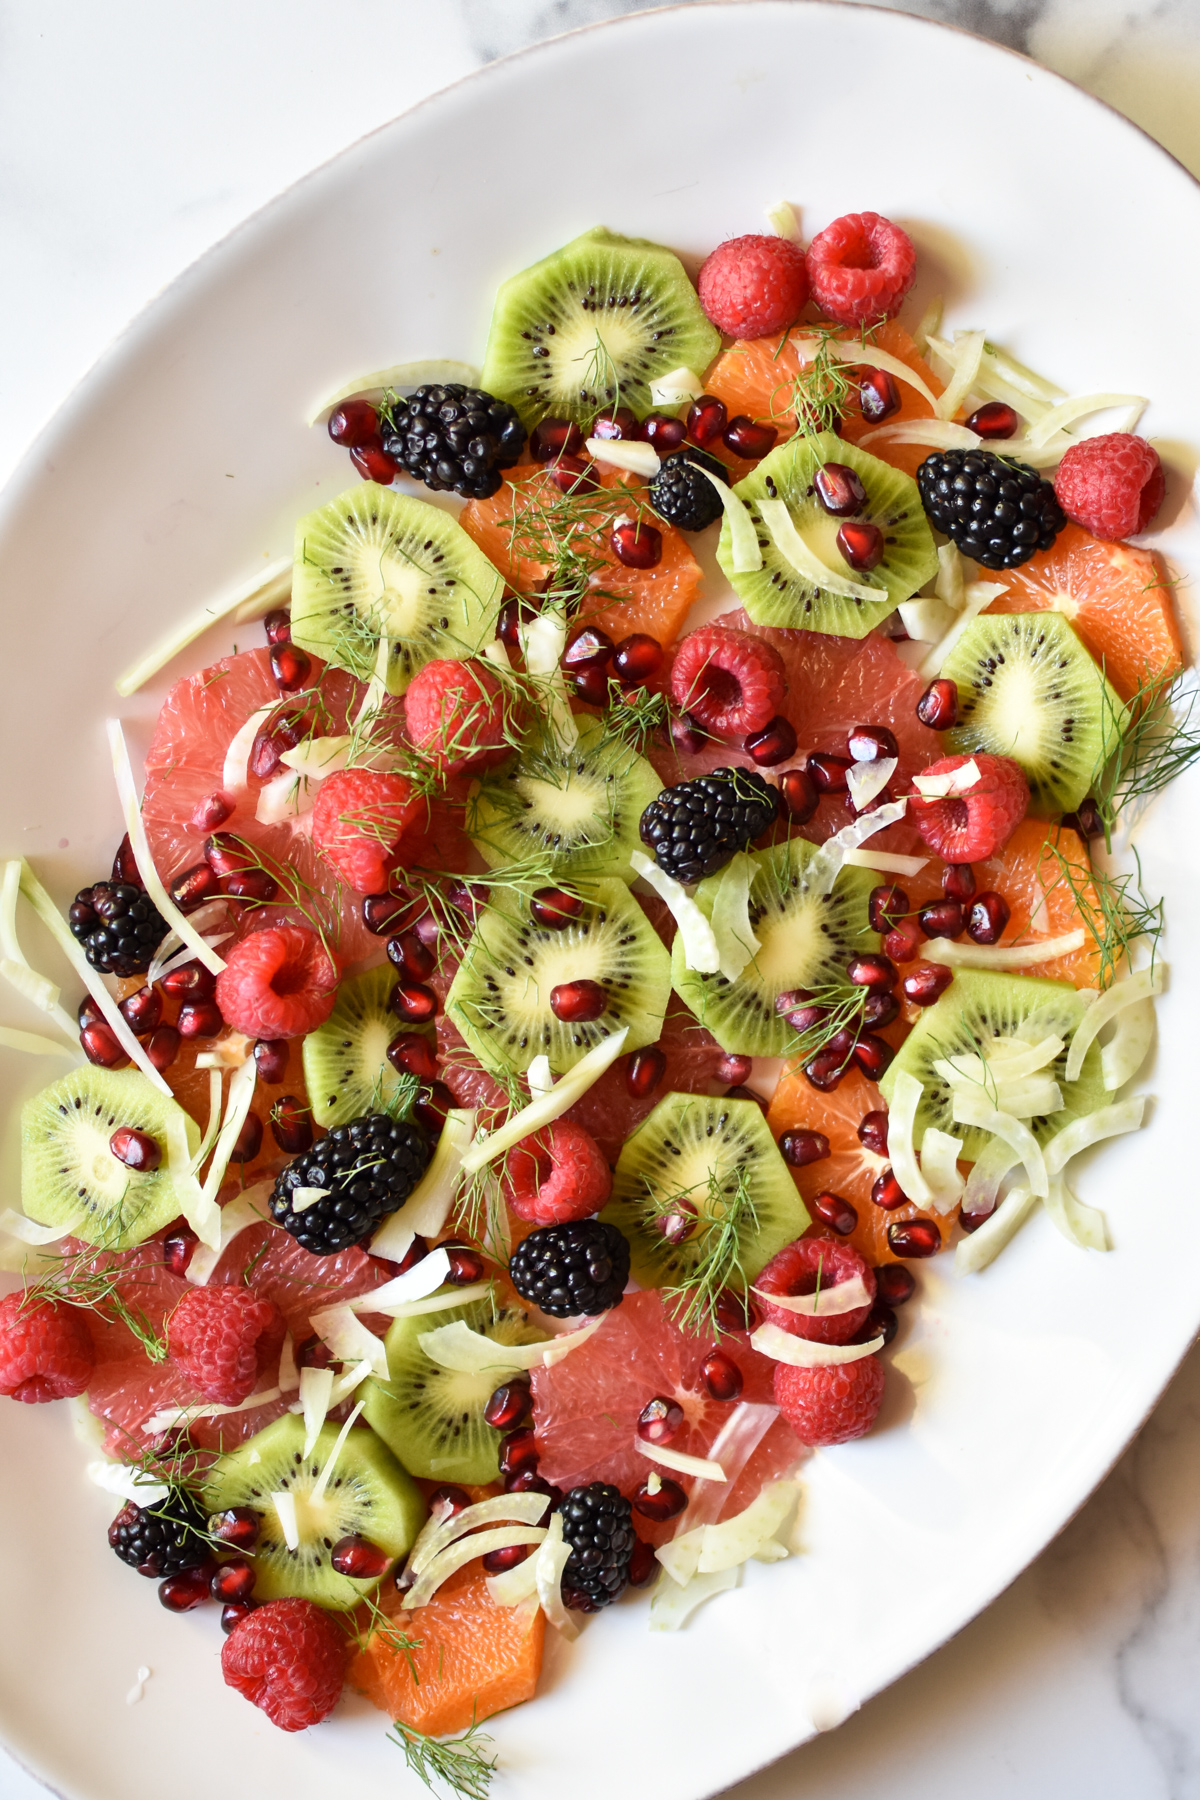
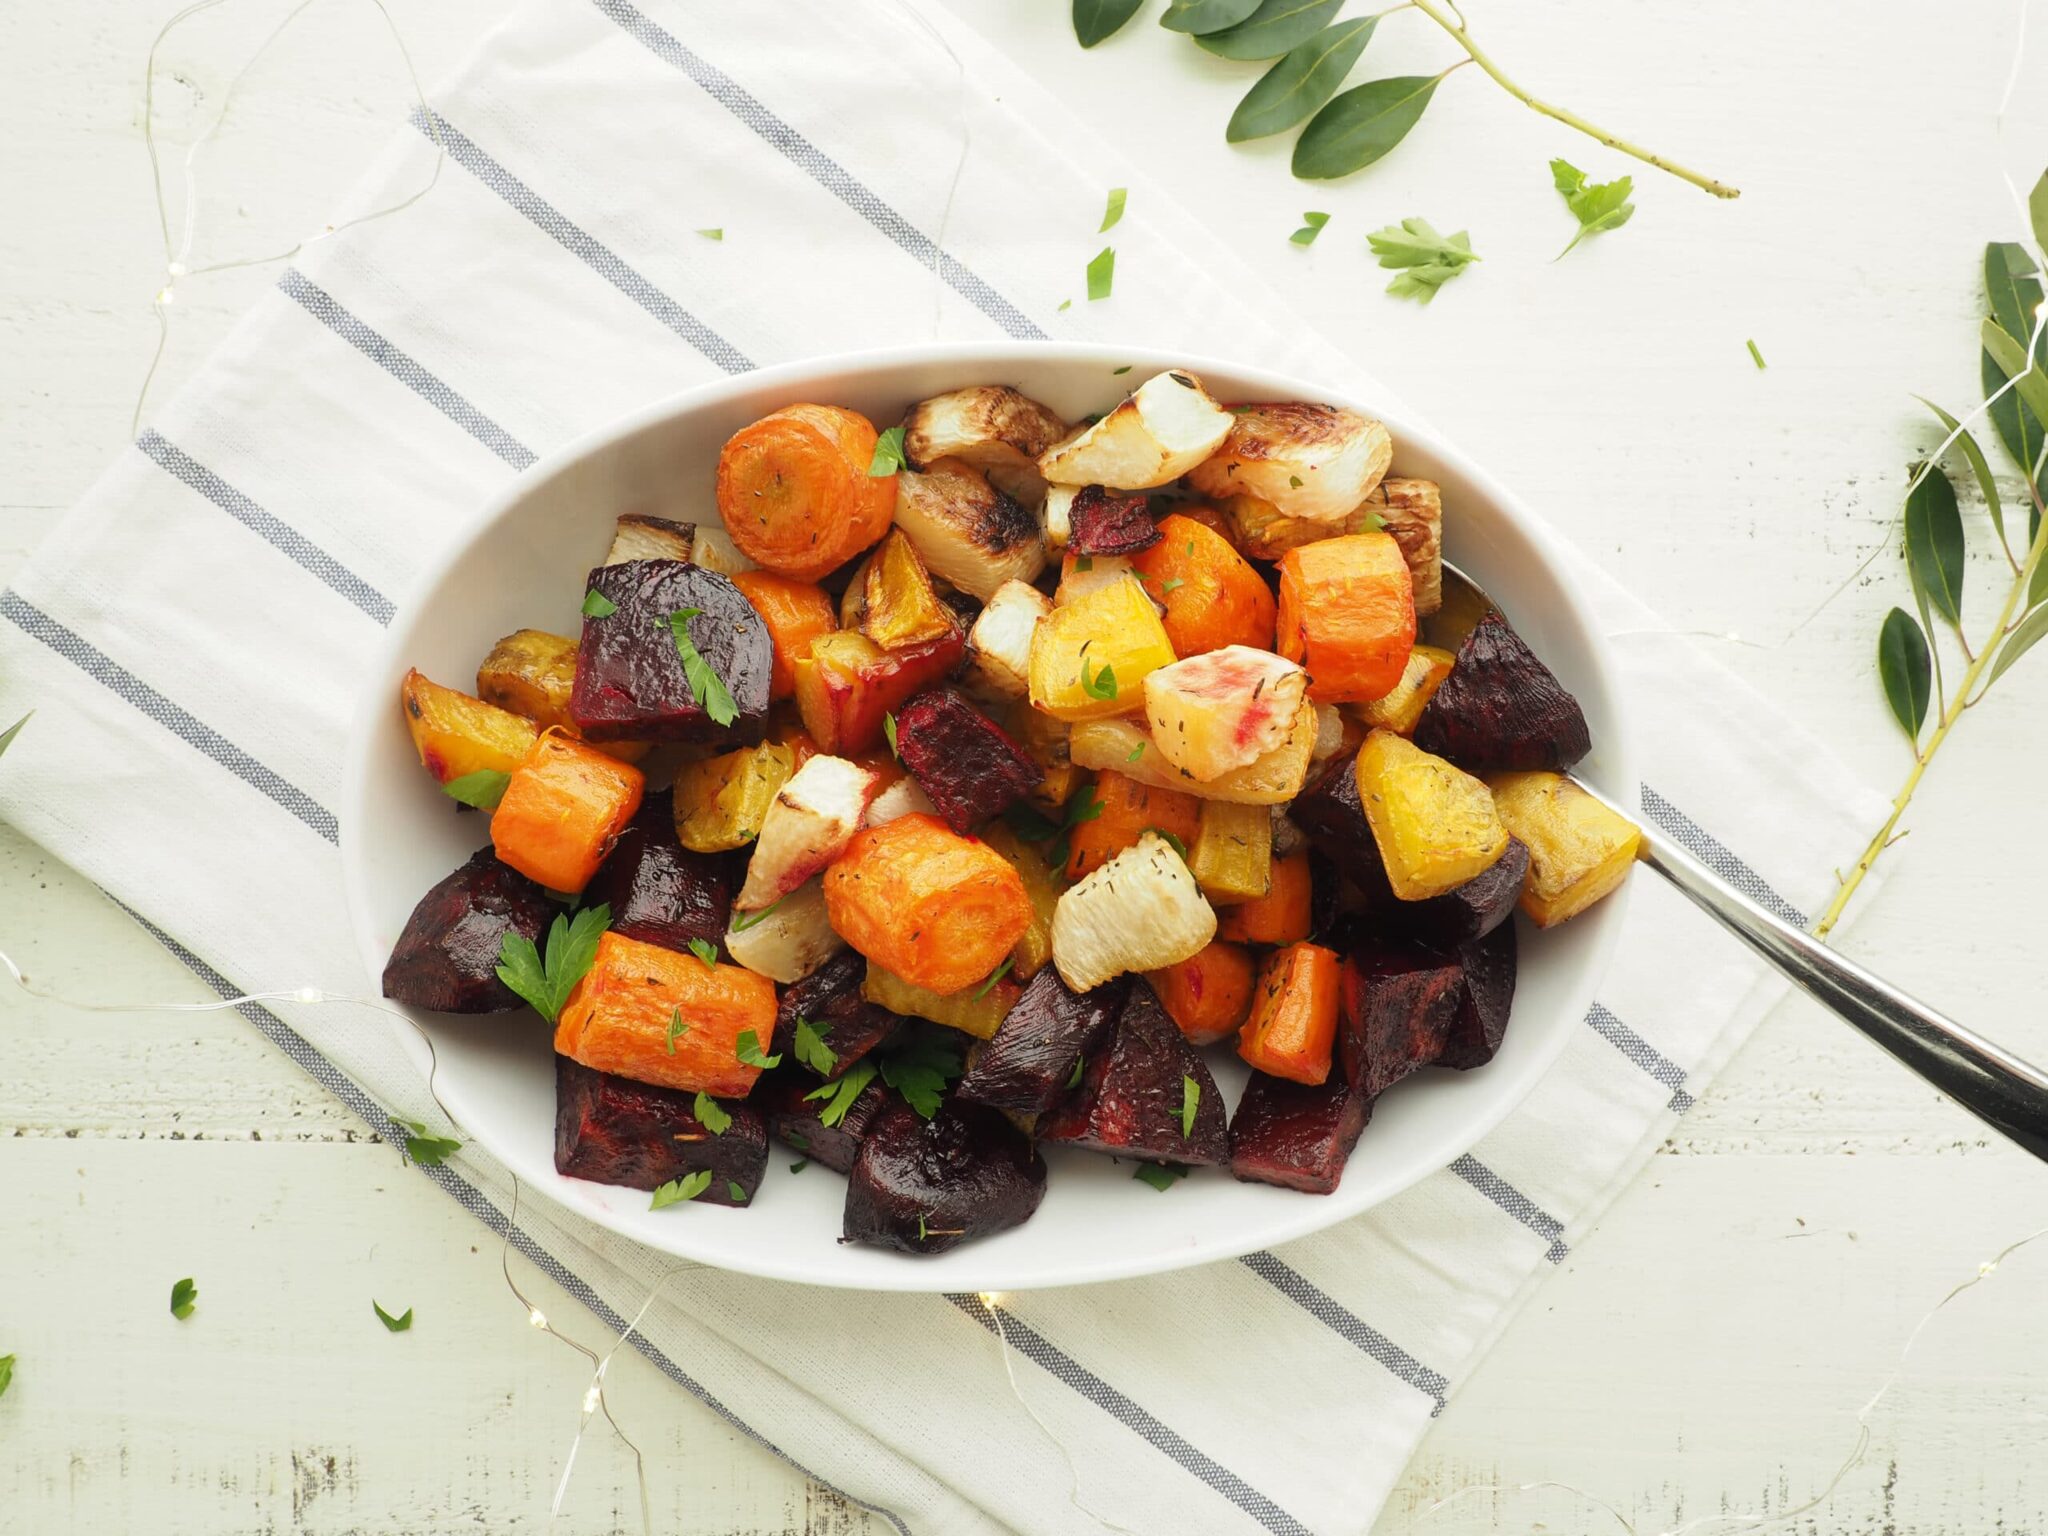
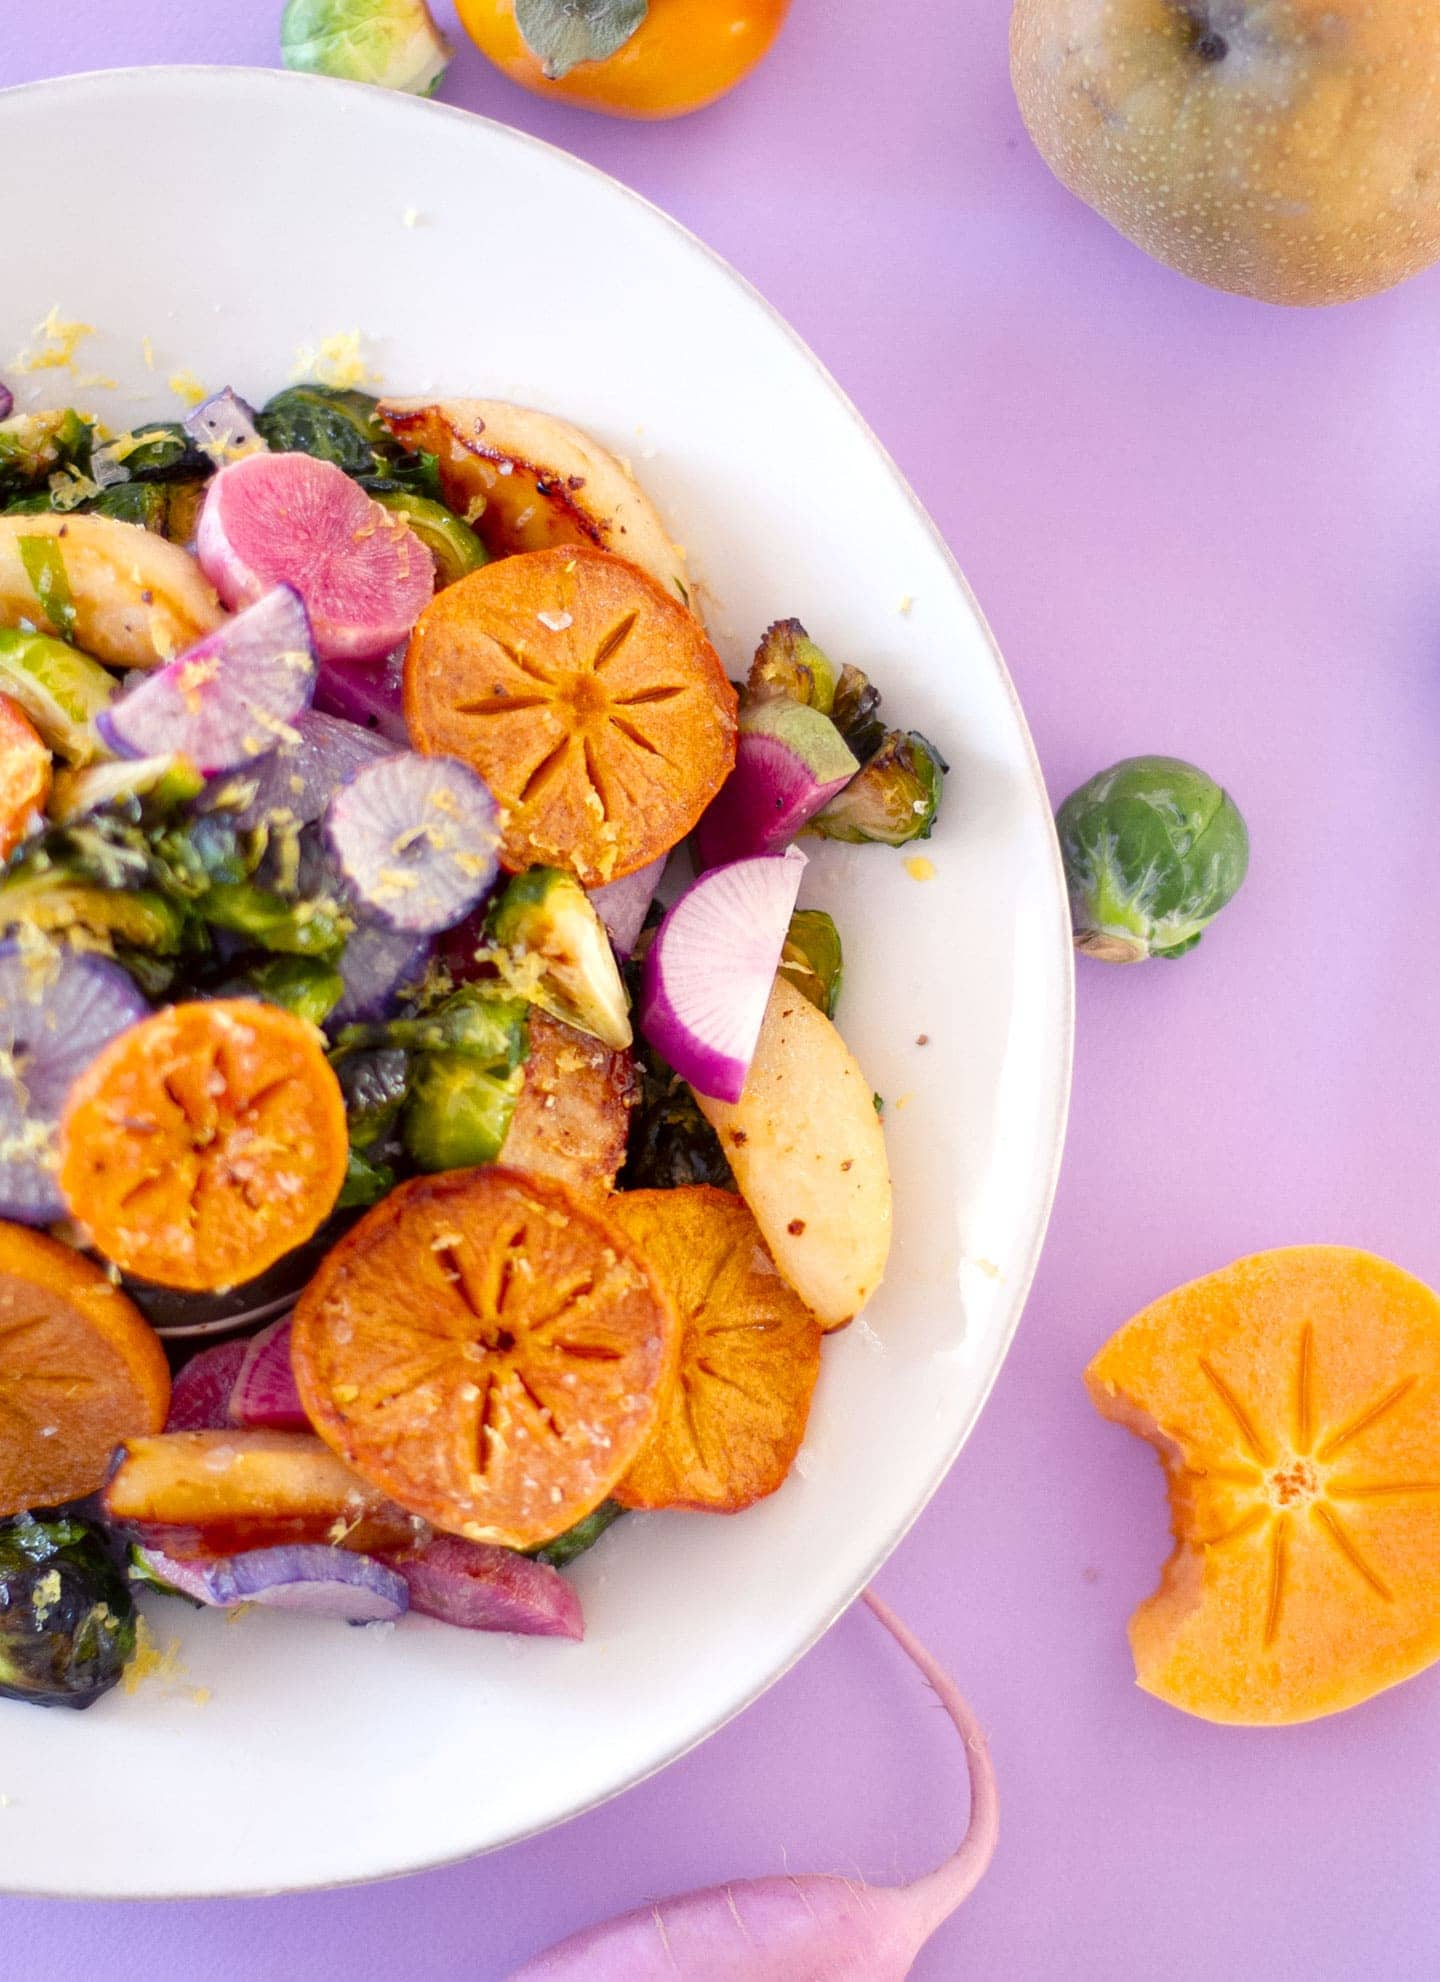
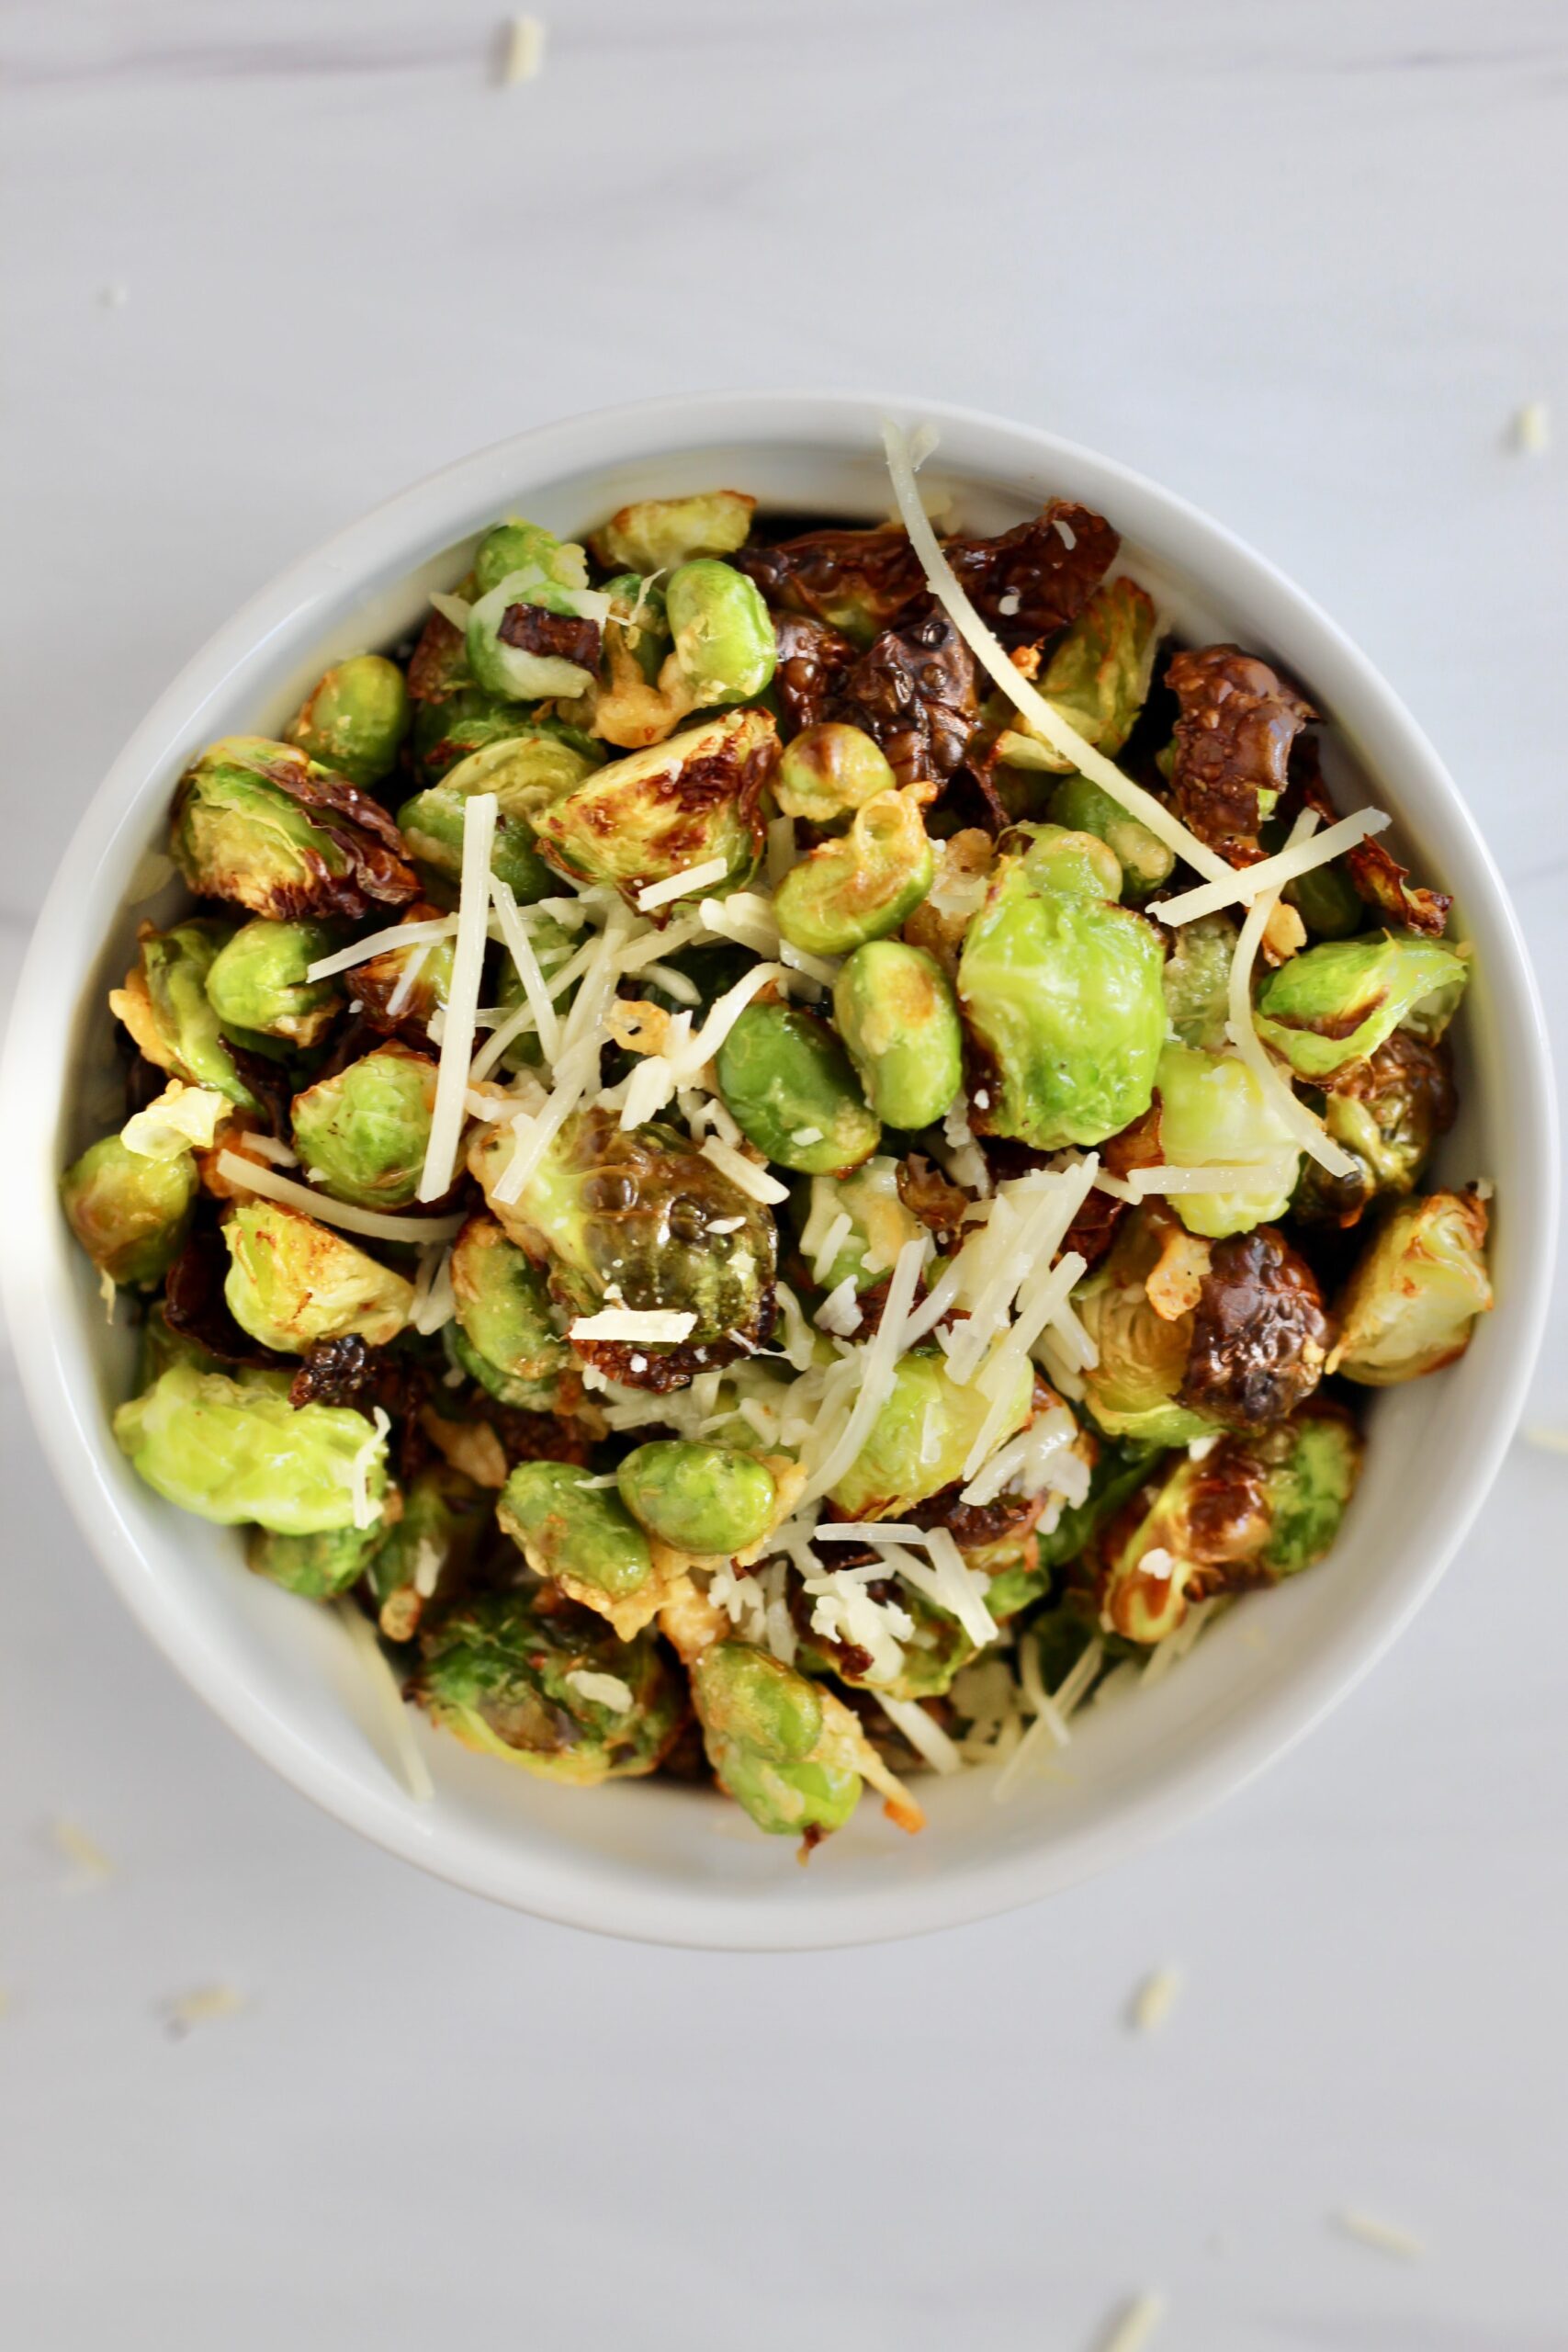
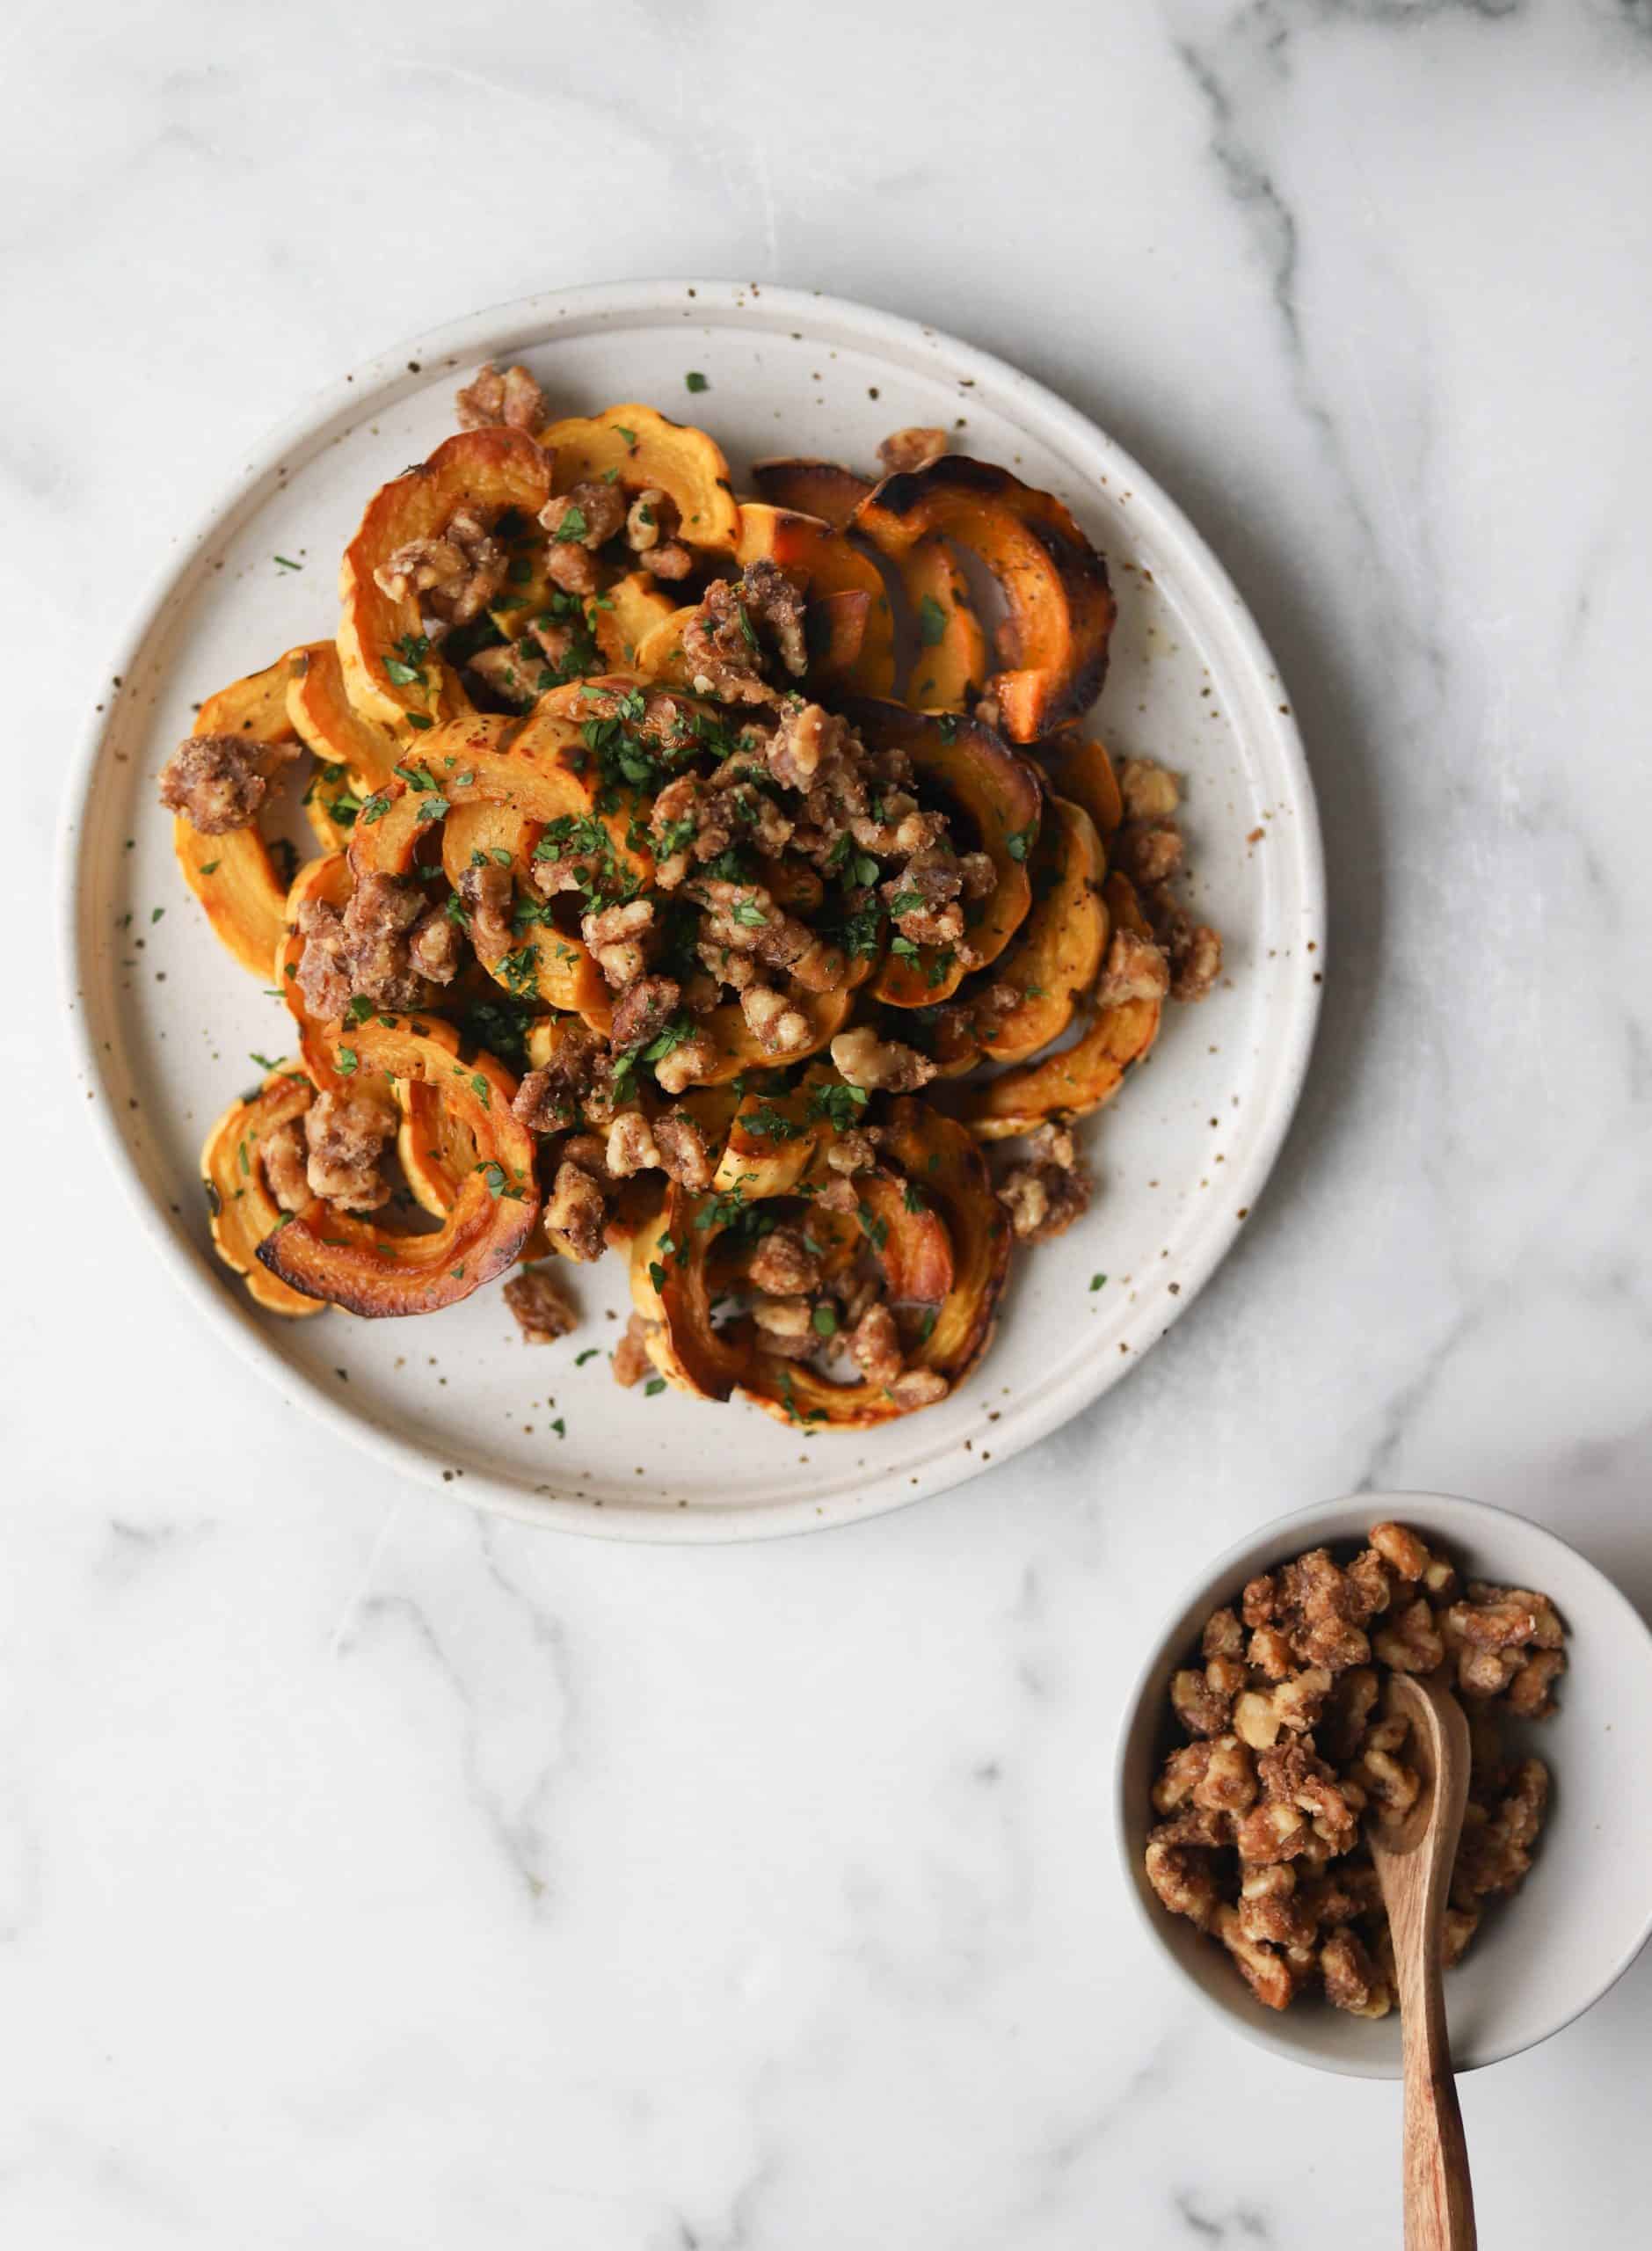
Check out these other bowl style recipes too:
Looking for more hands-on help with healthy meal prep? Check out my personalized "Coaching + Cooking" program!
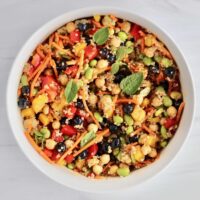
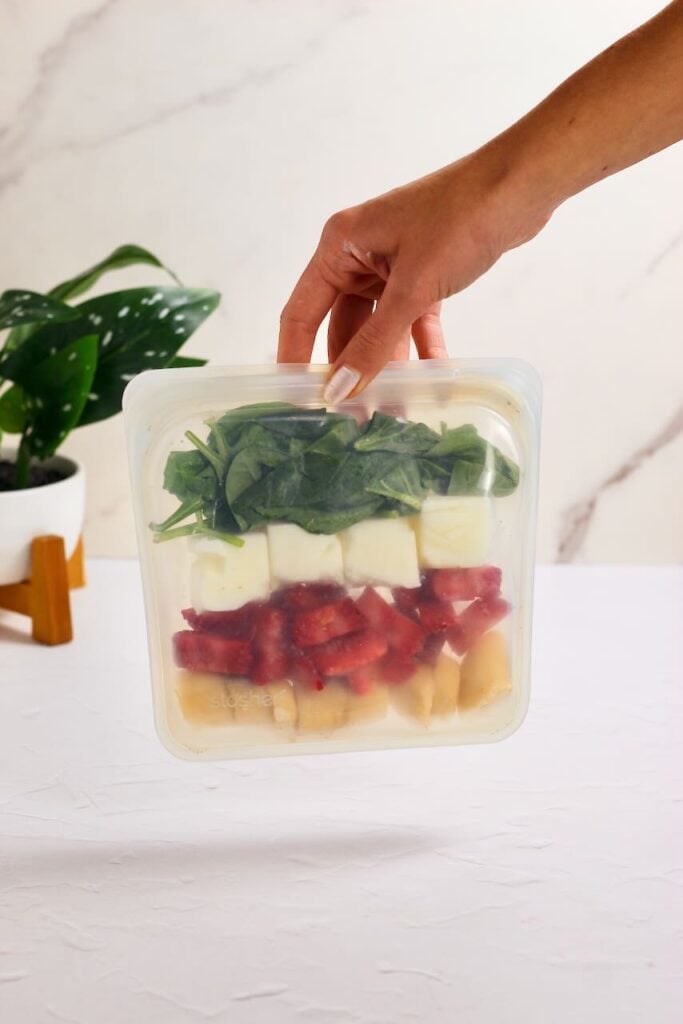
Customizable Power Bowl Recipe Template + 3 Sauces
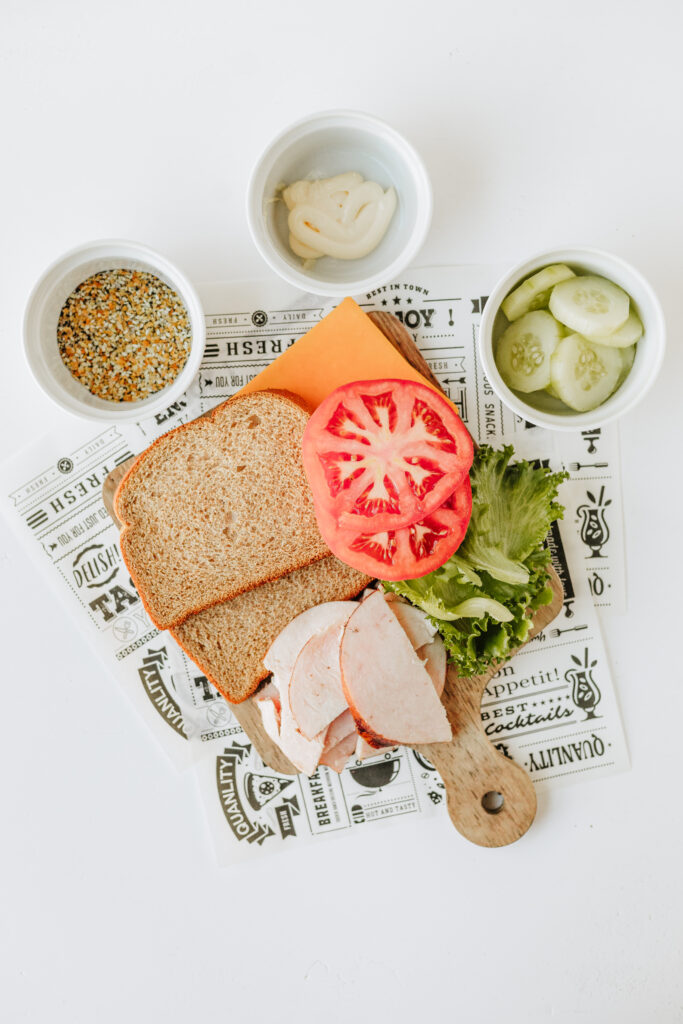
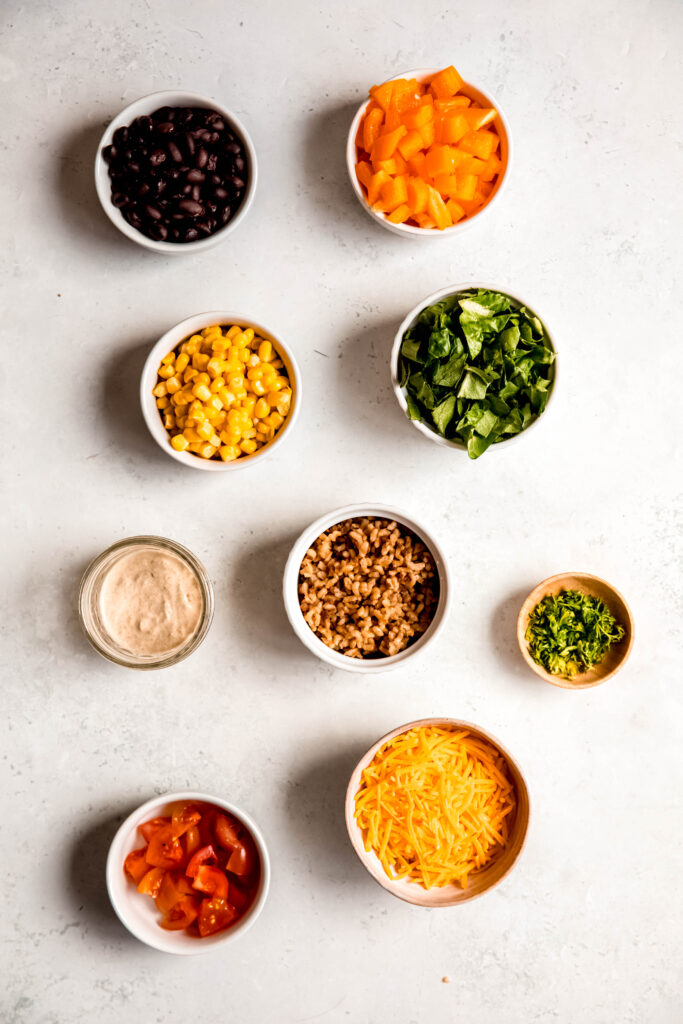
Ingredients
Bowl Ingredients:
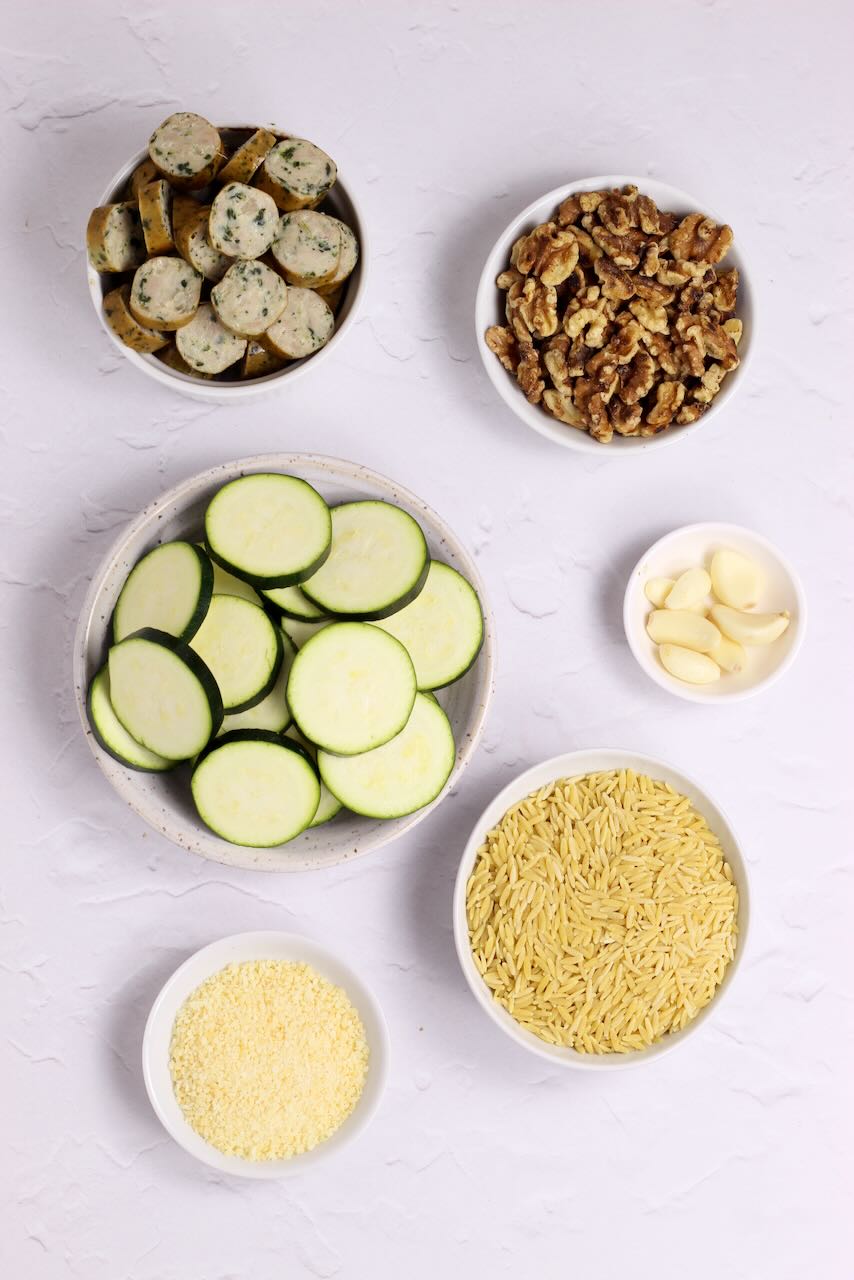
- ½ cup carbohydrate of your choice (cooked brown rice, quinoa, farro, barley, roasted sweet potatoes, regular potatoes, corn, squash)
- 4 ounces or ½ cup protein of your choice (cooked chicken, fish, turkey, eggs, chickpeas, edamame, tofu, tempeh, lentils, beans)
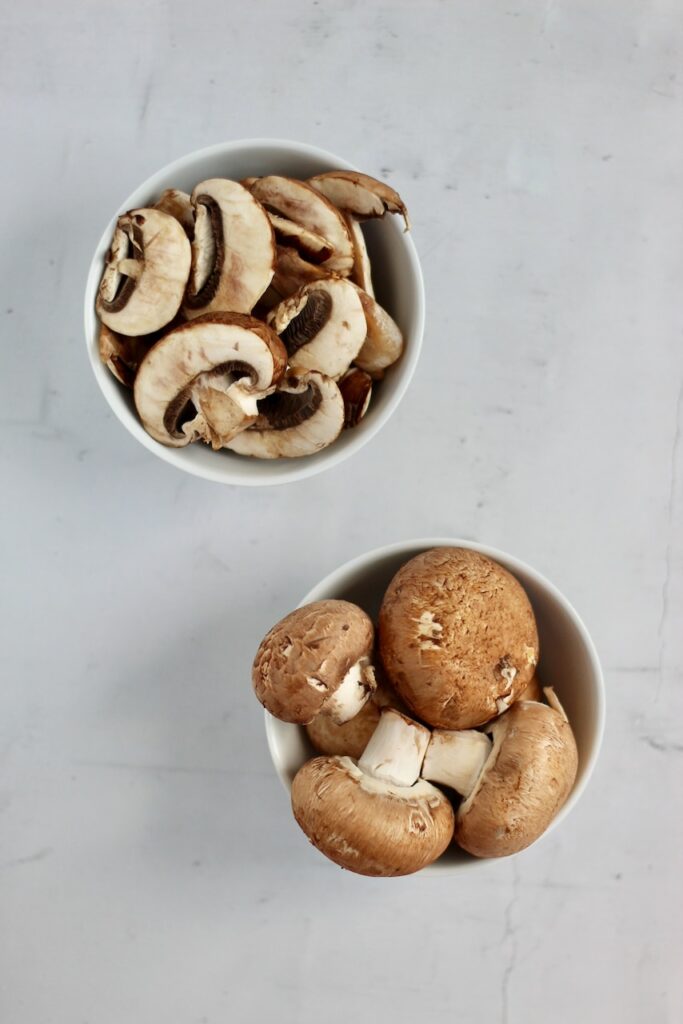
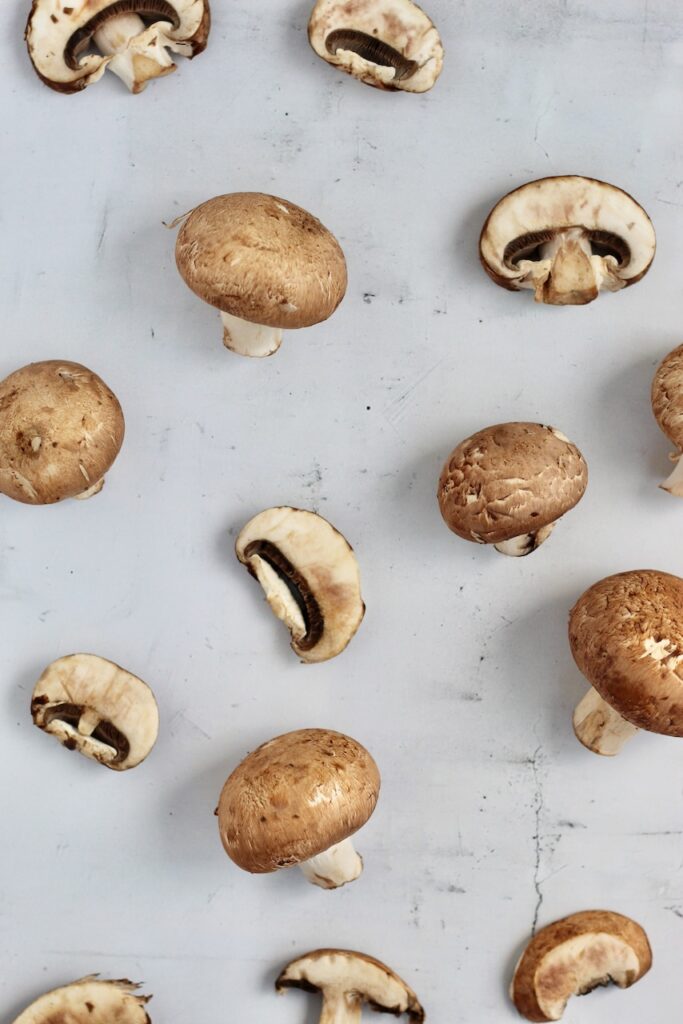
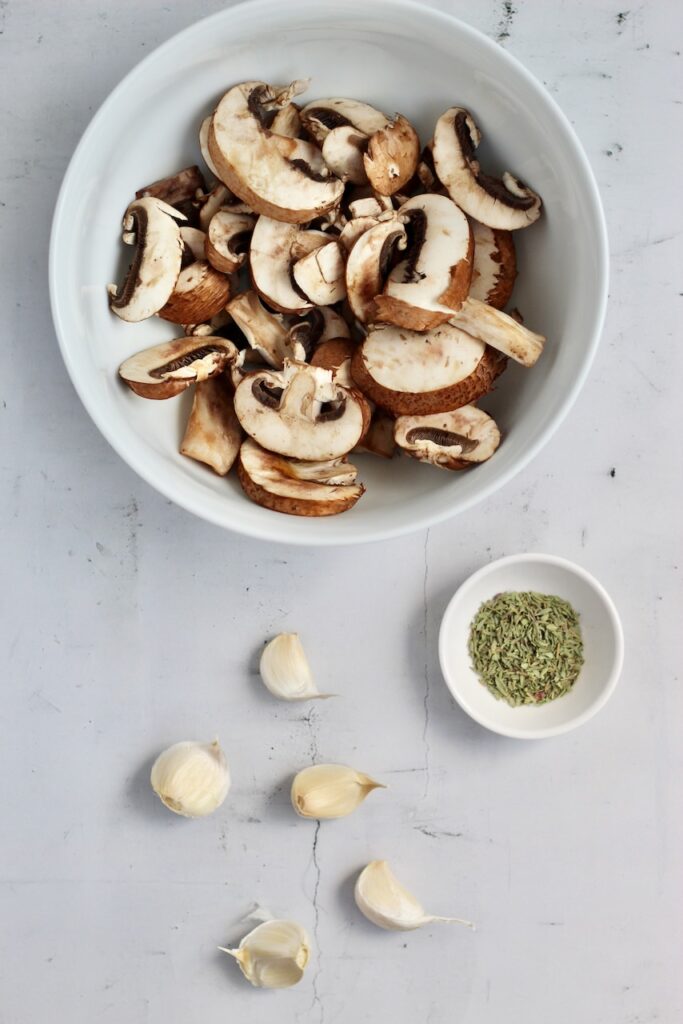
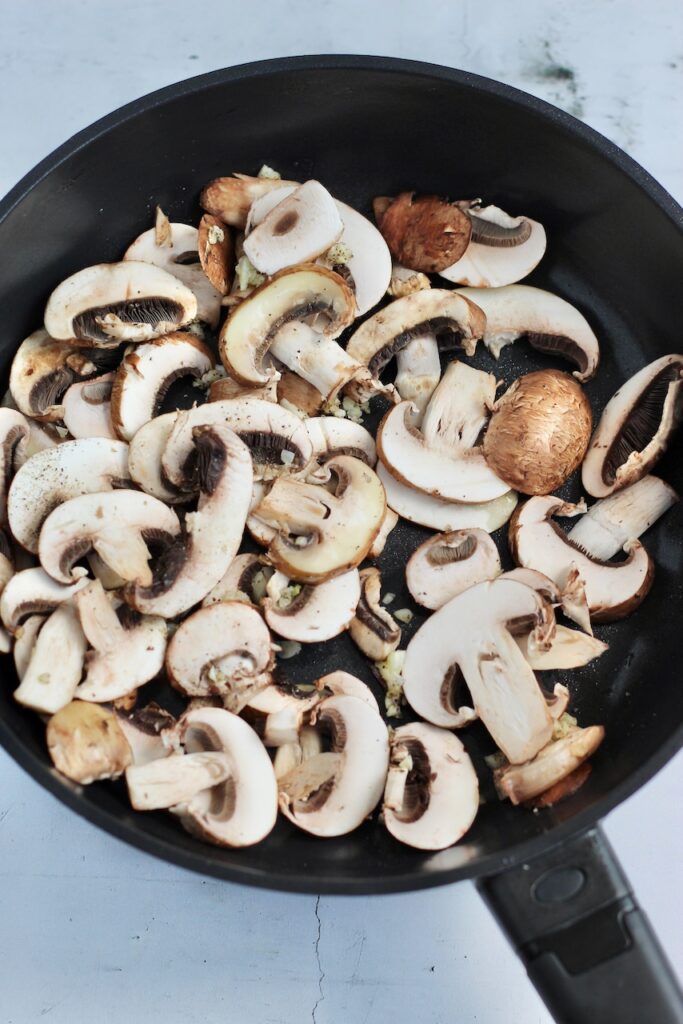
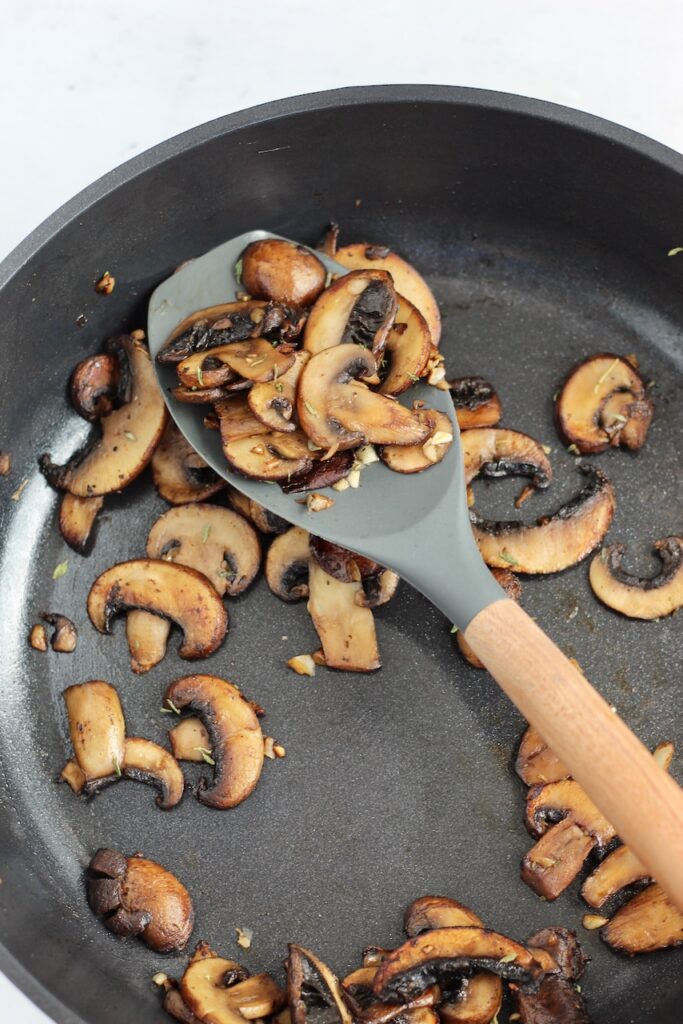
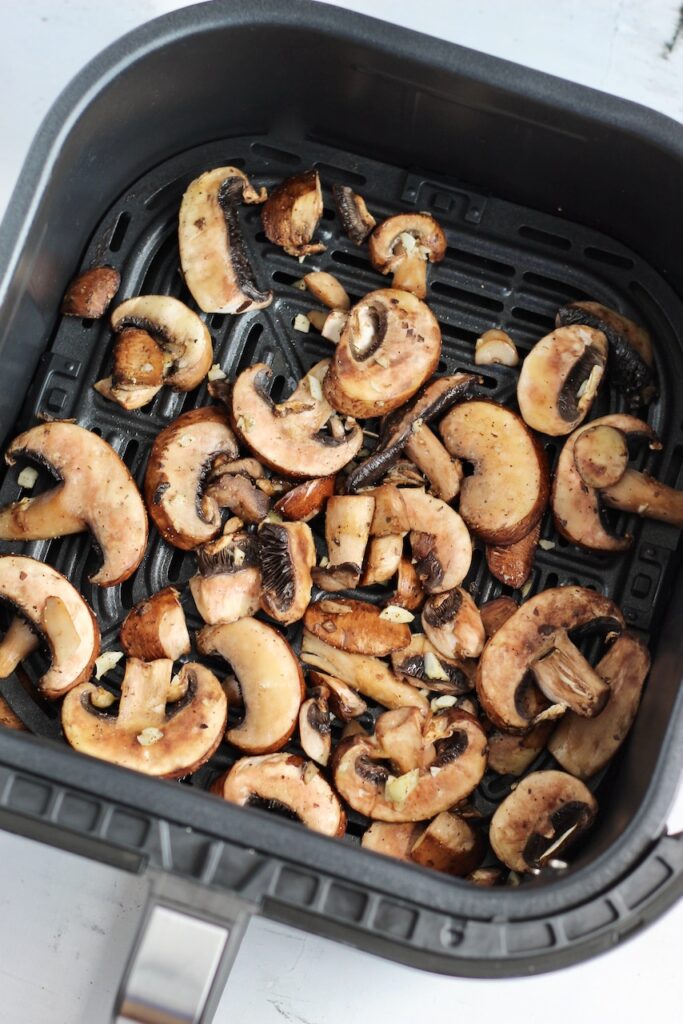
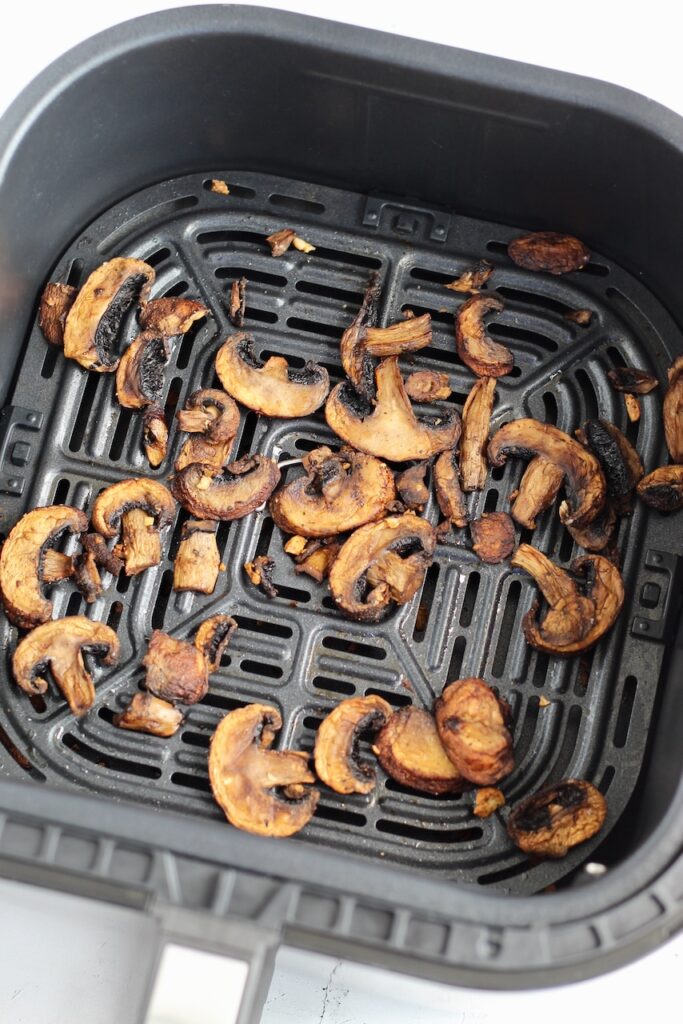
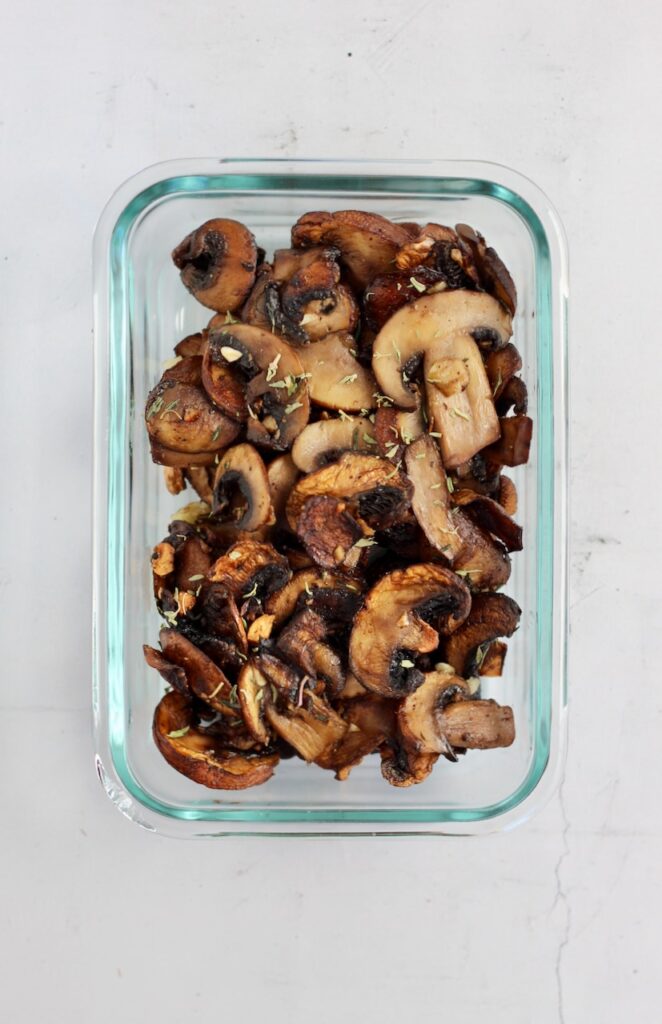
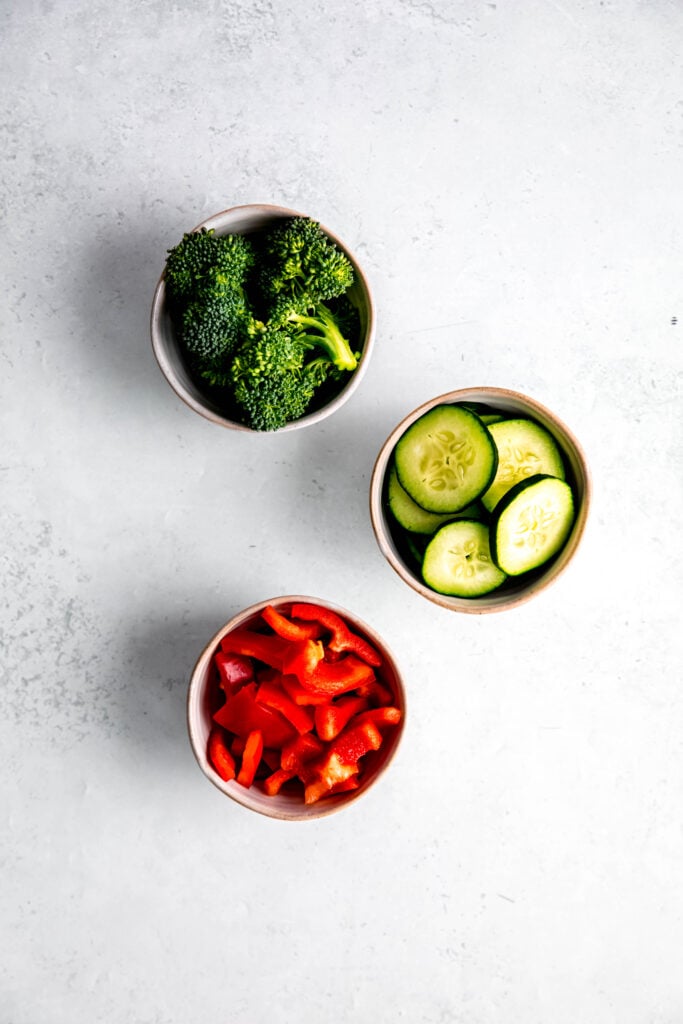
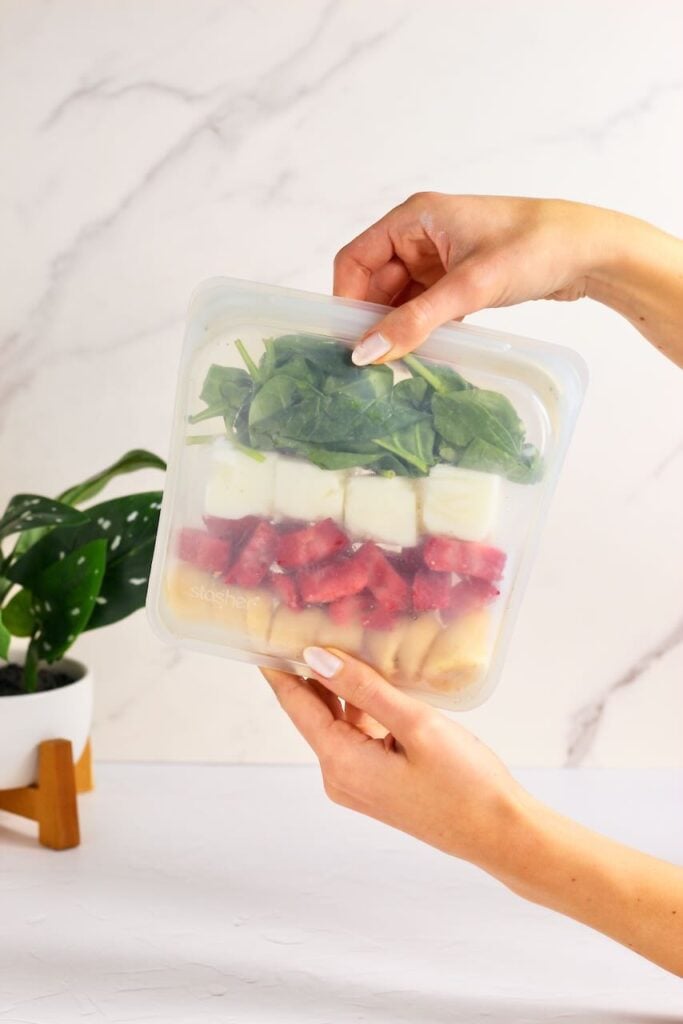
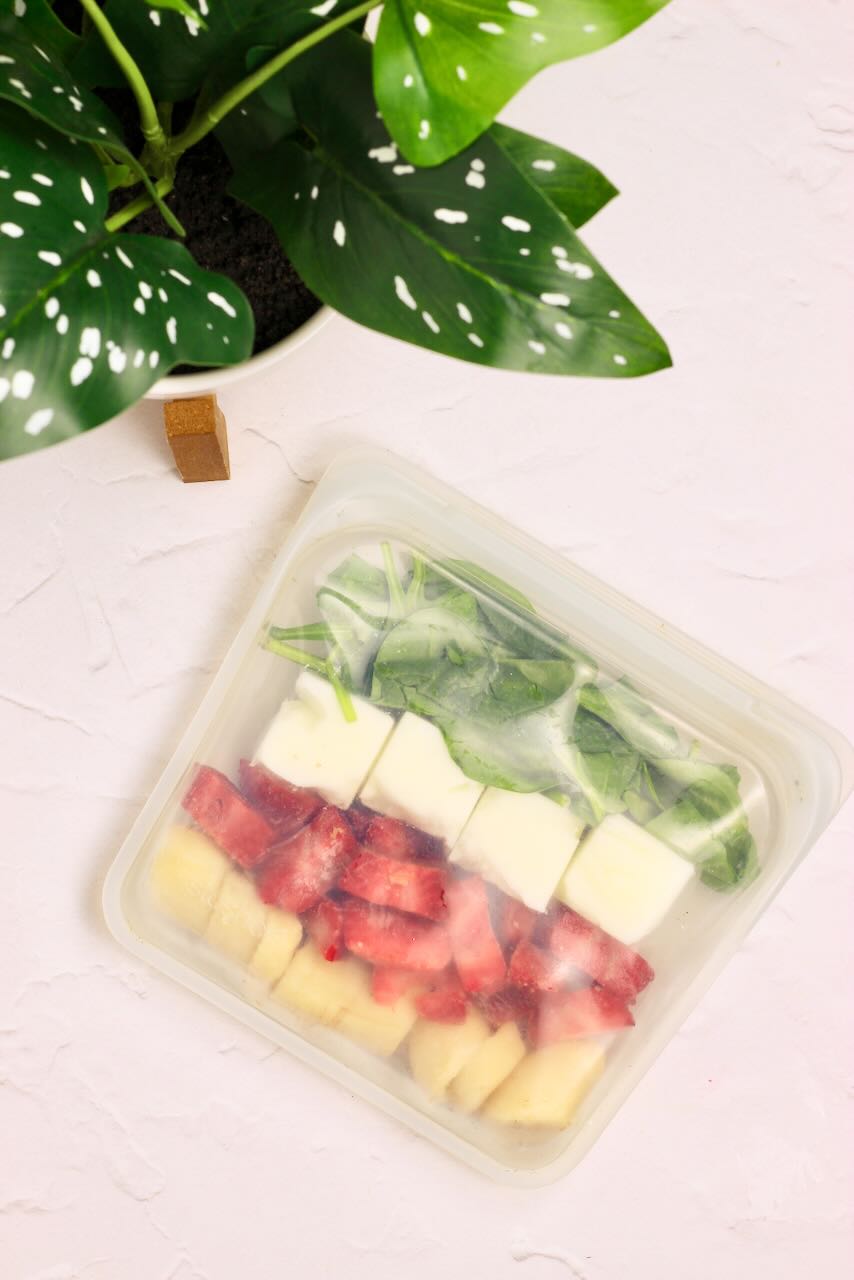
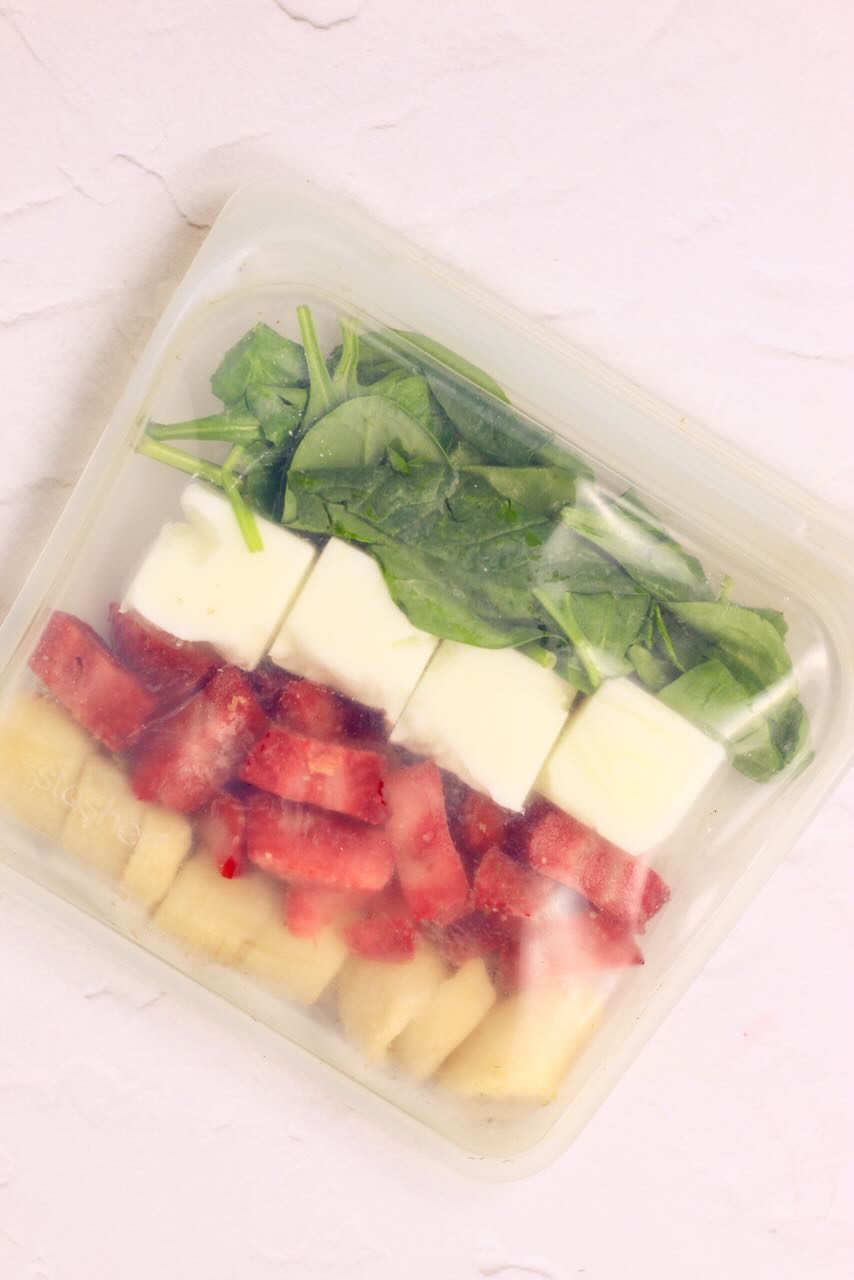
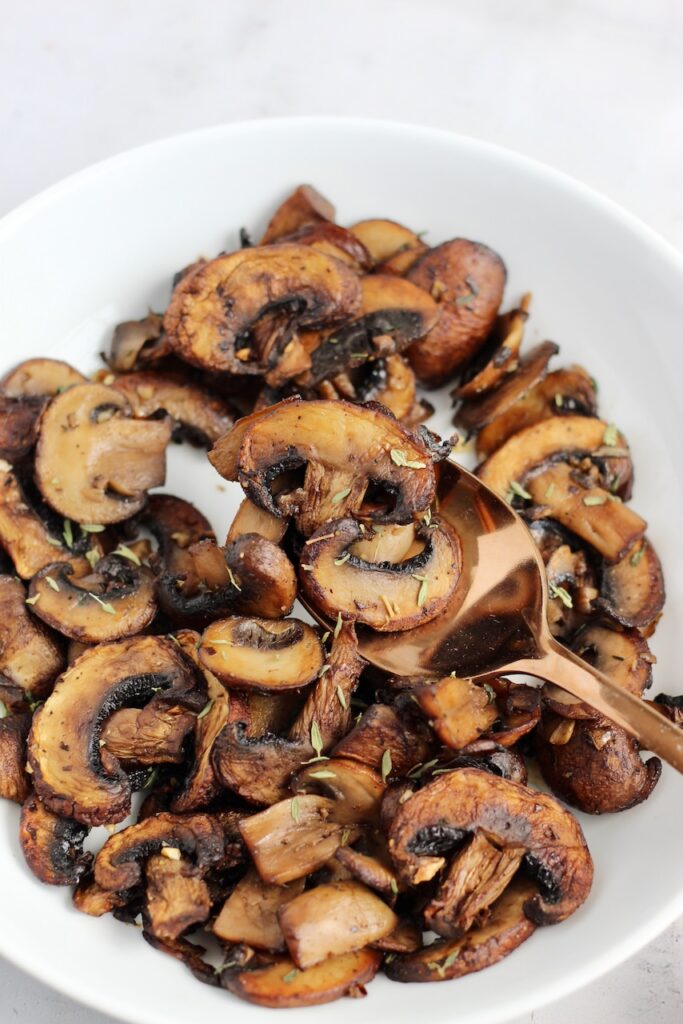
- 1-2 cups vegetables of your choice (chopped romaine, broccoli, carrots, kale, spinach, cabbage, cauliflower, asparagus, mushrooms, bell peppers, tomatoes, cucumbers, zucchini, onions - veggies could be raw, roasted, or steamed)
- ¼ cup toppings of your choice (avocado slices, chopped nuts or seeds, shredded cheese, kimchi, fresh herbs)
- 2 tablespoons sauce of your choice (lite salad dressing, guacamole, hummus, salsa, or homemade sauce recipe below)
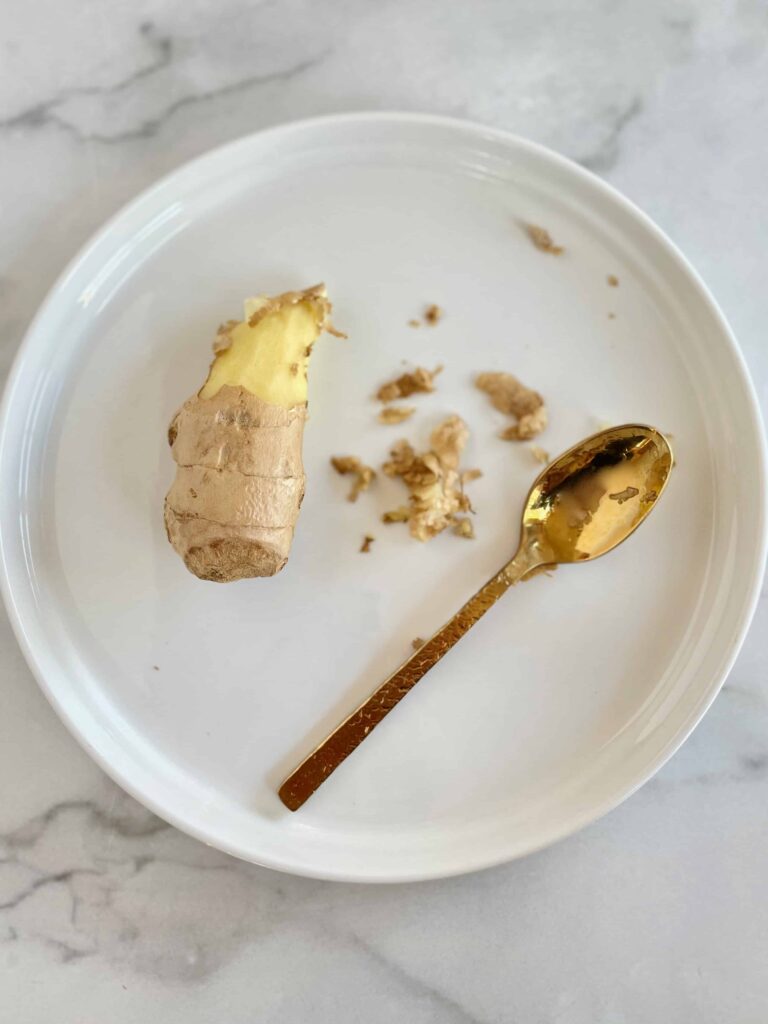
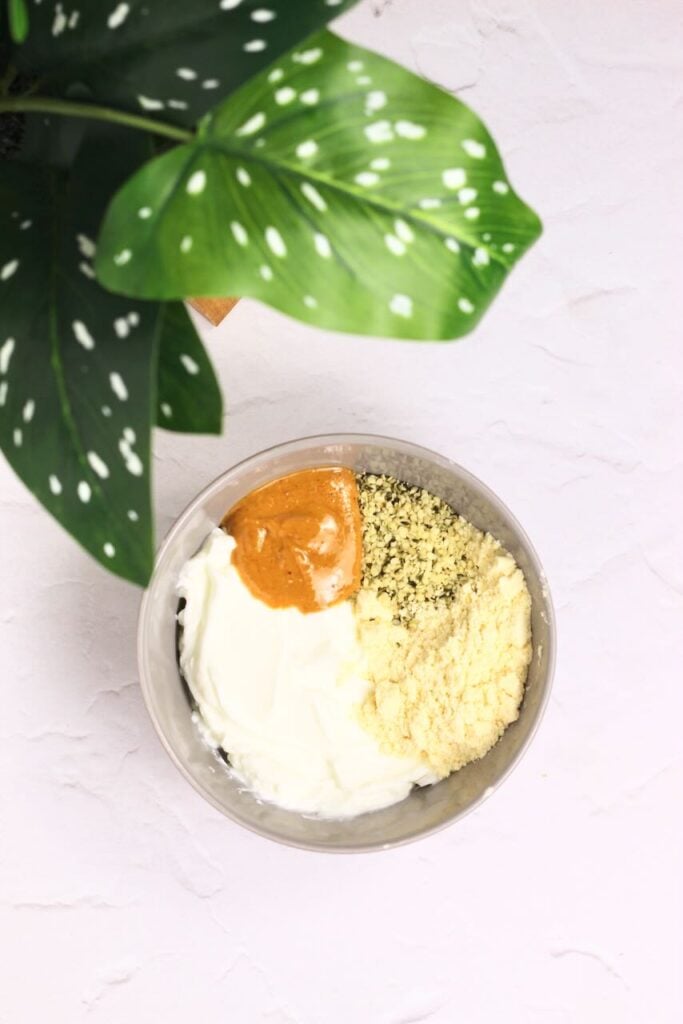
Peanut Sauce:
- 1 tablespoon peanut butter
- 1 teaspoon soy sauce or tamari
- 1 teaspoon lime juice
- 1 teaspoon maple syrup
- 1 teaspoon fresh ginger, minced
- 1 teaspoon fresh garlic, minced
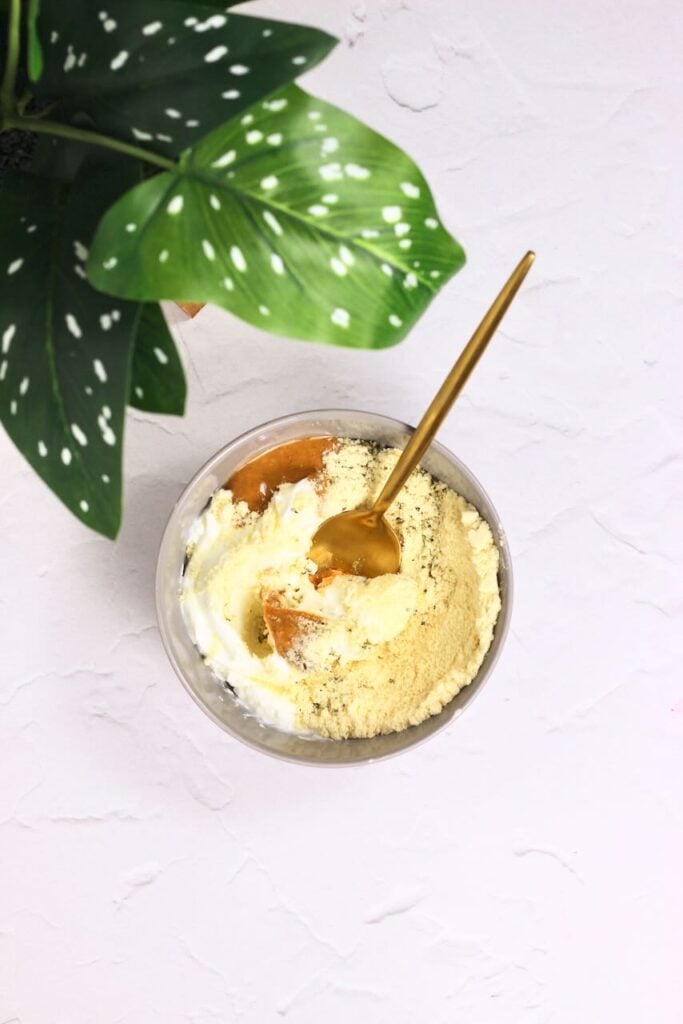
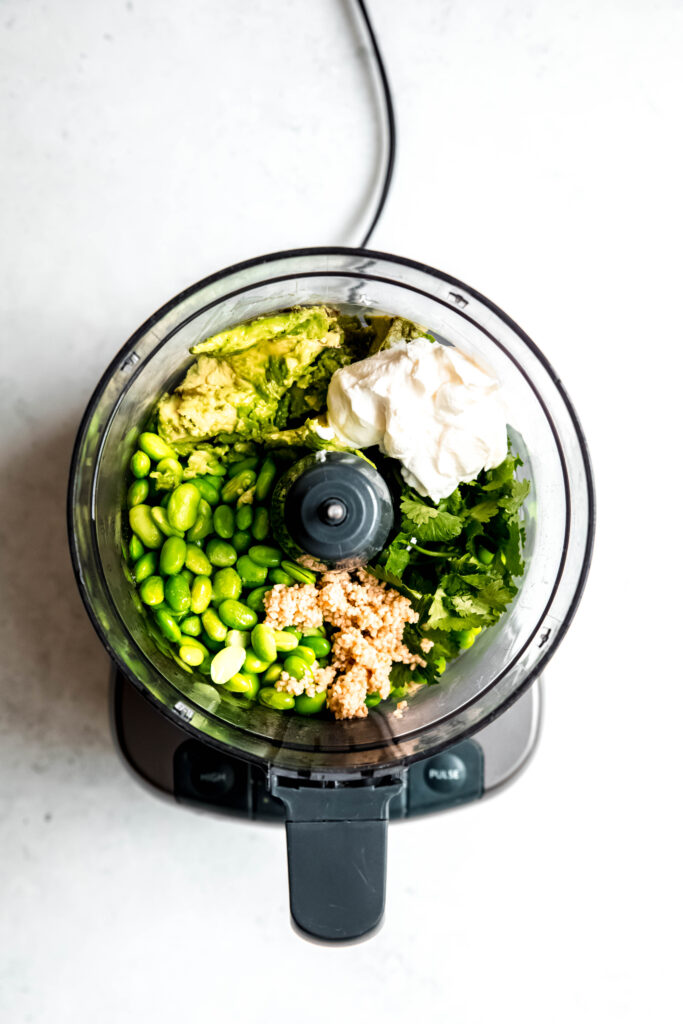
Creamy Lime Sauce:
- 2 tablespoons plain greek yogurt
- 1 teaspoon lime juice, about ½ small lime
- ¼ teaspoon lime zest, from about ½ small lime
- ¼ teaspoon cumin
Balsamic Vinaigrette:
- 1 tablespoon olive oil
- 1 teaspoon balsamic vinegar
- 1 teaspoon dijon mustard
- 1 teaspoon maple syrup
Instructions
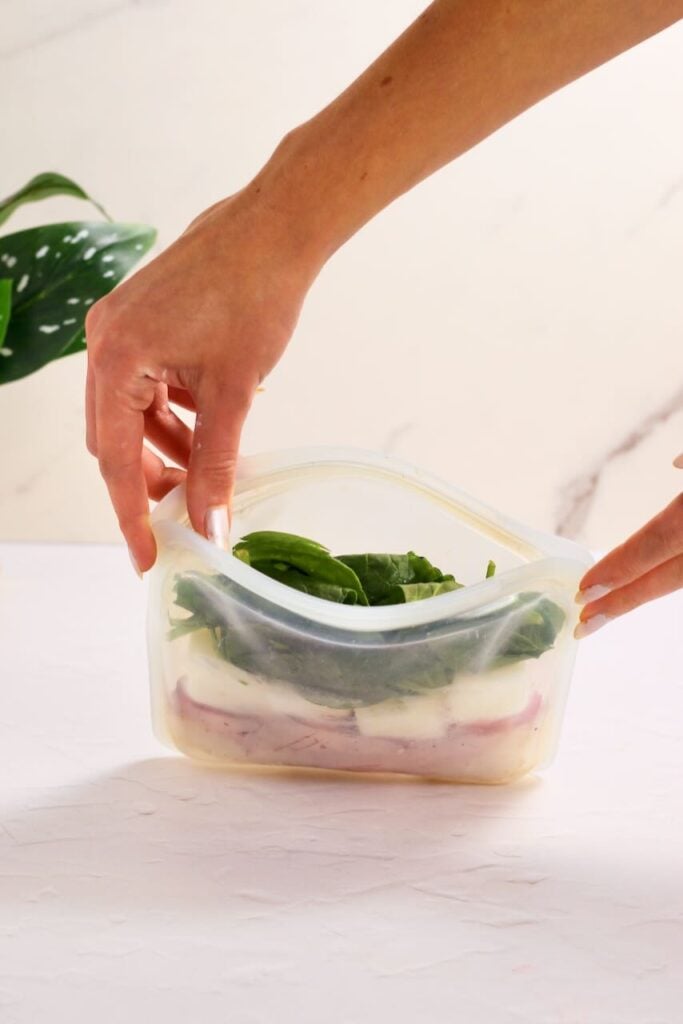
- Add your chosen carbohydrate, protein, and vegetables into a bowl or meal prep container.
- Top with your desired toppings and sauce.
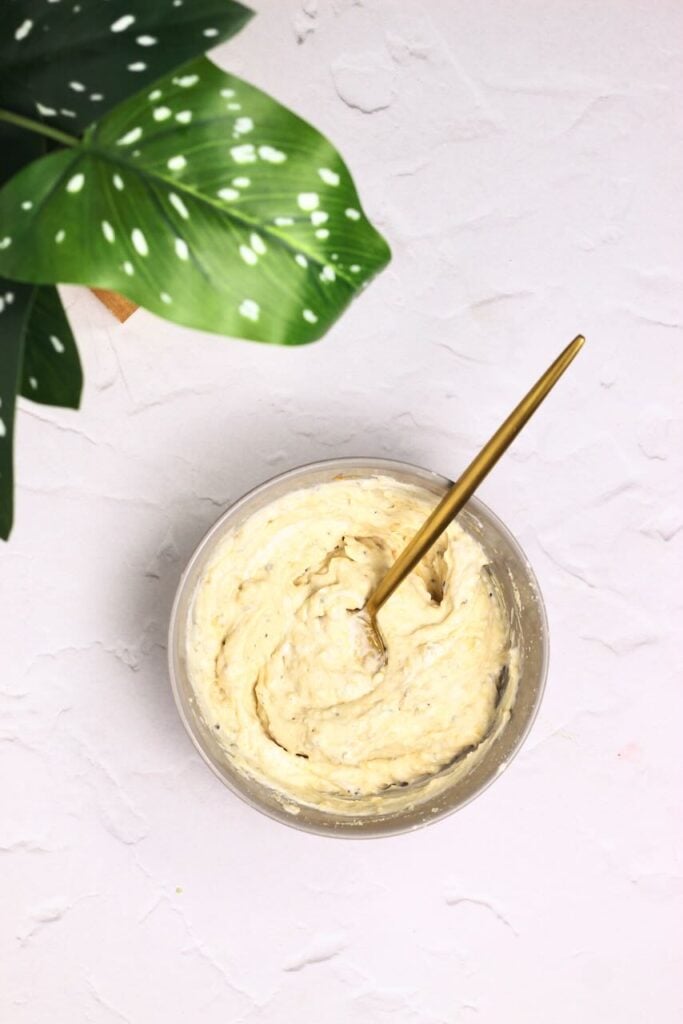
- To prepare the sauces, simply mix the ingredients in a small bowl or mason jar. (Each sauce recipe makes enough for one bowl.)
- Enjoy your power bowl immediately, or store it in an airtight container in the refrigerator for up to 3 days.
- If you prefer your bowl warm, reheat it in the microwave for 60-90 seconds until warm.
Video
Notes
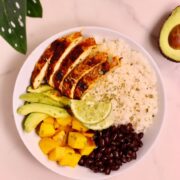
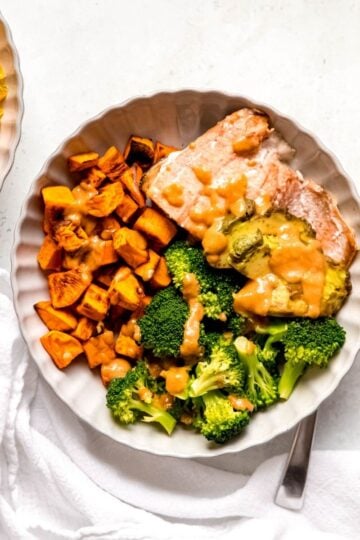
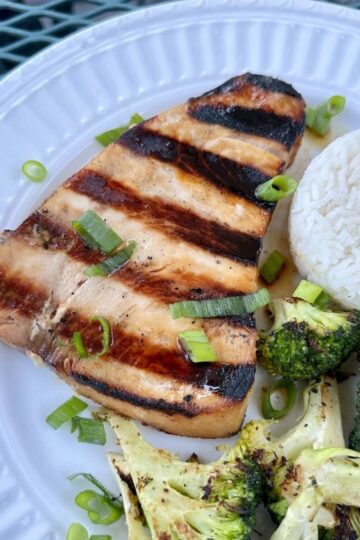
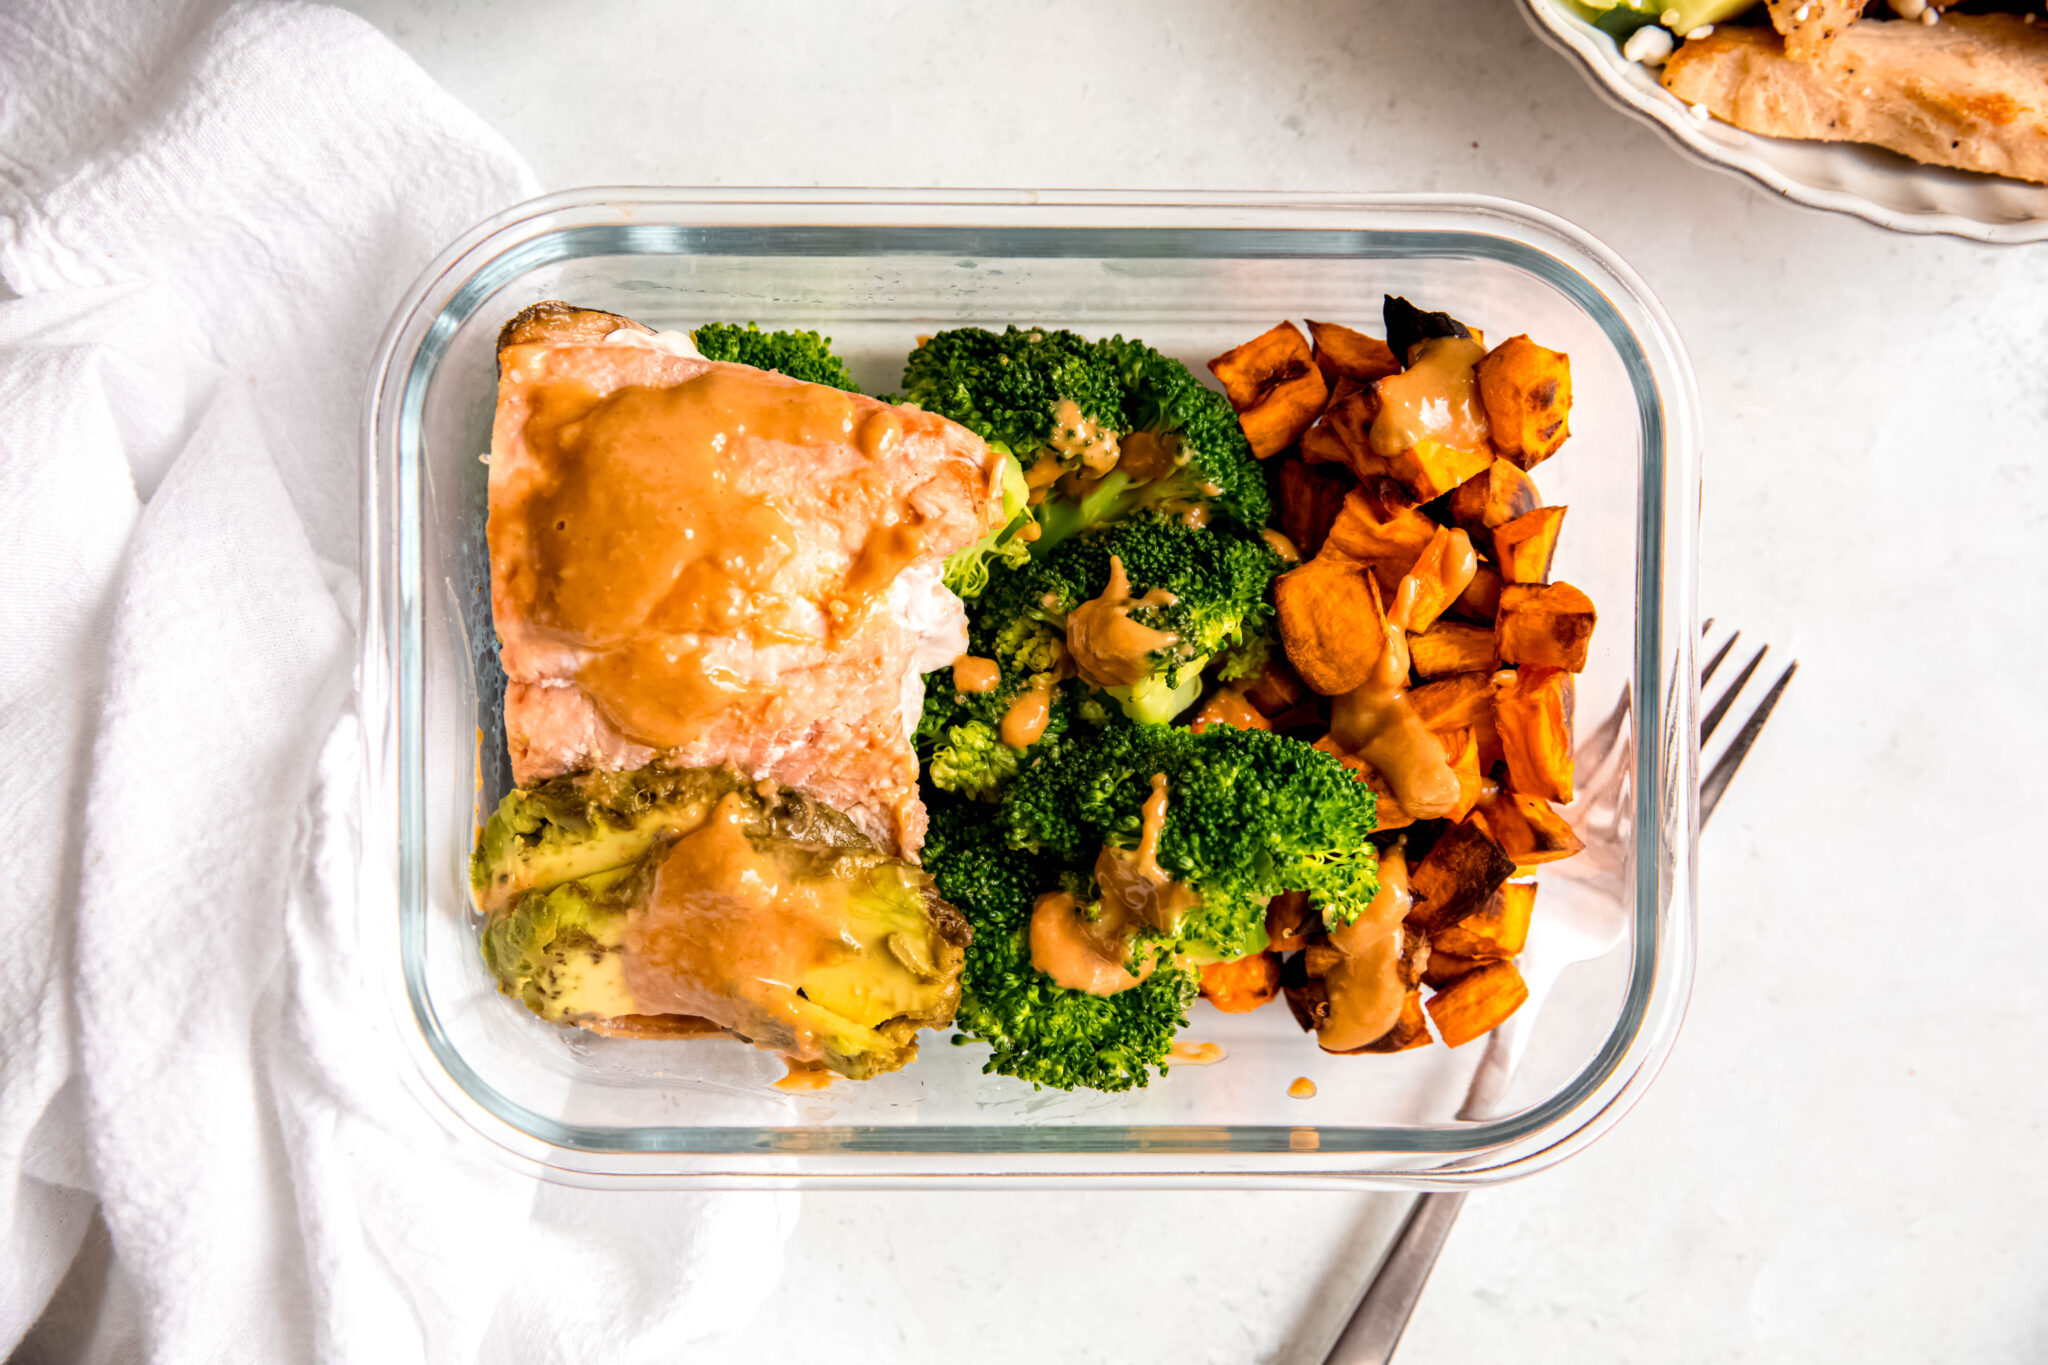
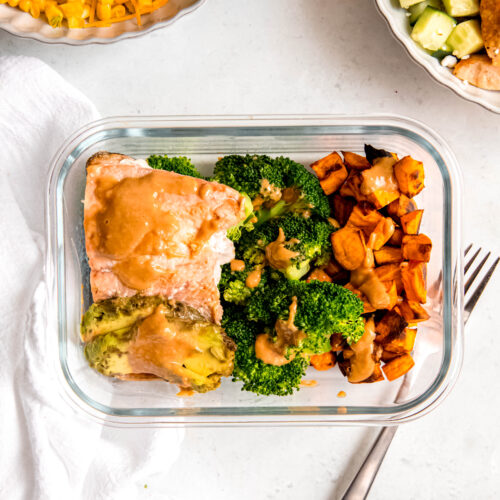
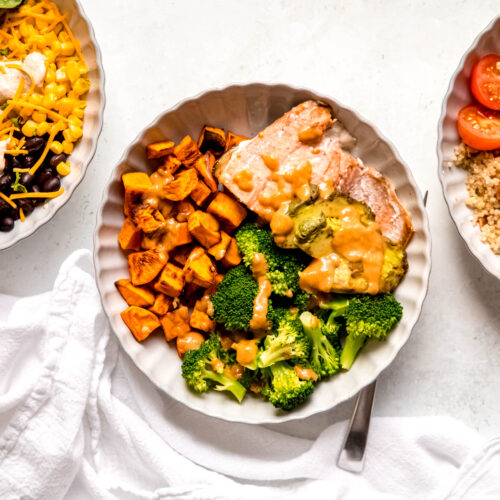
- Sweet potatoes + salmon + roasted broccoli + avocado + peanut sauce
- Brown rice + chicken + roasted broccoli + sliced almonds + balsamic vinaigrette
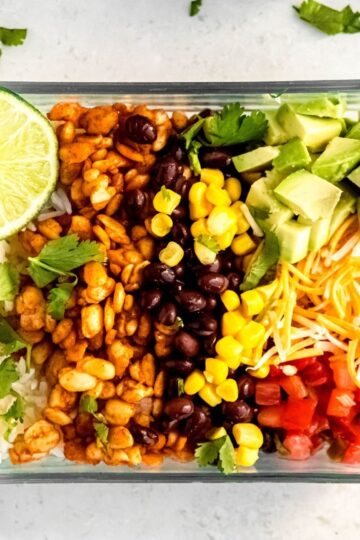
- Corn + black beans + tomatoes + leafy greens + avocado + creamy lime sauce
Nutrition
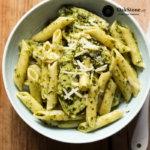
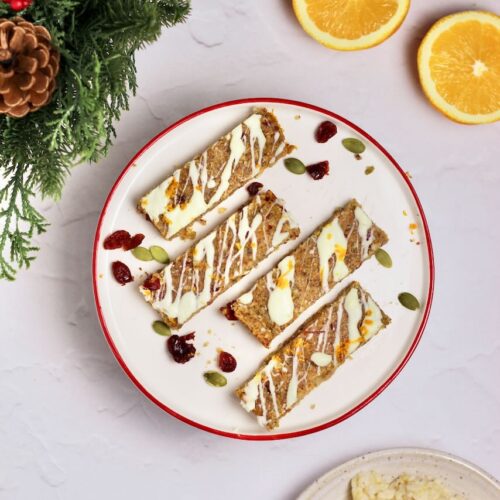
For more meal prep ready recipes, check a few of my favorites:
- One Pot Tomato Basil Chickpea Pasta
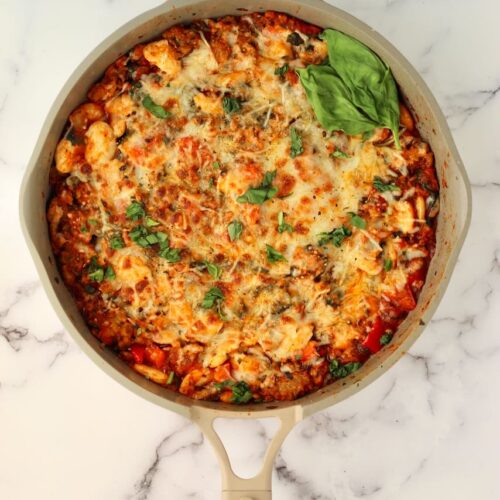
- One-Pot Tuscan White Bean and Farro Soup
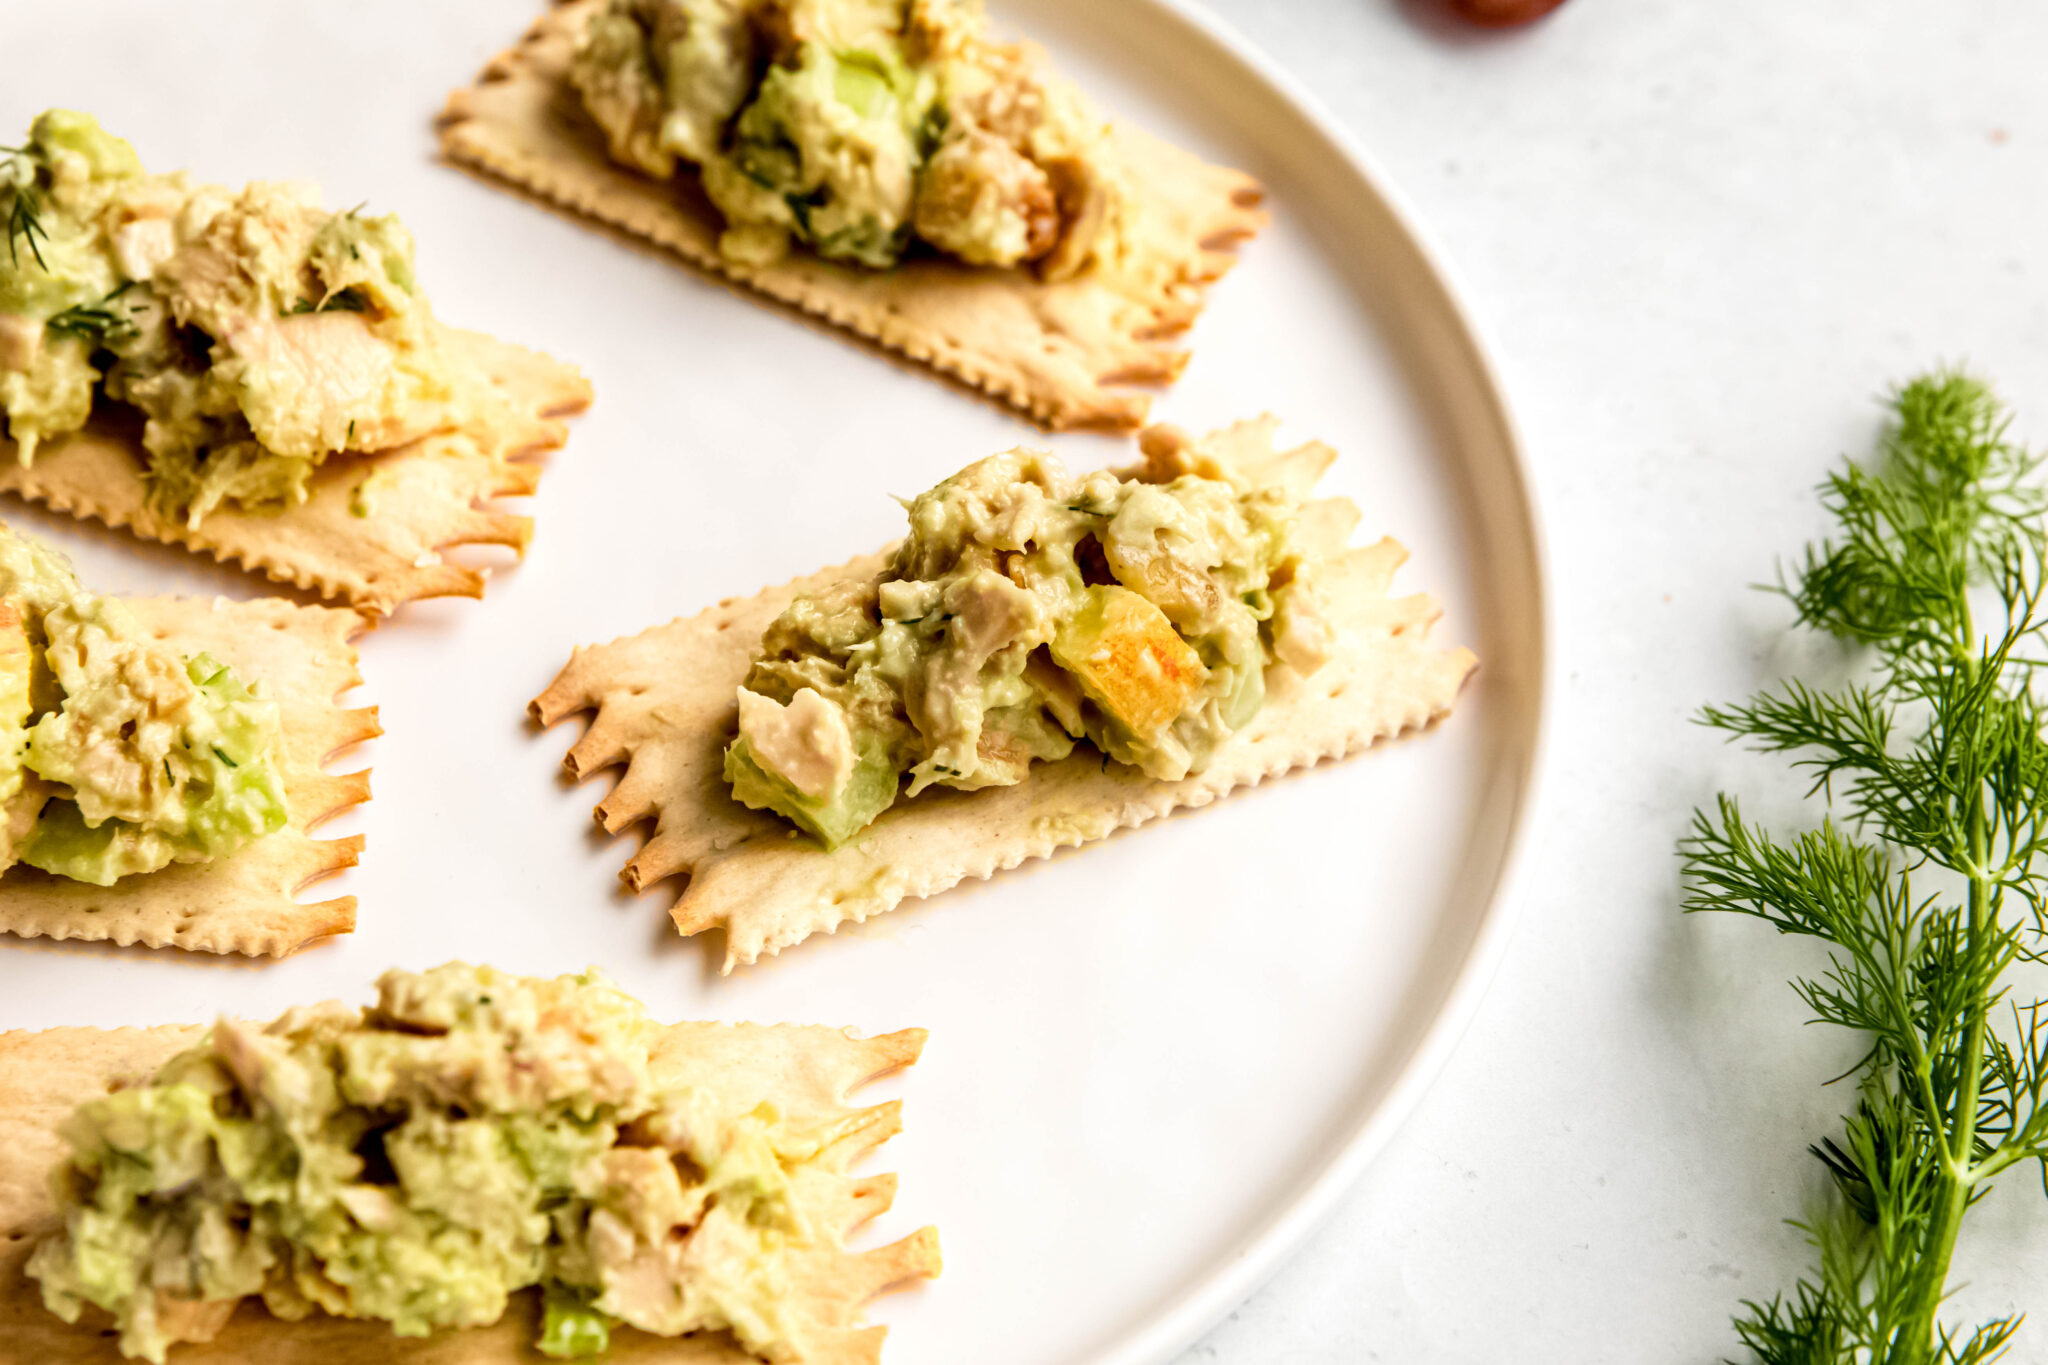
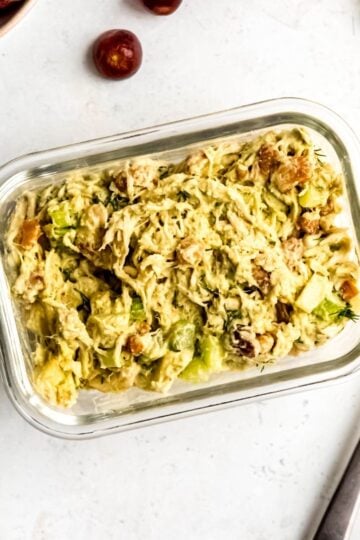
- Chicken Salad with Herbs
save this power bowl recipe on pinterest: