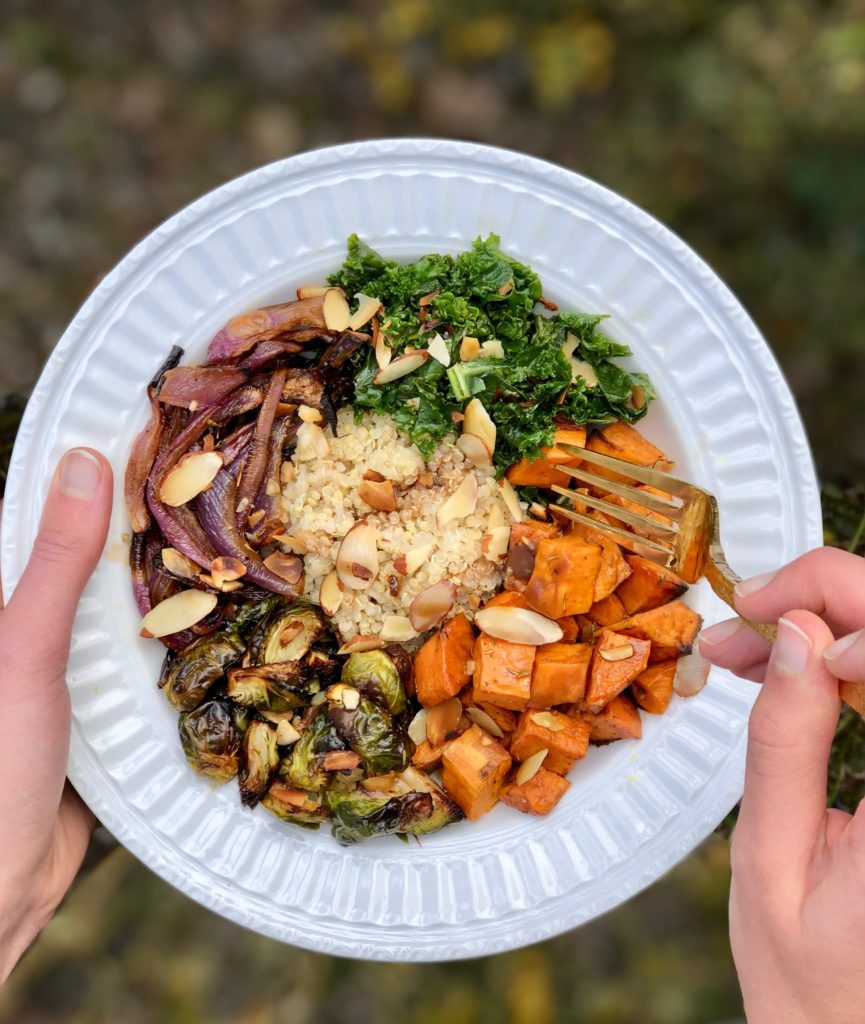
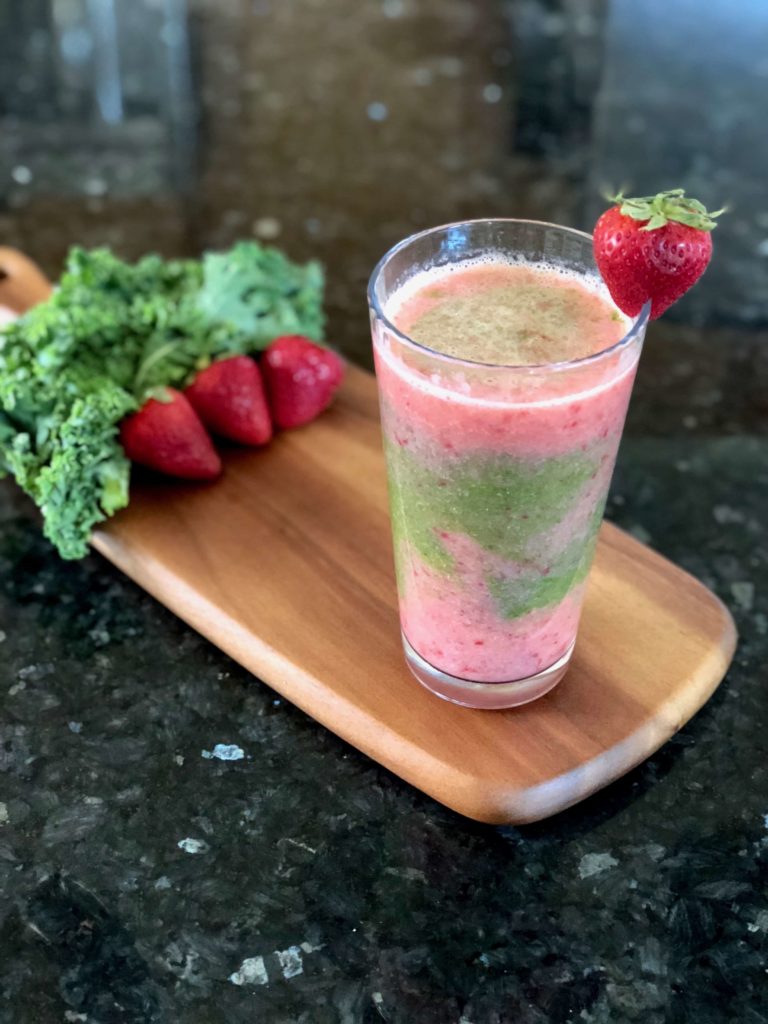
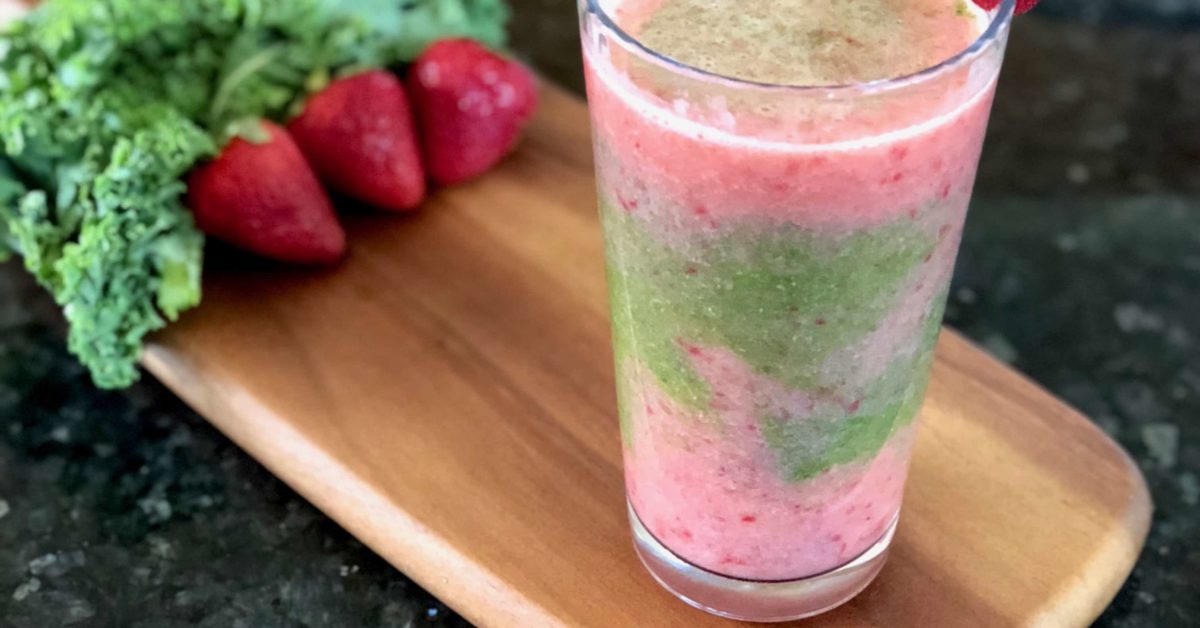
Are you a kale-hater? Well this recipe might just turn you into a kale-lover. I've had skeptics sample this Strawberry Kale Smoothie and have surprised them with how delicious it tastes. The mix between the pineapple, seasonal strawberries, and kale makes for the perfect, slightly-sweet smoothie combo. The layering of the pink strawberry mixture and the green kale mixture also makes for a beautiful smoothie that is sure to impress.
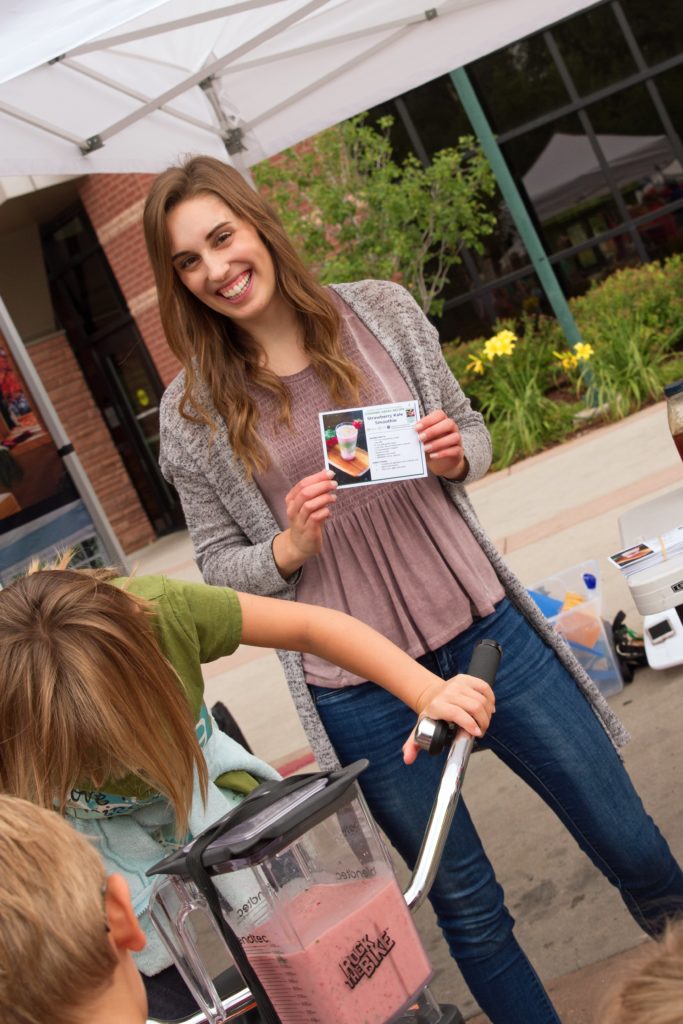
I've had such a great time preparing this Strawberry Kale Smoothie at various farmers market cooking demonstrations. I was even able to use a bike blender to create a fun, interactive experience for children and adults alike!


I love fruity filled smoothies because they are healthy, easy to make, and completely customizable.
This recipe is great because it can be super flexible. You can choose various milk options or sweetener options to cater to different dietary preferences. For the additional mix-in options, I typically like to throw in some chia seeds and flax meal for some added fiber and omega-3 fatty acids, but the options are endless. Still find that you don't like the kale in the smoothie after making it? Swap it out for spinach which has a milder flavor. Want a thicker smoothie? Add some more greek yogurt to it. Just ran out of milk? Use a kind of fruit juice like apple juice instead. Forgot to freeze the fruit ahead of time? No worries-just some add ice in!

This is a perfect recipe for meal prep too. Prepare all the ingredients (except for the liquid) and throw into a zip top bag to store in the freezer. When you are ready to make your smoothie, simply pop it out of the freezer, add your liquid and mix it all up. Blending it all together won't allow you to create the beautiful contrasting pink and green layers, but it will still taste delicious.
Time to get out in the sunshine, shop the local farmers' market, and grab some kale and strawberries because this is one refreshing smoothie recipe you'll have to try. Try out this apple banana smoothie too!
Need more help with recipes for your busy schedule?
In my coaching + cooking program, I help busy people with beginner cooking knowledge become confident in the kitchen so that they can enjoy nourishing foods they love and stress less about mealtime. Click here to learn more about this virtual program led by a dietitian.
Strawberry Kale Smoothie
Ingredients
Strawberry Layer:
- 1 ½ cup strawberries frozen
- ½ cup milk of your choice (dairy milk, almond milk, soy milk, etc)
- ¼ cup plain Greek yogurt
- 1 tablespoon honey
Kale Layer:
- 1 to 2 cups kale, ribs and large stems removed
- ½ cup milk or apple juice
- ½ cup pineapple, chopped
- 1 banana, frozen
- 1 tablespoon mix-ins of your choice (chia seeds, flax meal, protein powder, rolled oats, etc.)
Instructions
- To make the pink strawberry mixture, combine strawberries, milk, greek yogurt, and honey in blender until smooth. Pour this mixture evenly between two glasses.
- For the green kale mixture, combine kale, milk or apple juice, pineapple, banana, and mix-ins in blender until smooth. Pour evenly over the strawberry mixture. Mix gently with a spoon or straw to create the swirl effect.
- Serve immediately or store in the fridge for up to 24 hours.
Nutrition