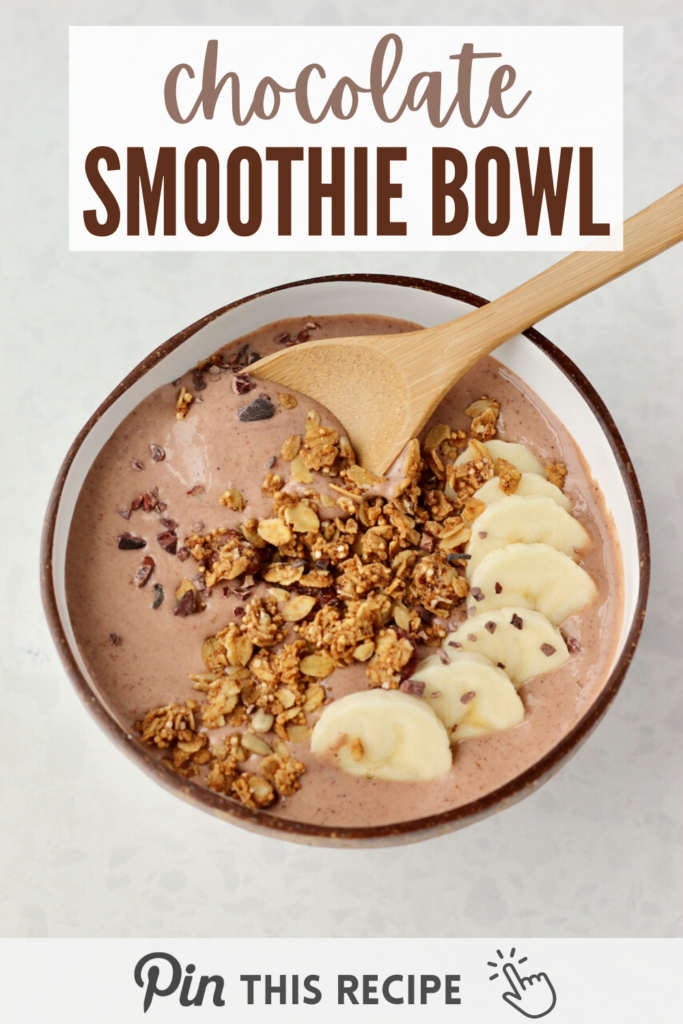
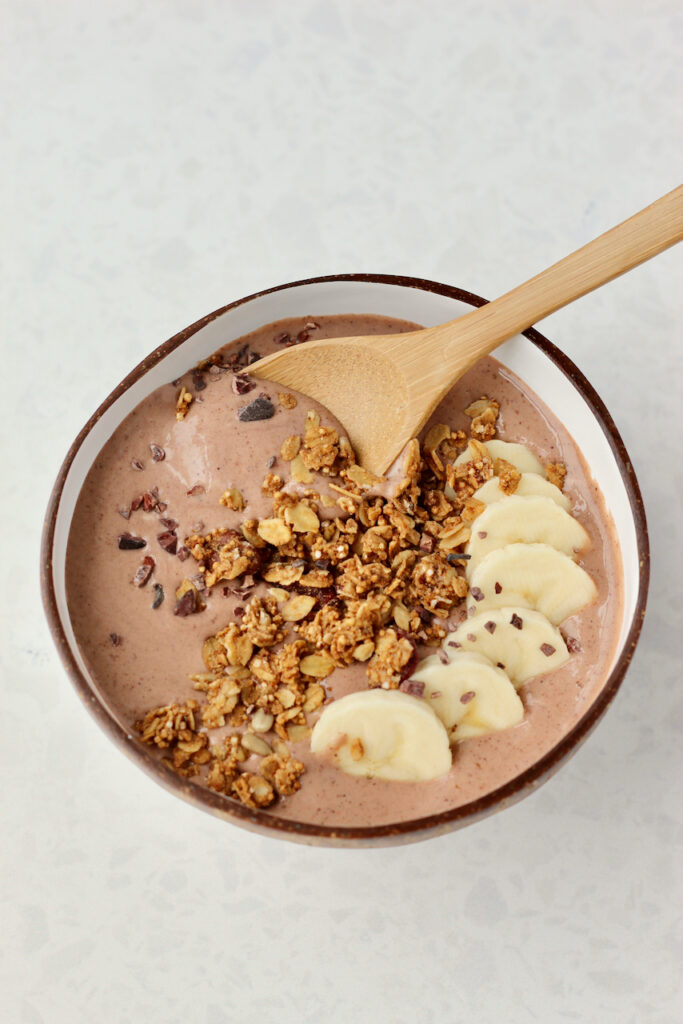
Who says chocolate is reserved just for dessert?! This healthy chocolate smoothie bowl is a tasty, sweet breakfast loaded with nutrients. It's filled with nourishing ingredients like cauliflower, cocoa powder, and protein powder of your choice.
(Disclosure note: This post may contain affiliate links, meaning I earn a small commission if you make a purchase through one of my links-at no extra cost to you. As always, all opinions are my own. See my disclosure policy for more details.)
Table of Contents
Is this chocolate smoothie bowl healthy?
This chocolate smoothie bowl recipe is packed with nutritious ingredients that provide a bunch of health benefits.
- Banana: Bananas are a great source of potassium, which helps to regulate blood pressure and support healthy heart function. They're also high in fiber, which can help to promote digestive health and keep you feeling satisfied.
- Cauliflower: Cauliflower is an excellent source of vitamin C, which is essential for immune function and skin health. Like bananas, it's pretty neutral in taste so it takes on the chocolate flavor.
- Yogurt: Yogurt is a great source of protein and probiotics, which can help to support gut health and improve digestion. It's also a good source of calcium, which is essential for strong bones and teeth. I like to choose Greek varieties to pack in the most protein.
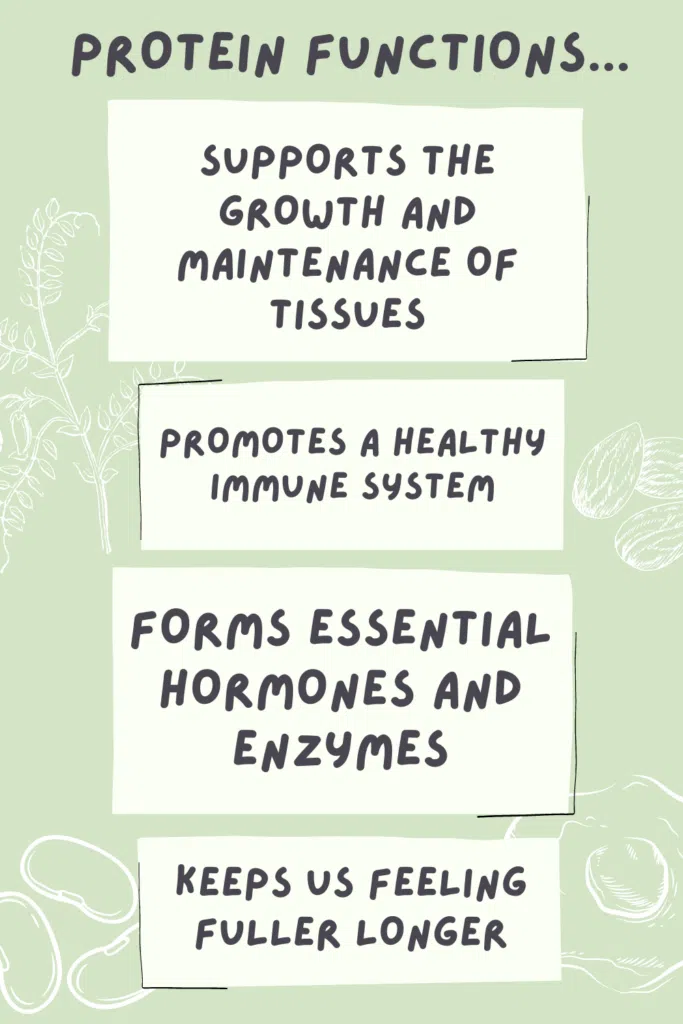
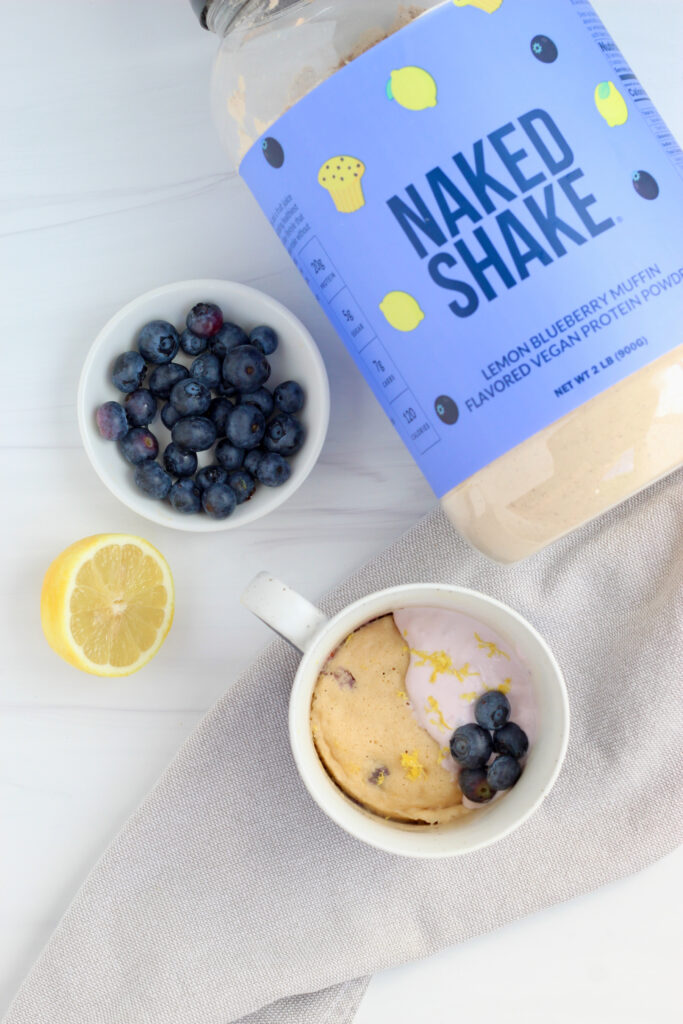
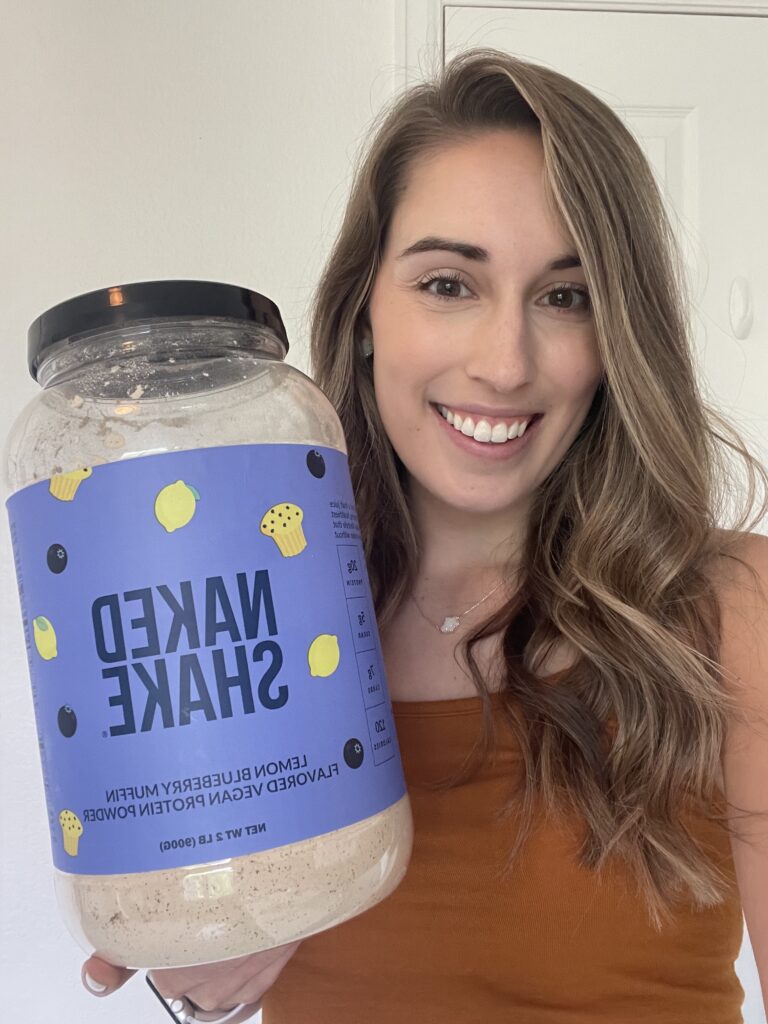
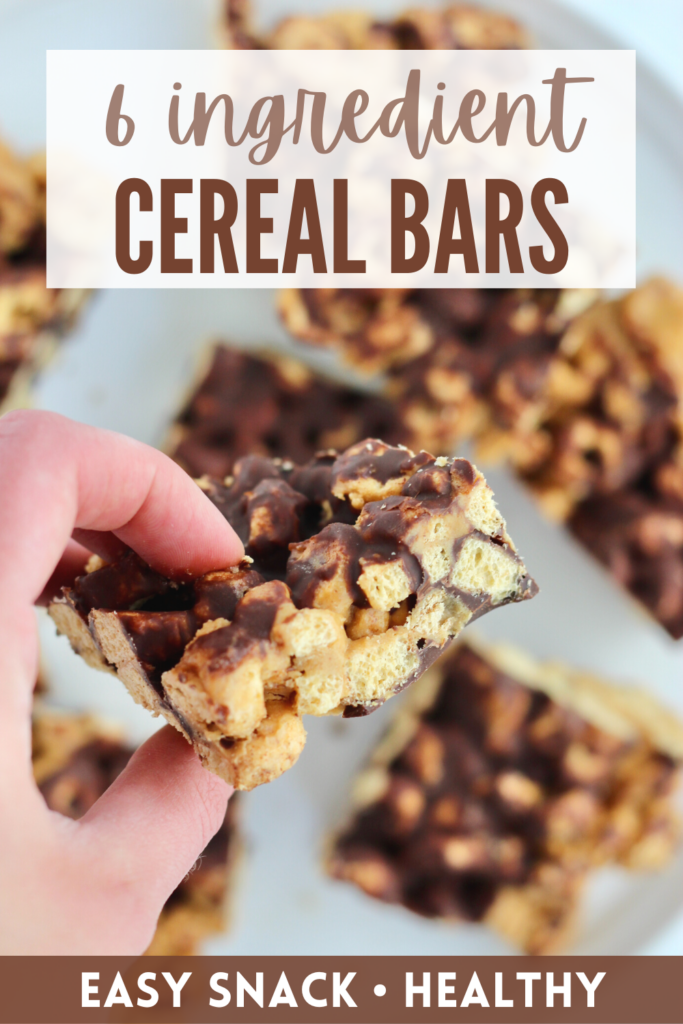
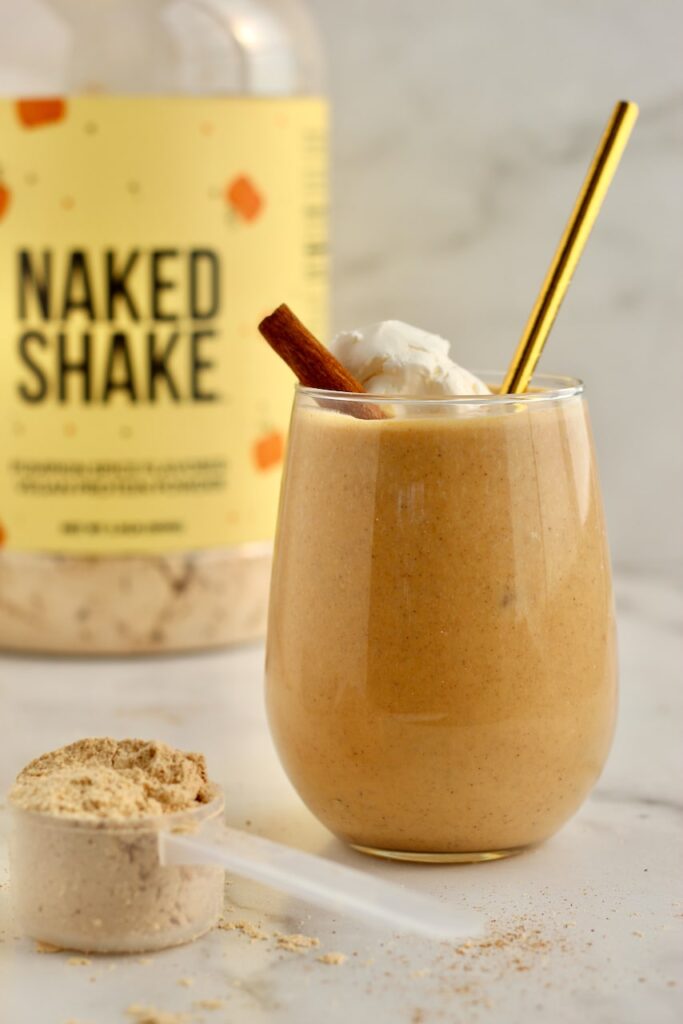
- Protein Powder: Protein powder often gets a bad rap, but I think it's a convenient way to give yourself a protein boost with minimal effort. Try adding a scoop to coffee, cereal bars, or mug cakes too.
- Nut Butter: All types of nut butters contain healthy fats and protein. We call for any nut butter of your choice so you can use your favorite.
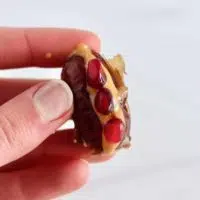
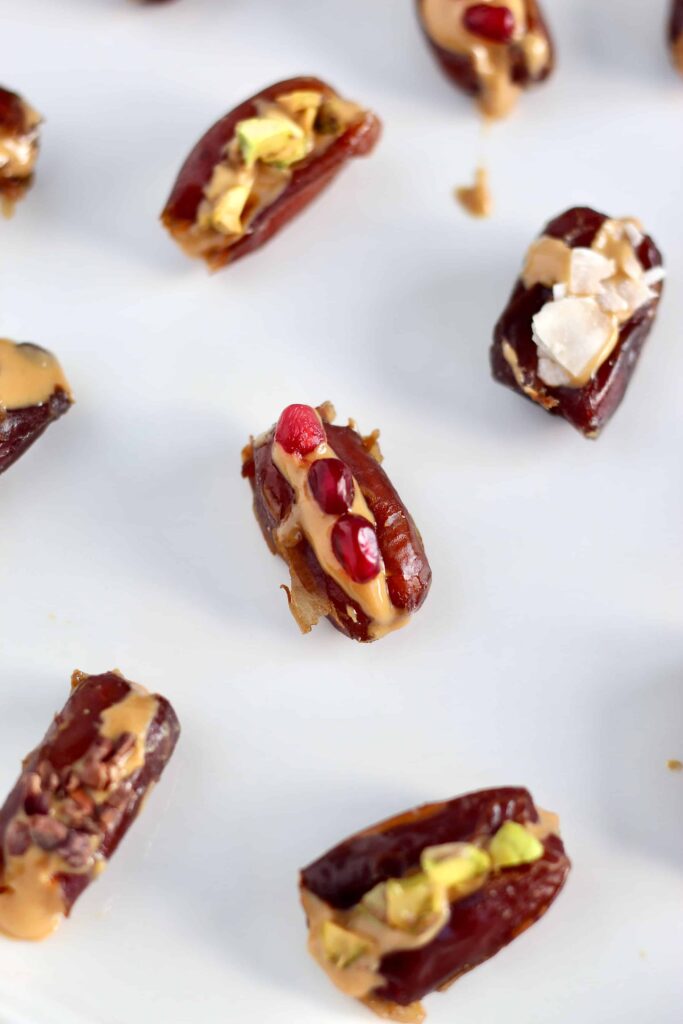
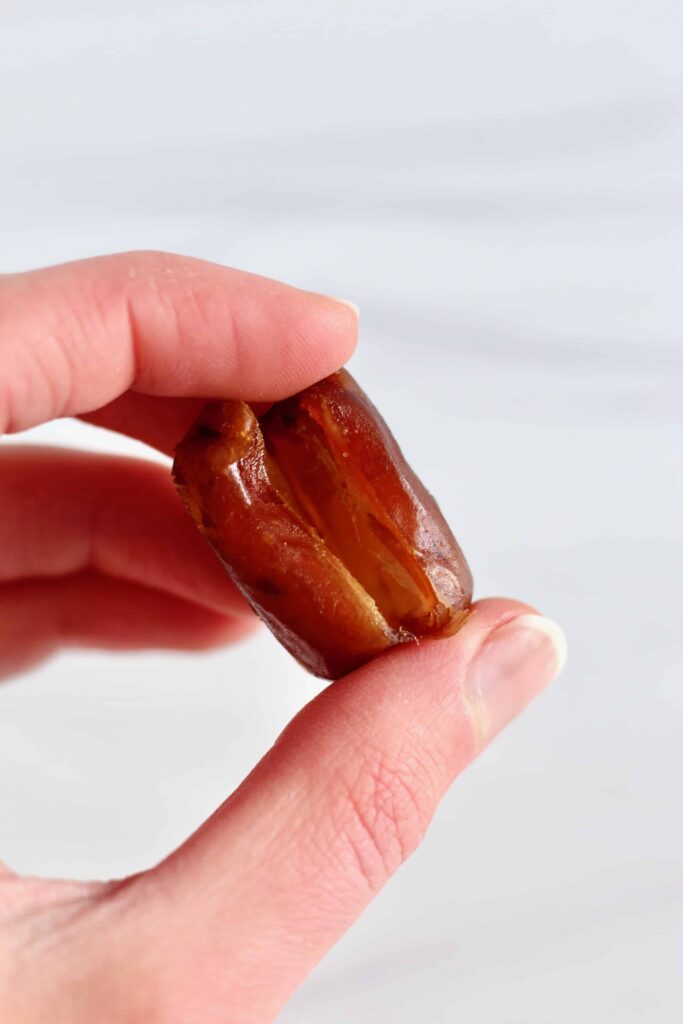
- Dates: Dates are a great way to naturally sweeten this bowl without any added sugars. I prefer Medjool dates which are soft and have a caramel-like taste. Stuffing them with peanut butter is a great snack!
What are the health benefits of cocoa powder?
Cocoa powder is another key ingredient in this chocolate smoothie bowl recipe. It's a good source of antioxidants called "flavanols". Research has shown these flavanols may help improve heart and brain health.
Stick with minimally processed cocoa powder and be mindful of any added sugars. We like to use unsweetened cocoa powder.
Customize it your way
Like all of my other recipes, this chocolate smoothie bowl is completely customizable. You get to choose what protein powder, nut butter, and milk you want to use.
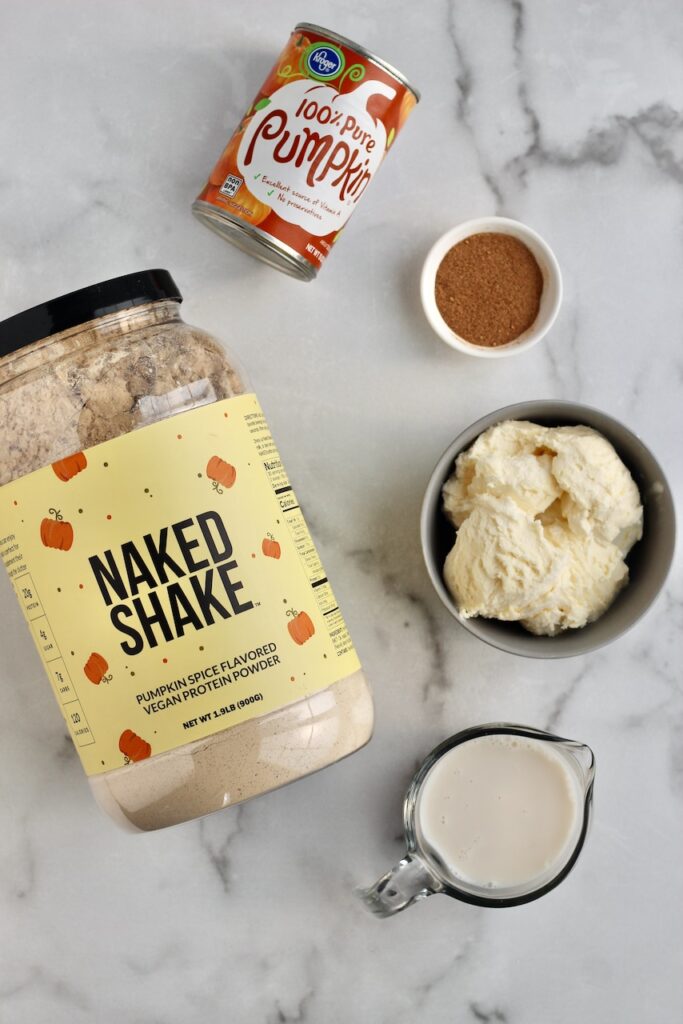
- For the protein powder, we love to use a chocolate flavored variety. However, you could use vanilla or another flavor. Feel free to use any type of protein you prefer such as whey protein or a plant-based one.
- For the nut butter, use whatever you have in your pantry. You can even use a seed butter if you have a nut allergy.
- For the milk, we love using almond milk but any milk would be great here.
What toppings should I use?
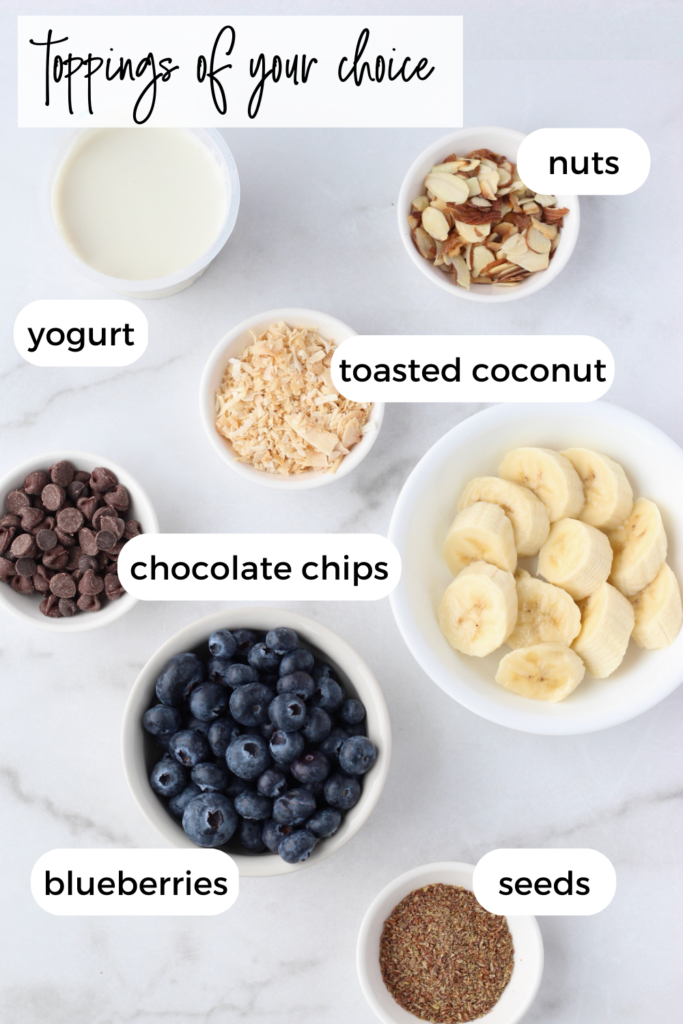
The toppings are also totally customizable. Here are some ideas to get you started:
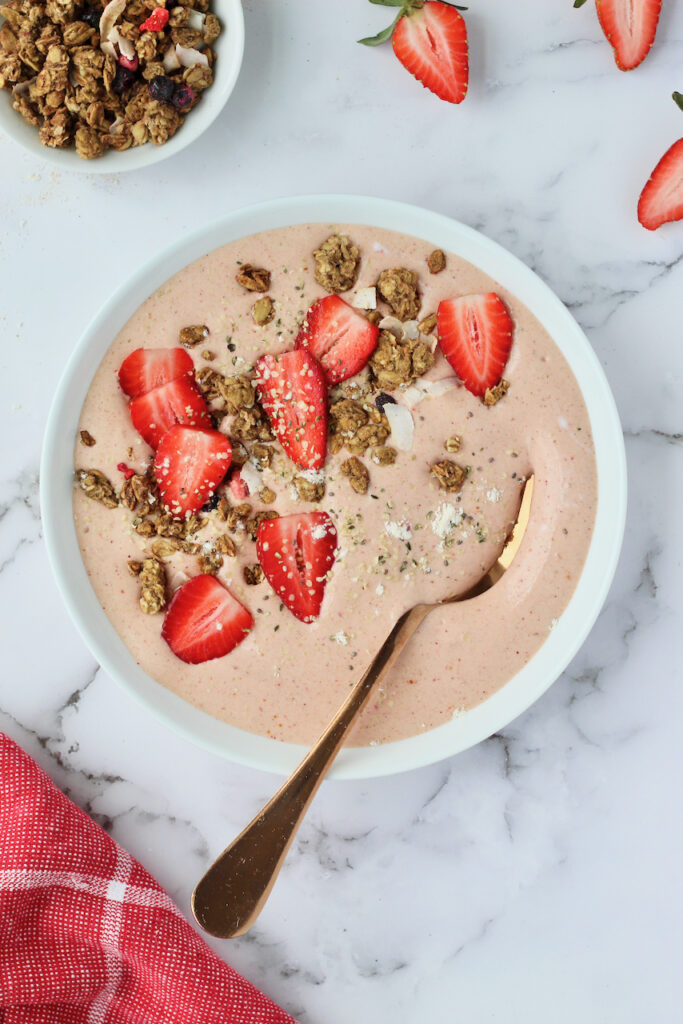
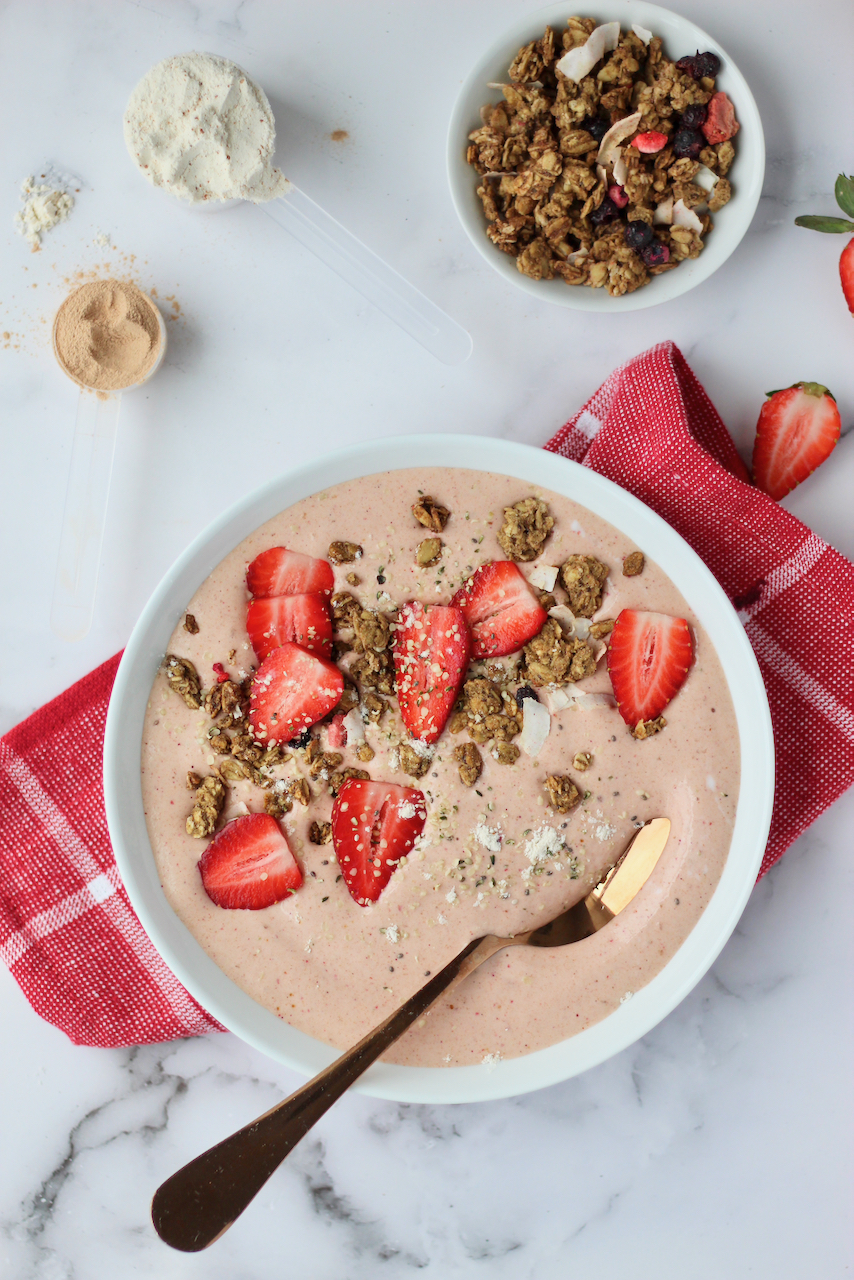
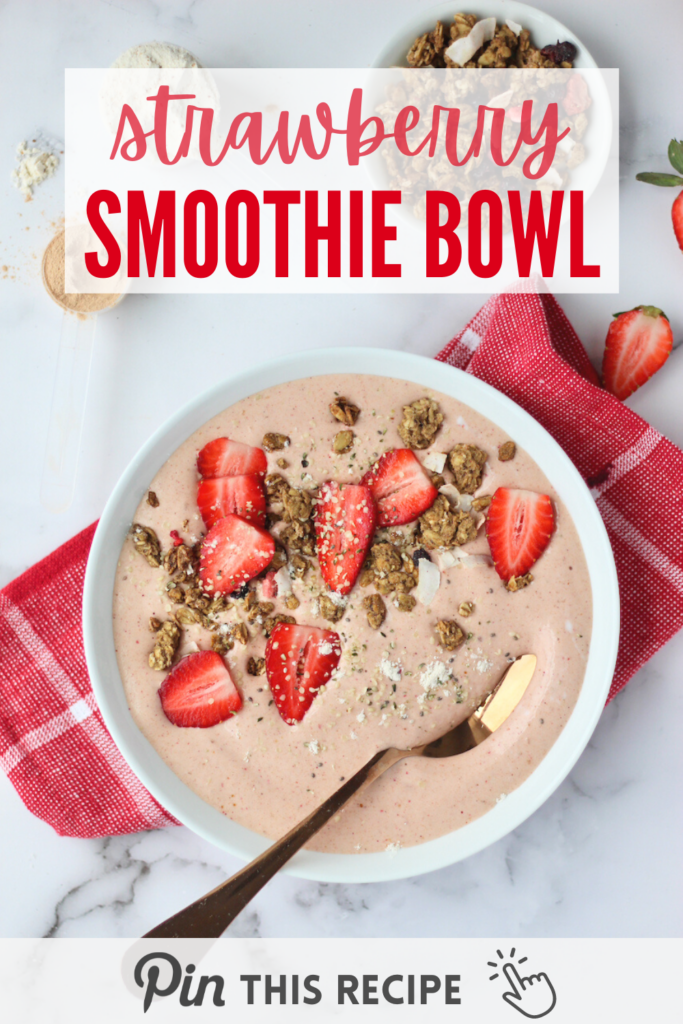
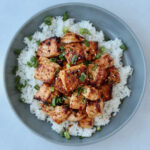
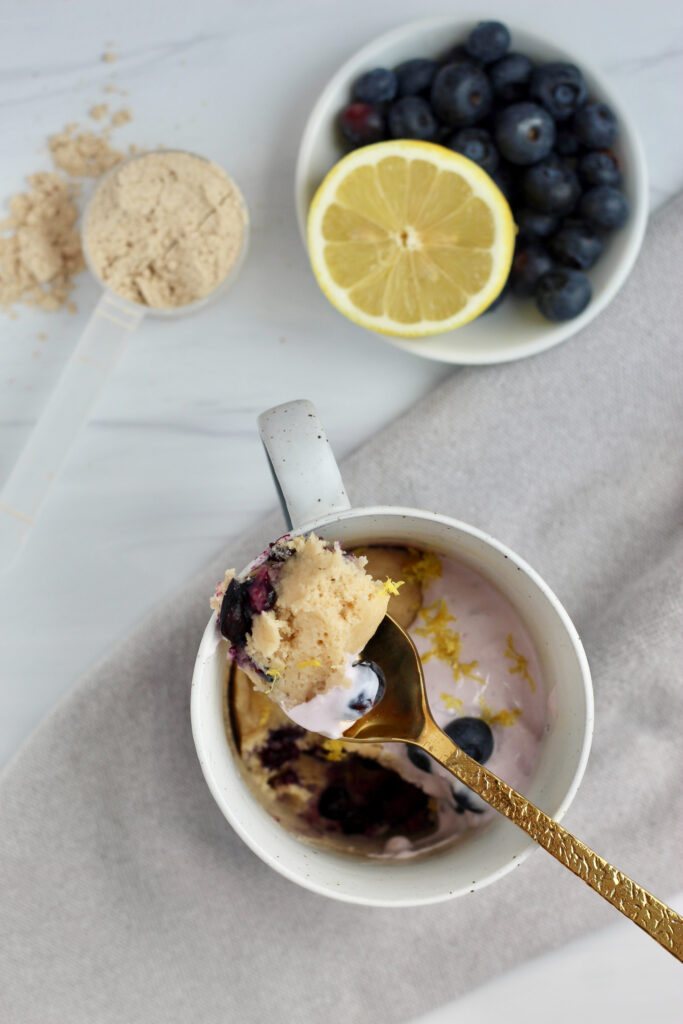
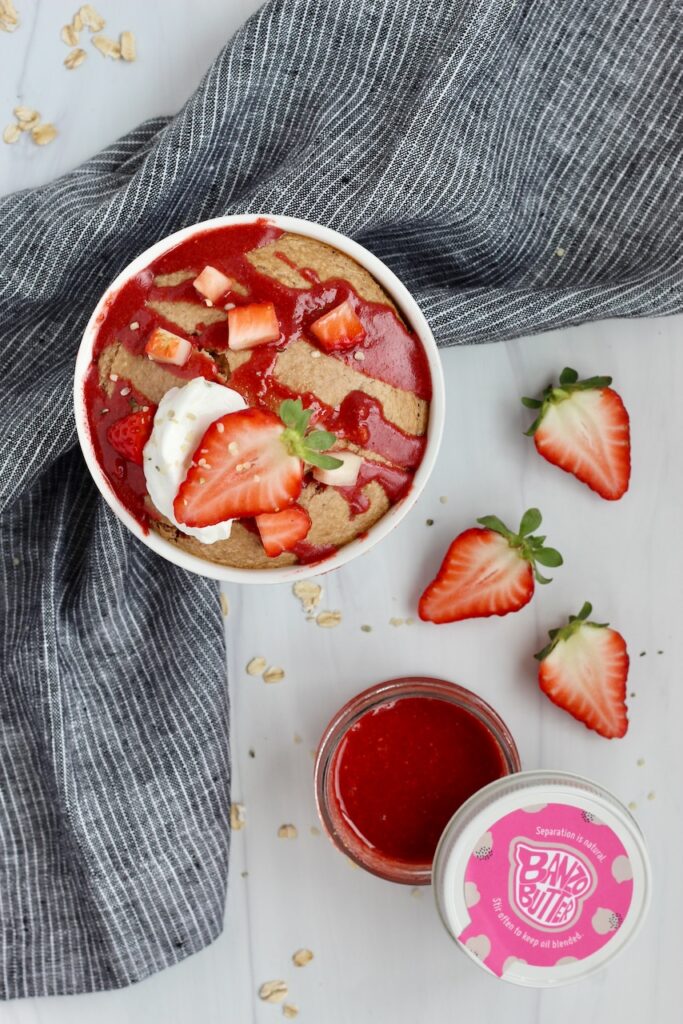
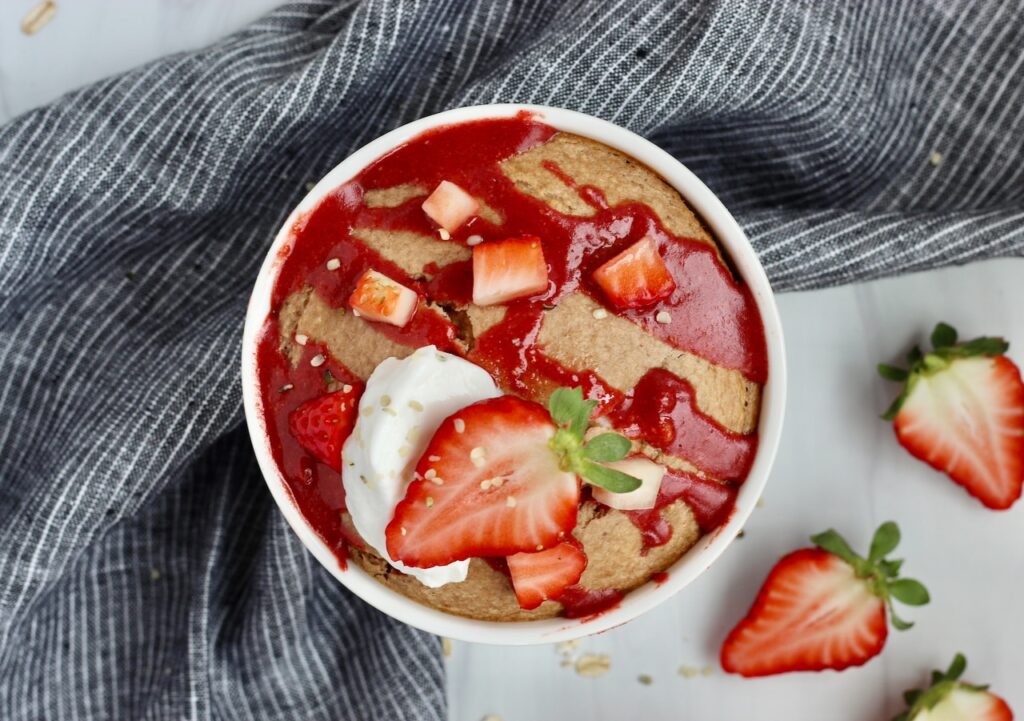
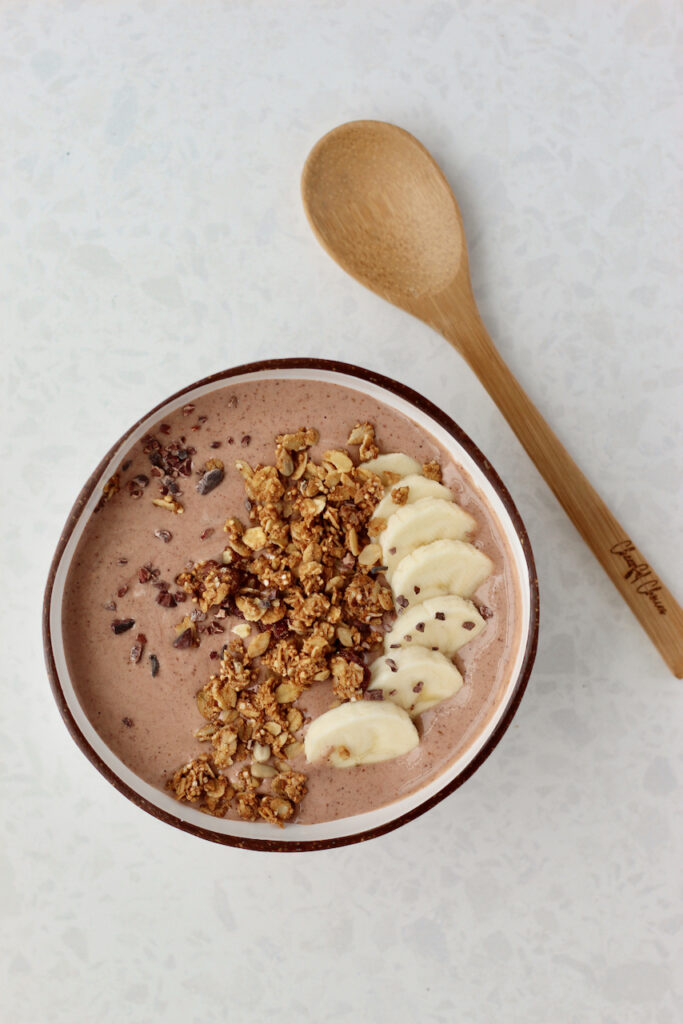
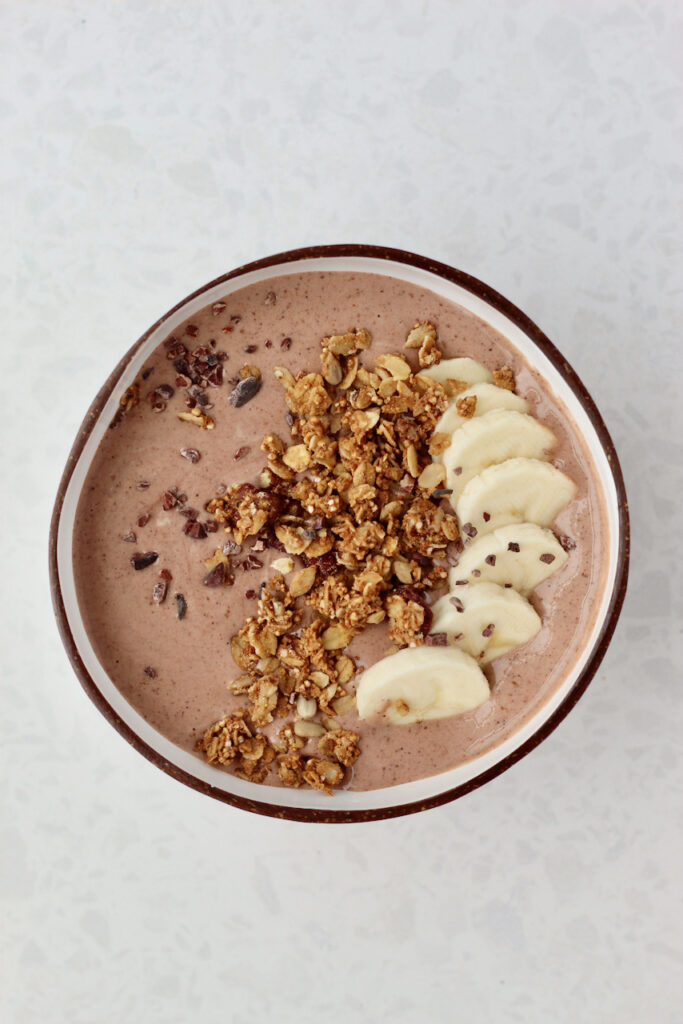
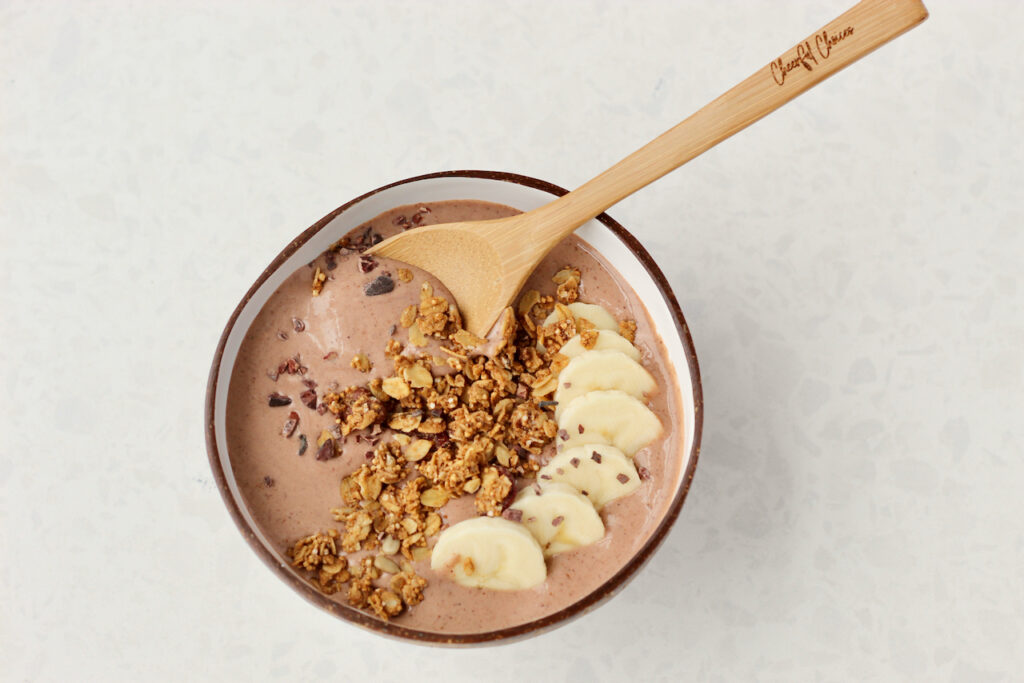
- To make yours look like the photos shown: add over sliced banana, granola, cocoa nibs, and hemp seeds
- For a s'mores vibe: add over mini chocolate chips, and mini marshmallows, and crushed graham crackers
- For a chocolate covered strawberry vibe: add over sliced strawberries, white chocolate chips, and shaved dark chocolate
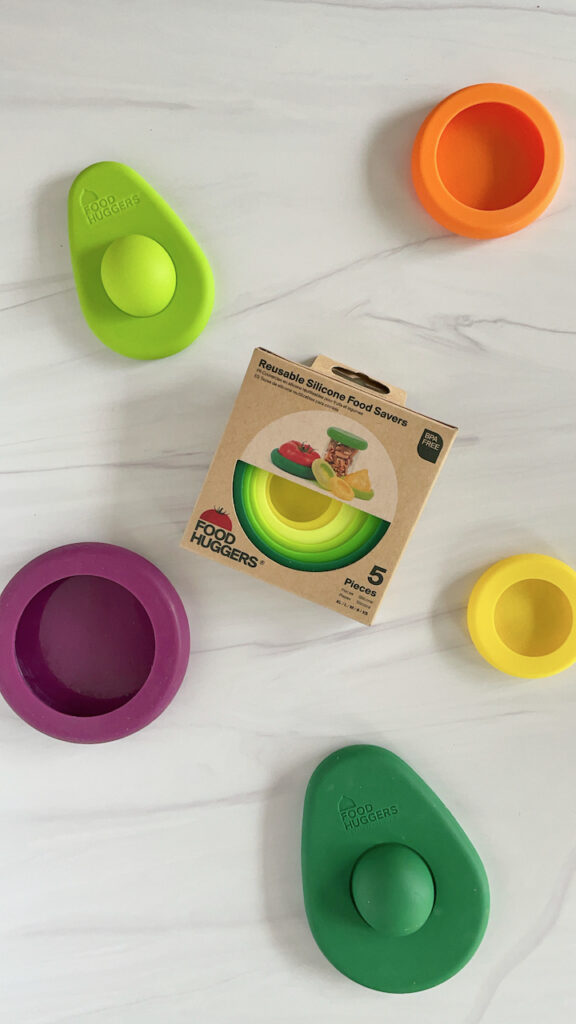
Where did you get the coconut bowls shown?
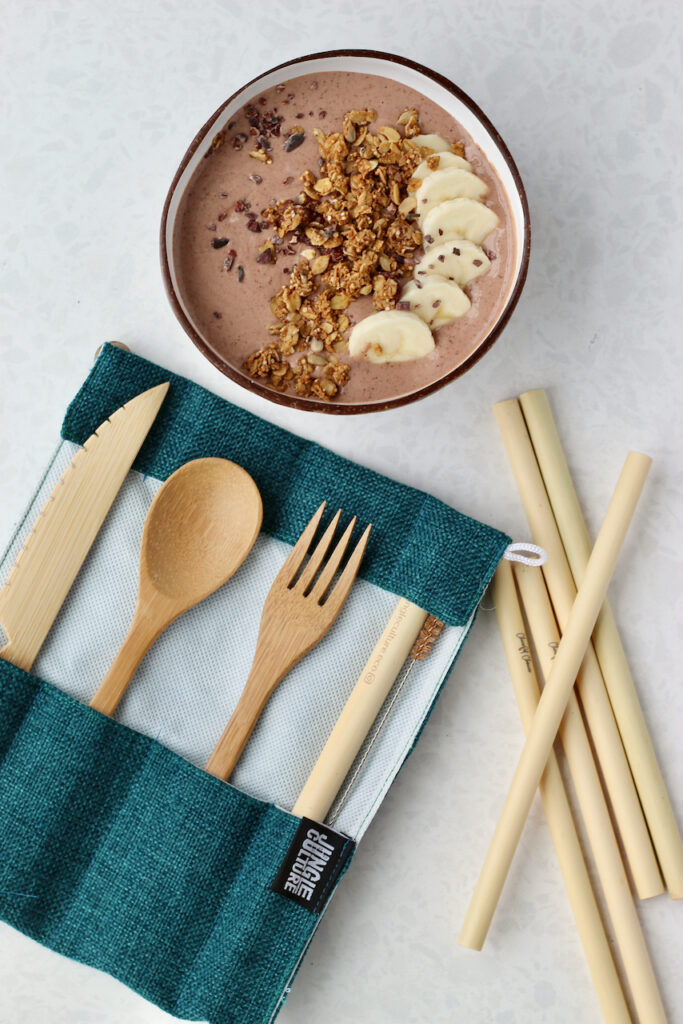
You know we're all about sustainable kitchen choices. That's why we love using Jungle Culture's reusable straws, utensils, and bowls. They also have a number of other plant-friendly home goods.
Their products are made from ethically-sourced materials like bamboo and coconut shells. Whereas coconut shells would normally be discarded, using them to create these beautiful bowls gives them another life! Plus, this product has given farmers a secondary income.
Additionally, these products are often handmade by artisans in small communities in Vietnam. This provides them with a sustainable income source and helps support local economies.
Need more help with recipes for your busy schedule?
In my coaching + cooking program, I help busy people with beginner cooking knowledge become confident in the kitchen so that they can enjoy nourishing foods they love and stress less about mealtime. Click here to learn more about this virtual program led by a dietitian.
Chocolate Smoothie Bowl
Ingredients
Smoothie Ingredients:
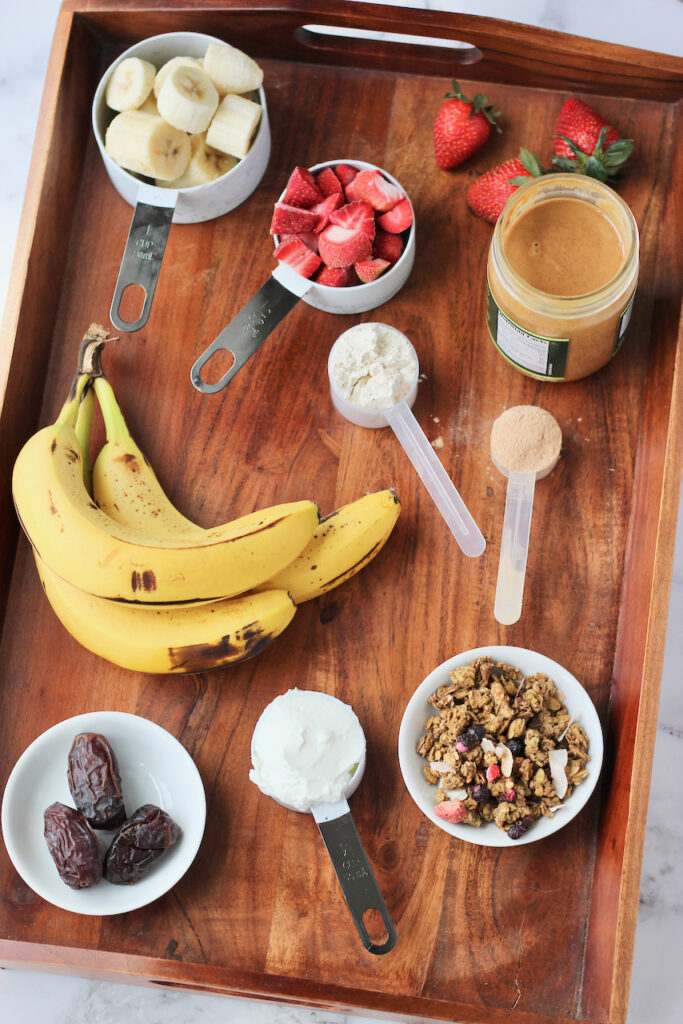
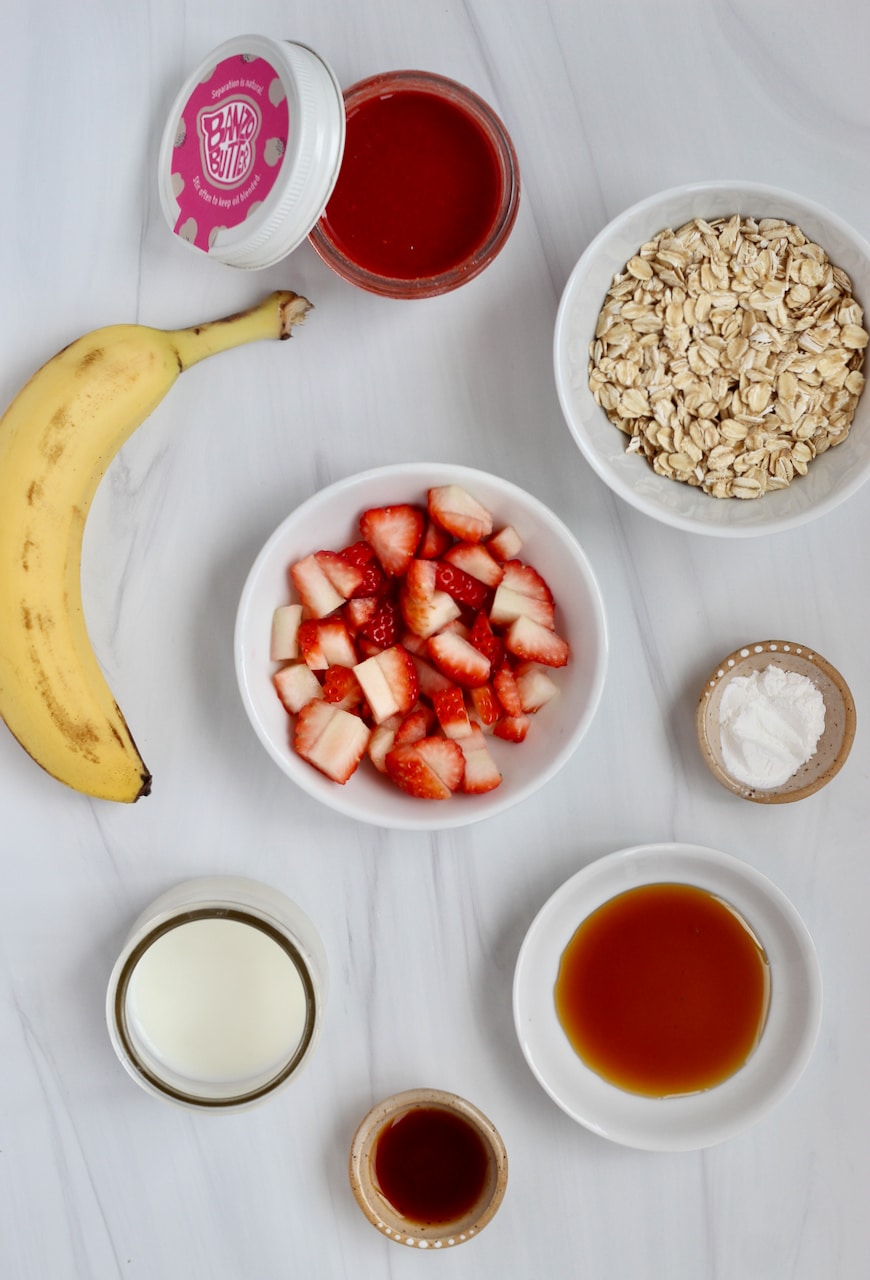
- 1 large banana, sliced and frozen (about 1 cup)
- ¼ cup frozen cauliflower rice or florets
- ¼ cup plain or chocolate Greek yogurt
- 2 tablespoons chocolate protein powder of your choice (whey, soy, pea, etc.)
- 1 tablespoon unsweetened cocoa powder
- 1 tablespoon nut butter of your choice (peanut butter, almond butter, cashew butter, etc.)
- 1 medjool date
- ¼ cup milk of your choice (dairy, almond, soy, hemp, etc.)
Toppings of your choice:
- Sliced bananas
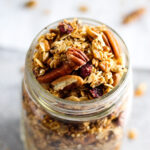
- Granola
- Cocoa nibs
- Berries
- Shaved dark chocolate
- Creamy nut butter
- For a s'mores variation: add over mini chocolate chips, mini marshmallows, and crushed graham crackers
Instructions
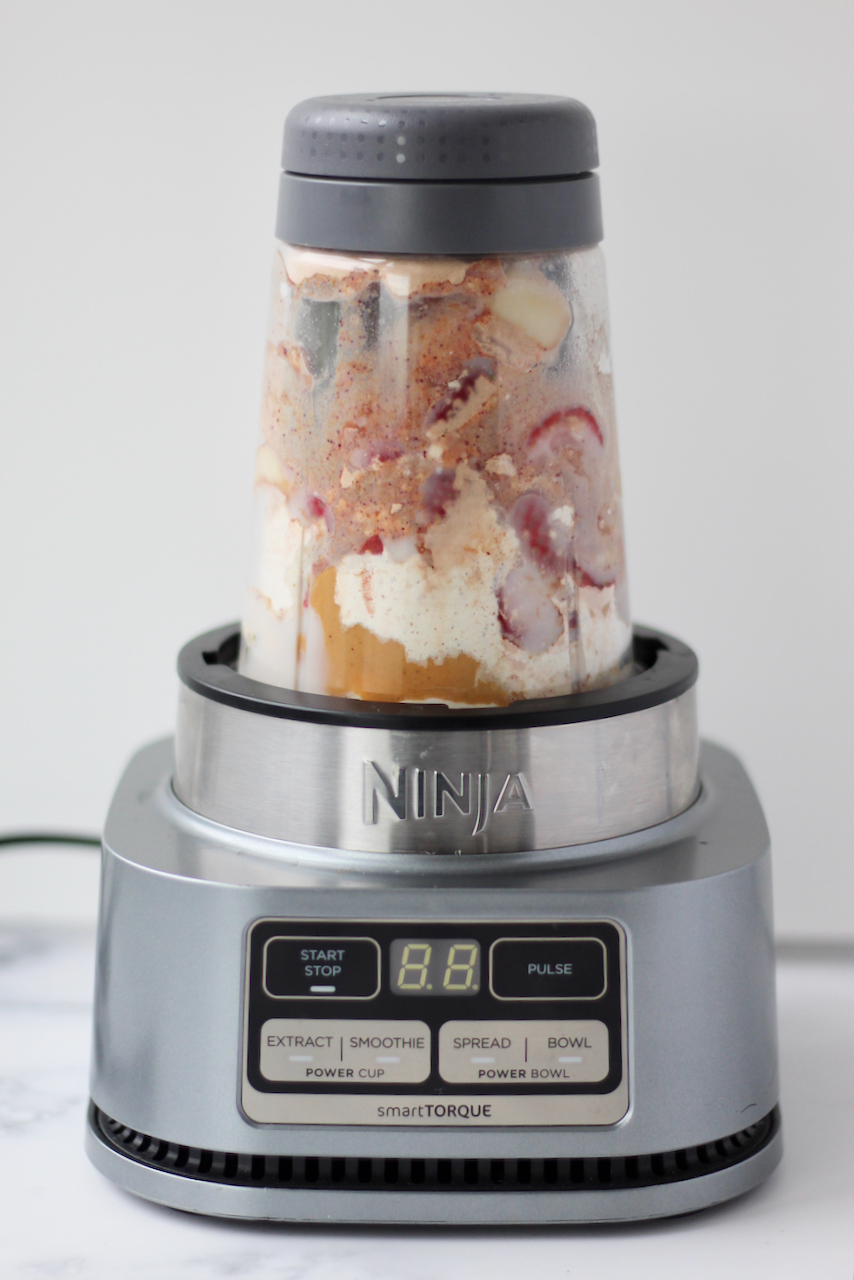
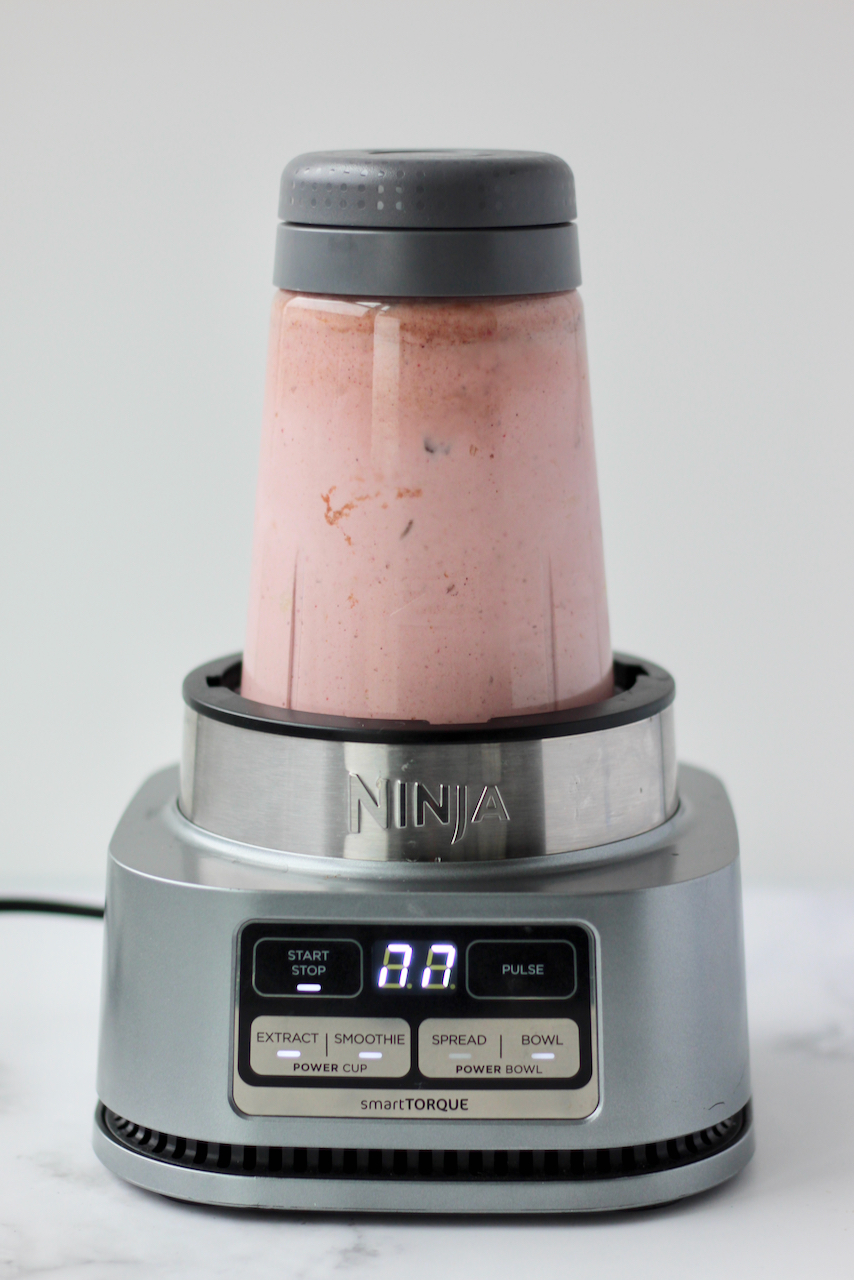
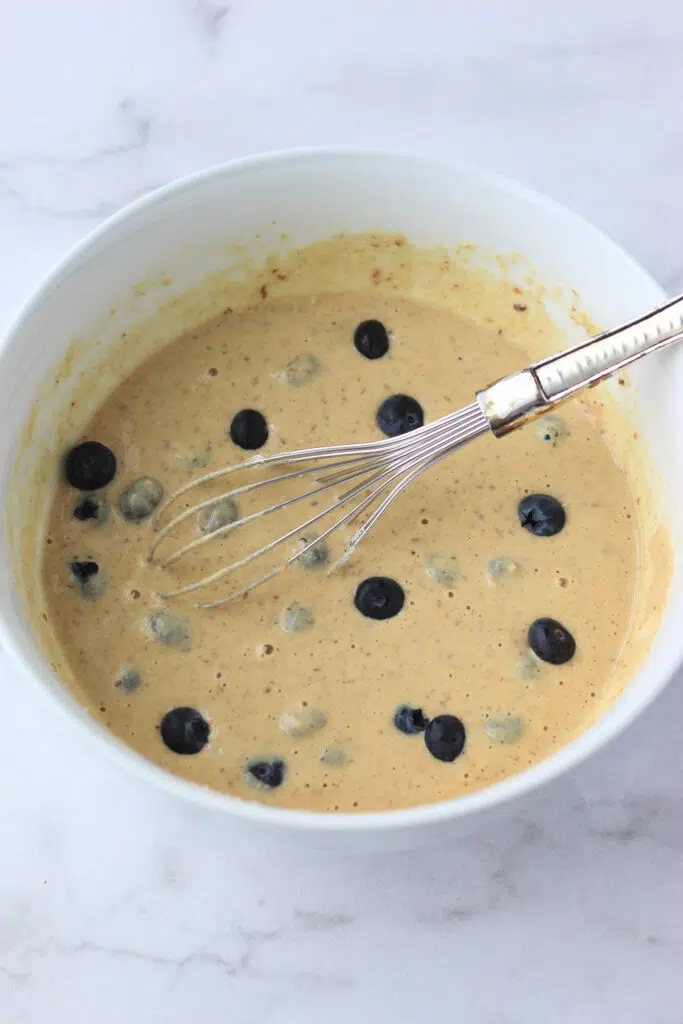
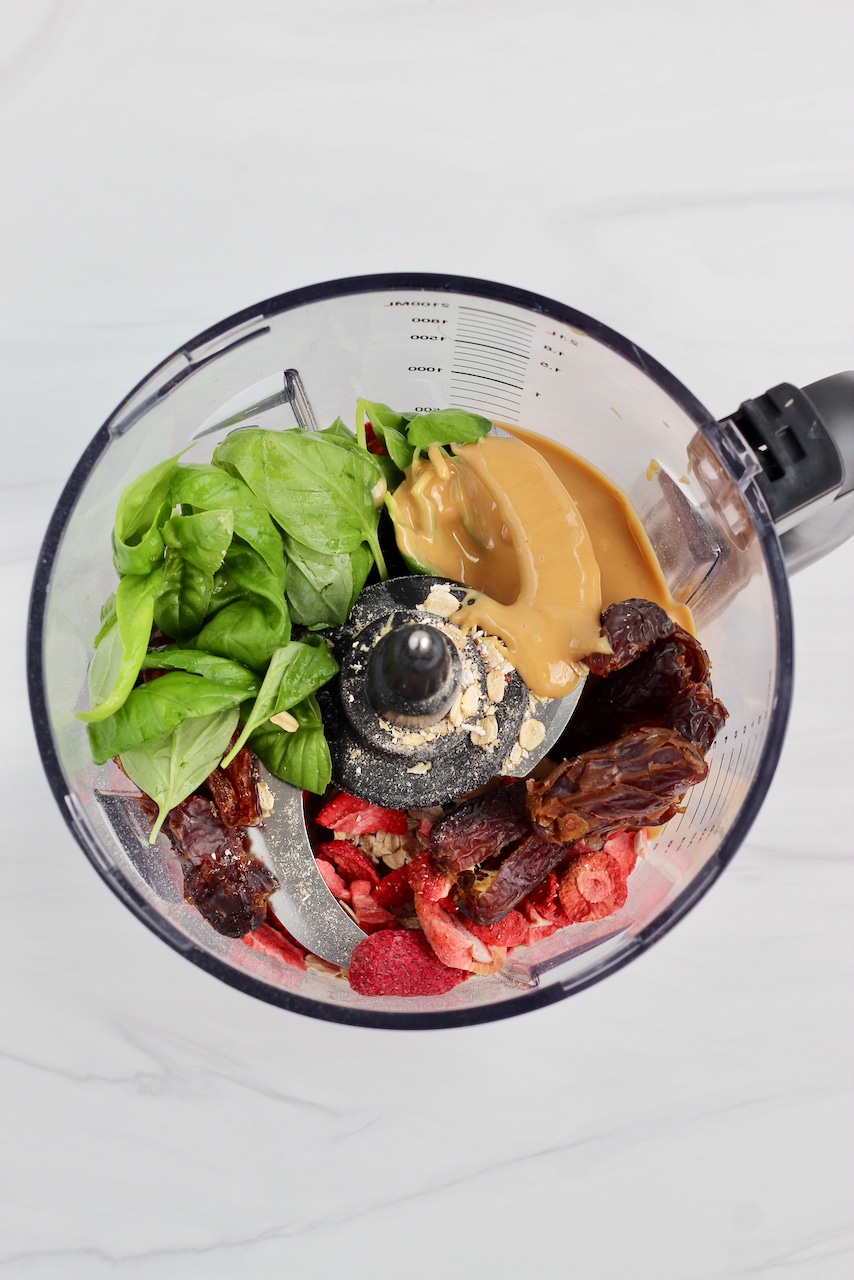
- Add all smoothie ingredients to your blender or food processor and secure the lid on.
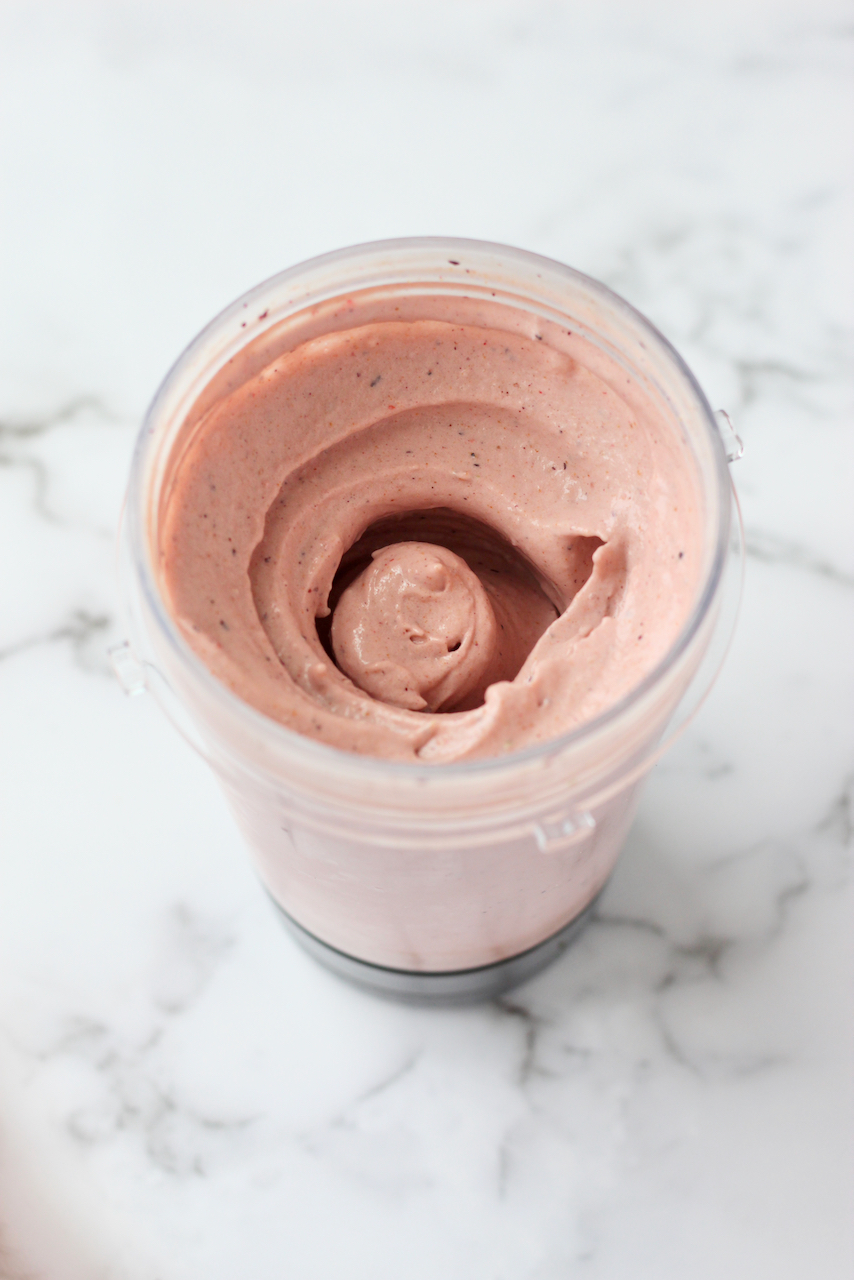
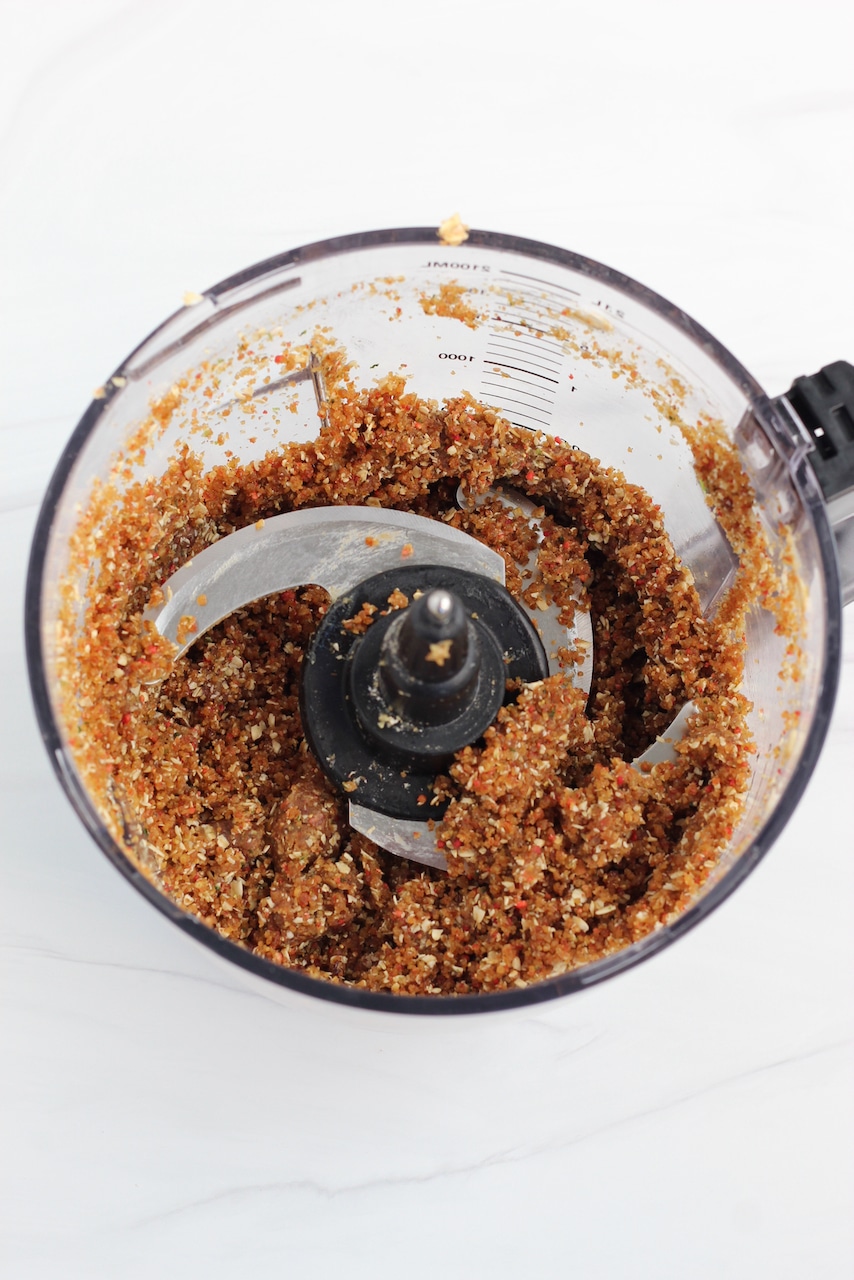
- Blend on high speed until ingredients are completely broken down and smooth. If you are using a Ninja Foodi Smoothie Bowl Maker, use the preset "bowl" option.
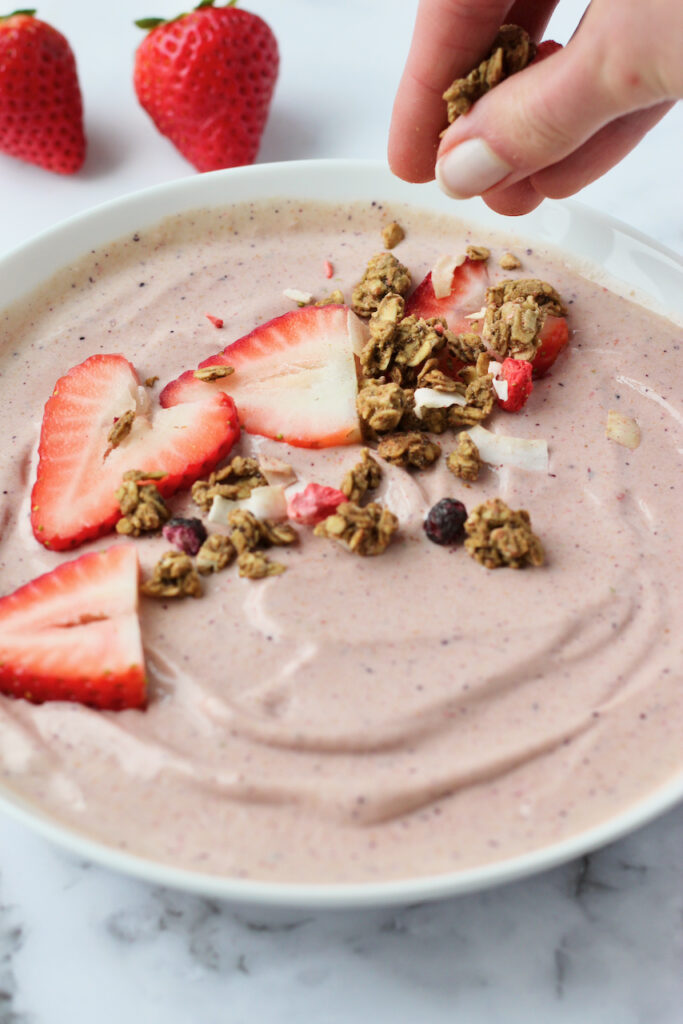
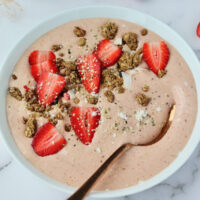
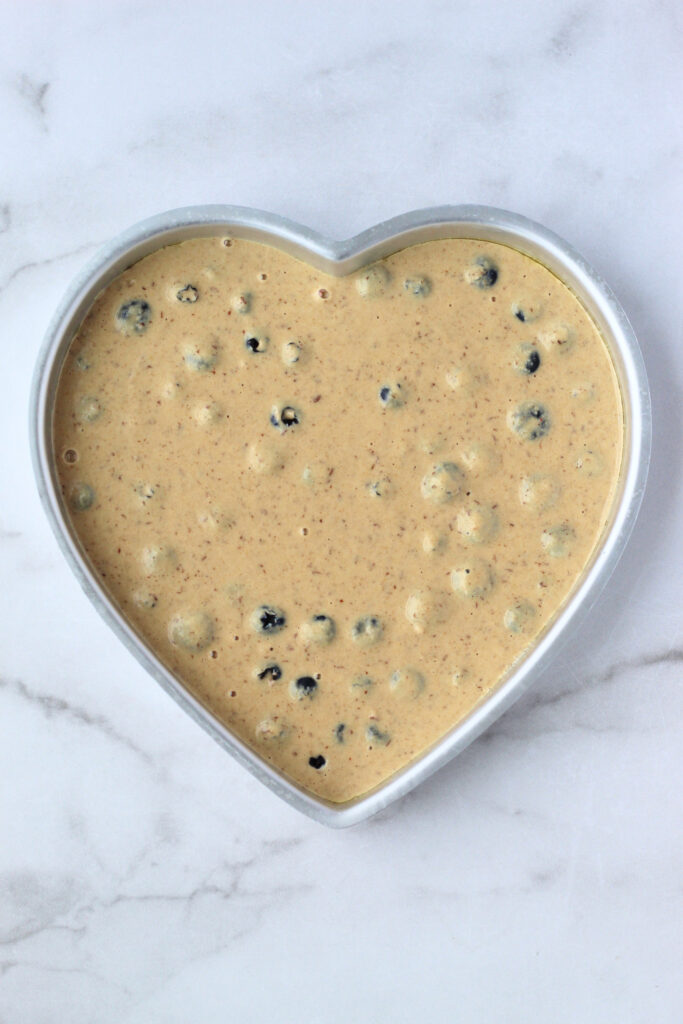
- Use a spatula to spoon mixture into a bowl, then add over toppings of your choice.
save this chocolate smoothie bowl recipe on pinterest: