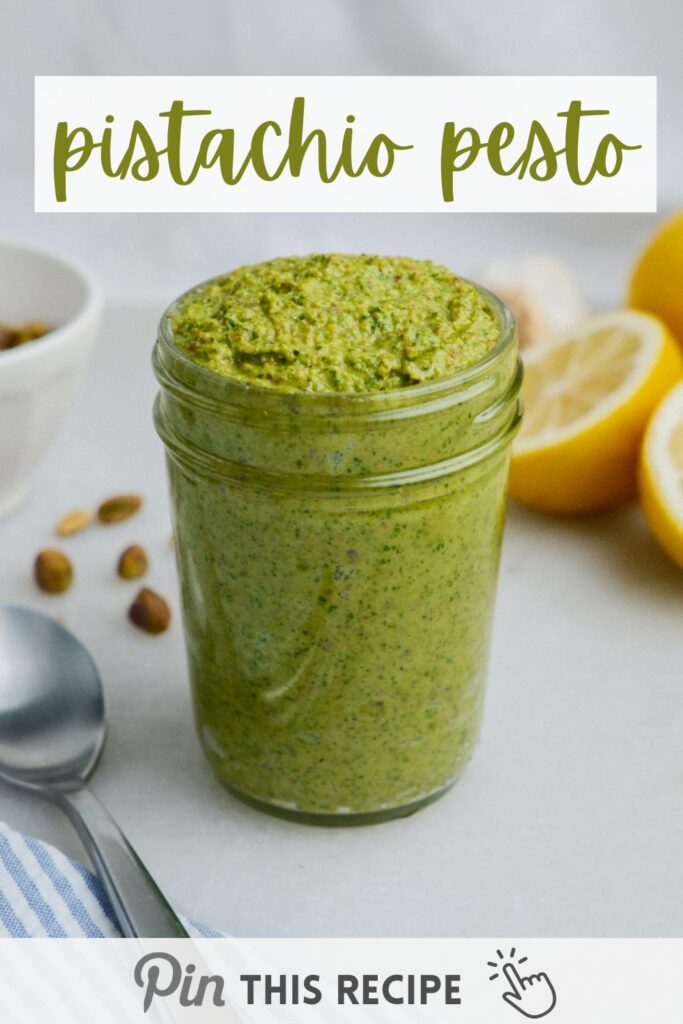
Pistachio Pesto is a flavorful, unique twist on your classic pesto which is traditionally made with pine nuts. This recipe is made with shelled pistachios, fresh basil, parmesan, and oil of your choice. Whether you're dressing pasta, topping toast, or searching for the ultimate dip-this pesto is sure to be your new go-to condiment.

(Disclosure note: This post may contain affiliate links, meaning I earn a small commission if you make a purchase through one of my links-at no extra cost to you. As always, all opinions are my own. See my disclosure policy for more details.)
Table of Contents
Why you'll love it
- Innovative twist: Swapping pine nuts for pistachios offers a rich flavor while still providing a heart-healthy boost from the nuts.
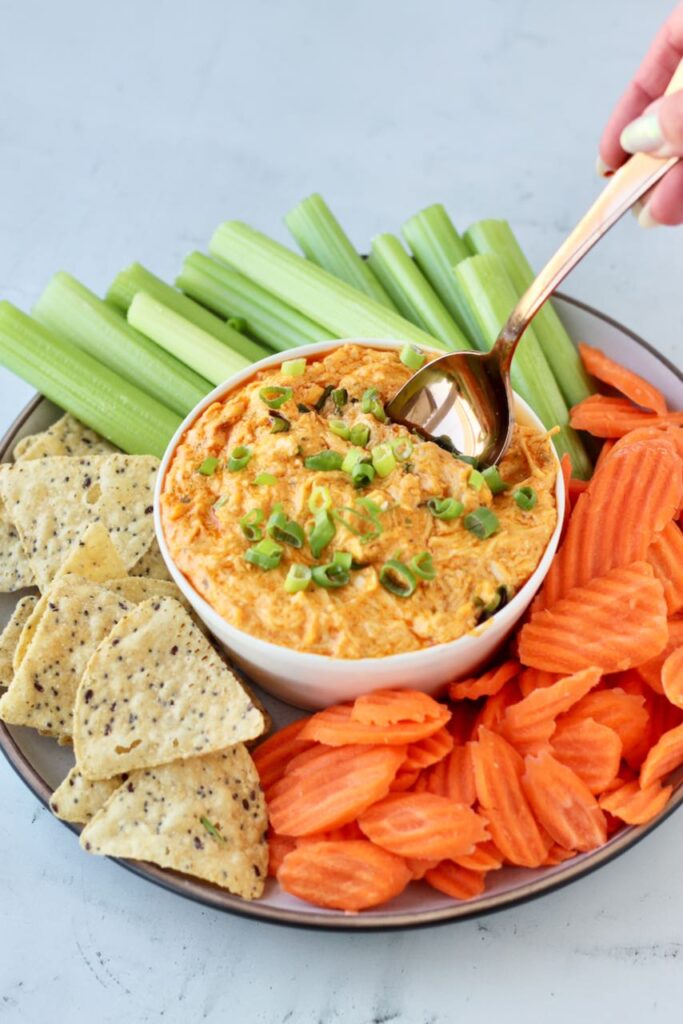
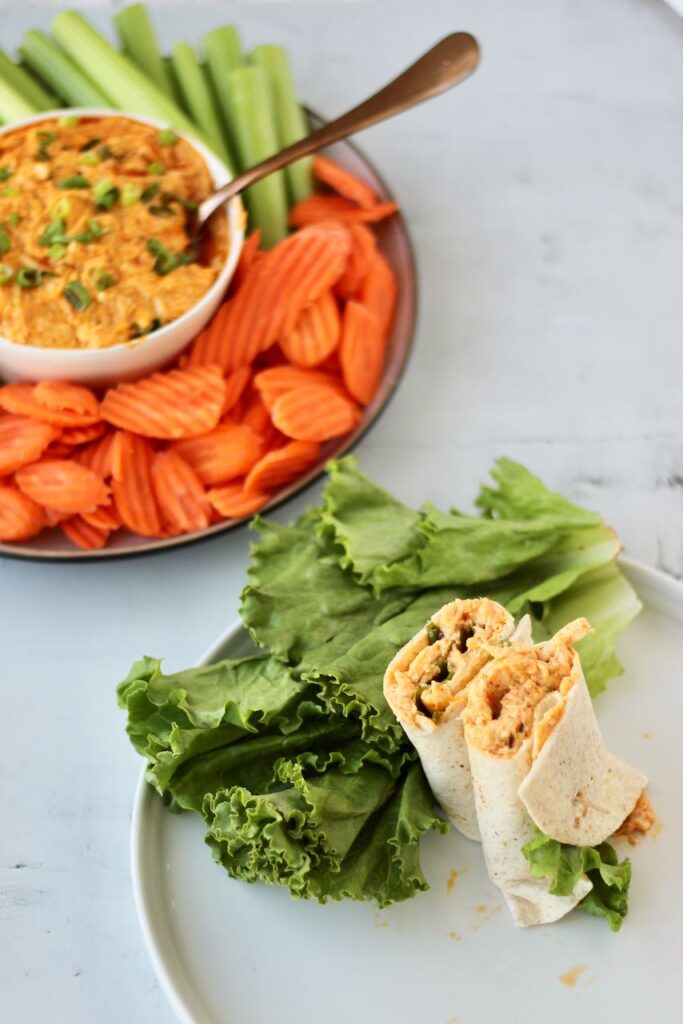
- Versatile: Perfect as a pasta sauce, a spread for toast, a dip for veggies and chips, a sauce for pizza or flatbread, or brushed over meat.
- Quick and easy: With a prep time of just 5 minutes, this recipe is ideal for busy weeknights or springtime gatherings.
Is pesto healthy?
Pesto is a condiment that's higher in fat and calories, but it's also loaded with health benefits. The star ingredients-fresh basil and pistachios-are rich in antioxidants and nutrients.
For this recipe, you get to customize with your favorite oil. We typically recommend using avocado oil or extra virgin olive oil to maximize on the heart-healthy fats present.
Here's a chart showing the breakdown of the fat makeup for each oil. Generally, it's best to stick with an oil with mostly mono and poly "unsaturated" fats.
Are pistachios healthy?
Recent research suggests that pistachios have several benefits such as supporting brain function, gut health, and may have positive impacts on skin and eye health. They can also be helpful for weight management and better blood sugar control. Much like dairy milk, eggs, and meat-pistachios are also considered a complete protein. This means pistachios contain all 9 essential amino acids our bodies need!
Want to learn more about the health benefits of pistachios? Check out this great nutrition overview from American Pistachio Growers!
What ingredients do you need?
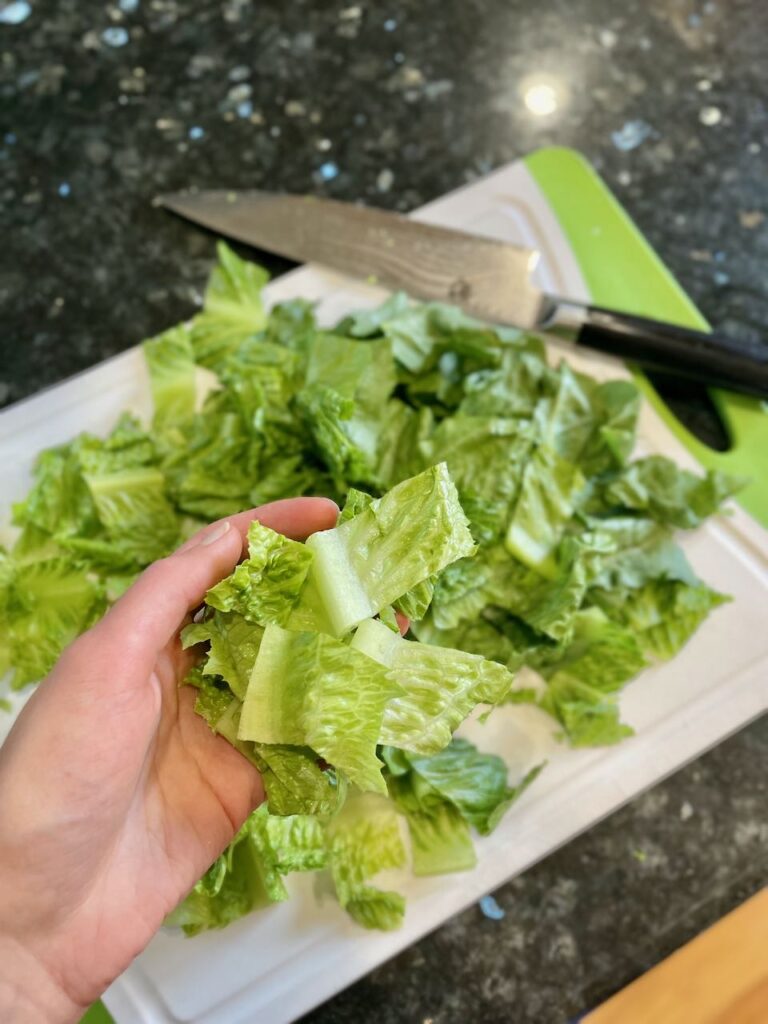
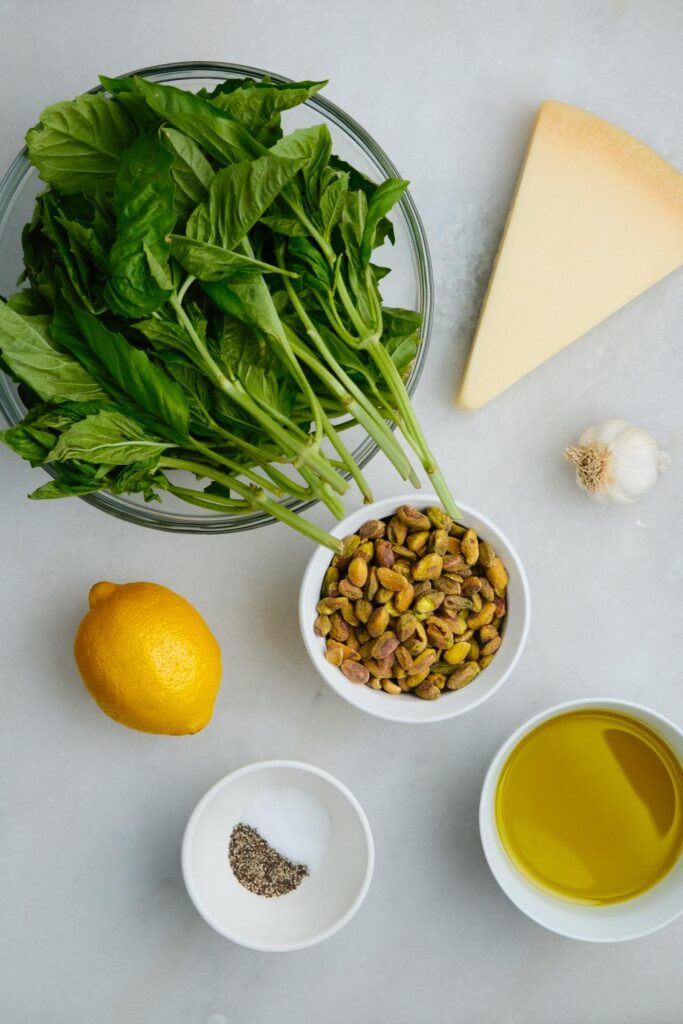
- Basil leaves: These greens offer a bright, herbal base for the pesto. Kitchen tip alert! Be sure to keep fresh basil at room temperature instead of the fridge. When basil gets too cold, it starts to go bad.
- Pistachios: We recommend using roasted and salted pistachios. You can also use lightly salted versions for lower sodium. It's easiest to buy them pre-shelled so you don't have to crack a bunch of them.
- Garlic cloves: For that punch of umami flavor every good pesto needs.
- Parmesan cheese: Provides a savory, cheesy depth to the pesto.
- Oil of your choice: Extra virgin olive oil or avocado oil works wonders for the richness and consistency of the pesto.
- Lemon juice: Adds a fresh, tangy kick that balances out the rich flavors.
How to make it
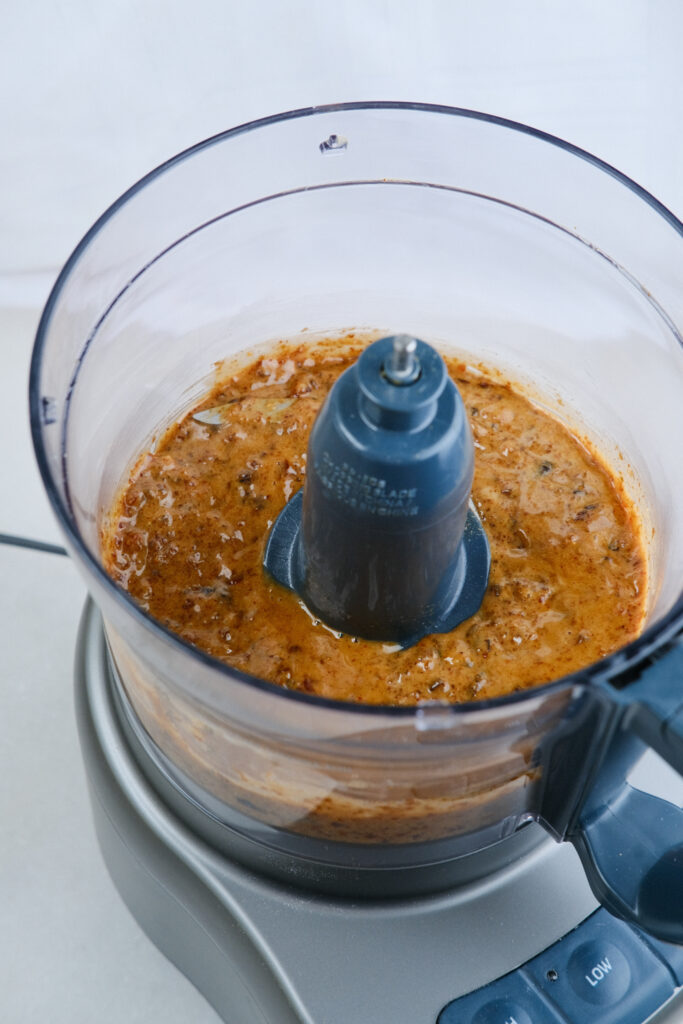
Blend ingredients
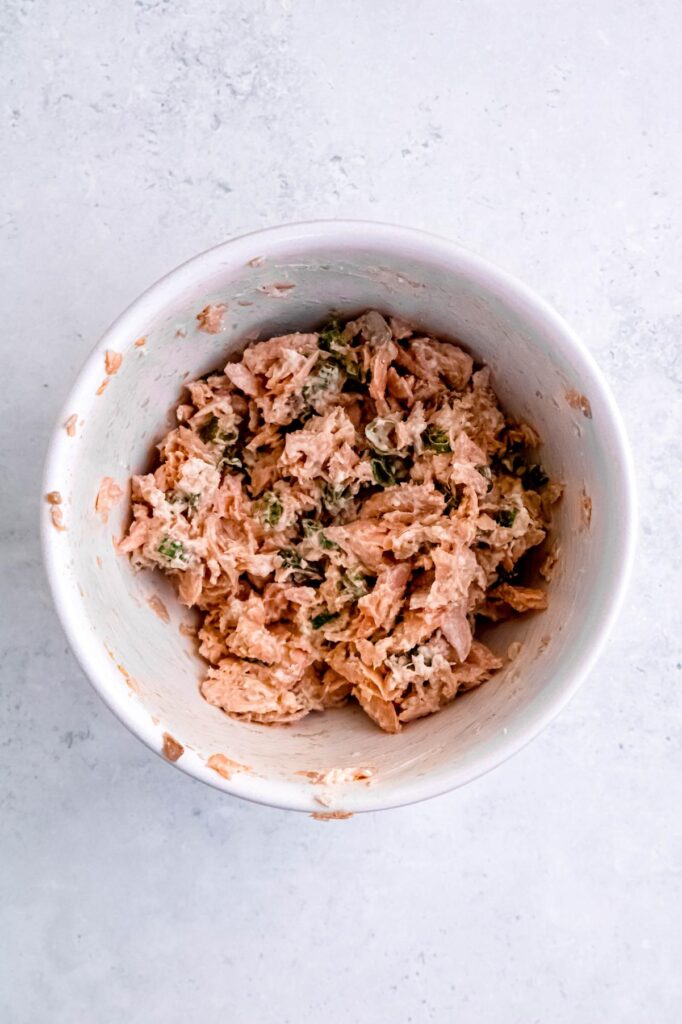
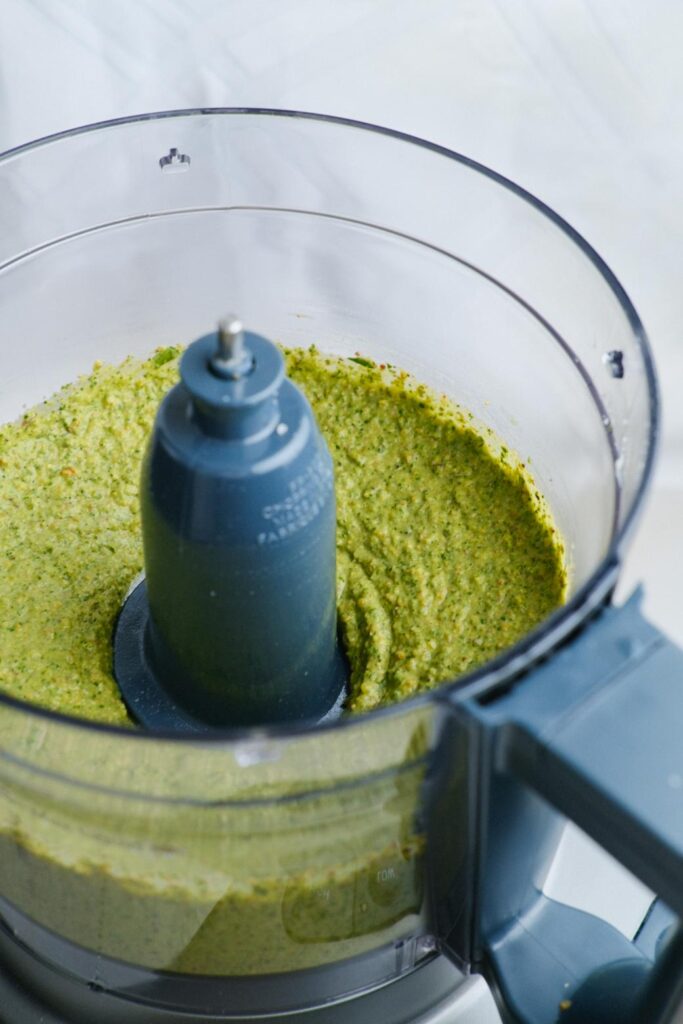
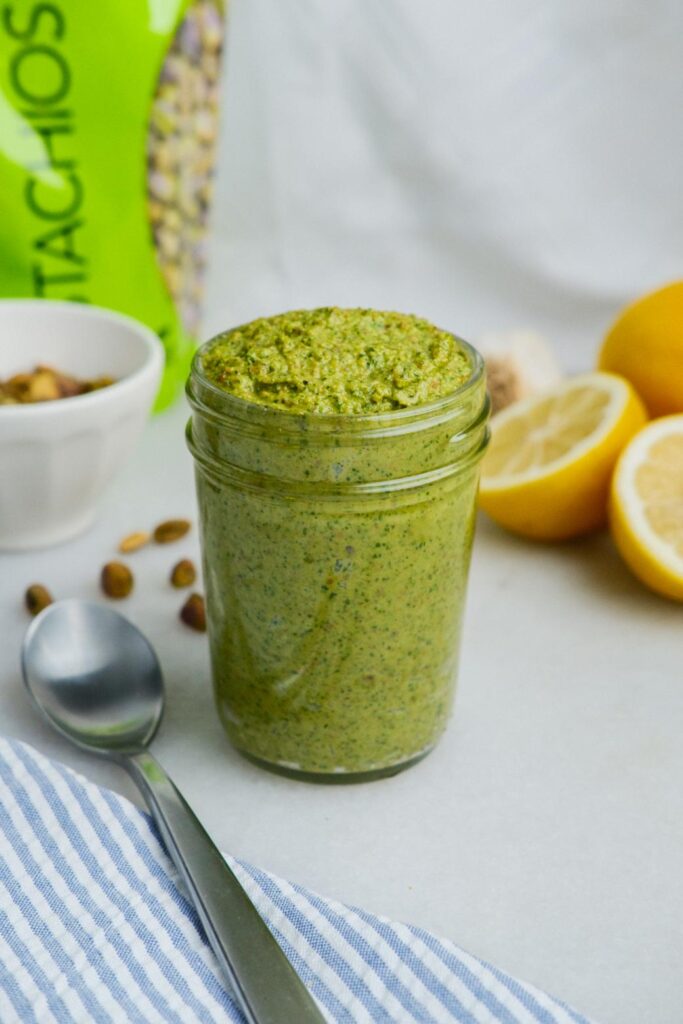
Combine basil, pistachios, garlic, Parmesan cheese, oil, lemon juice, and water in a food processor. Blend until smooth, about 1-2 minutes.
Adjust consistency
For a thicker dip, keep as is. To thin it out for pasta sauce, add more oil and blend again.
Serve and enjoy
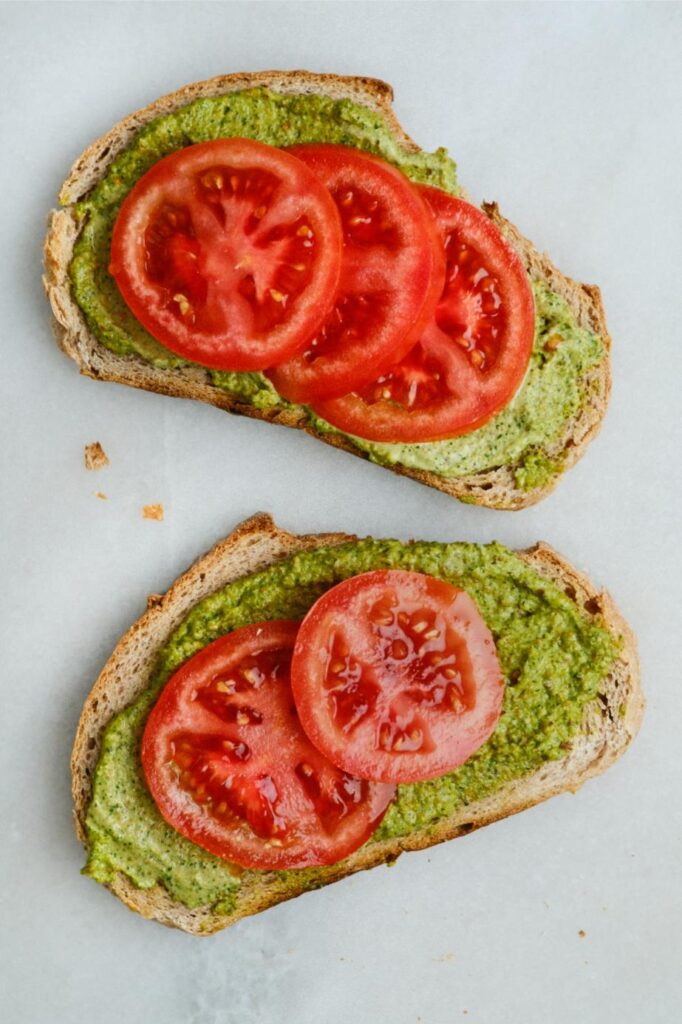
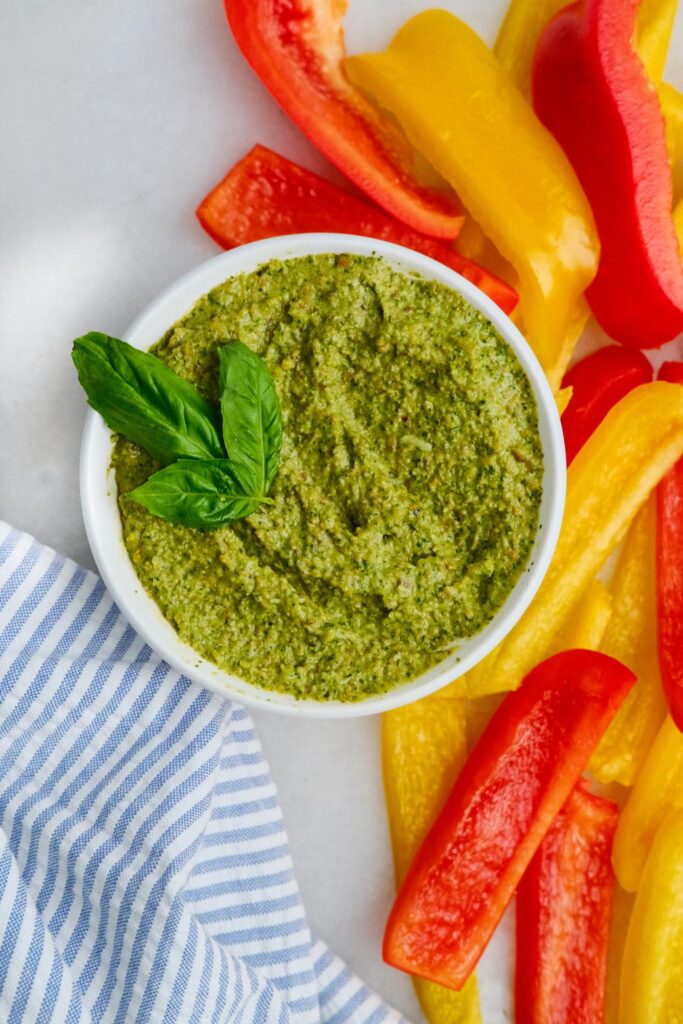
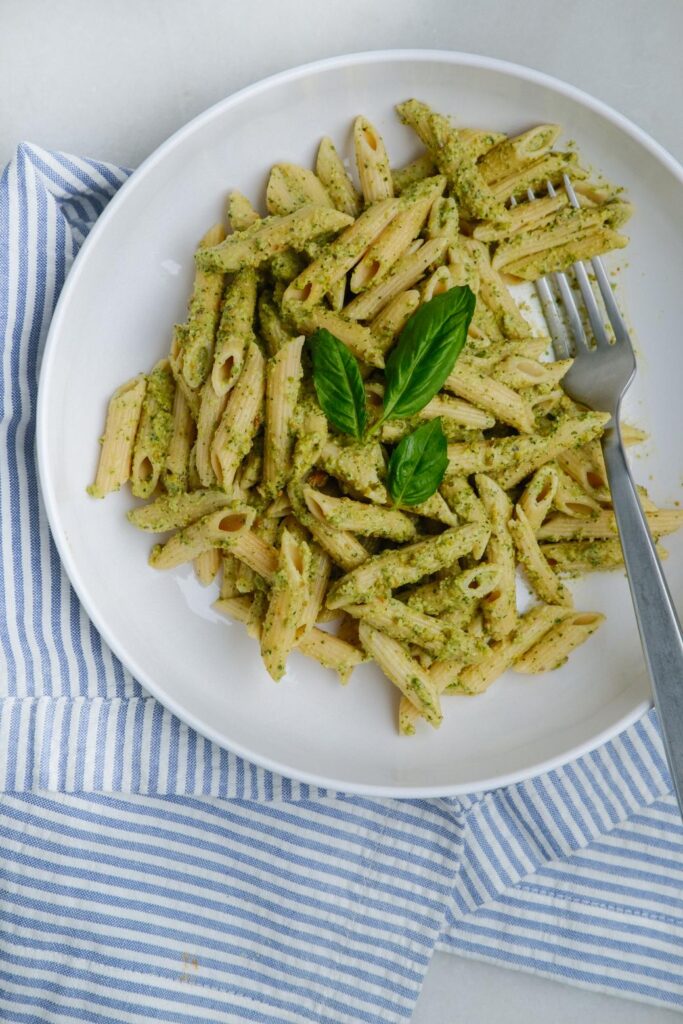
Pair with your favorite base-pasta, toast, or as a dip.
Recipe tips and tricks
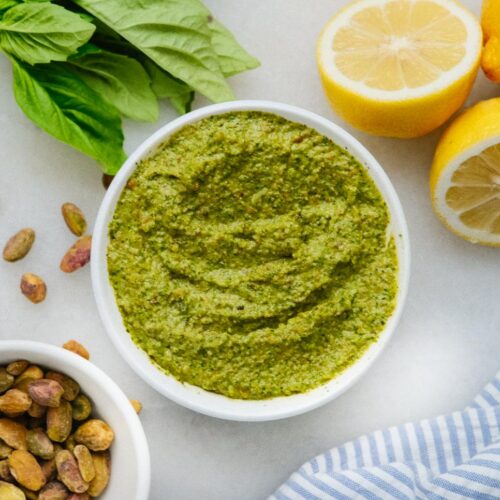
- Serving Tips: If you're serving this pesto as a dip, display it in a beautiful bowl with fresh basil leaves and pistachios on top for presentation.
- Troubleshooting Tips: If your pesto is still too thick after adding oil, you can gradually add a bit more water and blend until you reach the desired consistency.
- Scaling Tips: Feel free to double or triple the recipe depending on how much you need.
Customize it your way
Like all of my other recipes, this Pistachio Pesto is completely customizable. You get to choose whichever oil and base you prefer.
- Oil of your choice: Whether you're a fan of the rich taste of extra virgin olive oil or the lightness of avocado oil, this recipe adapts to your taste and preferences.
Base of your choice
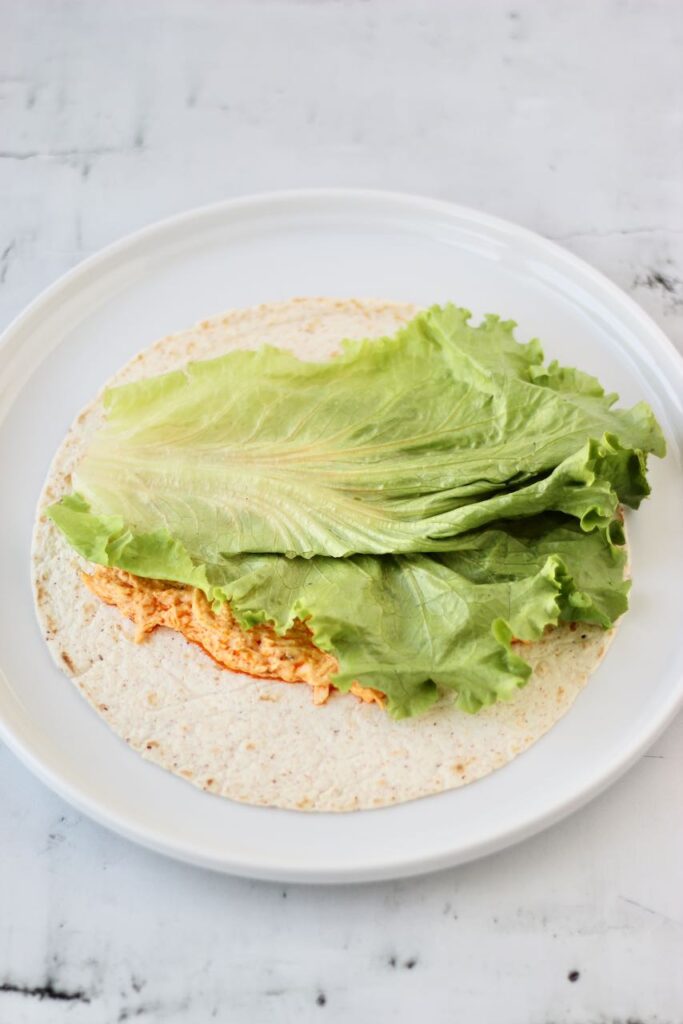
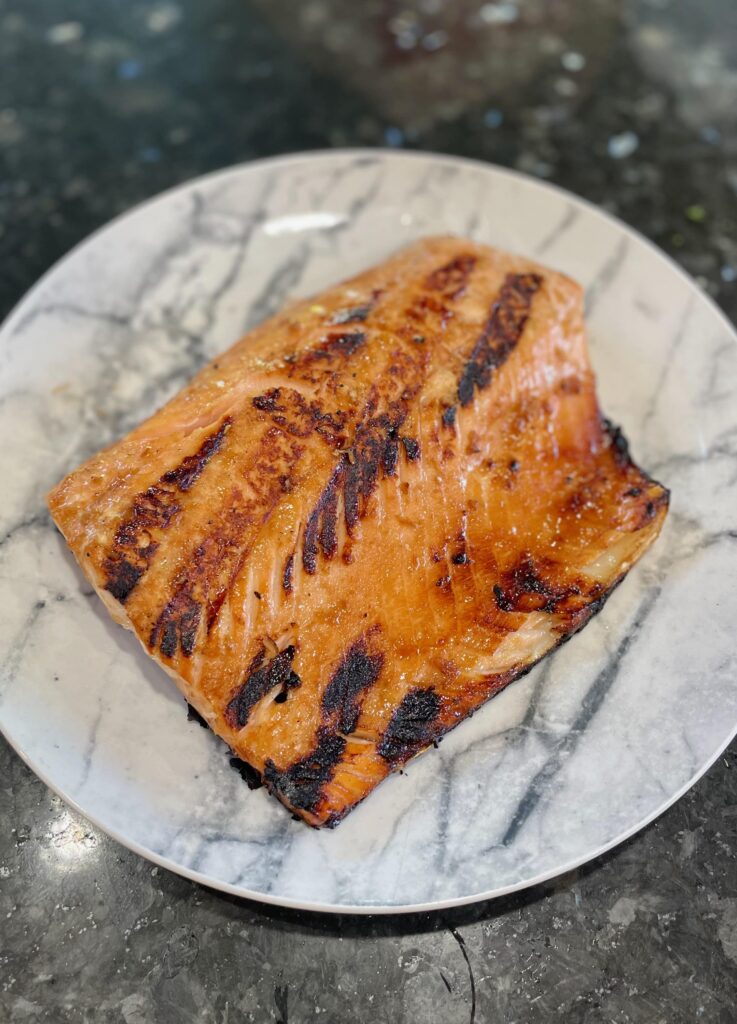
You can also choose your favorite base to serve the pesto over. Pesto is best when paired with a delicious protein, carb, or veggie. like pesto toast, pesto pasta, salmon, steak, or even over a chicken salad.
Can I make it ahead of time?
Absolutely! This pesto is a great make-ahead option for meal prep. Just note: It thickens overnight, so you may need to stir in a bit more oil or water to thin it out.
How do I store leftovers?
Have extra pistachio pesto? Store leftovers in an airtight container for up to 7 days in the fridge or up to 3 months in the freezer. We often add it into ice cubes trays or mini mason jars to freeze individual portions.
Need more help with recipes for your busy schedule?
In my coaching + cooking program, I help busy people with beginner cooking knowledge become confident in the kitchen so that they can enjoy nourishing foods they love and stress less about mealtime. Click here to learn more about this virtual program led by a dietitian.
Pistachio Pesto
Equipment
Ingredients
- 2 cups fresh basil leaves
- 1 cup shelled pistachios, roasted and salted OR lightly salted
- 2 garlic cloves, minced (about 2 teaspoons)
- ½ cup shredded Parmesan cheese
- ½ cup oil of your choice (extra virgin olive oil or avocado oil)
- 2 tablespoons lemon juice about juice of 1 lemon
- 2 tablespoons water
- Salt and pepper to taste
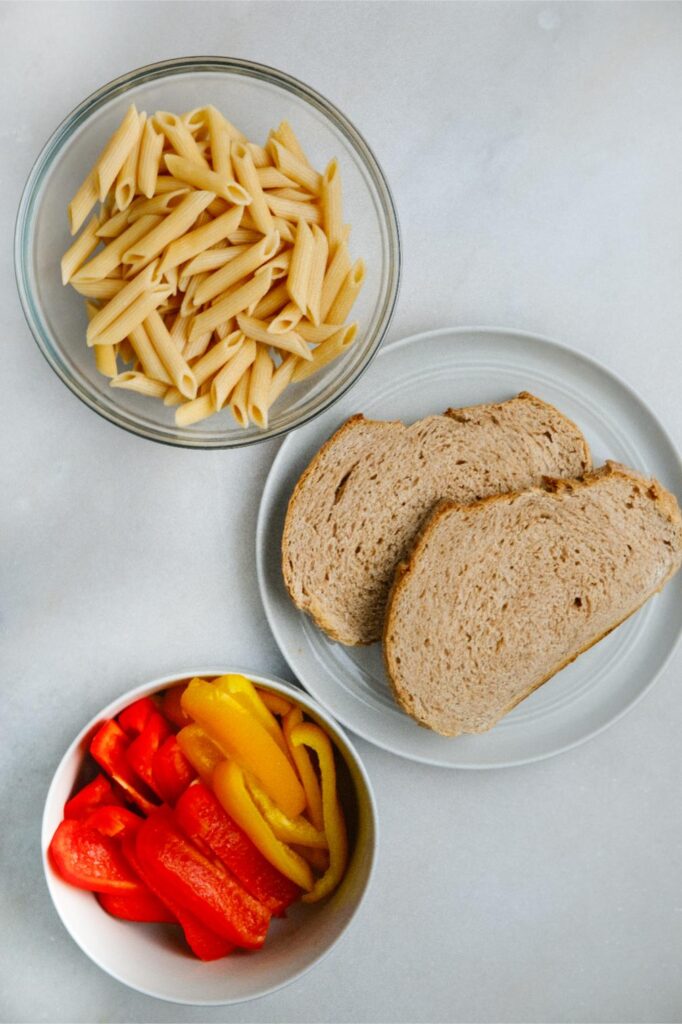
Base of your choice:
- Cooked pasta
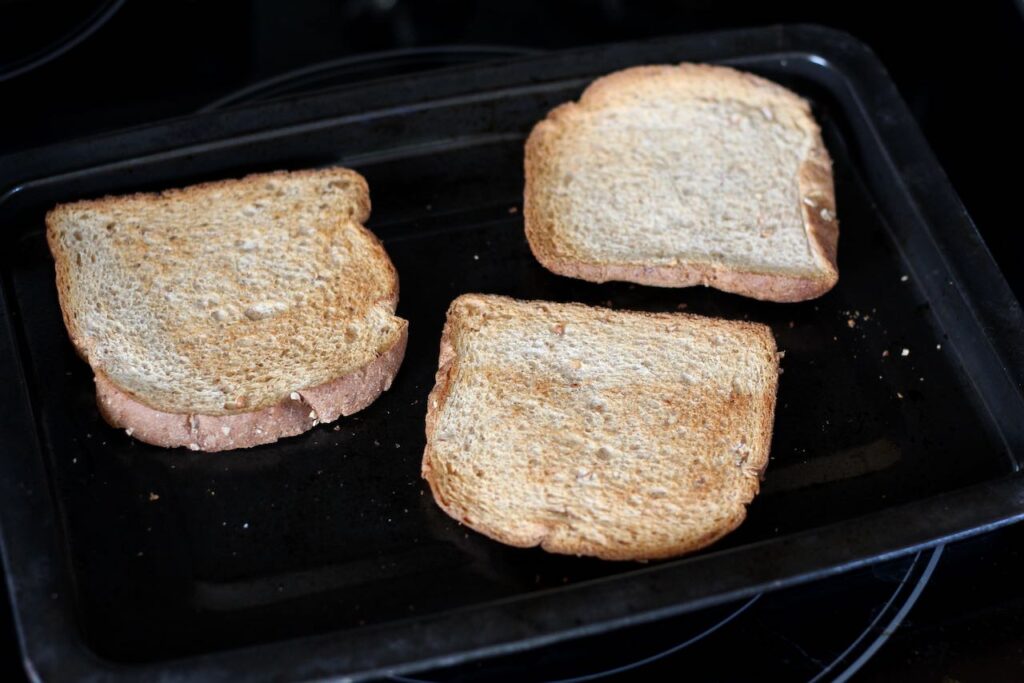
- Multigrain bread, sliced and toasted
- Veggies and pita chips, served as a dip
Instructions
- In a food processor, blend all ingredients until smooth. This should take about 1-2 minutes.
- Adjust Consistency: At this point, you may notice you have a thicker pesto consistency. This is great to have as a dip. However, if you prefer a thinner pesto, add 2 to 3 more tablespoons of olive oil and blend again.
- Serve the pesto with the base of your choice such as in pasta, over toast, or with veggies as a dip.
- Store leftover pesto in a jar in the fridge for up to 7 days or the freezer for up to 3 months.
Nutrition
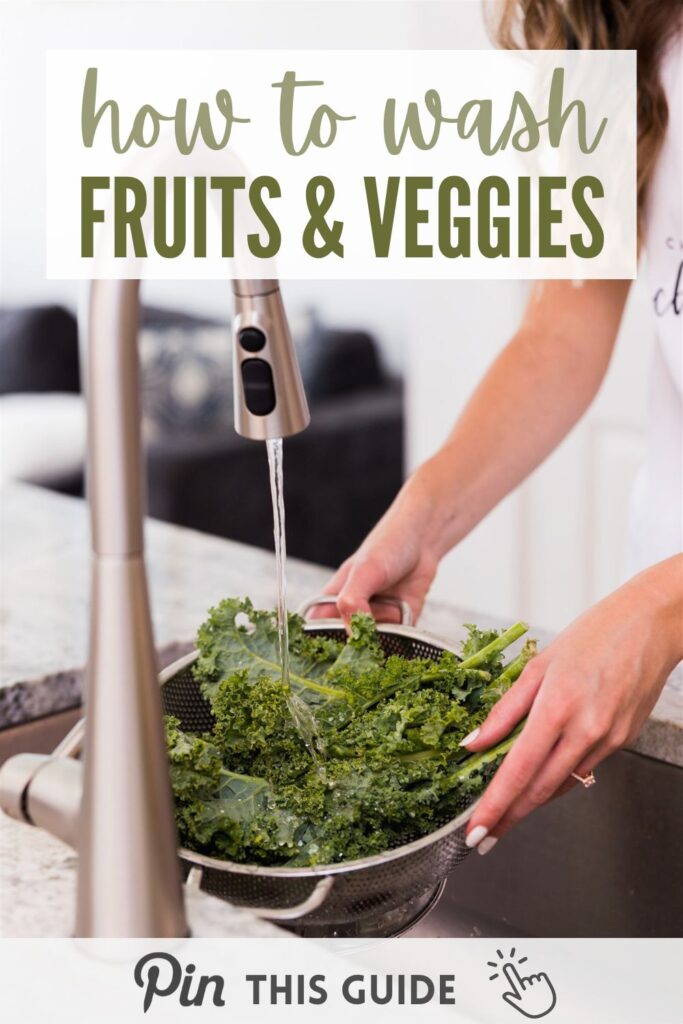
save this pistachio pesto recipe on pinterest: