Have extra apples and bananas lying around? Make the easiest apple banana smoothie recipe-perfect to welcome the fall season or enjoy year round! Plus, you get to choose any apples and spices of your choice.
(Disclosure note: This post may contain affiliate links, meaning I earn a small commission if you make a purchase through one of my links-at no extra cost to you. As always, all opinions are my own. See my disclosure policy for more details.)
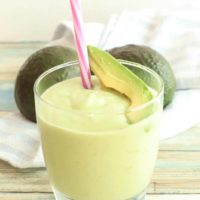
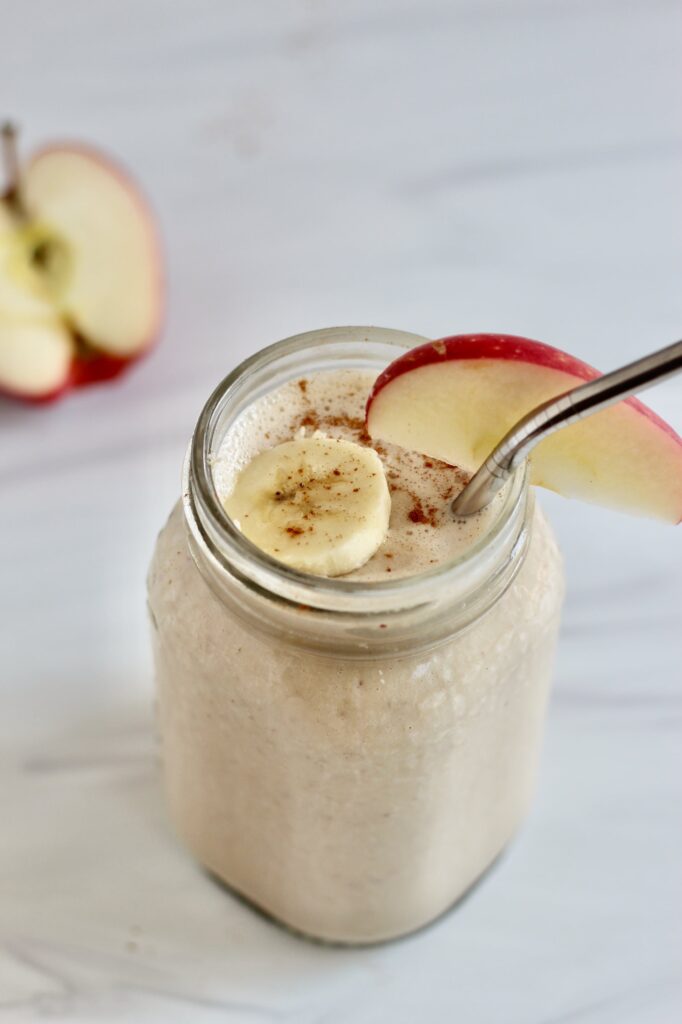
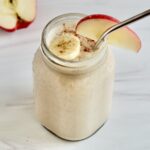
This apple smoothie is perfect to celebrate the fall season
Apples are delicious to enjoy in the autumn months as they're in season from July to November. Some varieties are even in season all year long. And if you're like me, I always seem to have extra apples on hand.
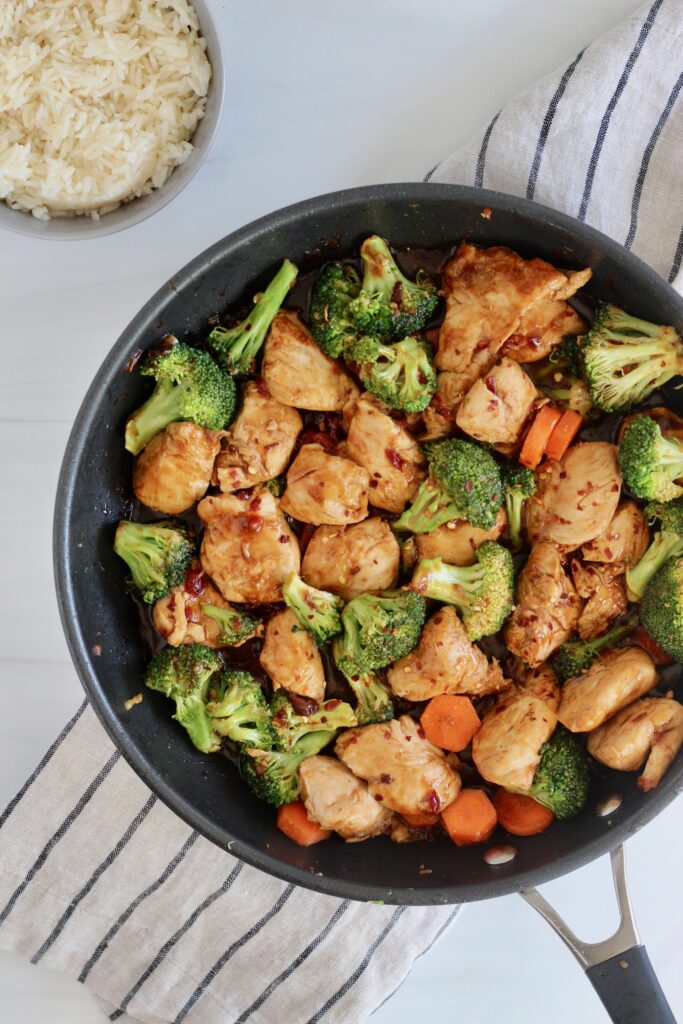
Now you can't go wrong with enjoying an apple as a snack, but it's fun to get creative and use apples in recipes. Try adding them to spiced apple cake, savory skillets, or this smoothie!

Are apples healthy?
We've all heard, "An apple a day keeps the doctor away," but you might be wondering how true that is.
While eating an apple everyday won't guarantee perfect health, it does provide a healthy dose of immune-supporting nutrients like vitamin C and soluble fiber.
Apples can last up to 6-8 weeks in the fridge. This makes them a great fruit to always have on hand without worry of them going bad!
How do you make this apple banana smoothie?
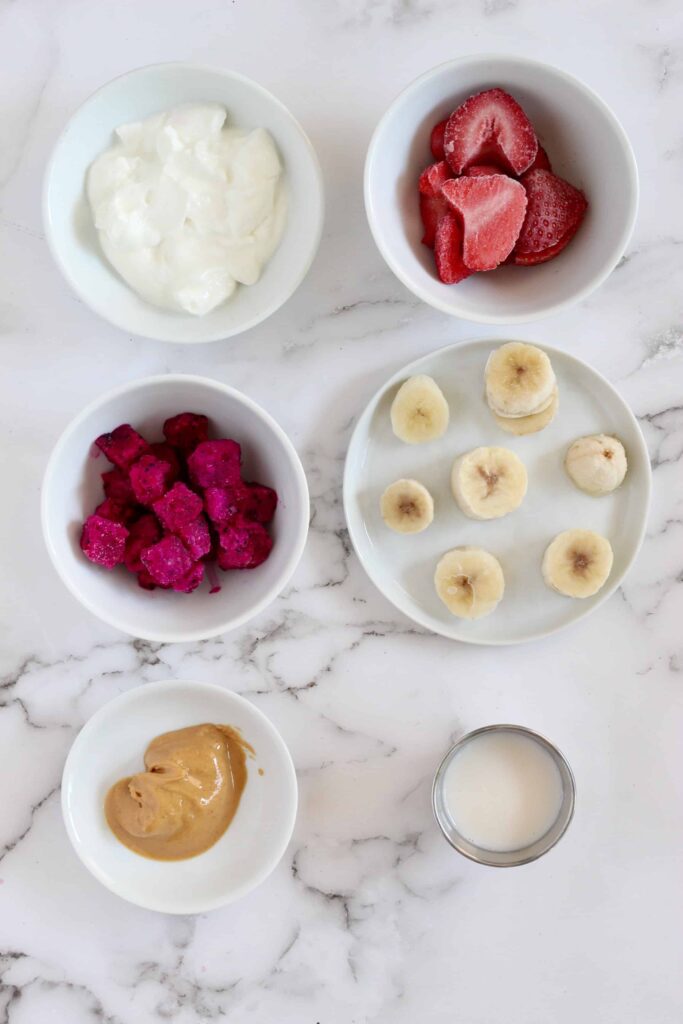
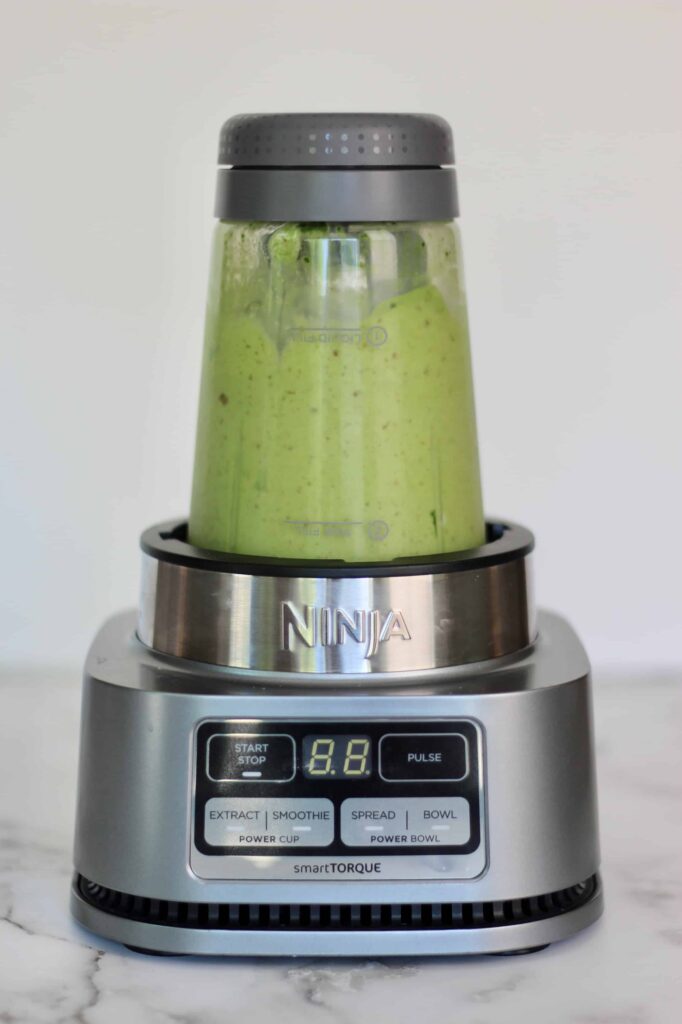
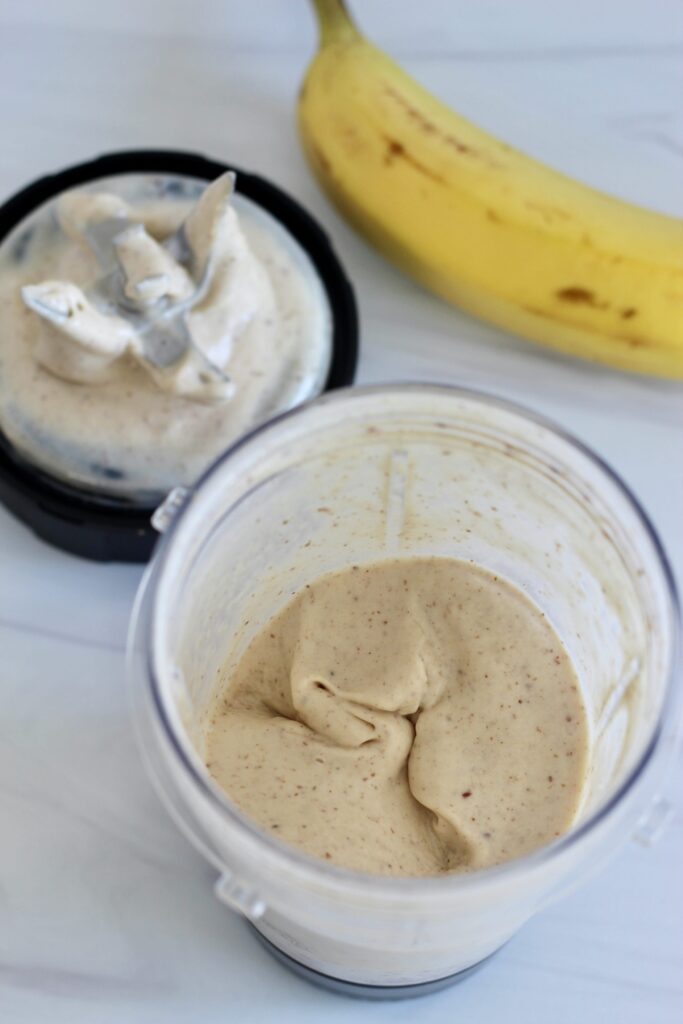
This recipe is seriously so easy to make. Simply gather your ingredients, blend, and enjoy.
- Start by freezing your banana the night before. This is the only cold ingredient in the smoothie, so it's important to make sure it's fully frozen. If you forget to freeze it, throw some ice cubes into the smoothie.
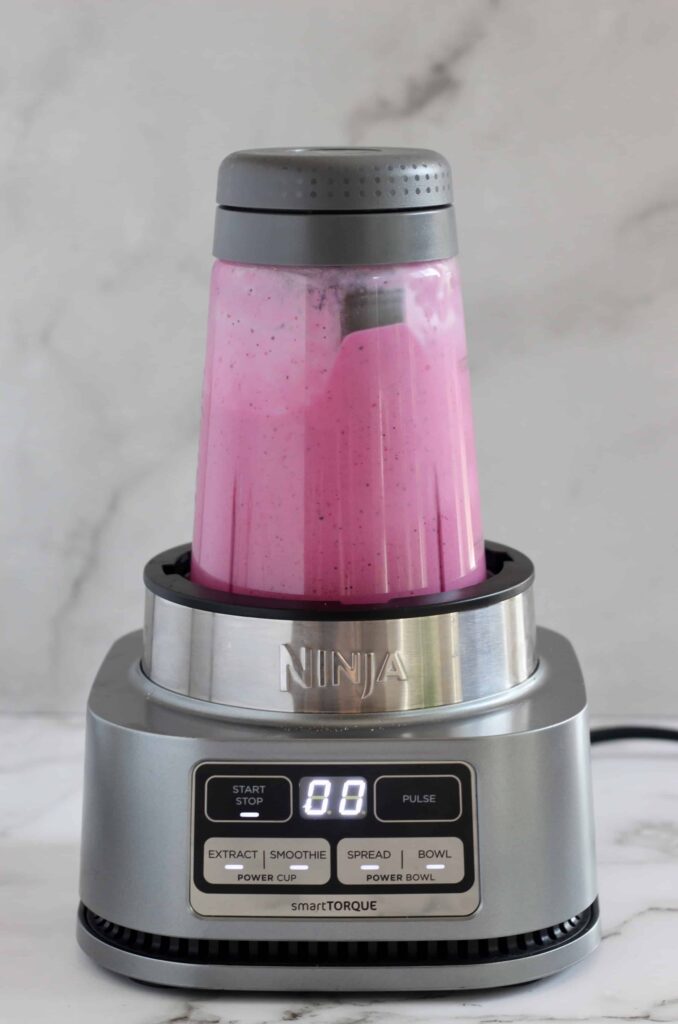
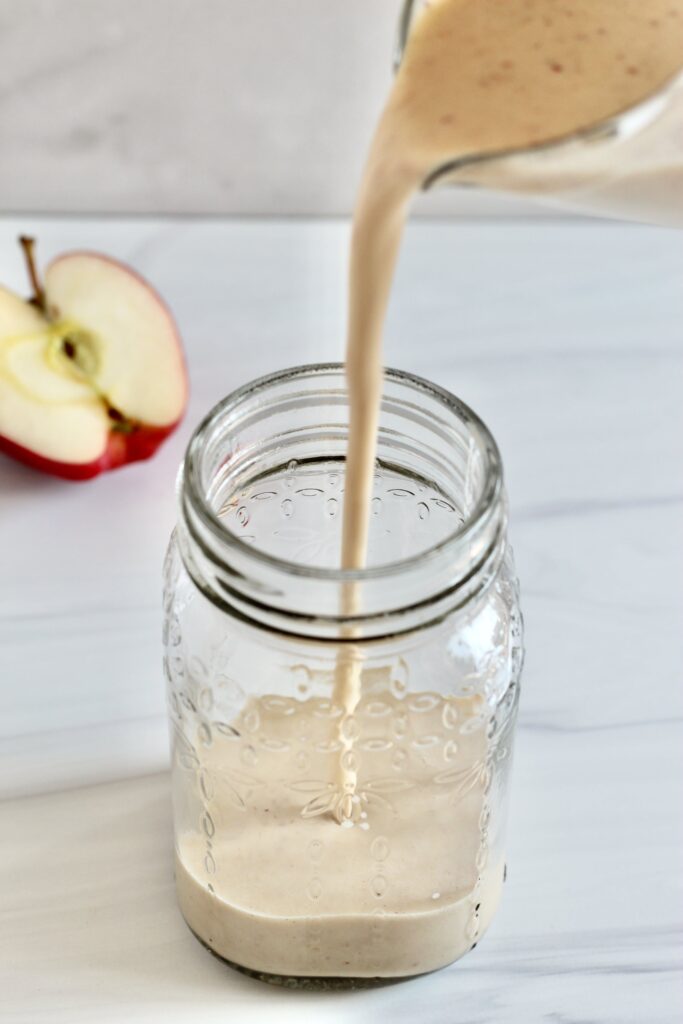
- Then, add all ingredients to a blender. Blend on high speed for a minute or two until everything is smooth.
- Transfer to a glass and enjoy. This recipe makes enough for 1 serving. Multiply the recipe if you're making it for more people.
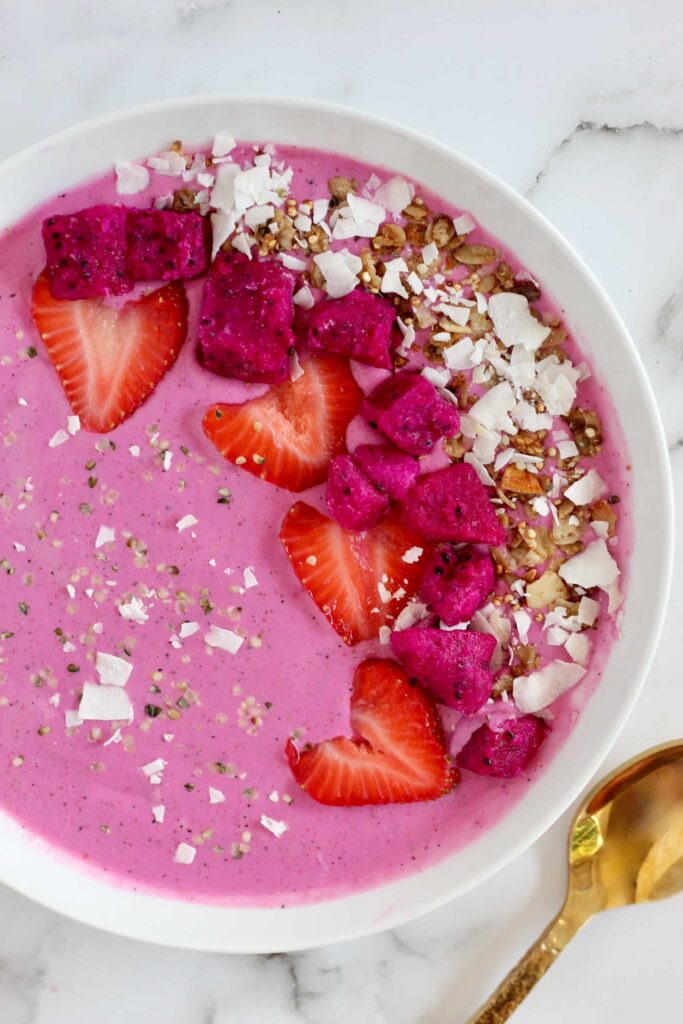
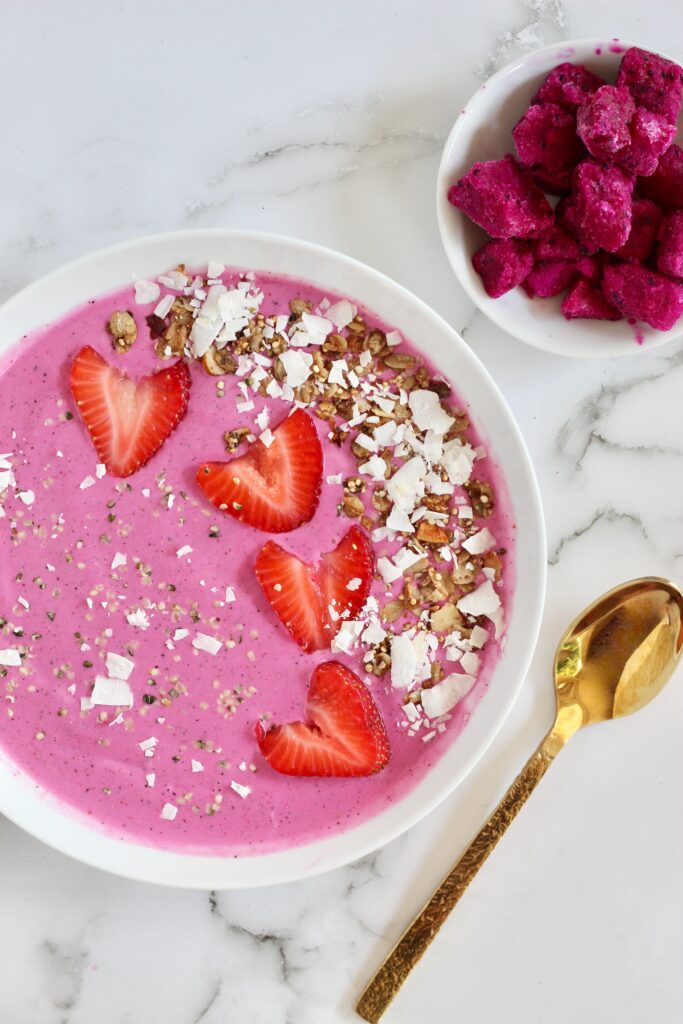
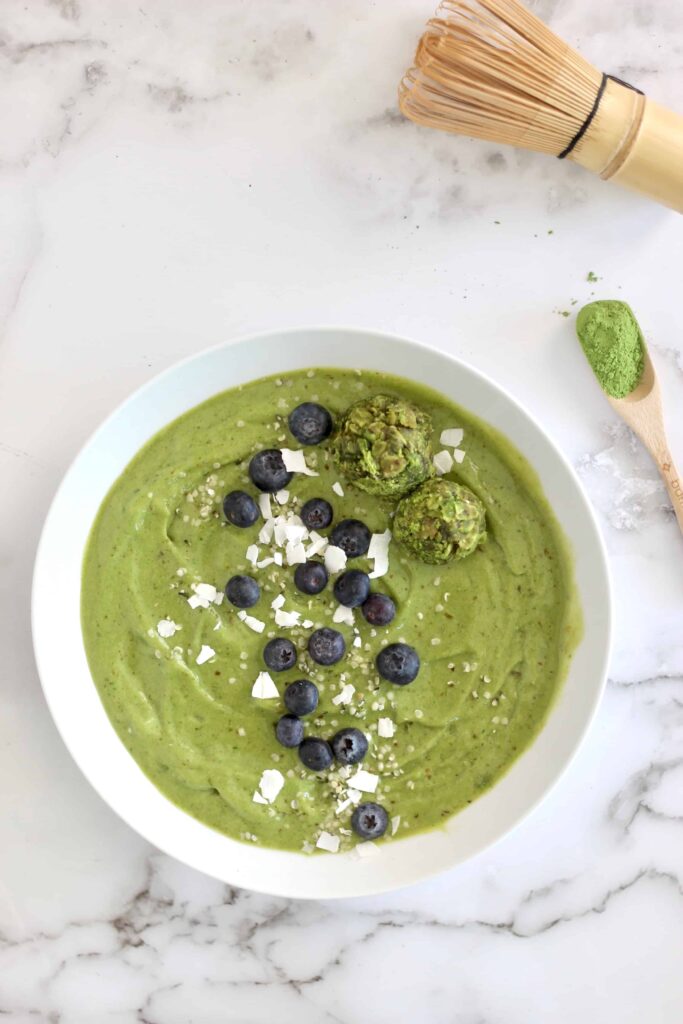
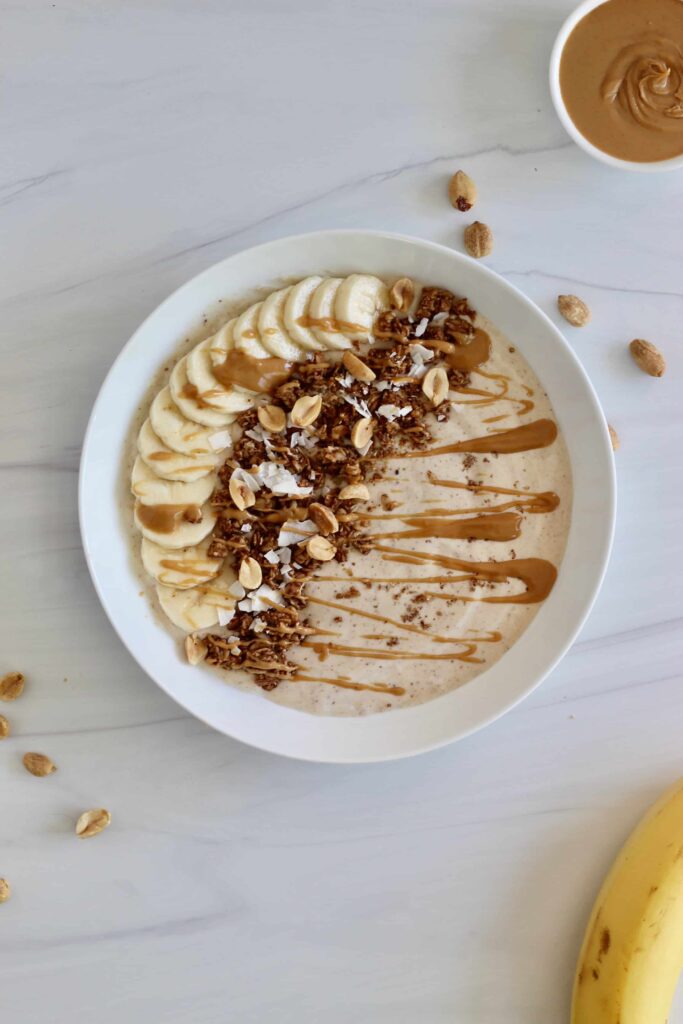
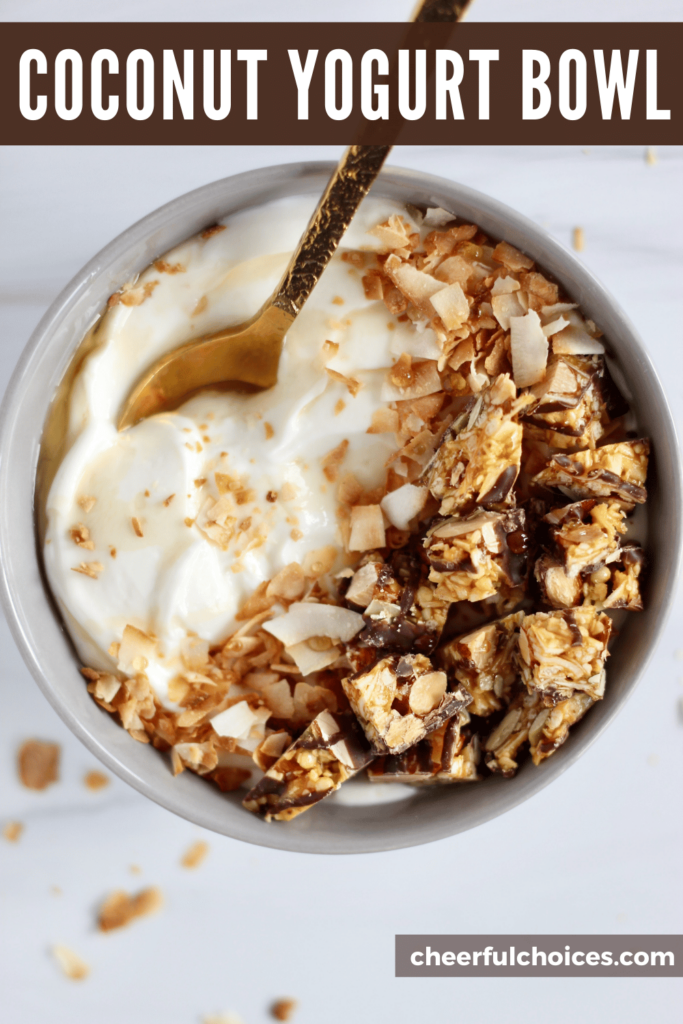
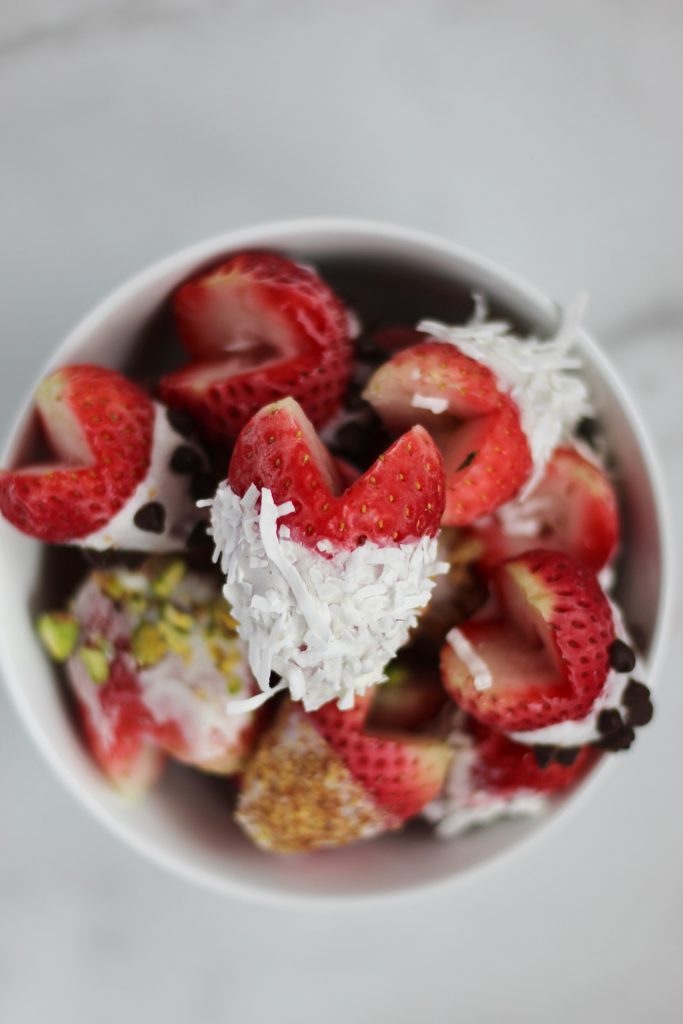
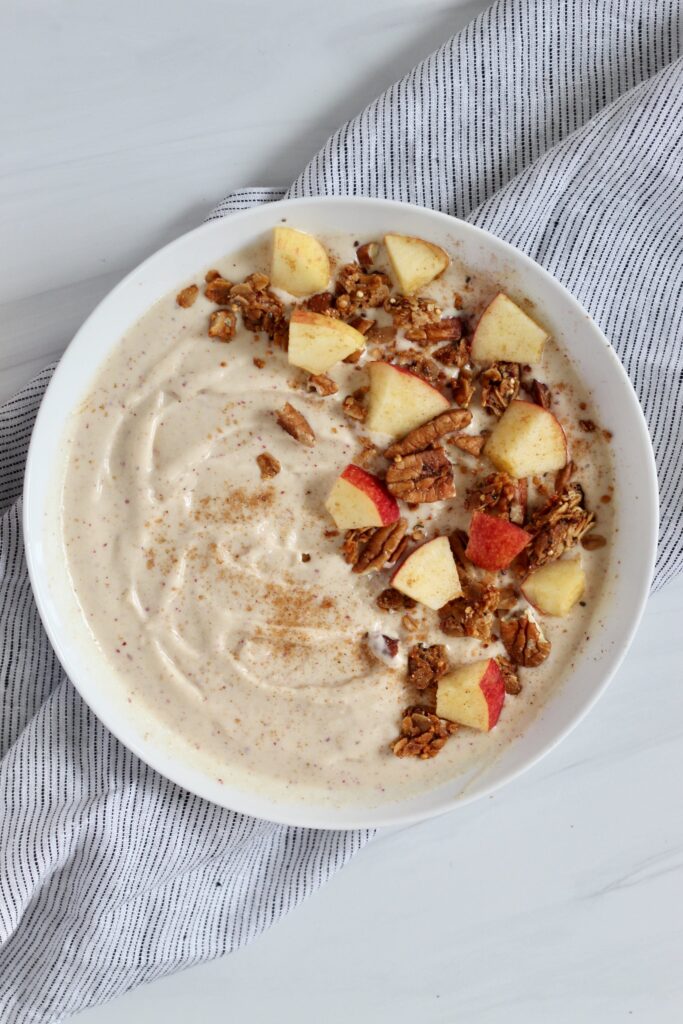
Can you turn this into an apple smoothie bowl?
Smoothie bowls are a thicker smoothie that's transferred to a bowl and topped with ingredients.
It's super easy to turn this smoothie into an apple smoothie bowl! Follow the same recipe, but freeze your apples along with your banana the night before. You'll also use half the milk so instead of adding ½ cup of milk, use ¼ cup of milk for the smoothie bowl version.
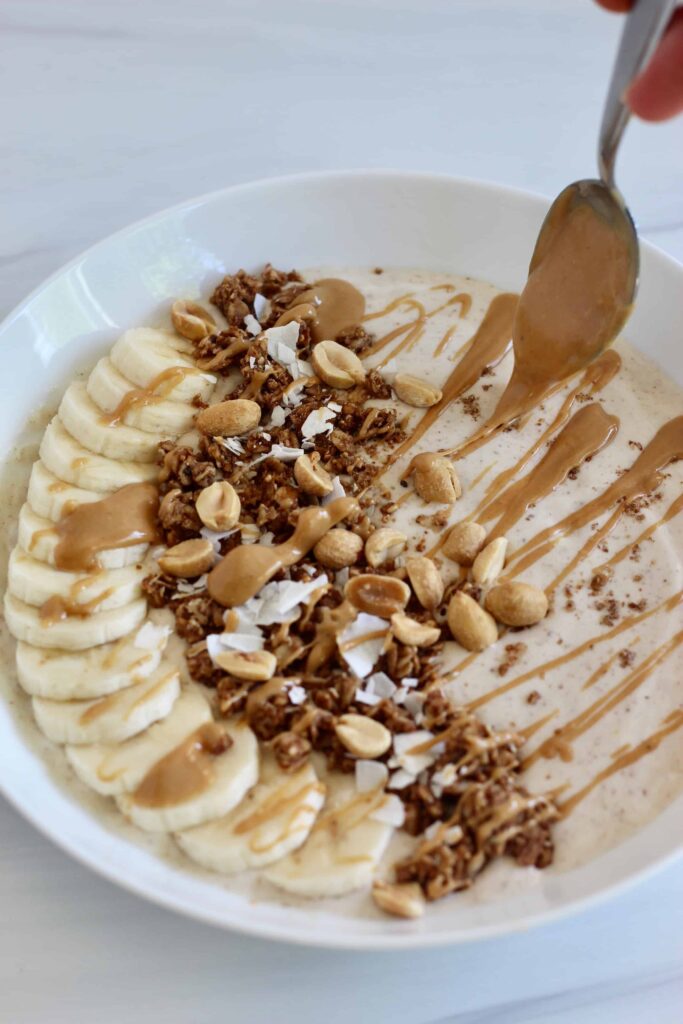
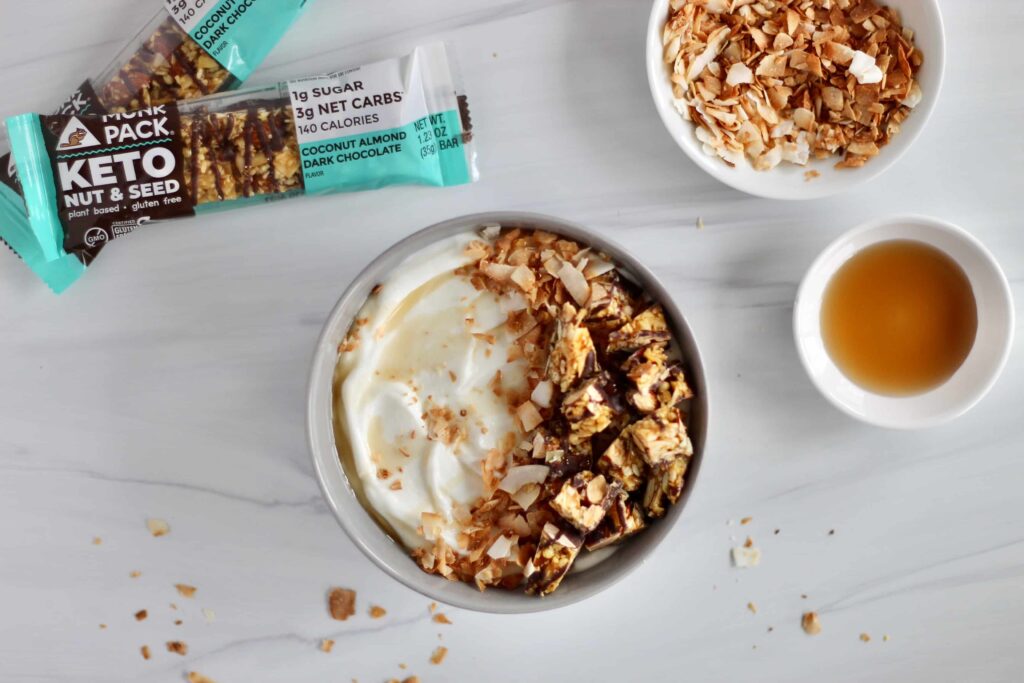
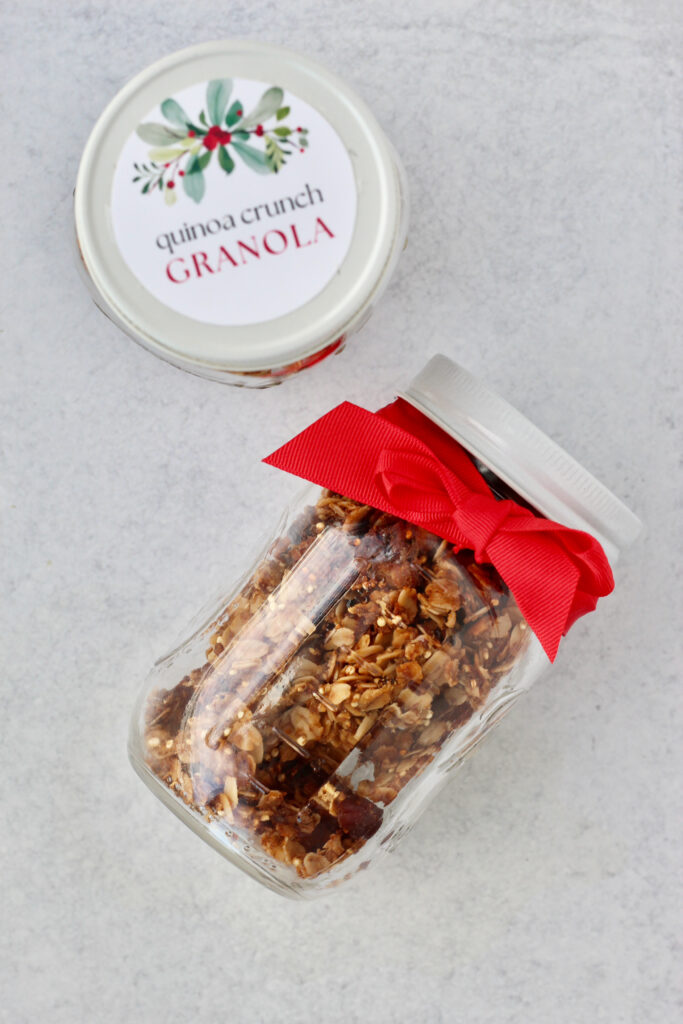
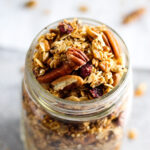
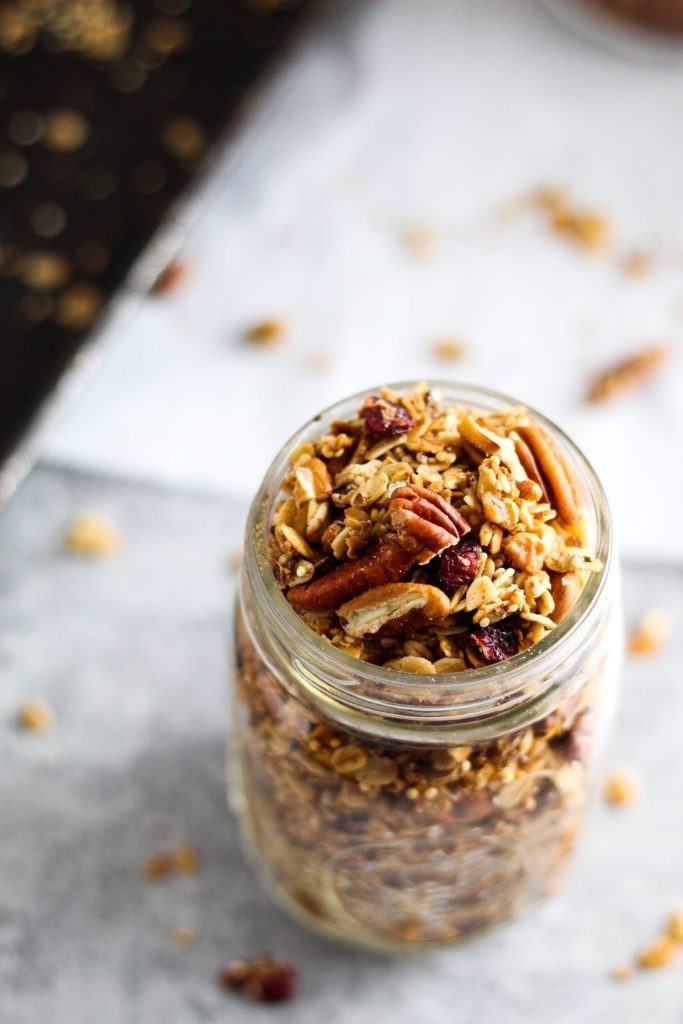
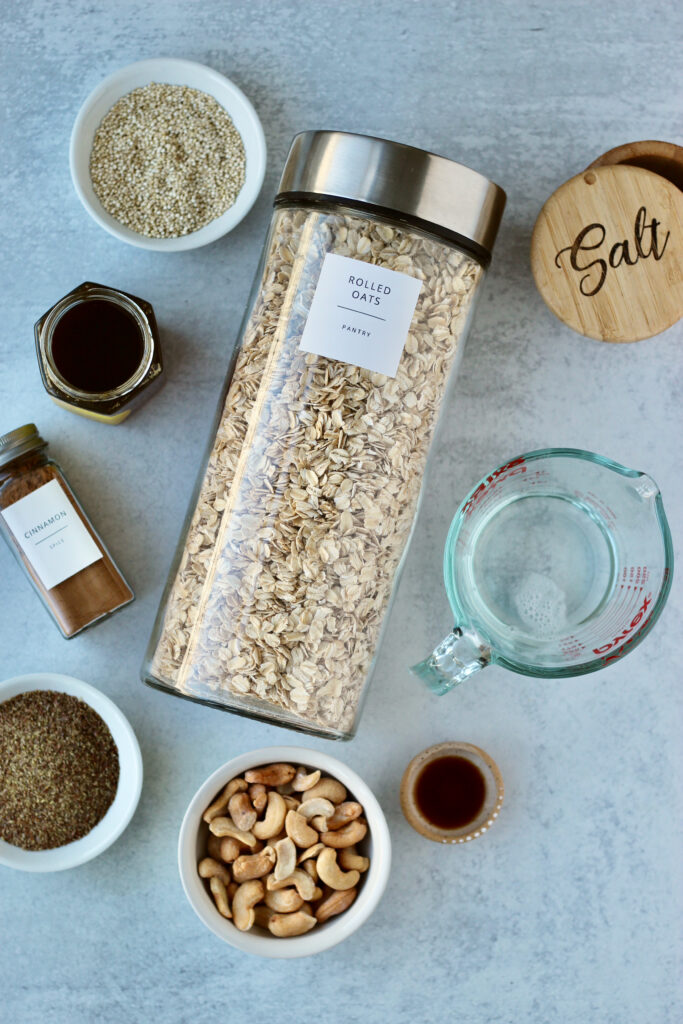
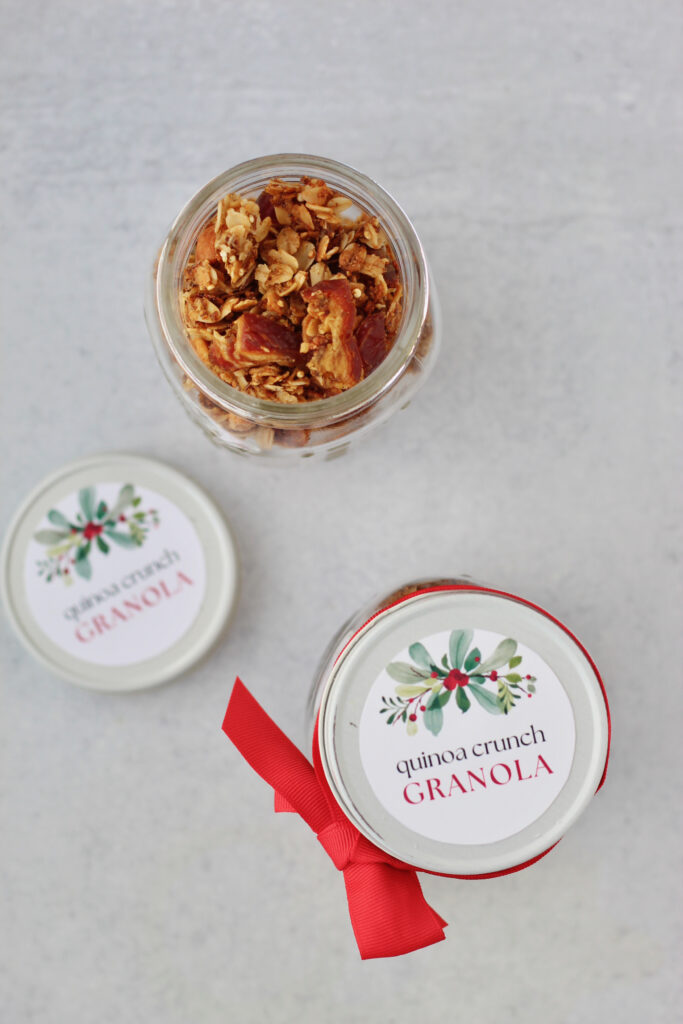
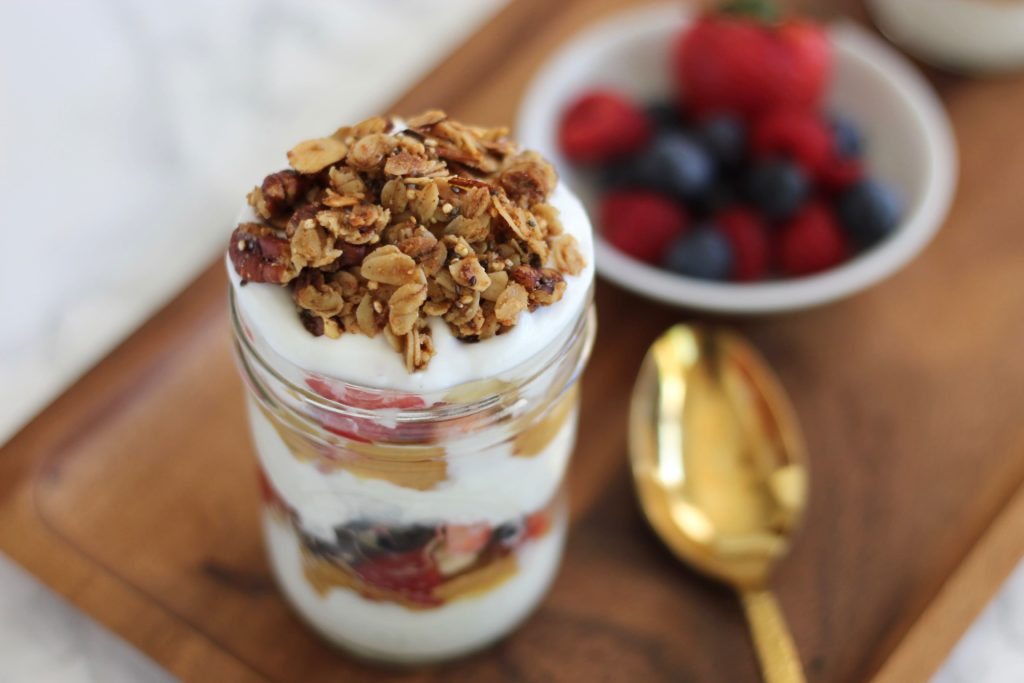
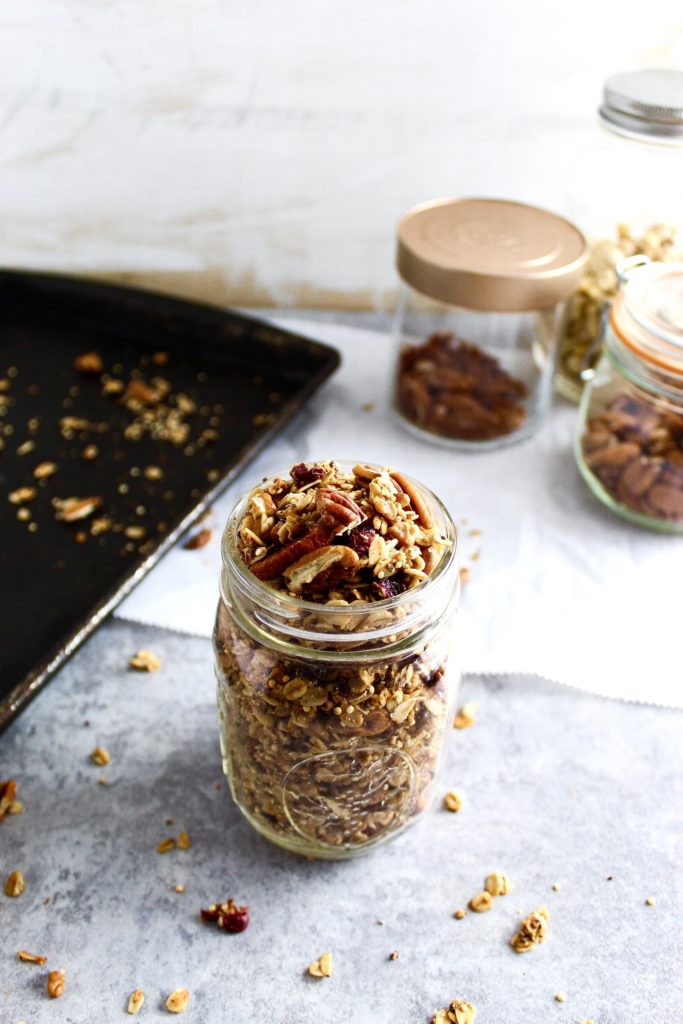
The best part about a smoothie bowl is adding over toppings. For this bowl, try topping with sliced apples, pecans, and quinoa crunch granola. Try these 20+ other healthy smoothie bowl recipes too.
Customize this recipe your way
Like all of my other recipes, this smoothie is completely customizable. You get to choose what apples and spices you want to use.
For the apples, I recommend using any variety of red apples since they are sweeter. You can find fresh apples in the produce section of the grocery store or at your local farmers market.
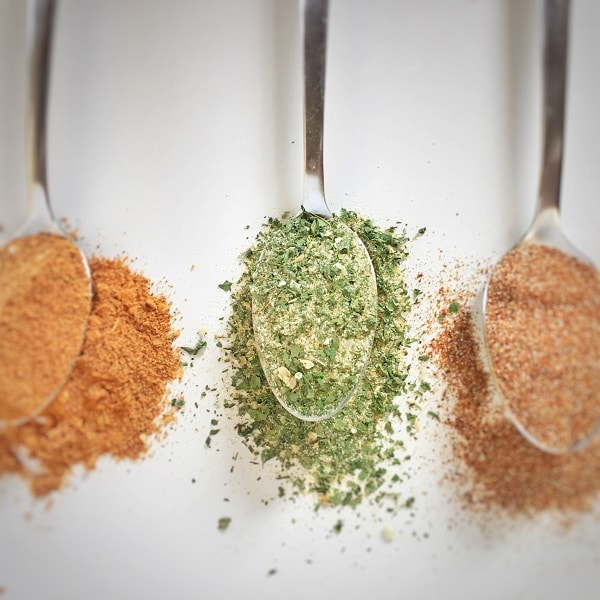
For the spices, there are a number of lovely fall-inspired ones. Feel free to mix it up with whatever you like best. Cinnamon is a classic option, however there are also spice blends you can use such as chai spice, pumpkin pie spice, or apple pie spice. You can find these spice blends online, in the spices aisle at the grocery store, your local spice shop, or make them yourself.
Can you make this smoothie ahead of time?
I recommended waiting to blend this smoothie until the day of. However, to save on time you can add all ingredients (except for the frozen banana) to your blender and keep in the fridge until ready to blend. Then, simply add over your frozen banana, blend, and you'll have this smoothie ready in seconds!
Need more hands-on help with recipes?
In my coaching + cooking program, I help busy people with beginner cooking knowledge become confident in the kitchen. Click here to learn more about this virtual program with a dietitian.
Apple Banana Smoothie
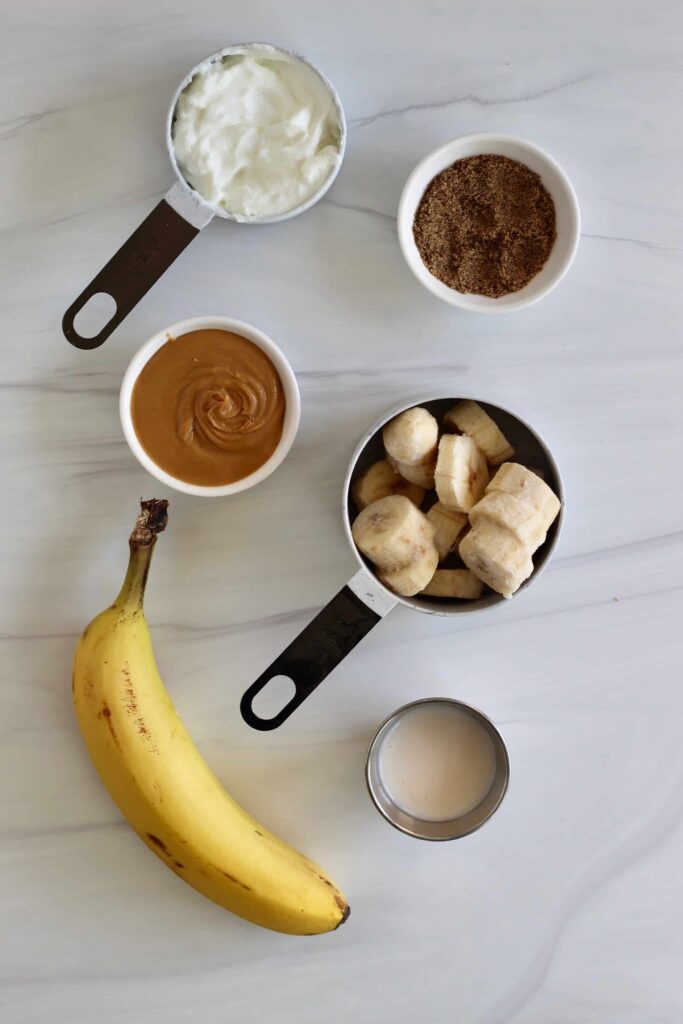
Ingredients
- ½ medium red apple of your choice, peeled and sliced (Gala, Honeycrisp, Fuji, Envy, Jazz, Red Delicious, etc)
- 1 small ripe banana, sliced and frozen overnight (about 1 cup)
- ¼ cup plain non-fat Greek yogurt
- 1 tablespoon peanut butter or almond butter
- ½ cup unsweetened vanilla almond milk
- ½ teaspoon fall spices of your choice (cinnamon, chai spice, pumpkin pie spice, or apple pie spice)
- ½ teaspoon vanilla extract
Instructions
- Add all ingredients to a blender and blend on high until combined.
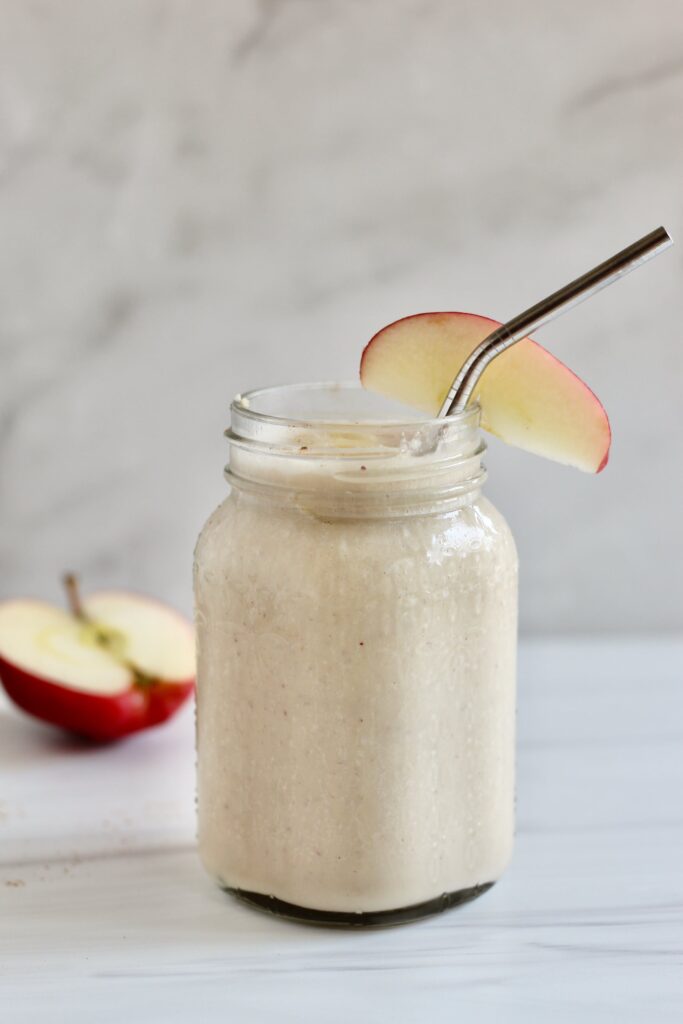
- Pour into a glass (or bowl if making smoothie bowl version) and enjoy cold.
Video
Notes
Nutrition
save this apple banana smoothie recipe on pinterest: