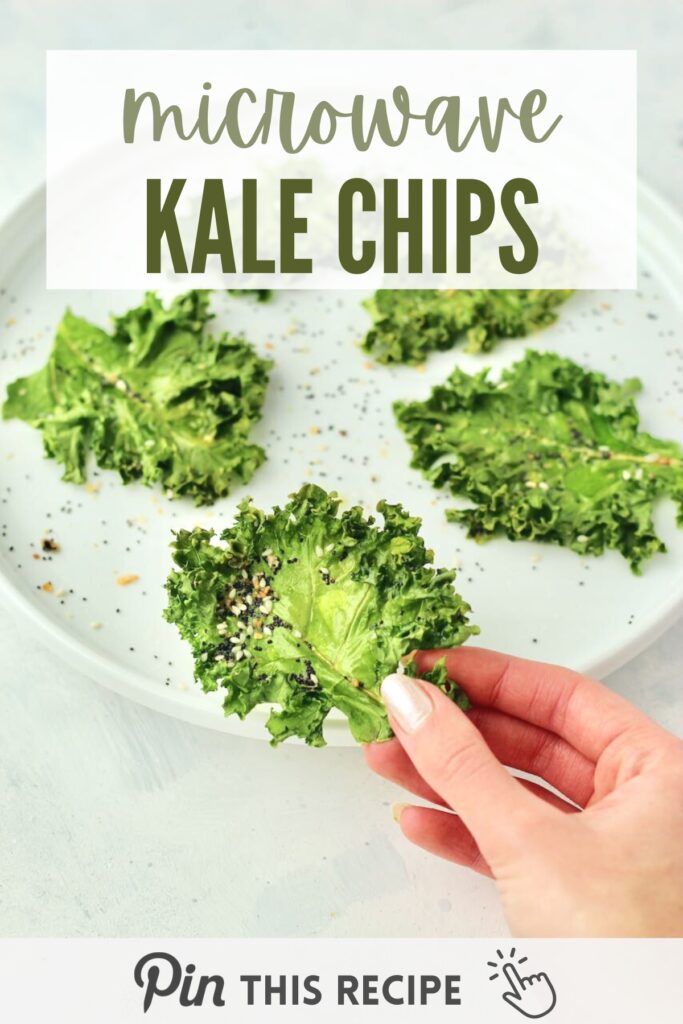
These 3-minute microwave kale chips are a game-changer for anyone looking for a quick, healthy snack. It's also a fantastic way to use up any extra kale that might otherwise go to waste. Plus, you get to customize with your favorite seasonings and oils. Get ready to make a crispy, healthy snack!
(Disclosure note: This post may contain affiliate links, meaning I earn a small commission if you make a purchase through one of my links-at no extra cost to you. As always, all opinions are my own. See my disclosure policy for more details.)
Table of Contents
This post was first published on April 3, 2019. It was updated on January 18, 2024 with more helpful cooking notes and photos.
Why you'll love these microwave kale chips
- Quick and Easy: Ready in just 3 minutes, these kale chips are perfect for a fast, healthy snack.
- Customizable: Flavor these chips with seasonings of your choice. From olive oil and sea salt to unique seasonings, the possibilities are endless.
- Healthy Snack Option: Kale is packed with nutrients, making these chips a guilt-free snack.
Are kale chips healthy?
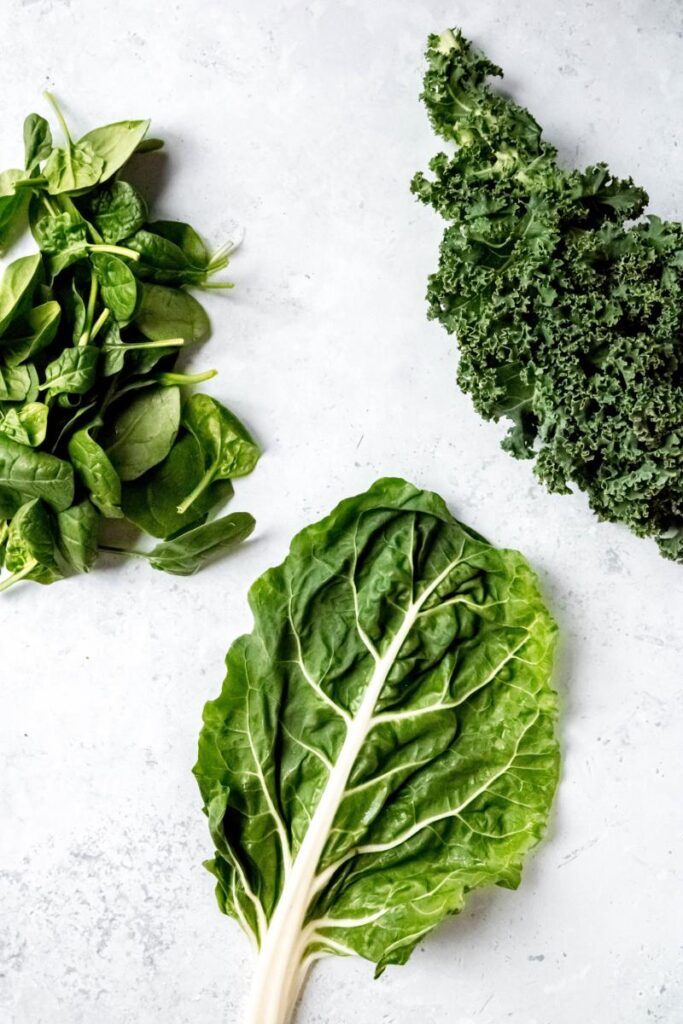
Absolutely! Kale is a superfood, rich in vitamins A, K, and C, alongside other nutrients and antioxidants. Kale can often go to waste in the back of the fridge, especially if you're not feeling inspired with recipes. When you opt for this quick microwave method, you get a crispy kale chip you'll be craving on repeat.
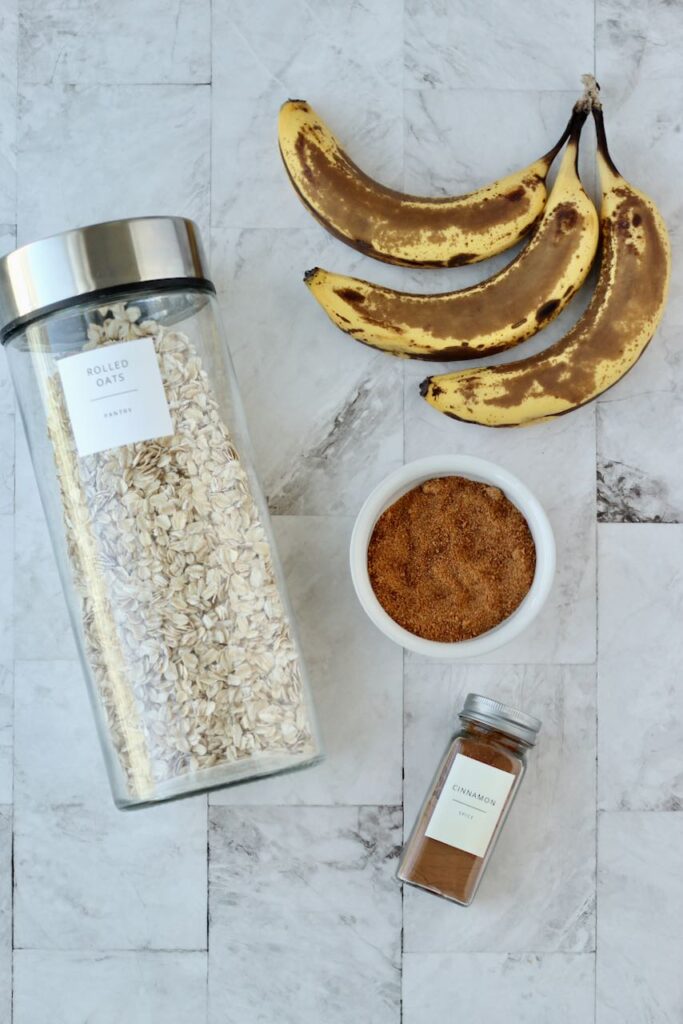
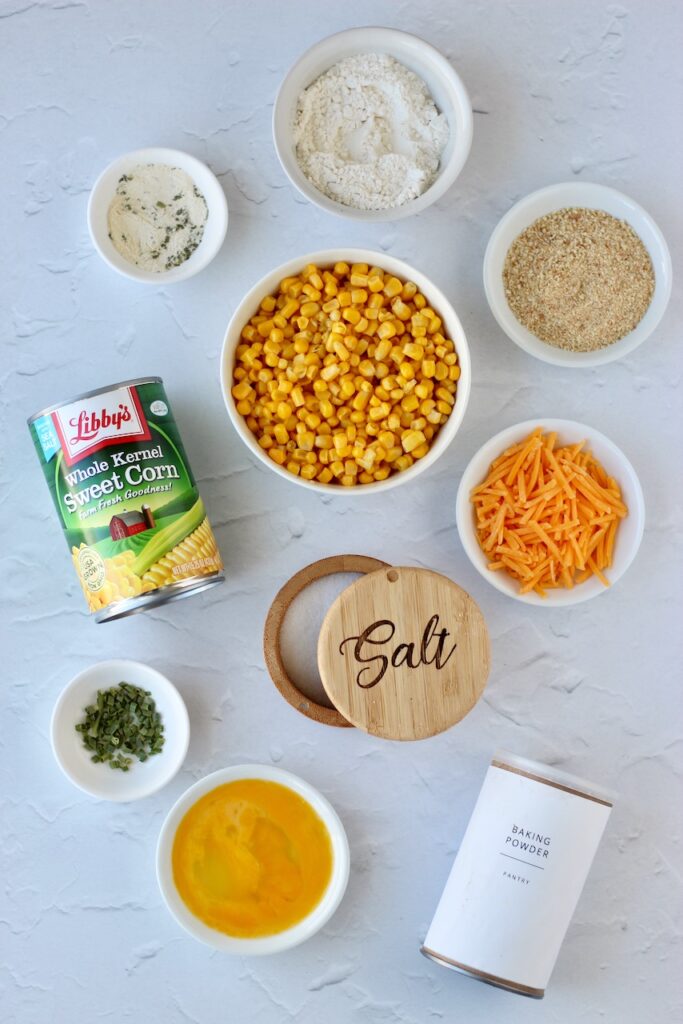
Ingredients you'll need
- Kale: The star of the show, kale provides a nutrient-rich base for these chips.
- Oil: A drizzle of oil helps the kale crisp up in the microwave. You can experiment with different oils for varied flavors.
- Seasonings: From classic salt and pepper to creative combinations like parmesan or sesame seeds, choose your favorite flavors to enhance these chips.
How to make microwave kale chips
Forgot waiting by the oven to make kale chips, easily make them in your microwave in 3 minutes or less. Here's how.
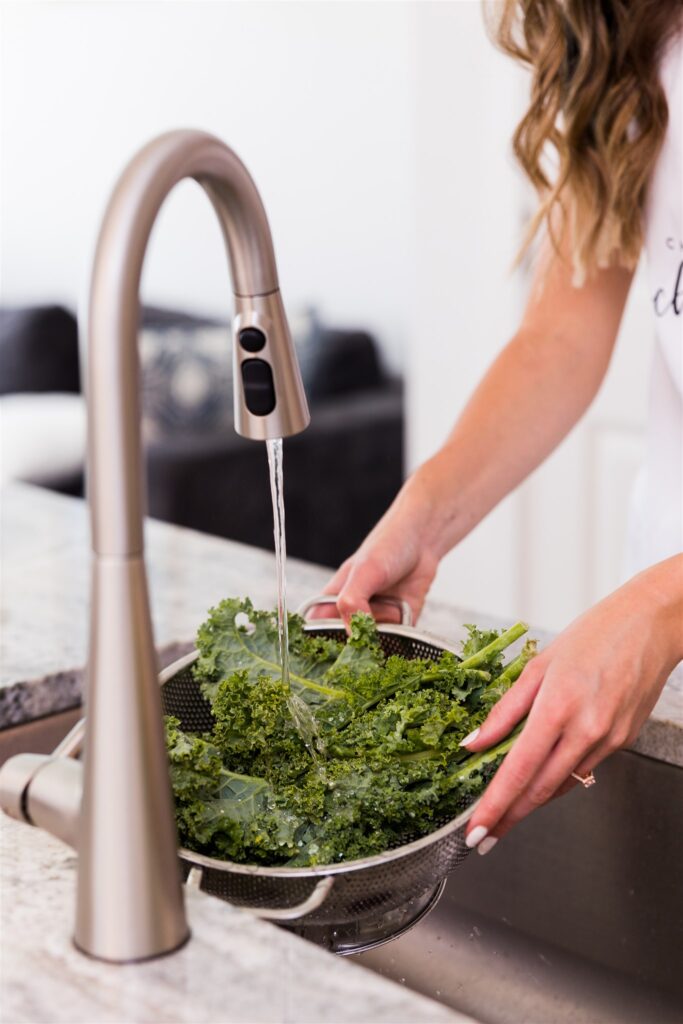
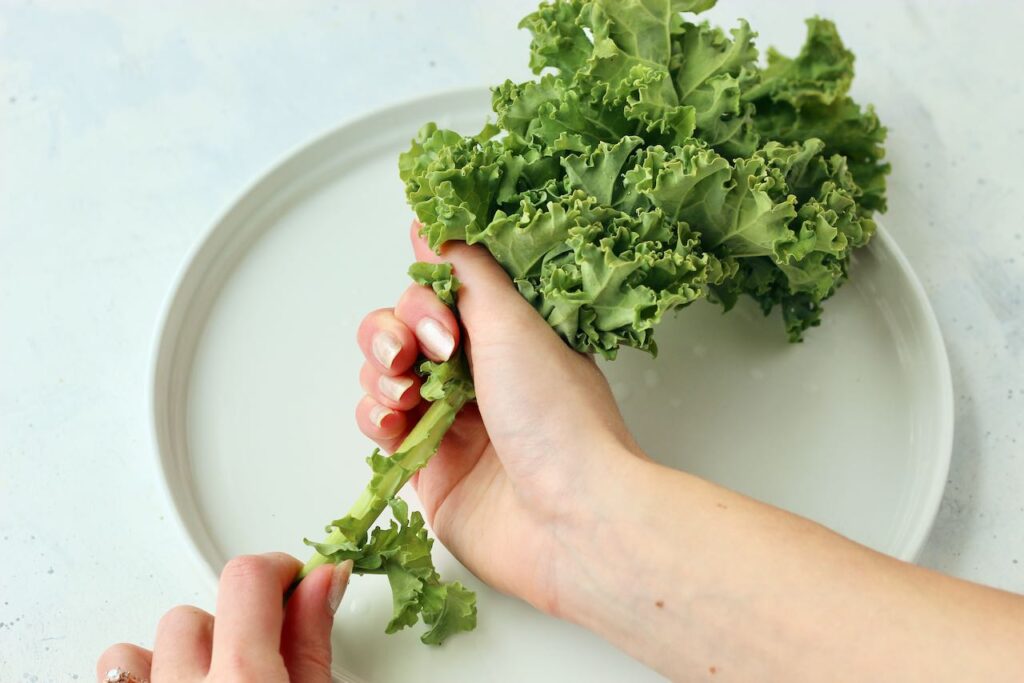
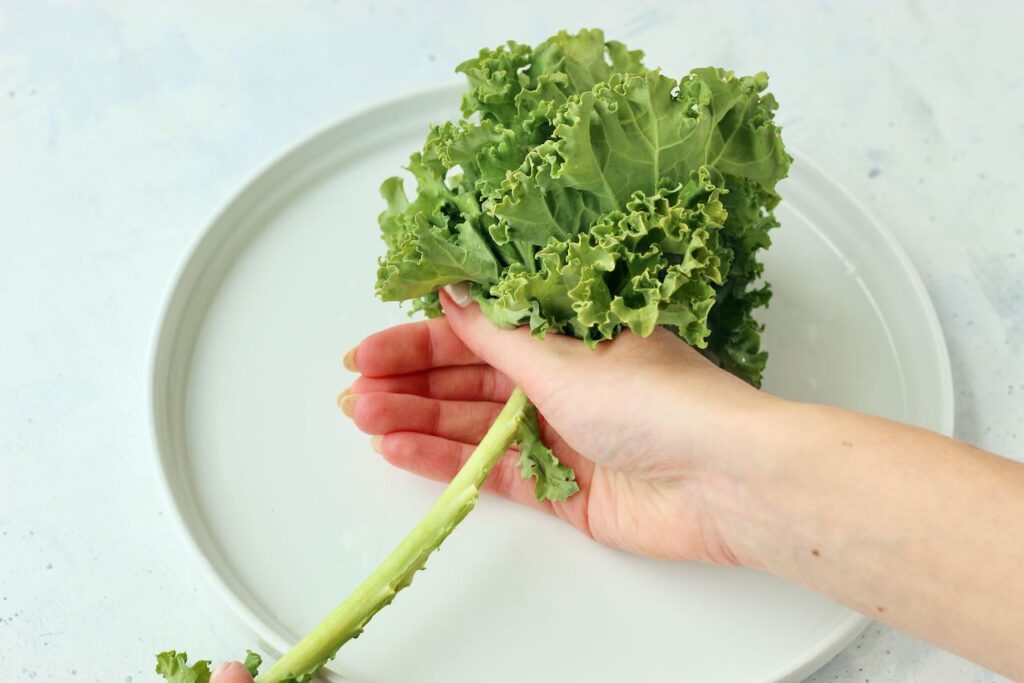
1. Trick to remove the kale stem
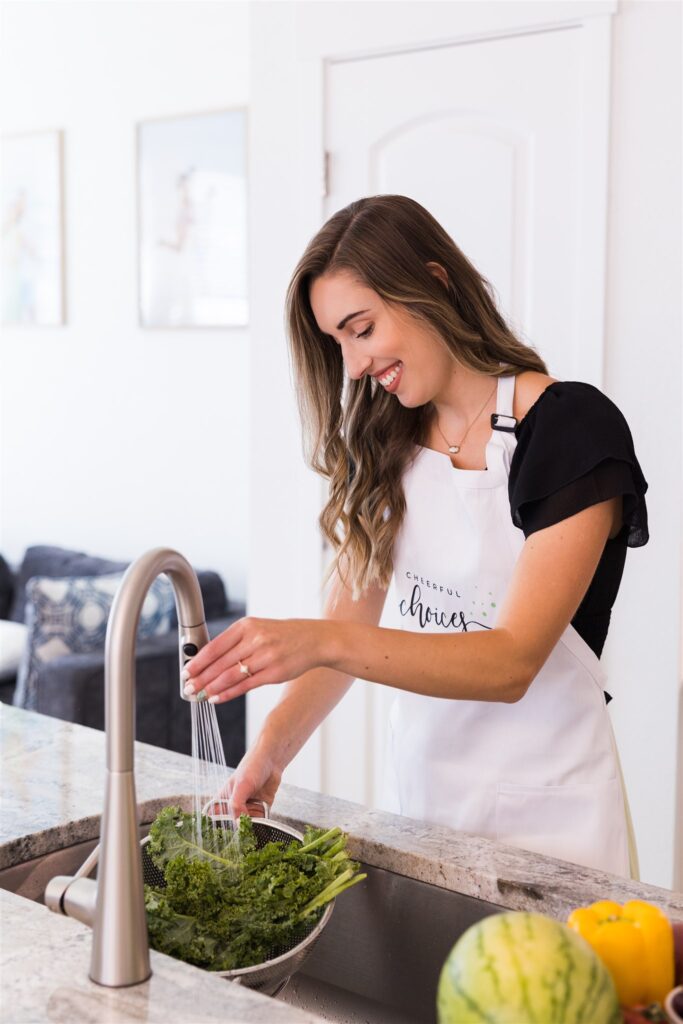
Start by washing the kale leaf and removing the thick stem down the center. You can cut it out with a knife or easily rip it out with your hands. To remove it with you hands, you can make an 'O' shape with your fingers, encircle the stem with your fingers, and then gently pull up from the bottom to top, stripping it off the stem.
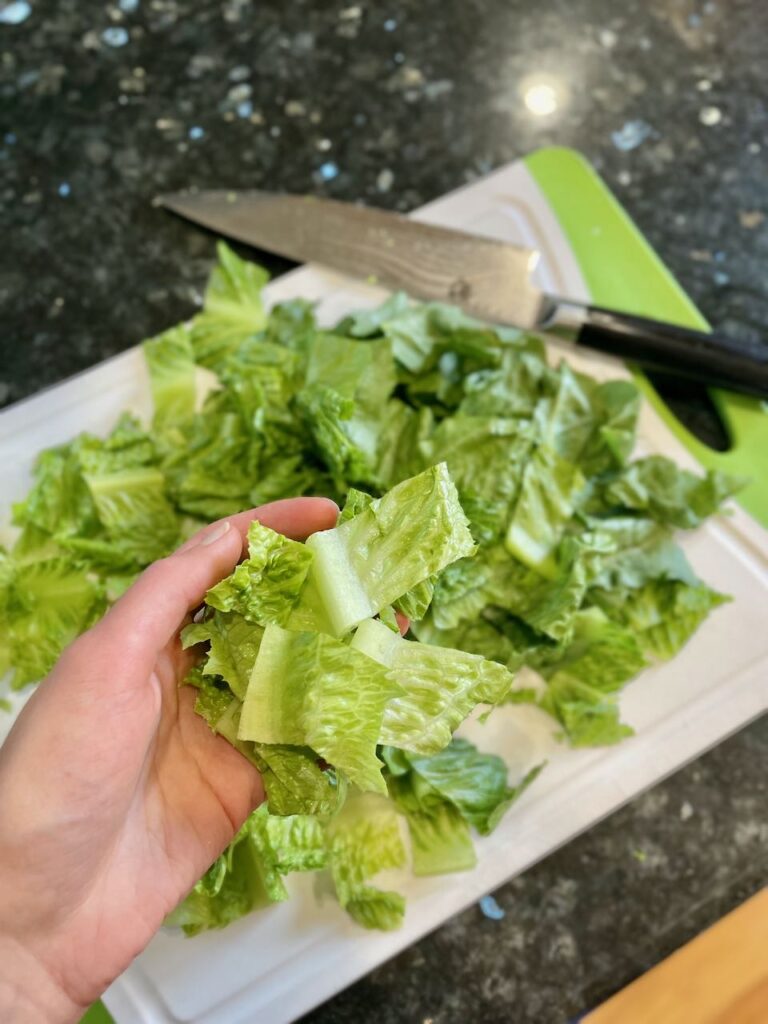
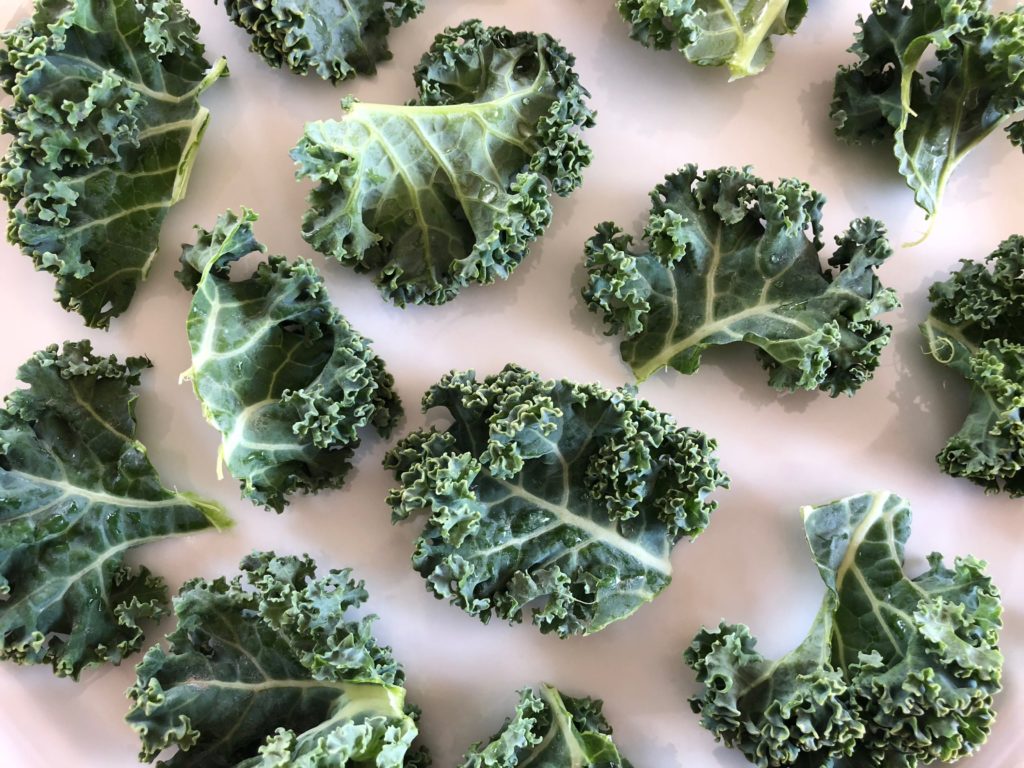
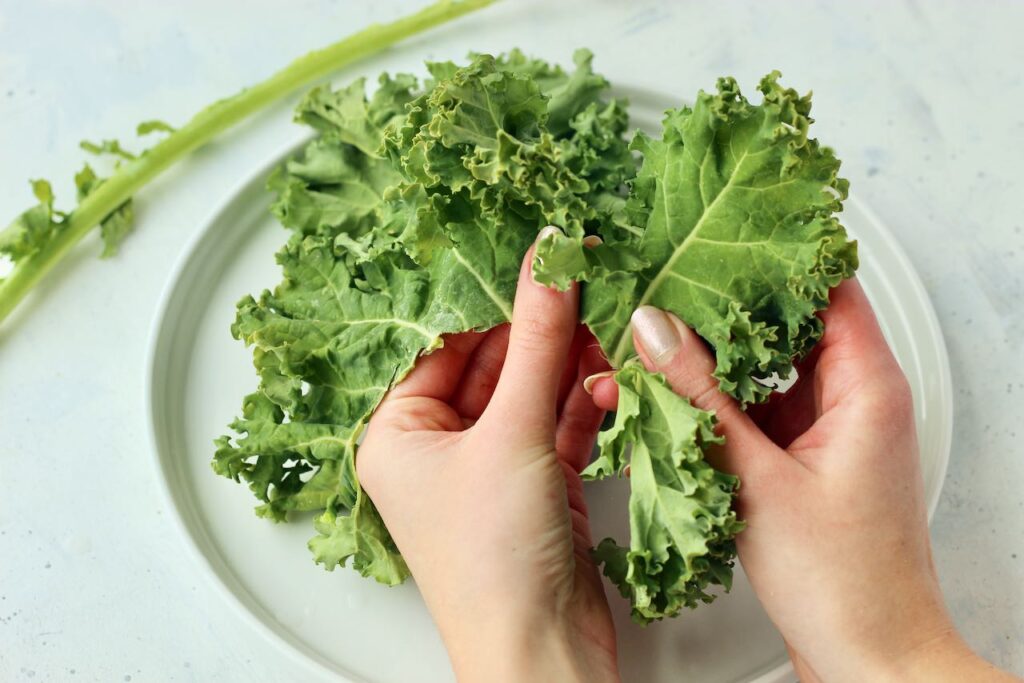
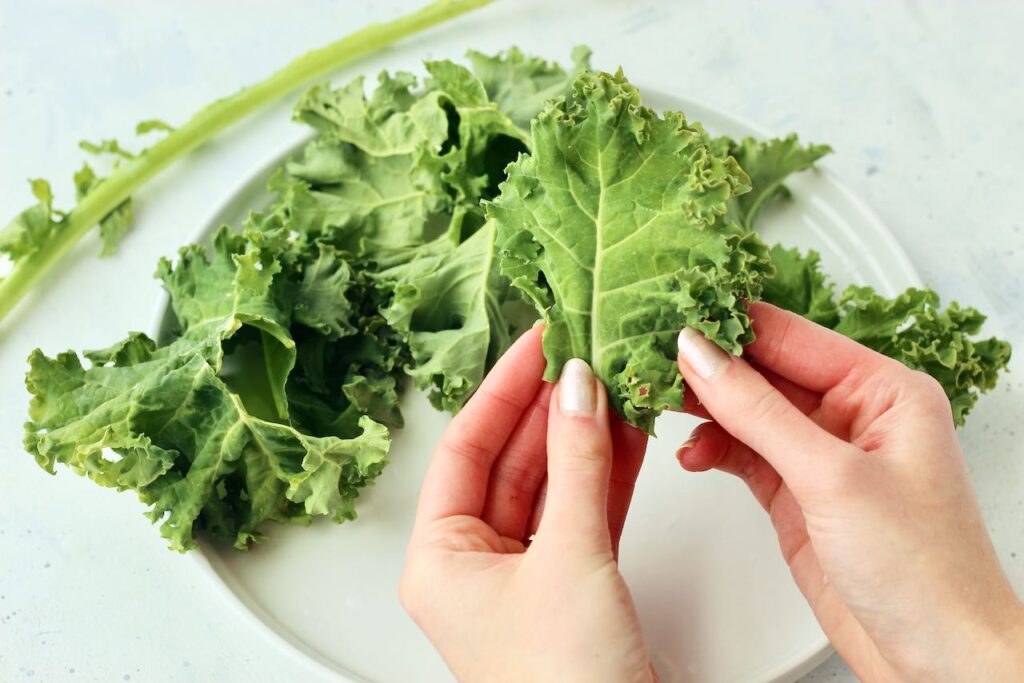
2. Tear into pieces
Then cut or tear the kale into bite-sized pieces. Typically around 2"x2" is a good size.
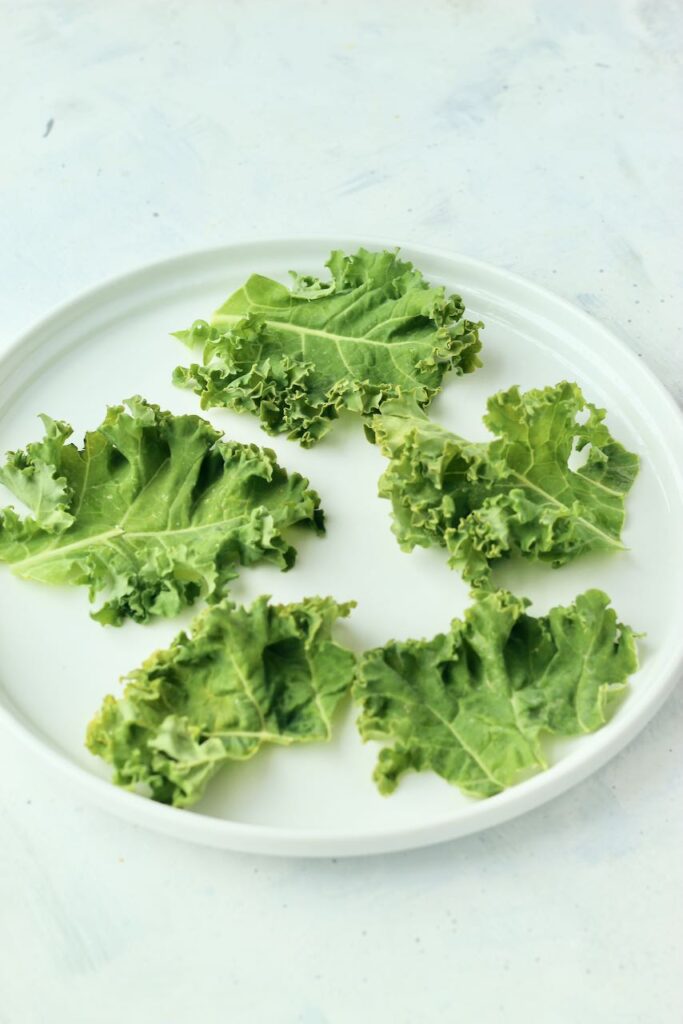
3. Add to a plate
Grab a microwave safe plate and evenly spread out your kale chips. Don't let them overlap. If you have extra, work in batches.
4. Add oil and seasonings
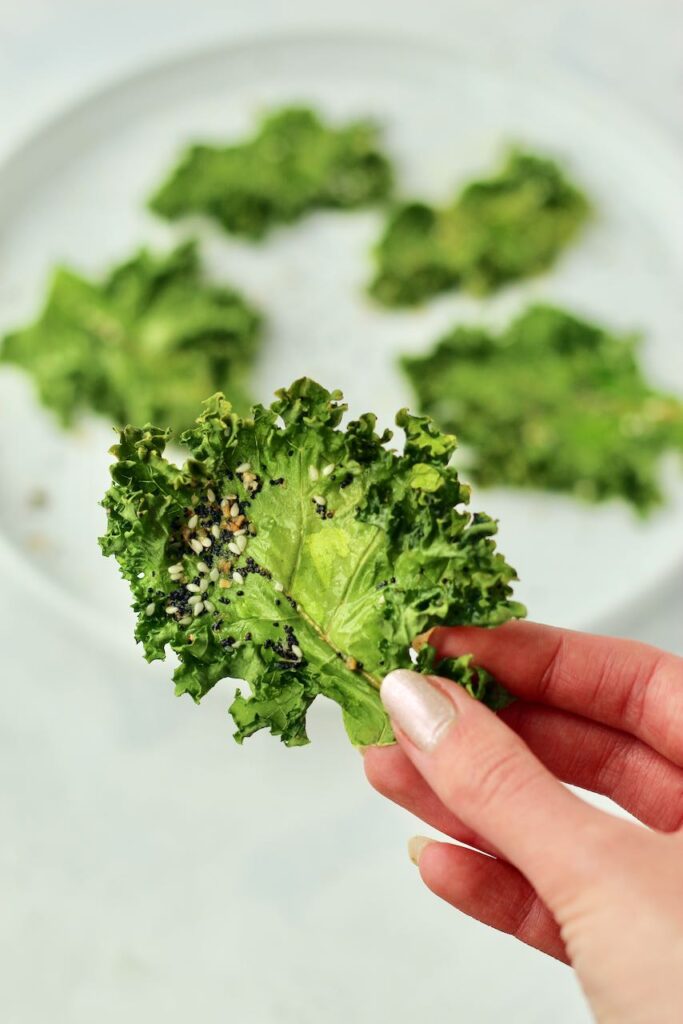
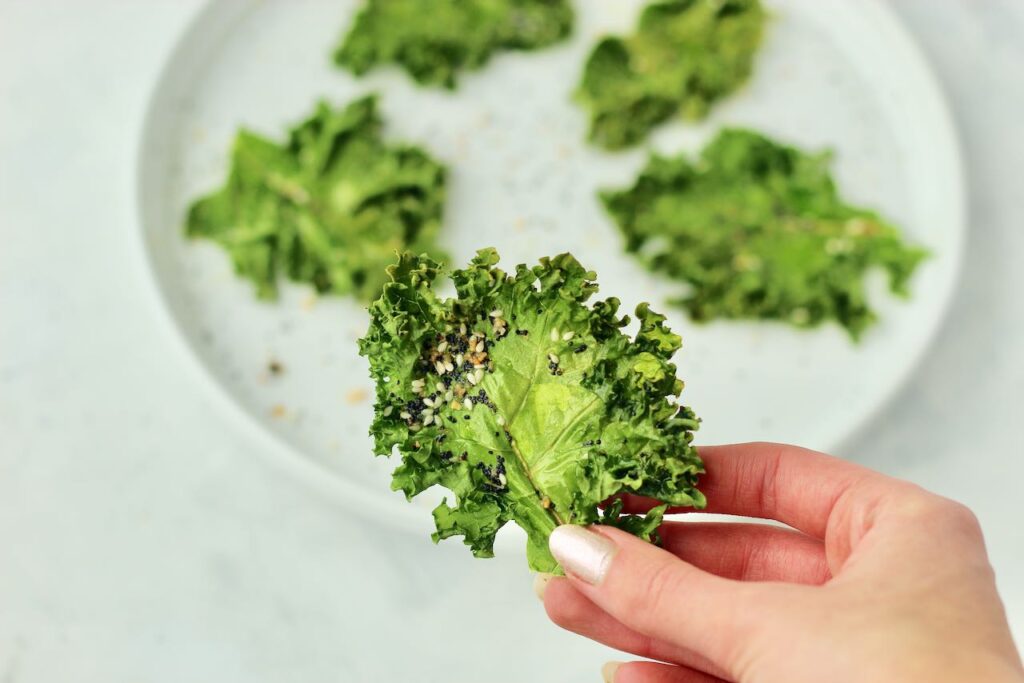
Add flavor additions of your choice, like avocado oil and bagel seasoning (as shown in the photos).
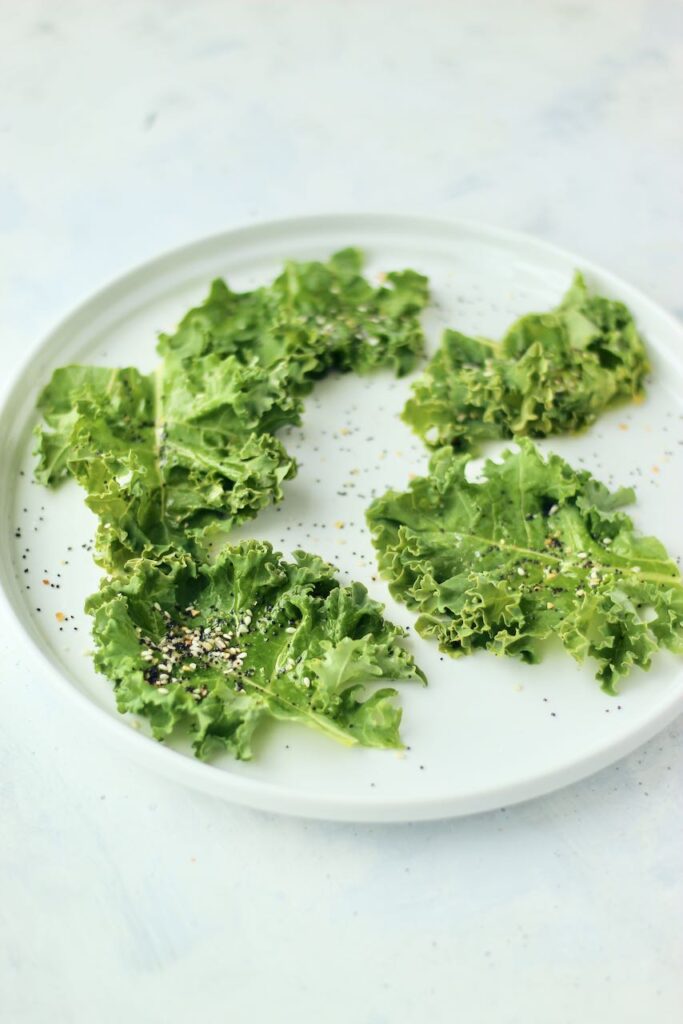
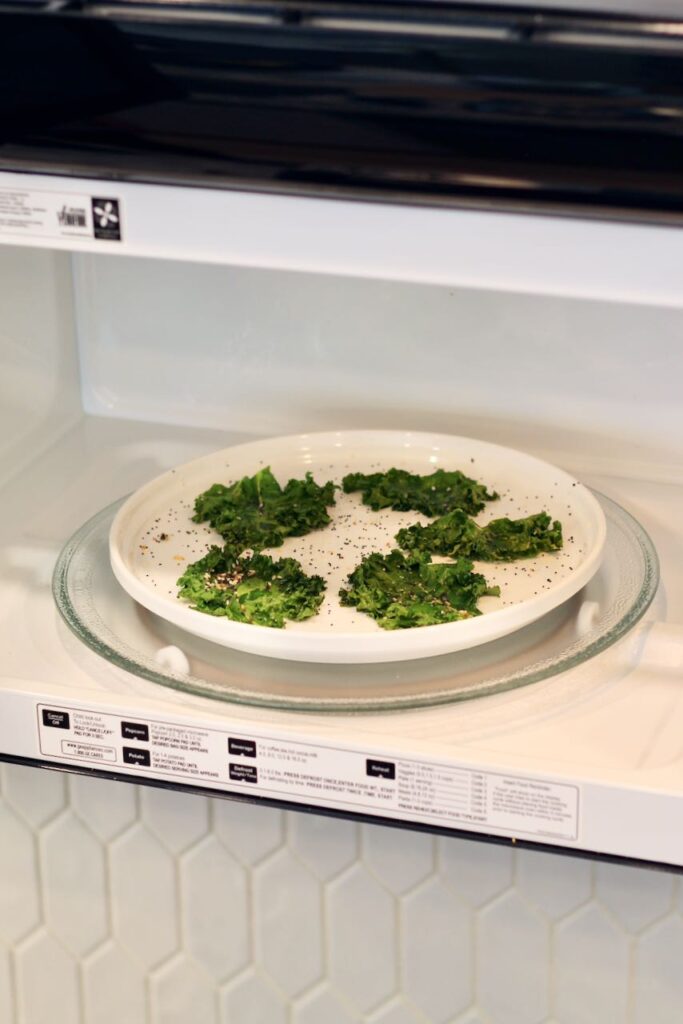
5. Microwave
Microwave until the kale gets nice and crispy. Be sure to check on it and use your hands to feel if it's crispy or not. You should essentially be able to pick it up and have it not flop over at all.
Recipe tips and tricks
- Make sure the kale is completely dry before adding oil and seasonings, as excess moisture can lead to uneven cooking.
- The kale chips generally shouldn't stick to the plate since they have oil on them. However, for easier clean up you can place a sheet of microwave-safe parchment paper on the plate before adding the kale chips. Definitely avoid materials like wax paper or aluminum foil which can catch fire in a microwave.
- Avoiding overcrowding the plate with kale to ensure even cooking.
- Microwave in short intervals and keep your eye on the kale to assess its crispiness.
- If your kale isn't crispy enough, microwave for an additional 30 seconds.
What to do with the kale stems
Kale stems are typically discarded but they're actually edible and you can use them in various recipes. Try grilling kale stems, chopped and adding to a stir fry, or blending into a morning juice. If you are are going to toss them, consider adding them to your compost bin.

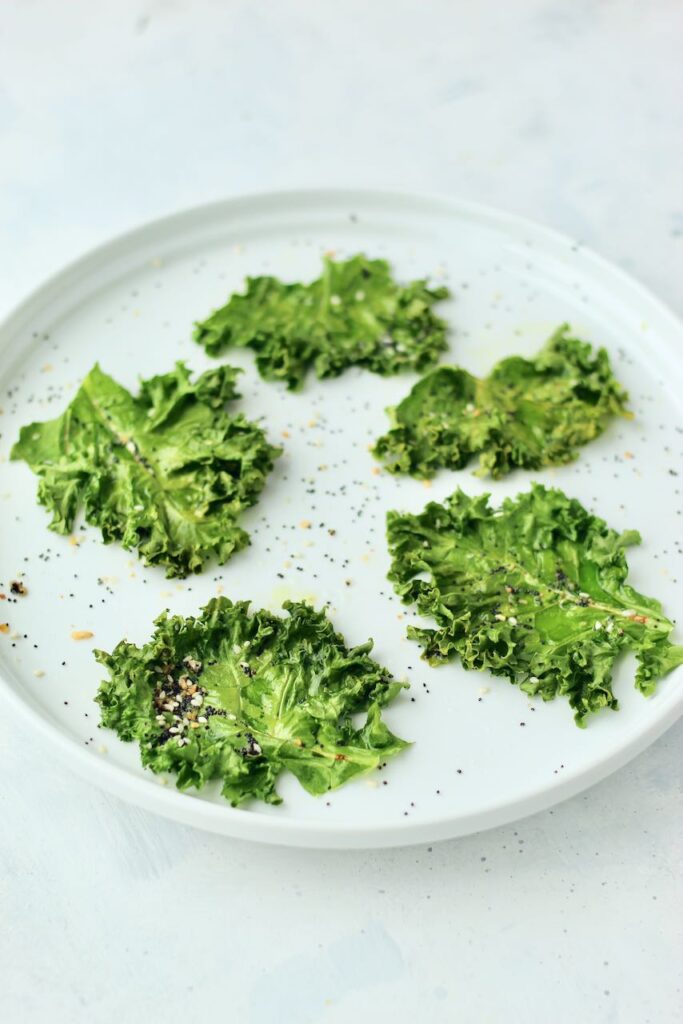
How many kale chips does this recipe make?
This recipe makes about 8 kale chips per large kale leaf. Definitely feel free to repeat with multiple kale leaves to use up the whole bunch! Just make sure to microwave in batches to avoid overcrowding the plate.
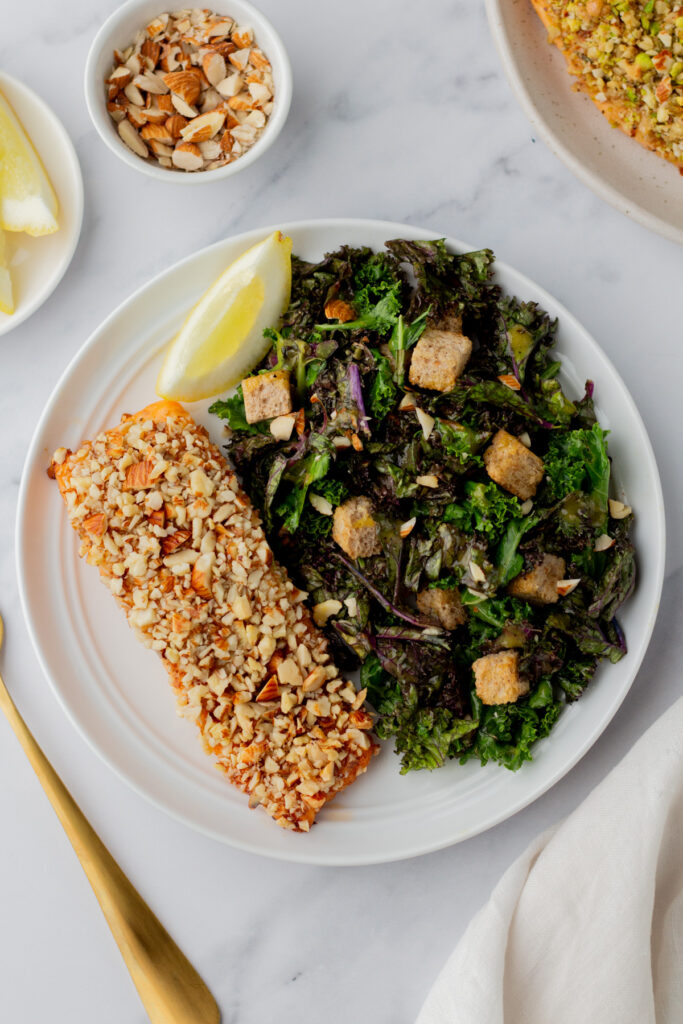
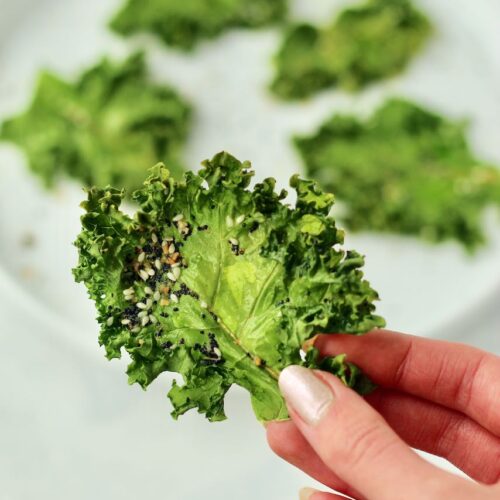
What should I use kale chips for?
These kale chips are great added to salads or enjoyed as a savory snack. Since they're ultra crunchy, they can also be crushed and used as a crunchy topping for soups or pasta.
Customize it your way
Like all of my recipes, these 3-minute microwave kale chips are completely customizable. You get to choose oil and seasonings of your choice. You can even use a mixture to fill up the ~1 teaspoon seasonings of your choice. Here are some delicious variations to try:
- Everything Bagel: Avocado oil, bagel seasoning
- Asian Sesame Kale Chips: Garlic olive oil, soy sauce, sesame seeds
- Cheesin' Kale Chips: Parmesan cheese or nutritional yeast, olive oil, sea salt
- Popcorn Kale Chips: Butter olive oil, butter seasoning
- Maple Balsamic Kale Chips: Red wine vinegar, olive oil, dijon mustard, maple syrup, balsamic vinegar, salt
Can you make kale chips ahead of time?
Kale chips should ideally be eaten right away to maintain their crispiness. If you need to store extras, you can put them in an airtight container at room temperature. Be aware that they will likely lose some of their crunch and freshness the next day.
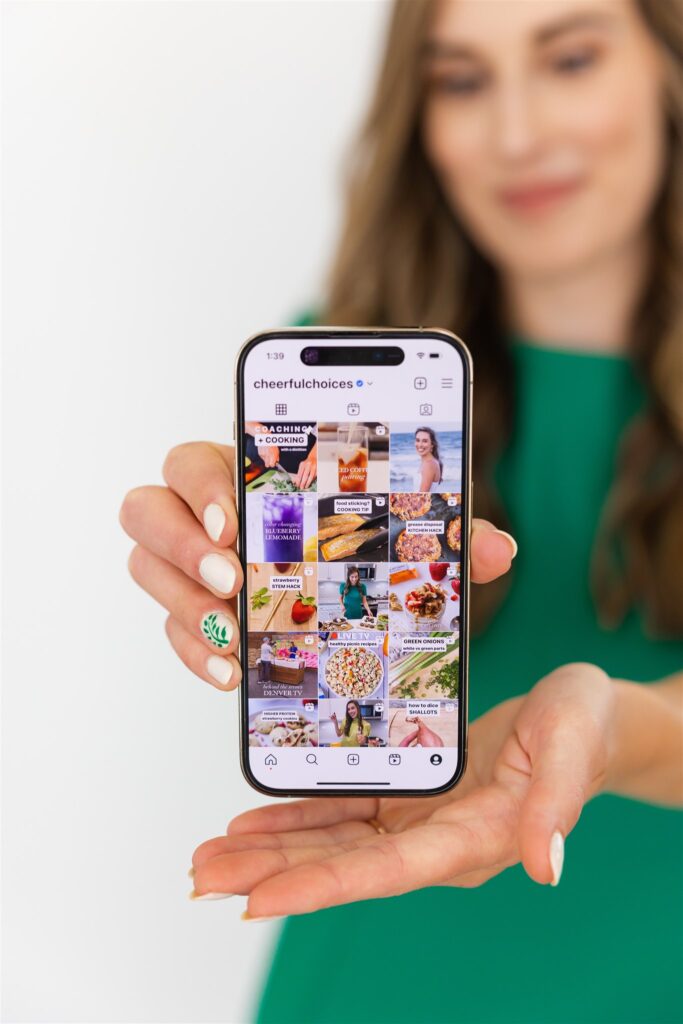
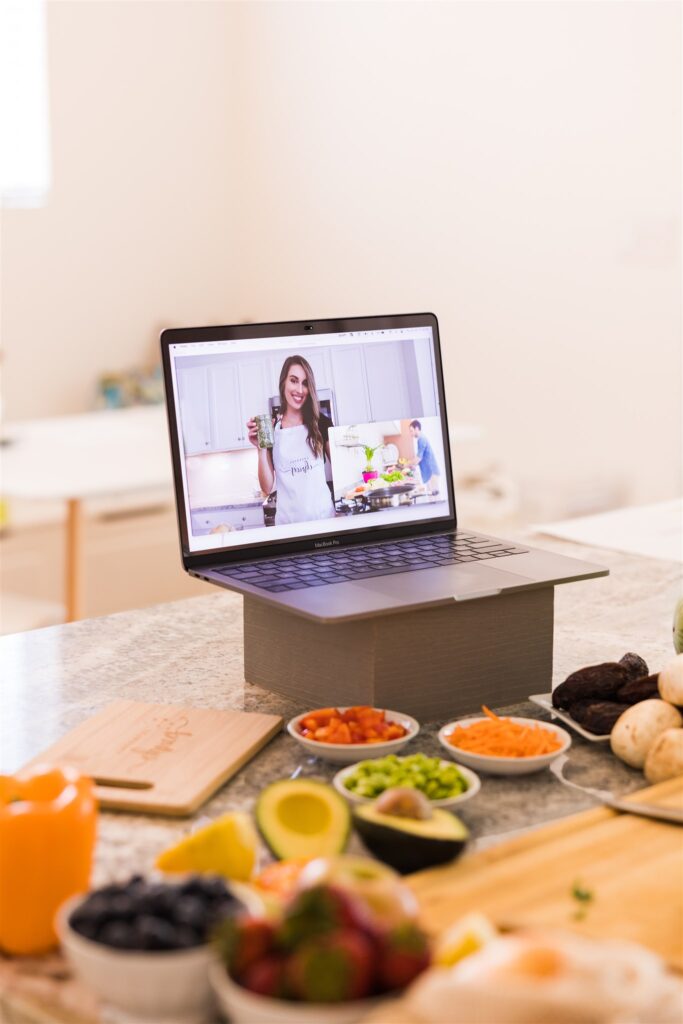
Need more help with recipes for your busy schedule?
In my coaching + cooking program, I help busy people with beginner cooking knowledge become confident in the kitchen so that they can enjoy nourishing foods they love and stress less about mealtime. Click here to learn more about this virtual program led by a dietitian.
3 Minute Microwave Kale Chips
Ingredients
- 1 large curly kale leaf
- 1 teaspoon oil of your choice (olive oil, avocado oil, etc.)
- 1 teaspoon seasonings of your choice (Bagel seasoning, Italian seasoning, parmesan cheese, nutritional yeast, etc. See above for more ideas.)
Instructions
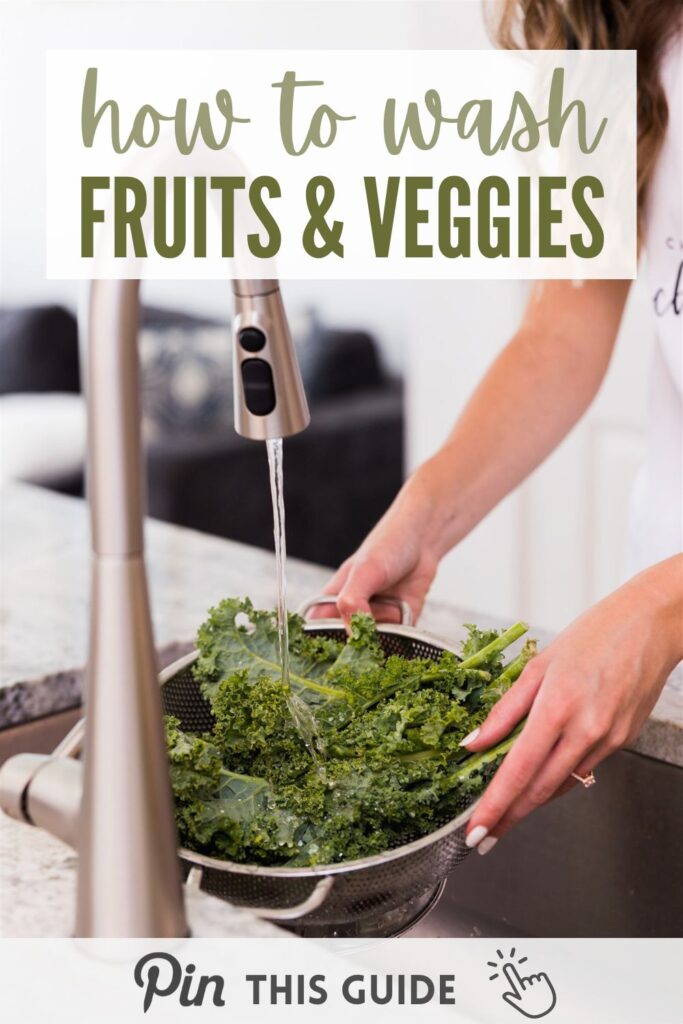
- Wash kale leaf and dry thoroughly. Rip into 8 medium-sized pieces.
- Toss kale with oil and seasonings of your choice.
- Arrange the kale pieces in a single layer on the plate.
- Microwave kale chips for 2 minutes to start. Use hands to pick up kale leaf and see if it's crispy. If kale chips aren't crispy after the 2 minute mark, microwave in 30 seconds intervals until crispy.
- Repeat as desired with multiple kale leaves.
- Enjoy immediately as they lose their crispiness with time.
Video
Notes
Nutrition
save this microwave kale chips recipe on pinterest: