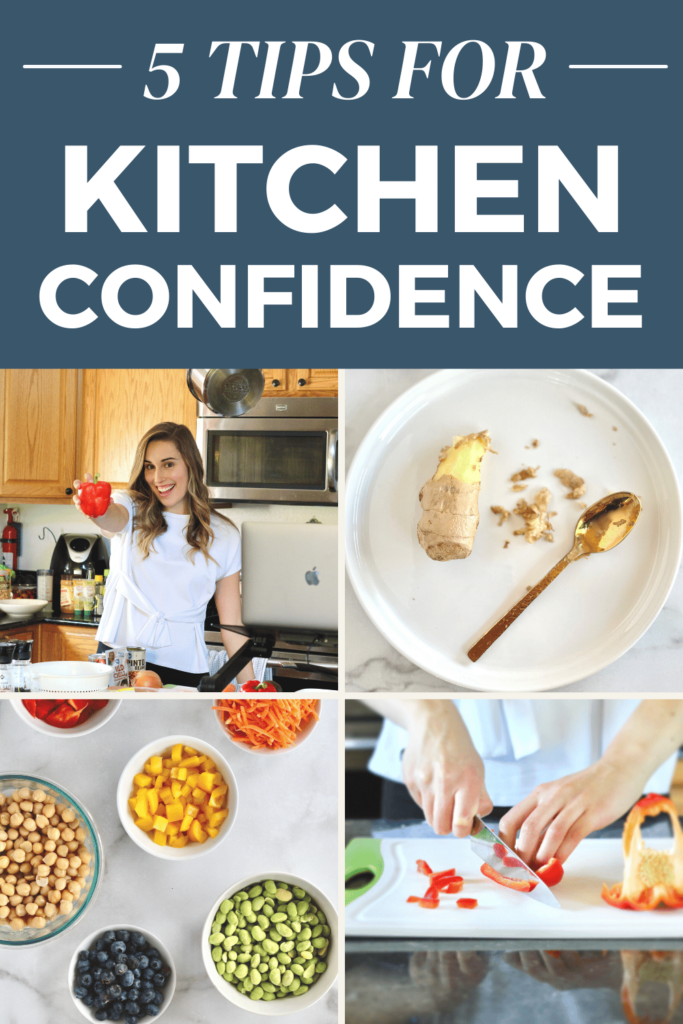
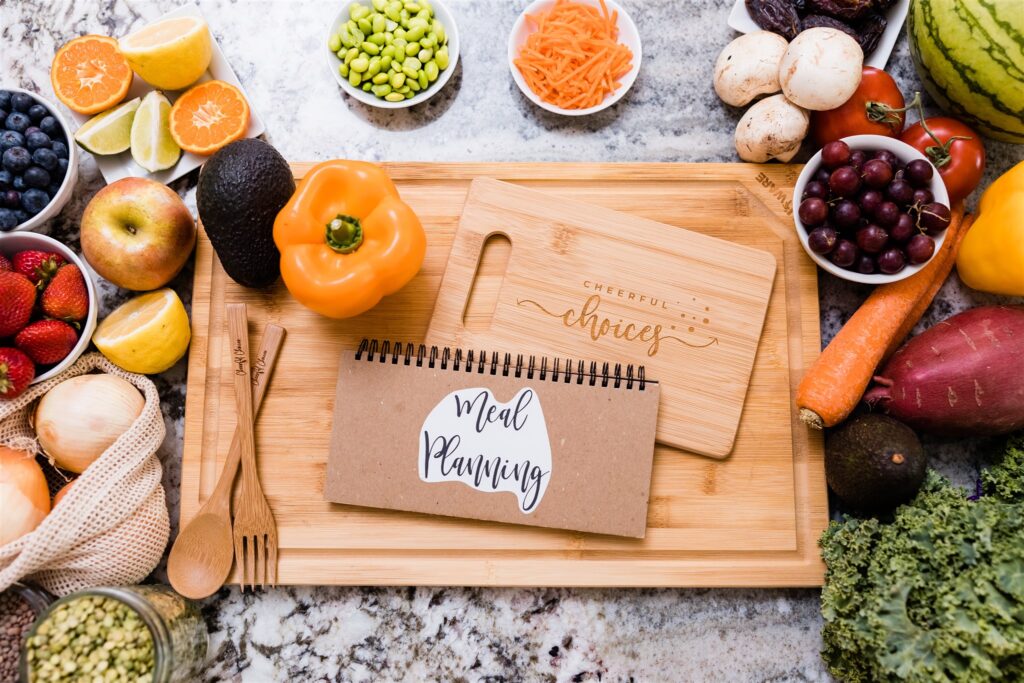
So you want to improve your confidence in the kitchen? Big kudos to you-it's such an important skill! Becoming more comfortable in the kitchen makes cooking more enjoyable and may help improve your overall health with more homemade meals. In this post, you'll learn 5 simple cooking tips to build up your kitchen confidence.
This post was first published on June 2, 2021. It was updated on July 12, 2023.
What is kitchen confidence?
Kitchen confidence is all about feeling comfortable and well-equipped in the act of cooking and preparing recipes. It allows you to go from thinking, "I have no idea what I'm doing or making..." to "Time for dinner? I got this!"
Why is it important?
Feeling this type of confidence in the kitchen is important for a number of reasons.
- Of course, it makes cooking more enjoyable
- Makes for faster and easier meal prep amidst your busy schedule
- Allows you to be more present and at ease with your loved ones around mealtime
- Can improve your health with the ability to create nutritious, homemade meals
Learn about 5 cooking tips:
Top tips for gaining kitchen confidence
Trust me, this is a skill that takes time and practice to develop. But no matter where you are in your journey-it's never too late to build this cooking confidence. Let's talk through 5 actionable tips to try.
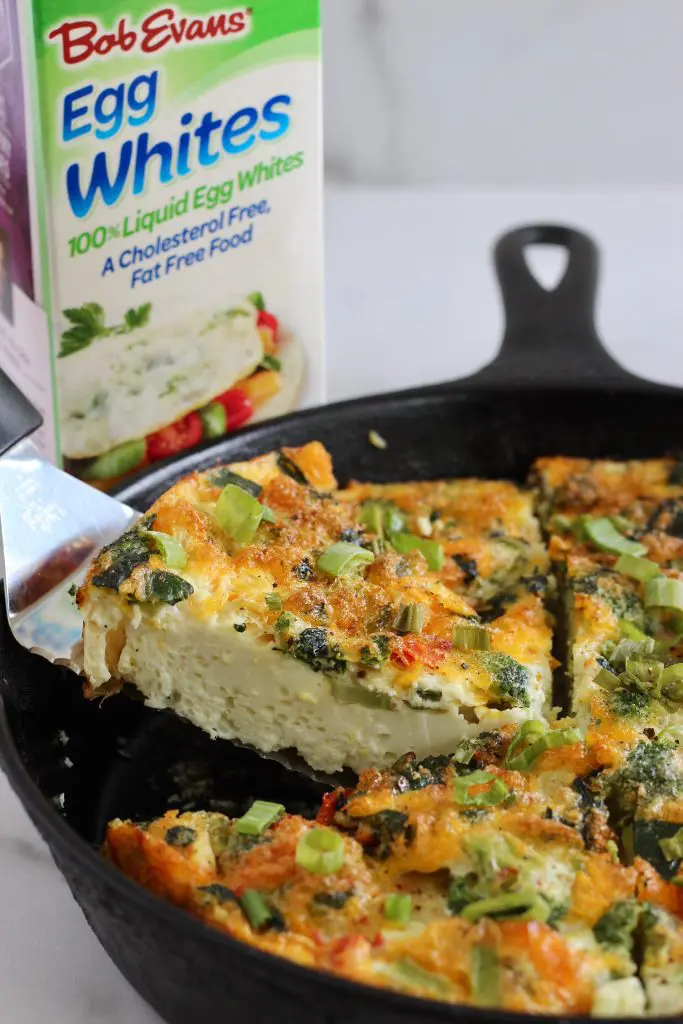
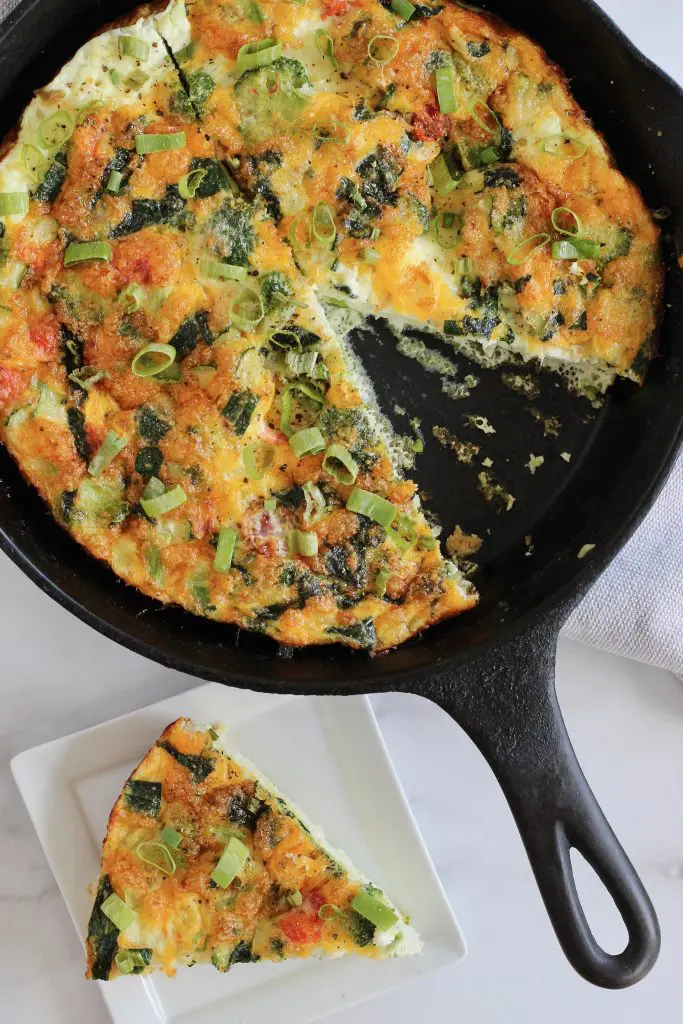
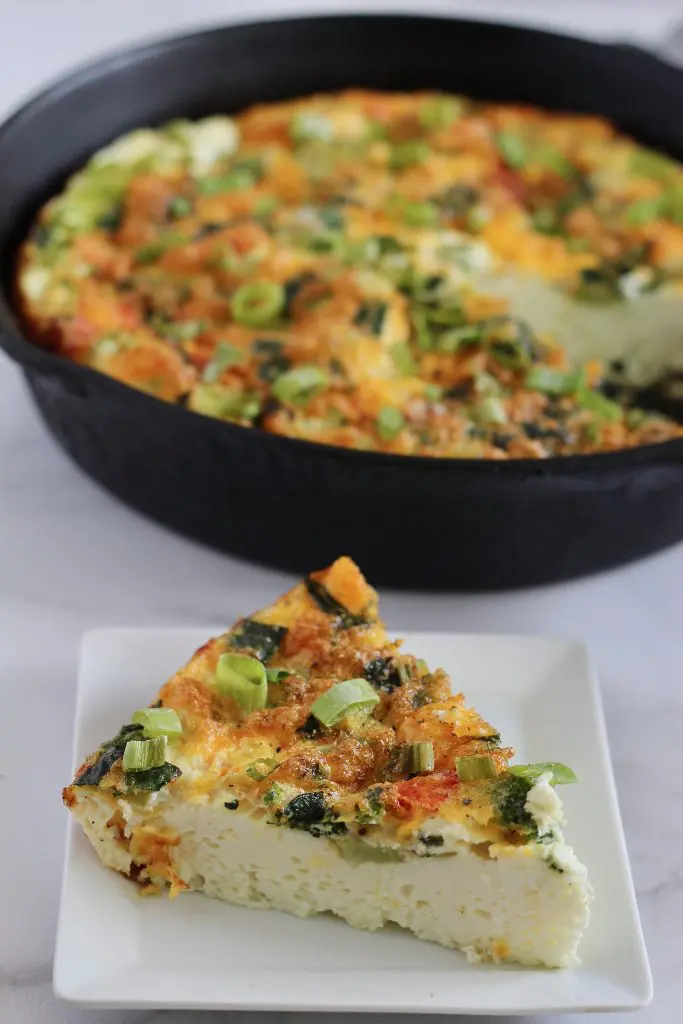
1. Start with easy recipes
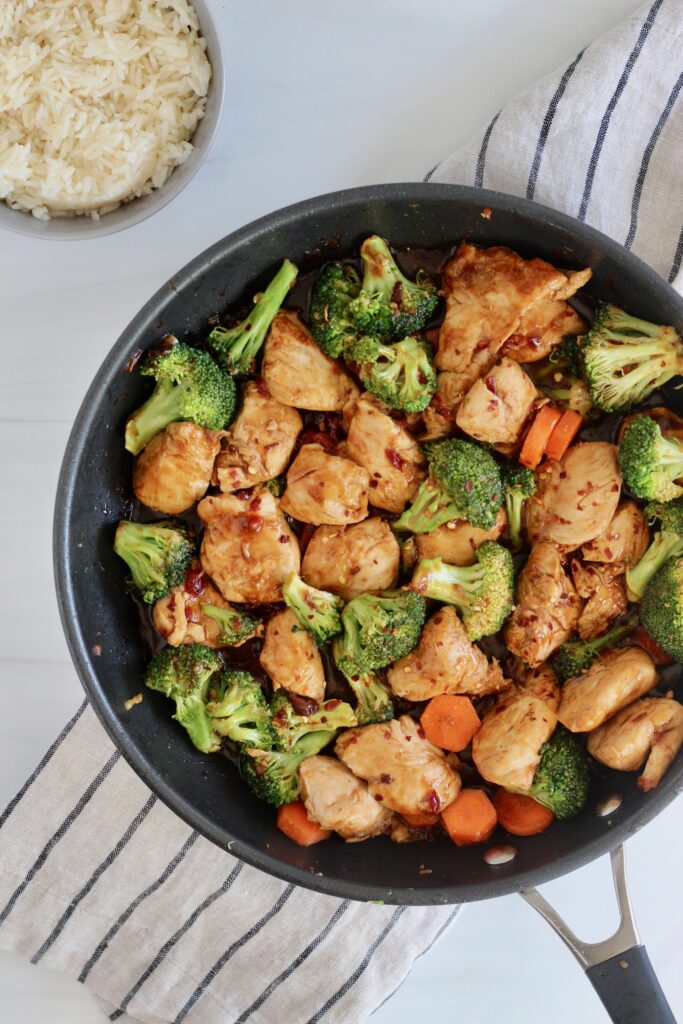
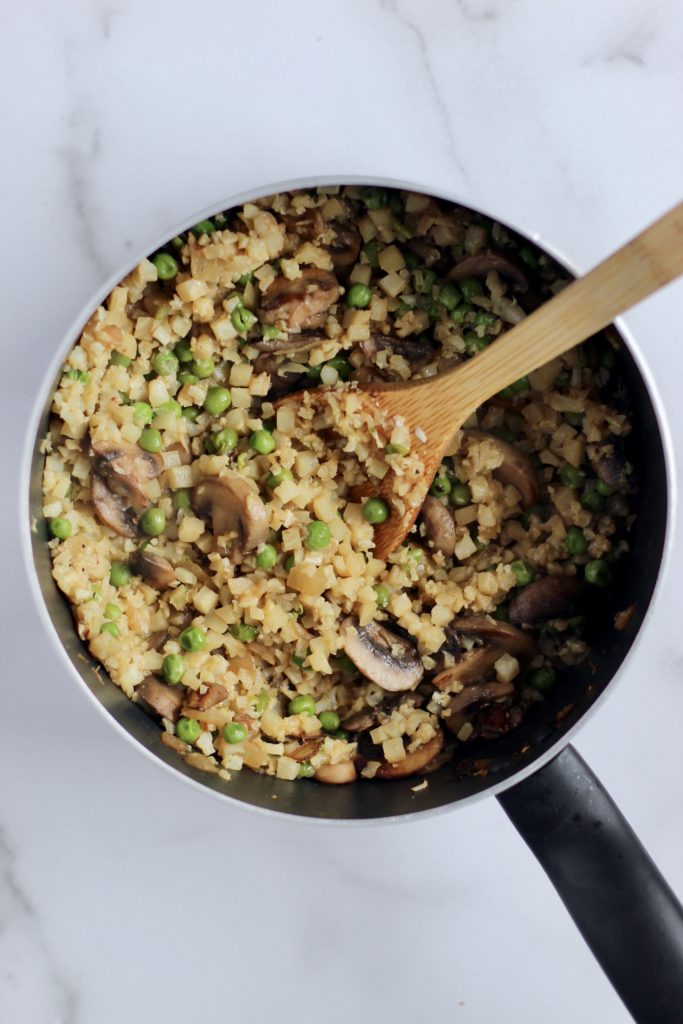
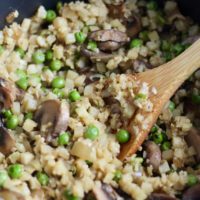
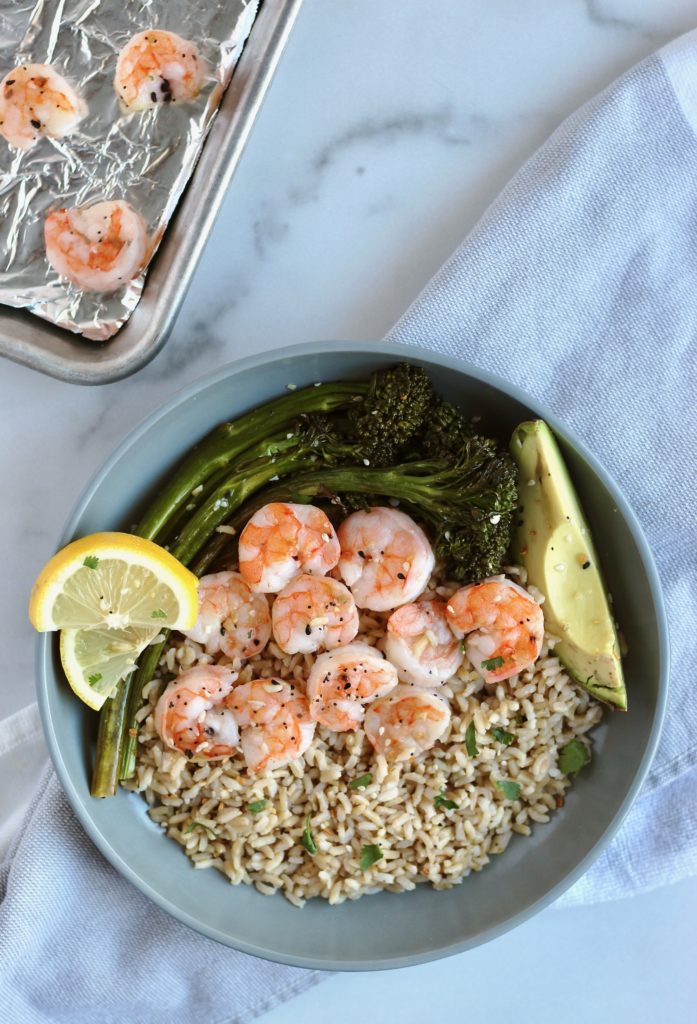
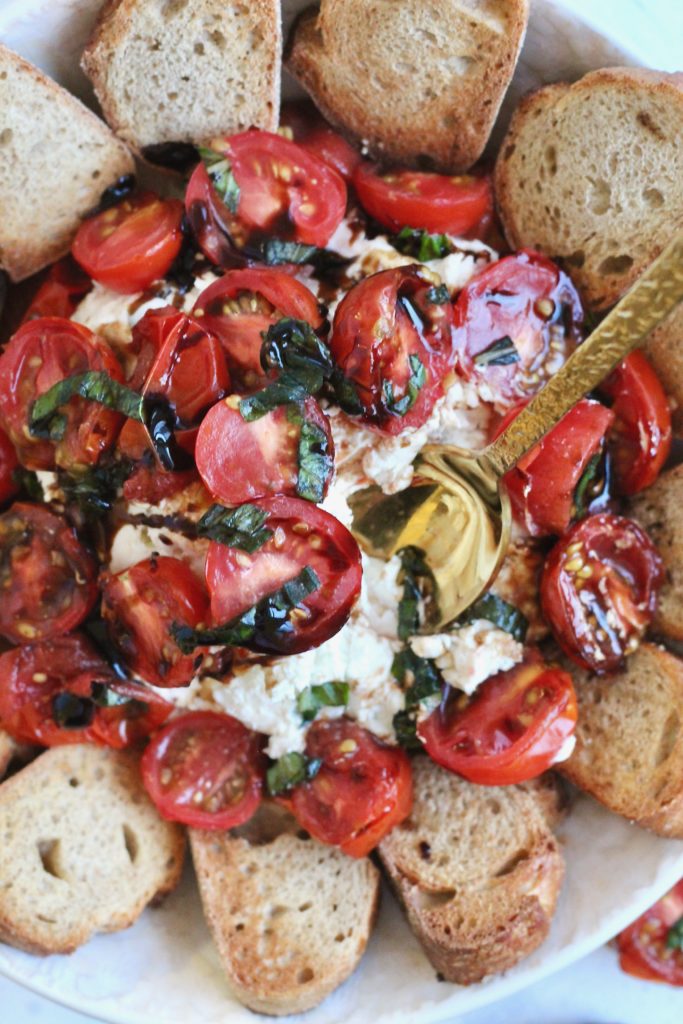
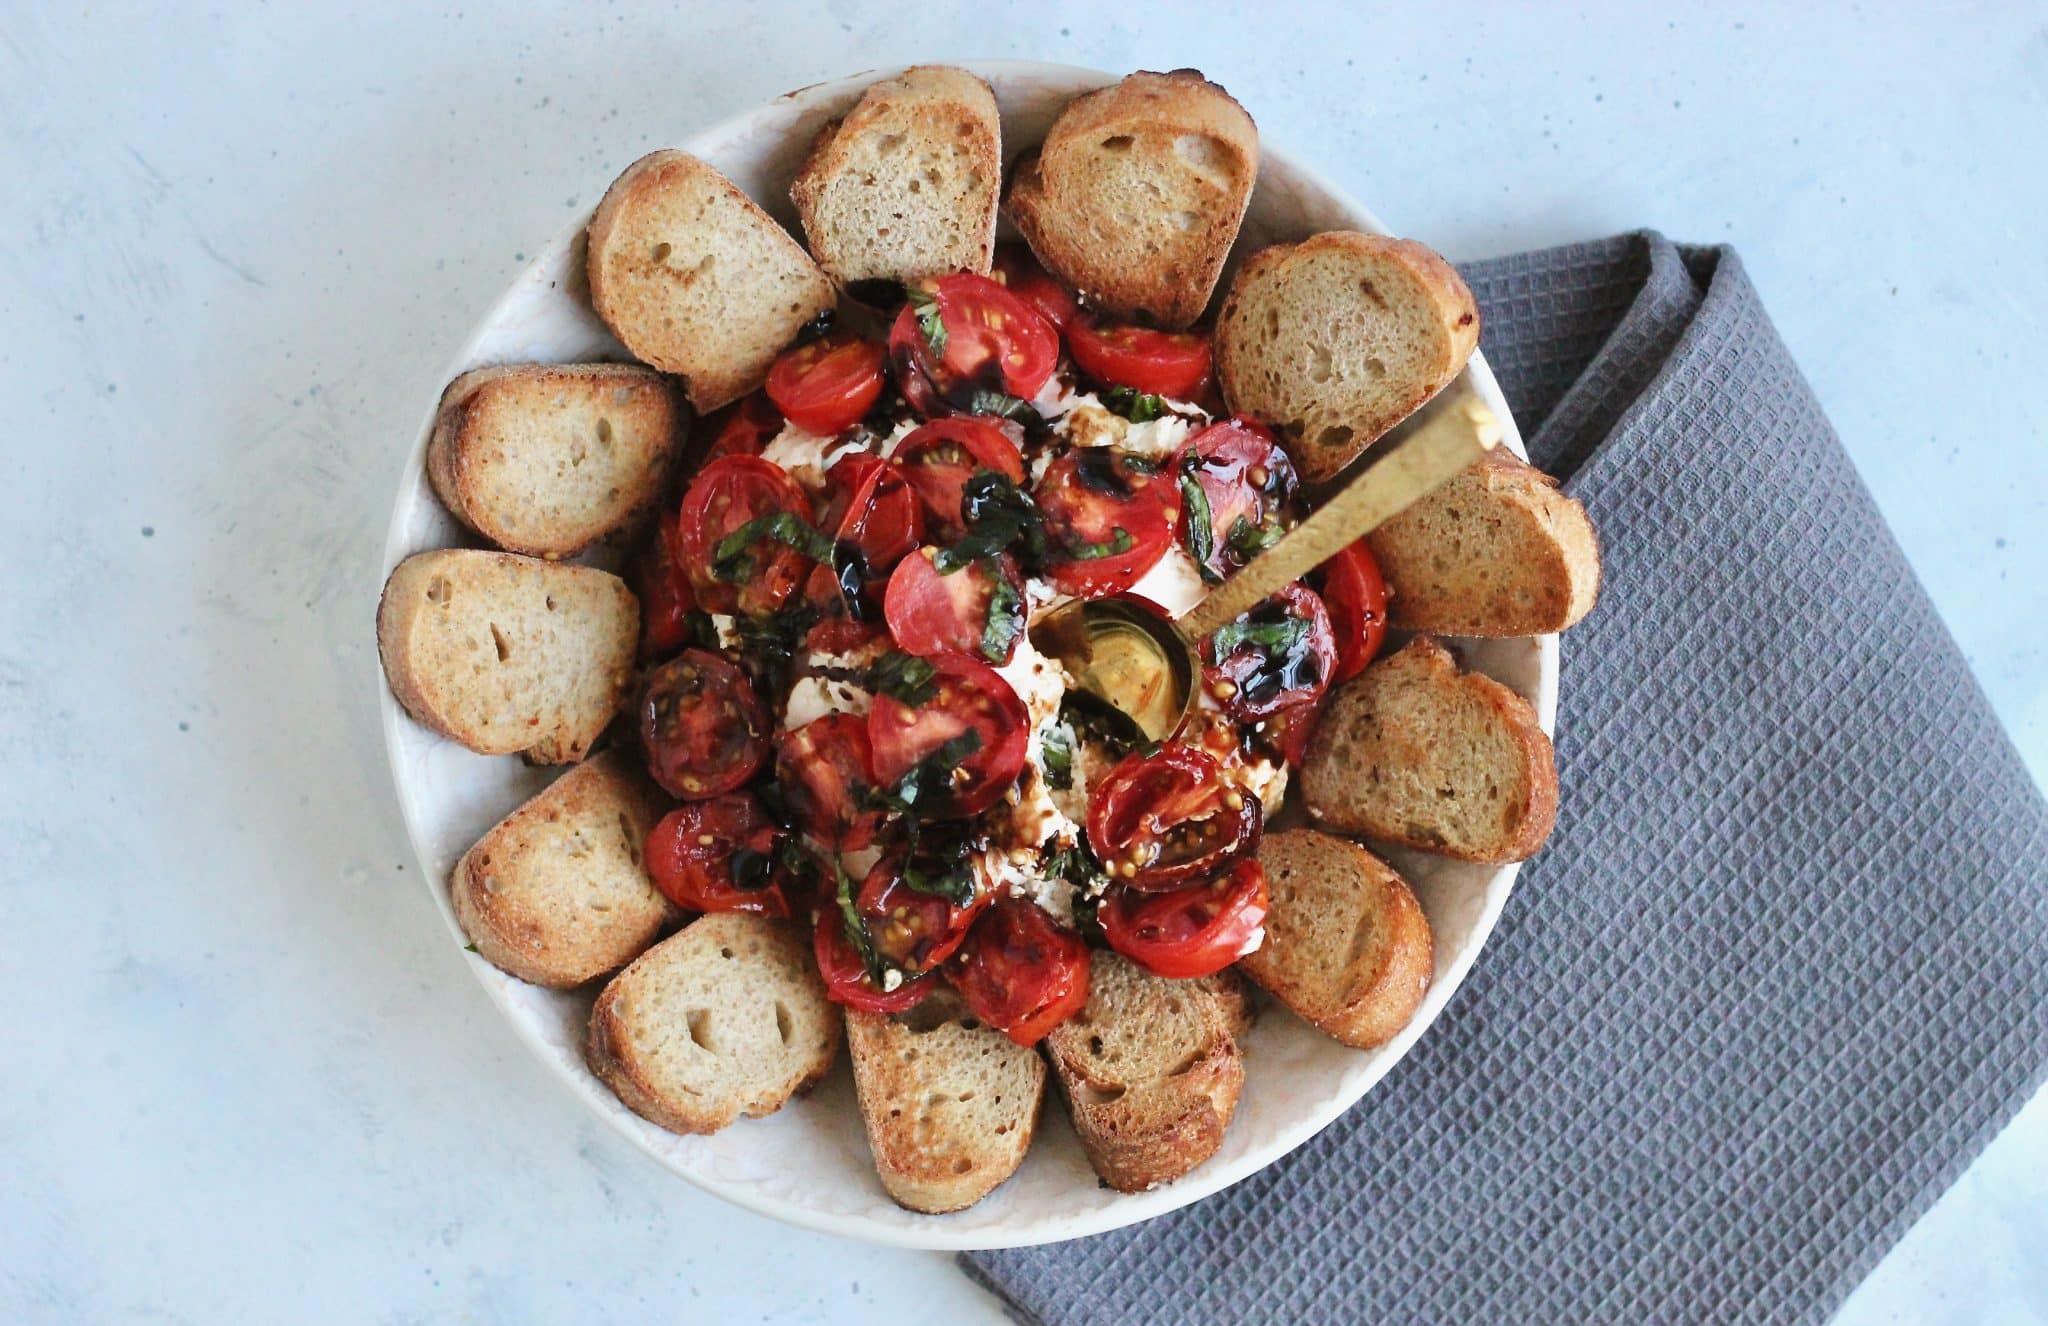
If you're new to cooking or categorize yourself as a "terrible cook", then trying to tackle a complicated dish like beef wellington or ratatouille probably isn't the best option. Instead, start with easy recipes using simple ingredients you're familiar with.
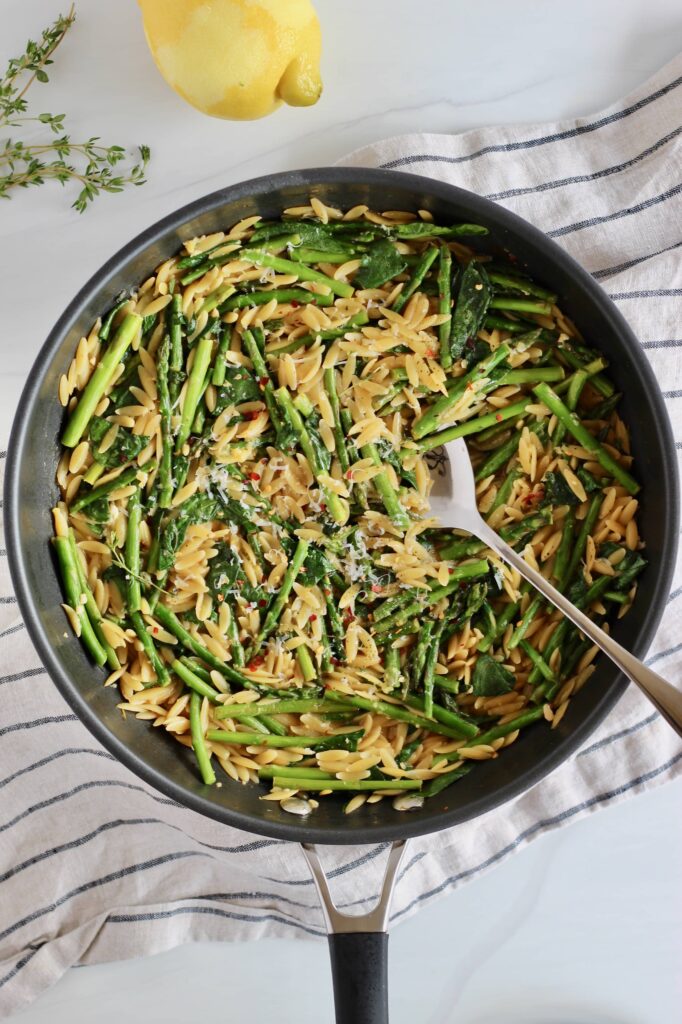
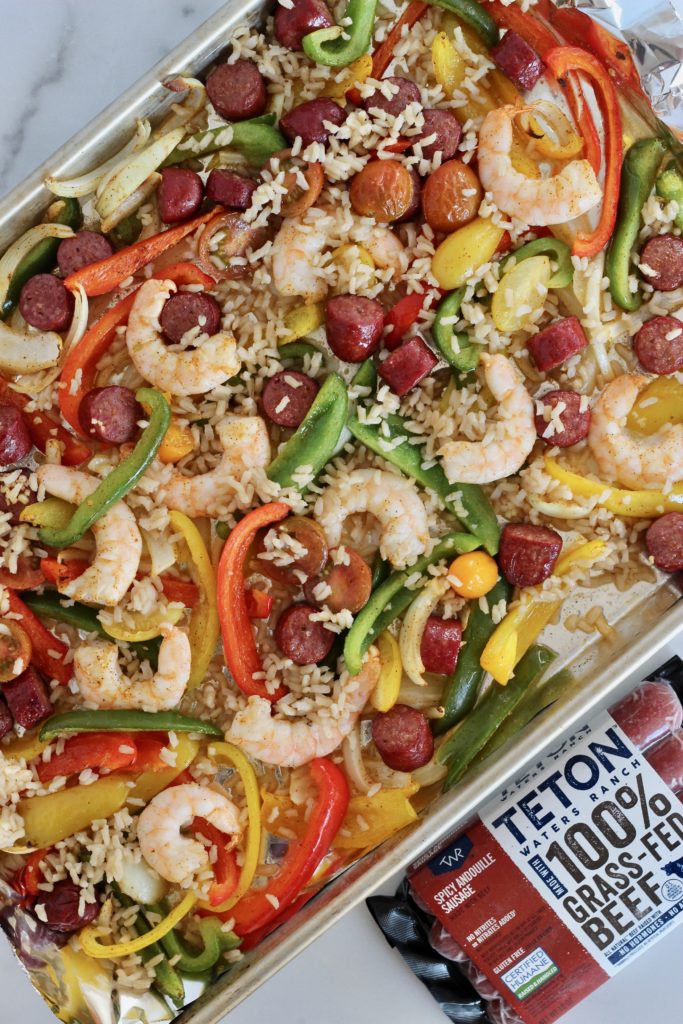
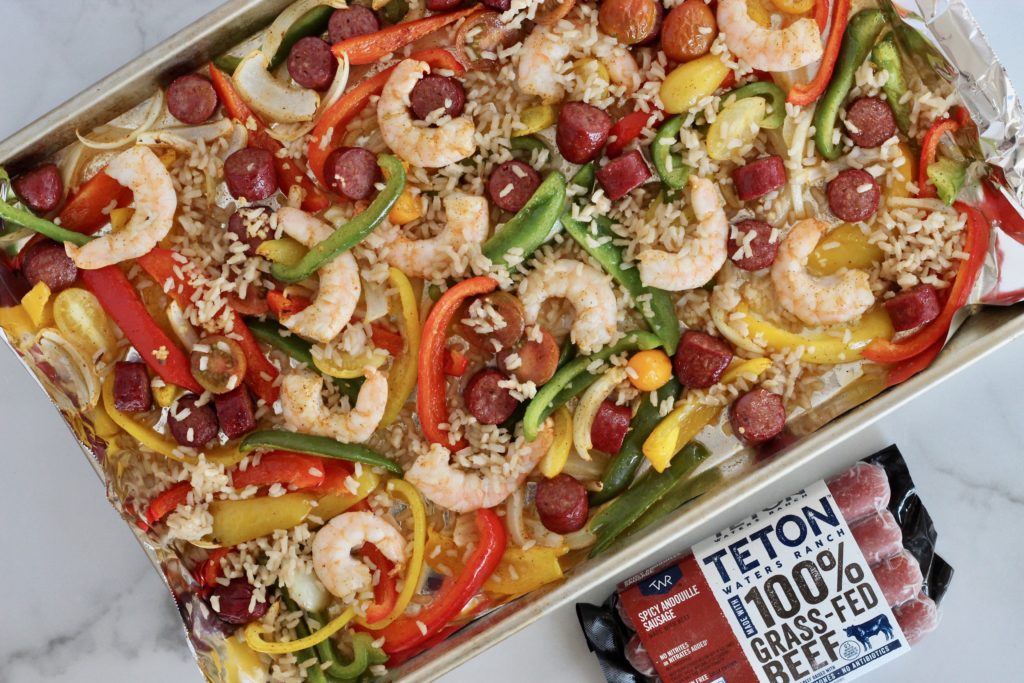
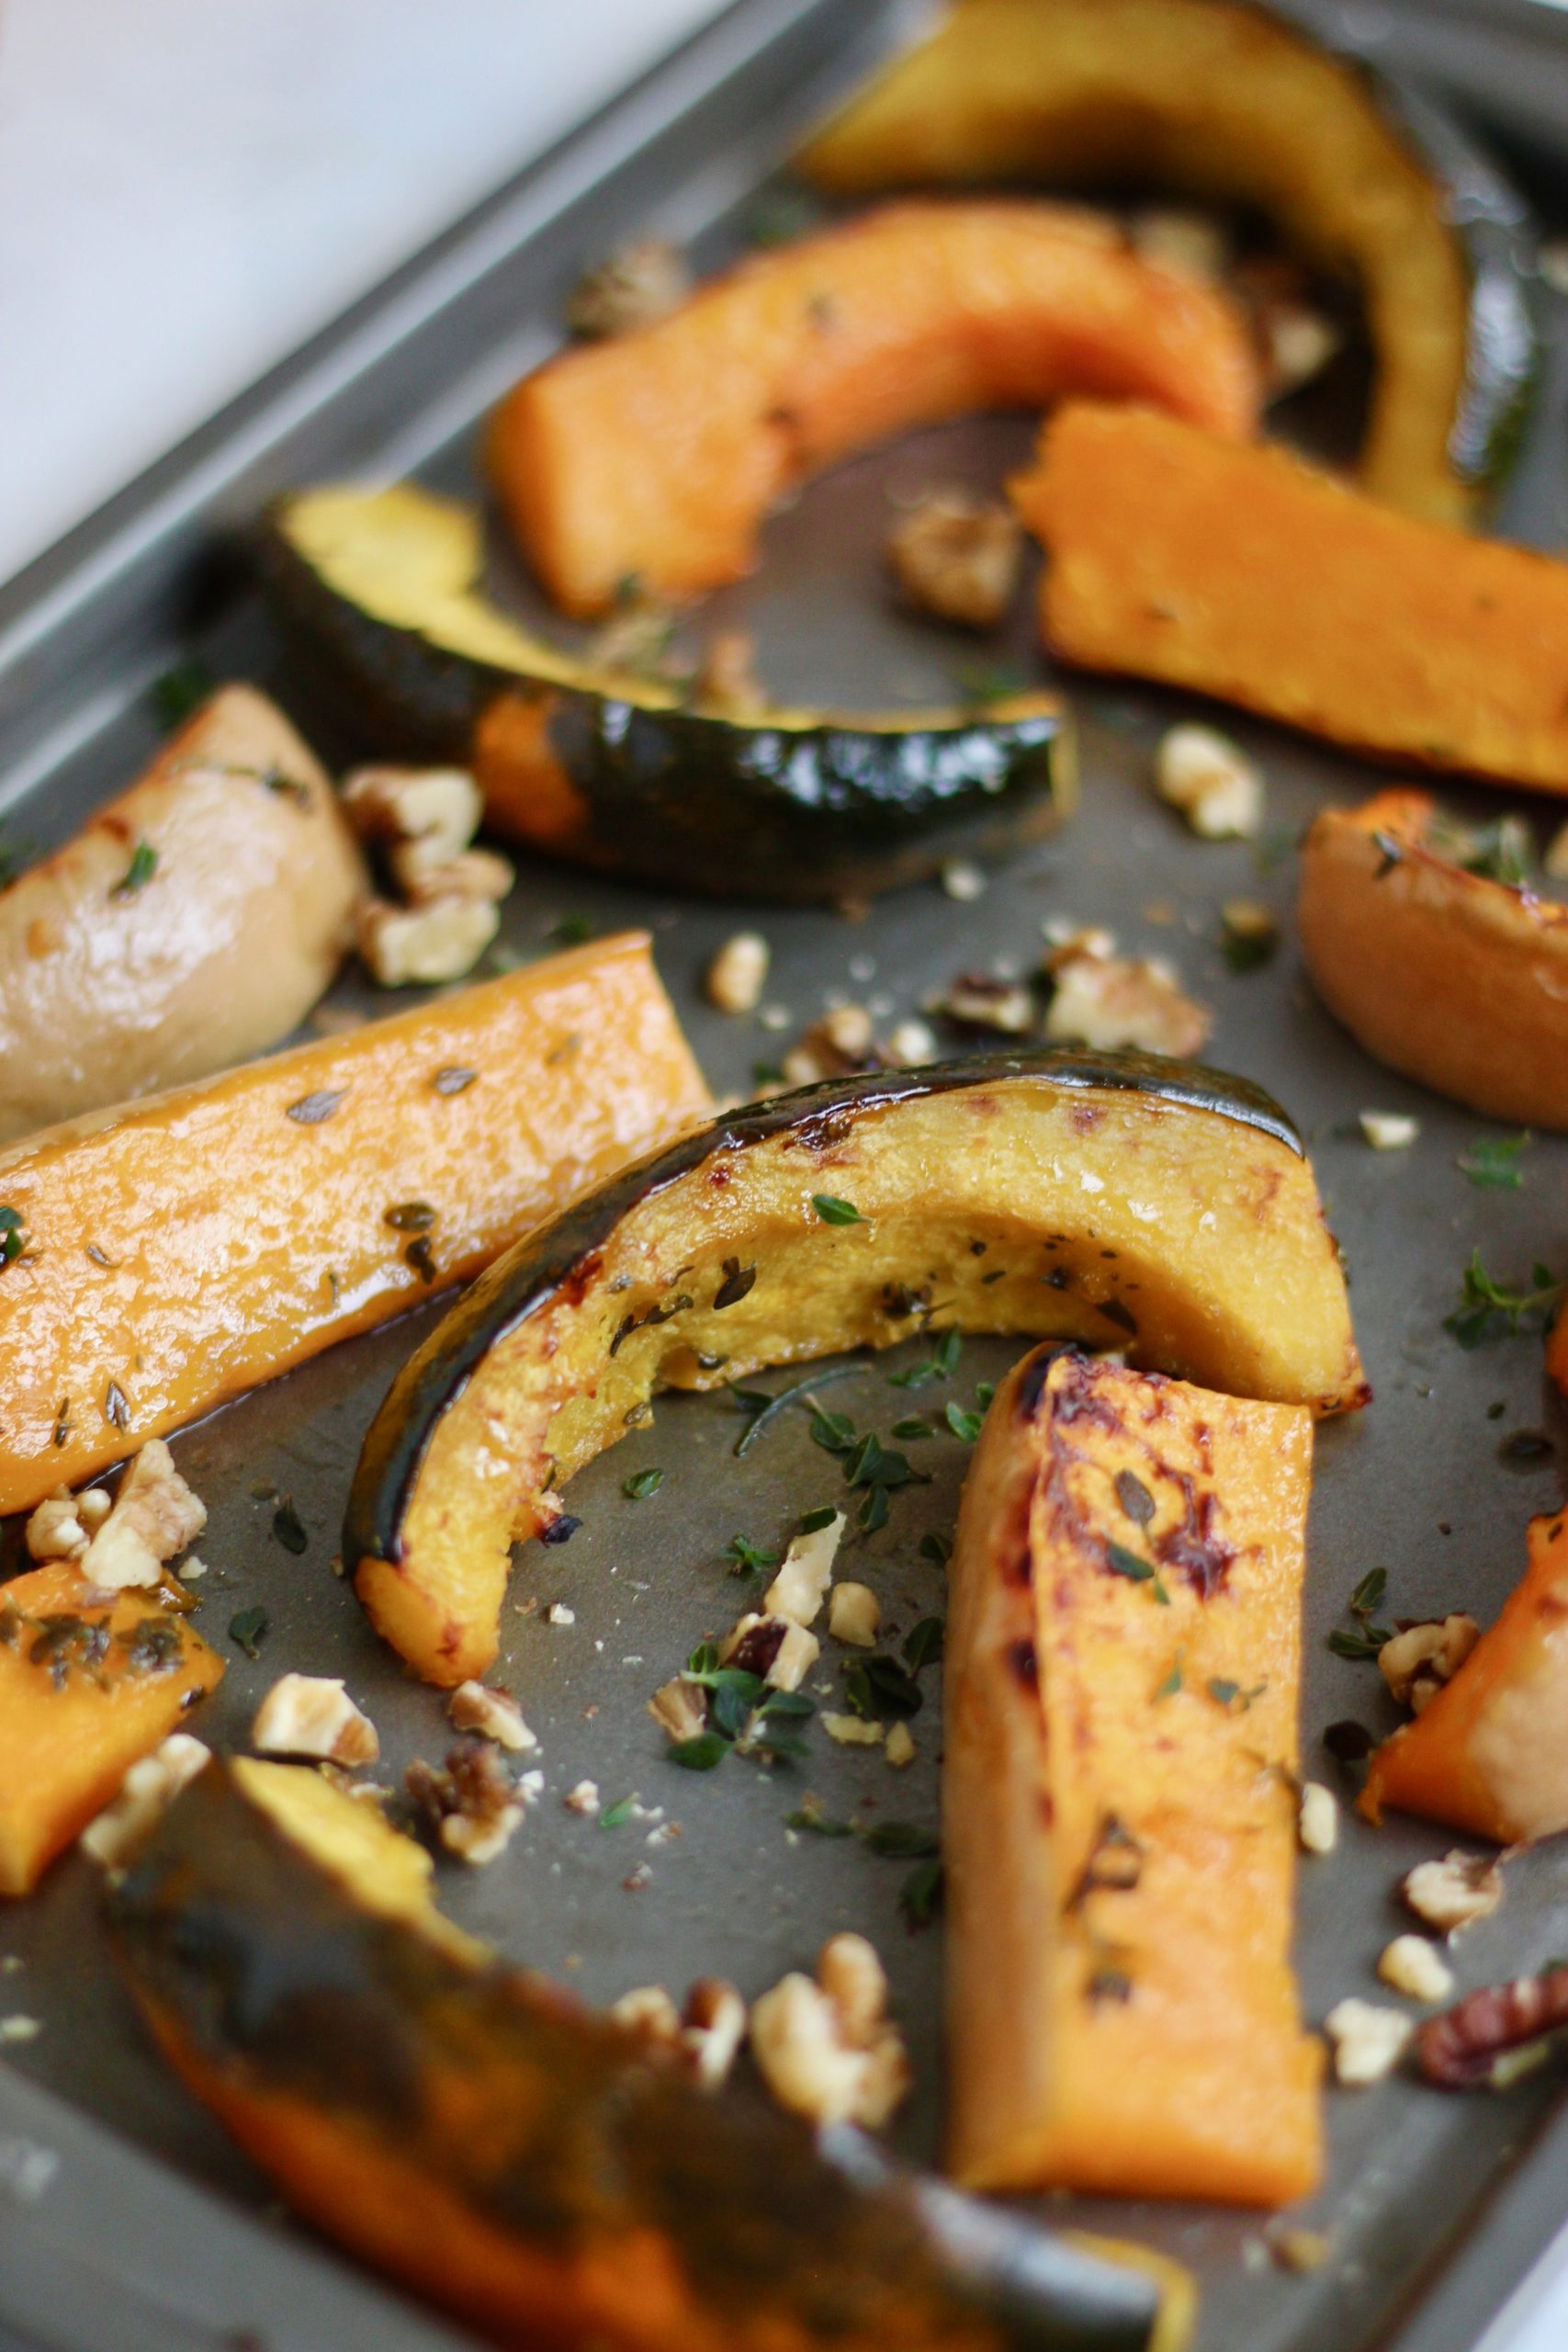
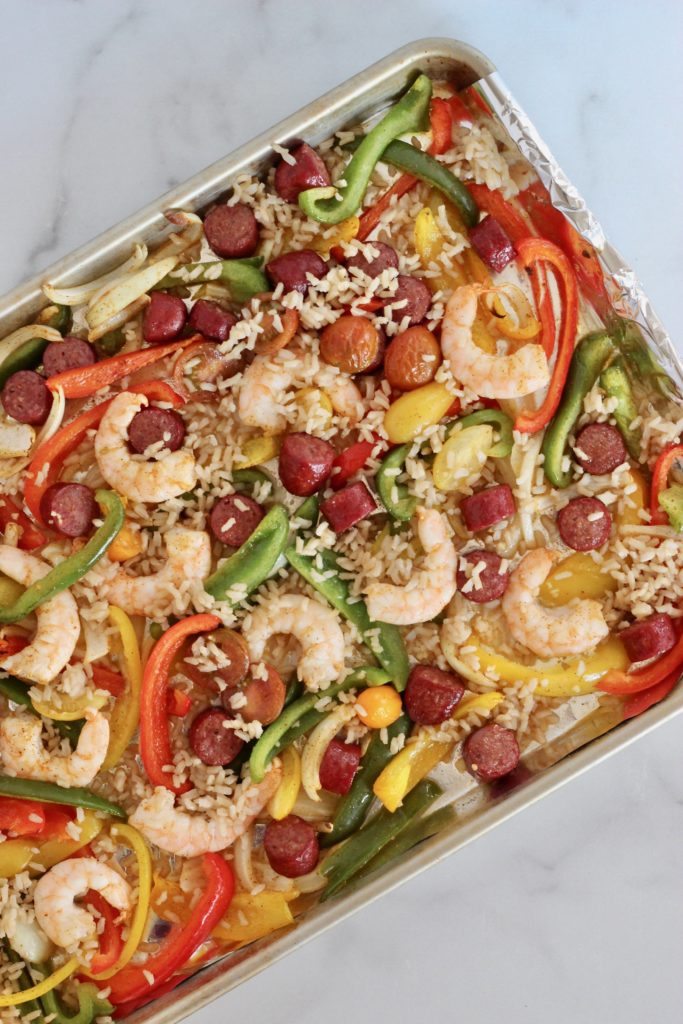
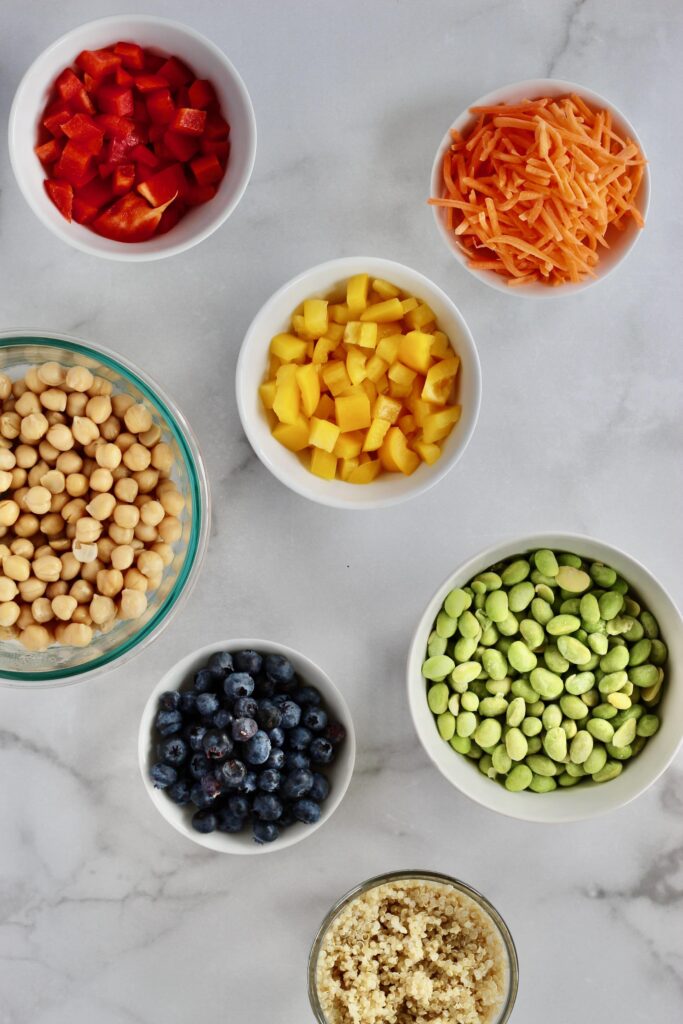
Look for recipes that contain 10 ingredients or less, require little to no prep work, and have easy to understand instructions. This might be sheet pan dinners, one pot pasta, or a fool-proof jam.
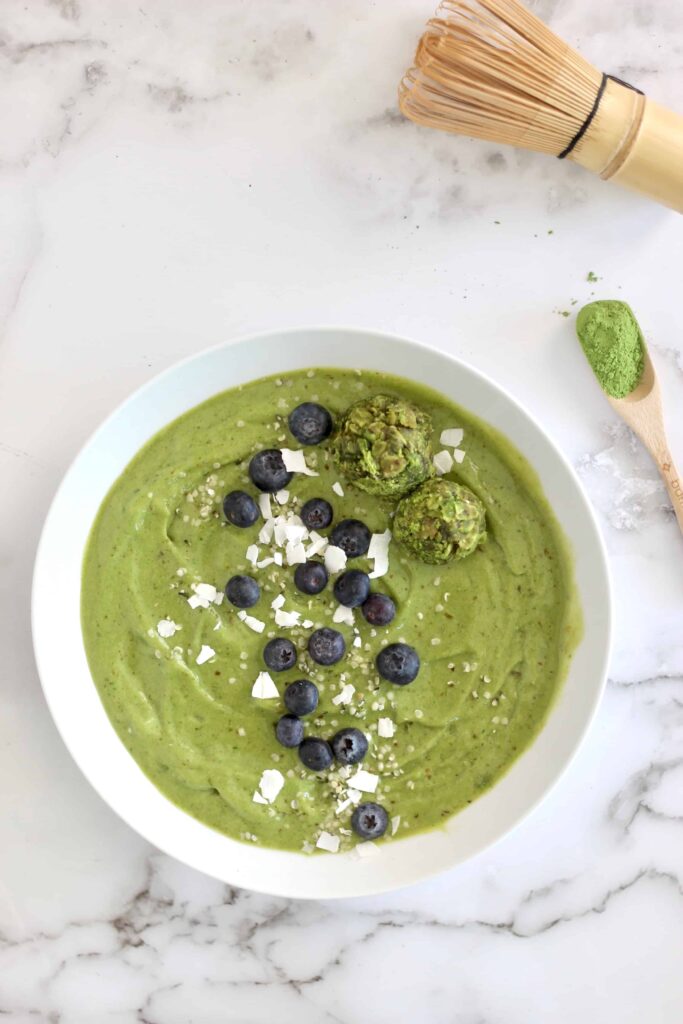
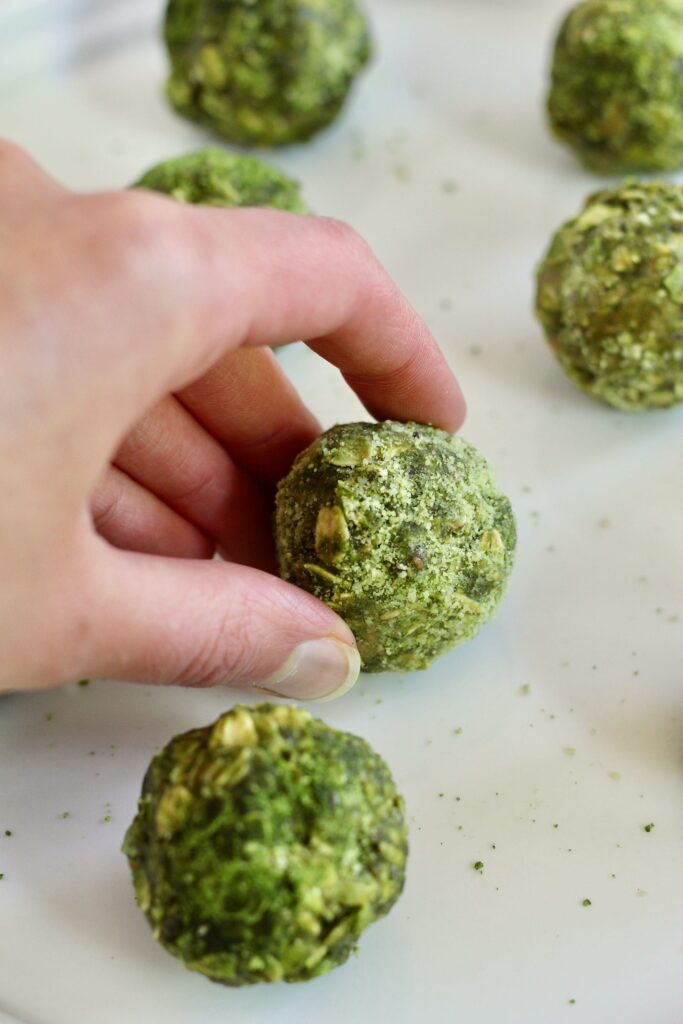
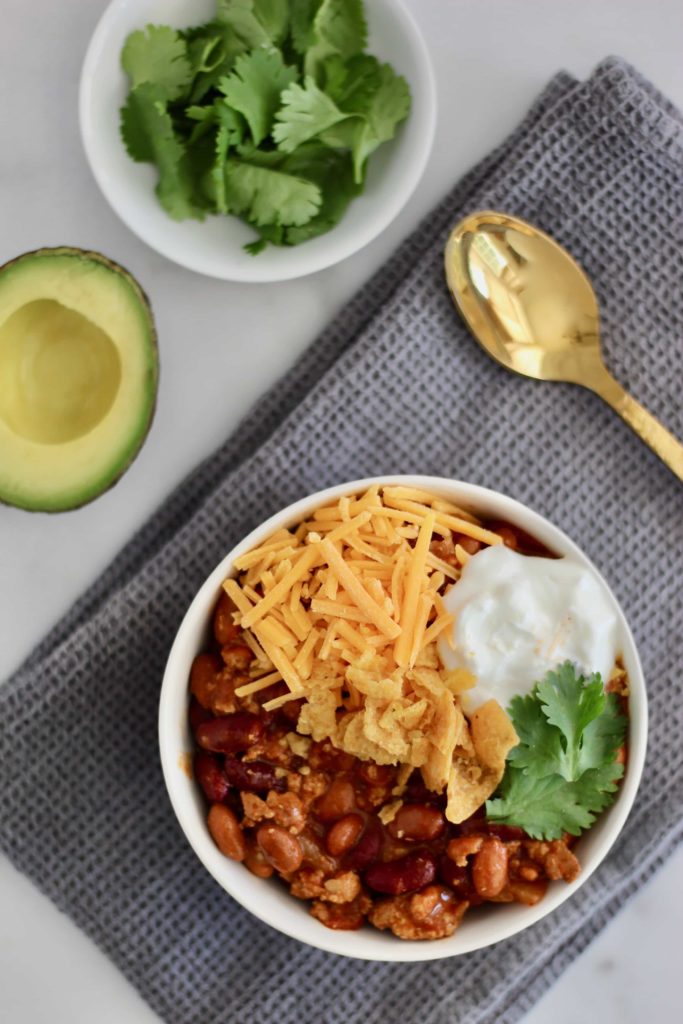
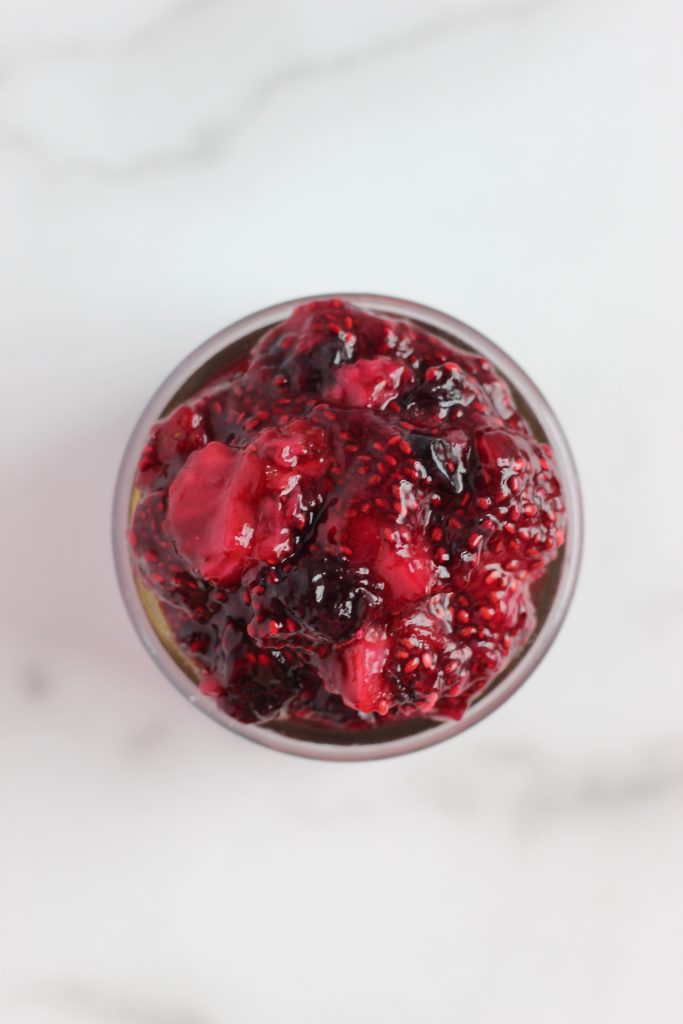
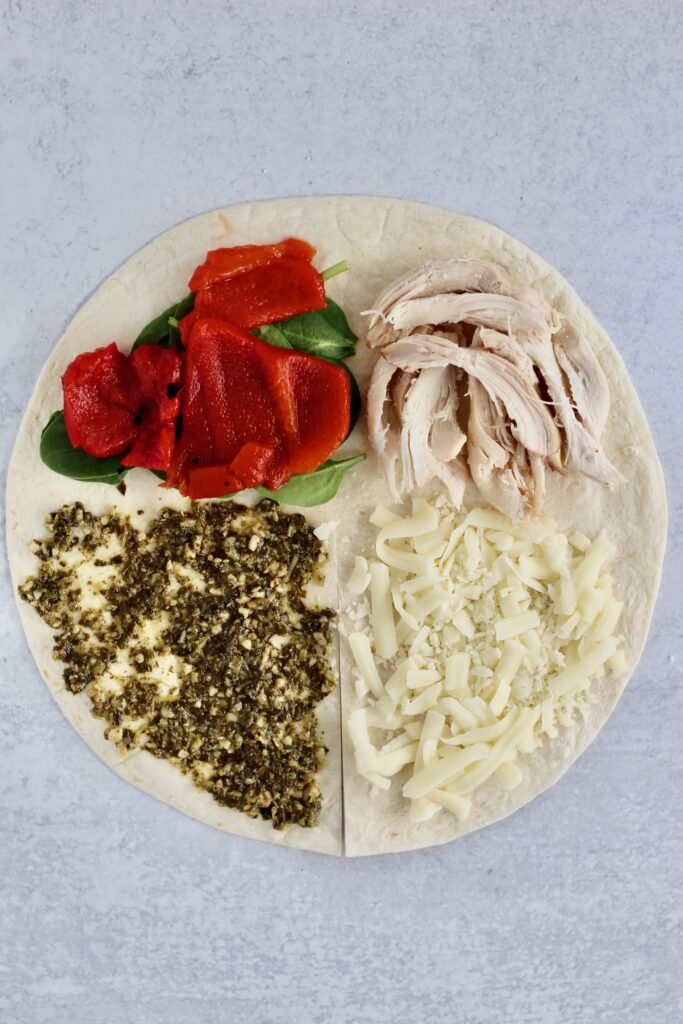
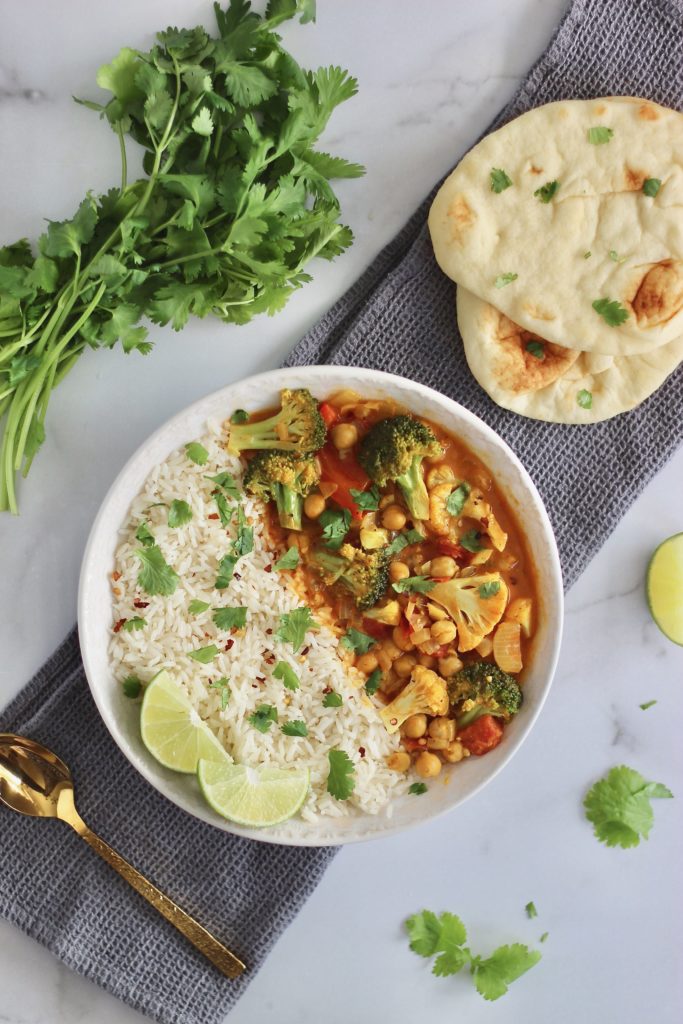
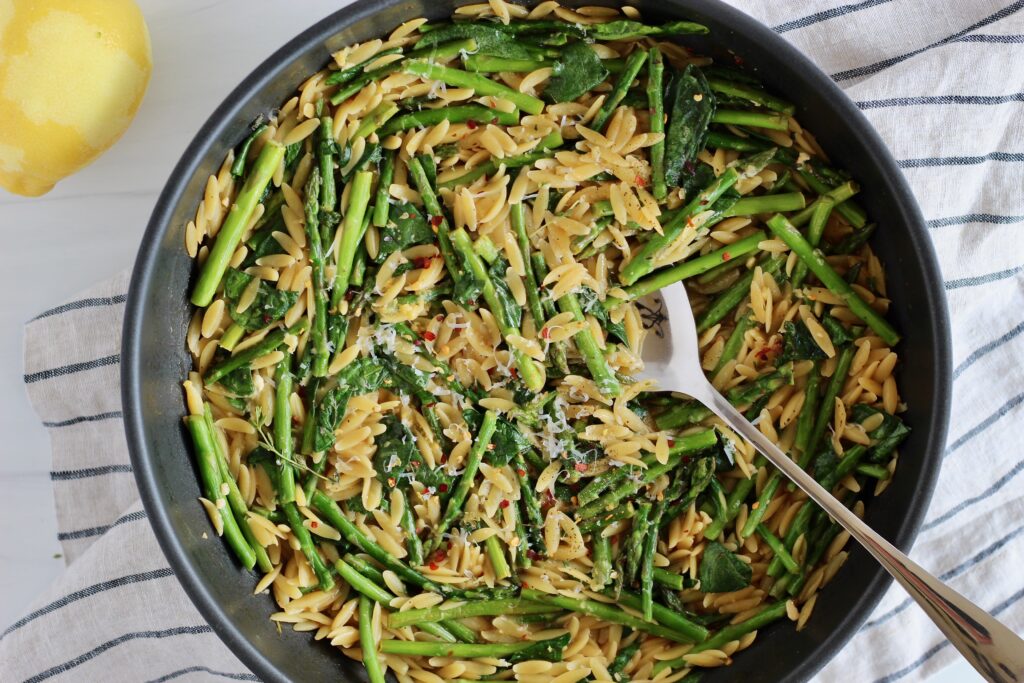
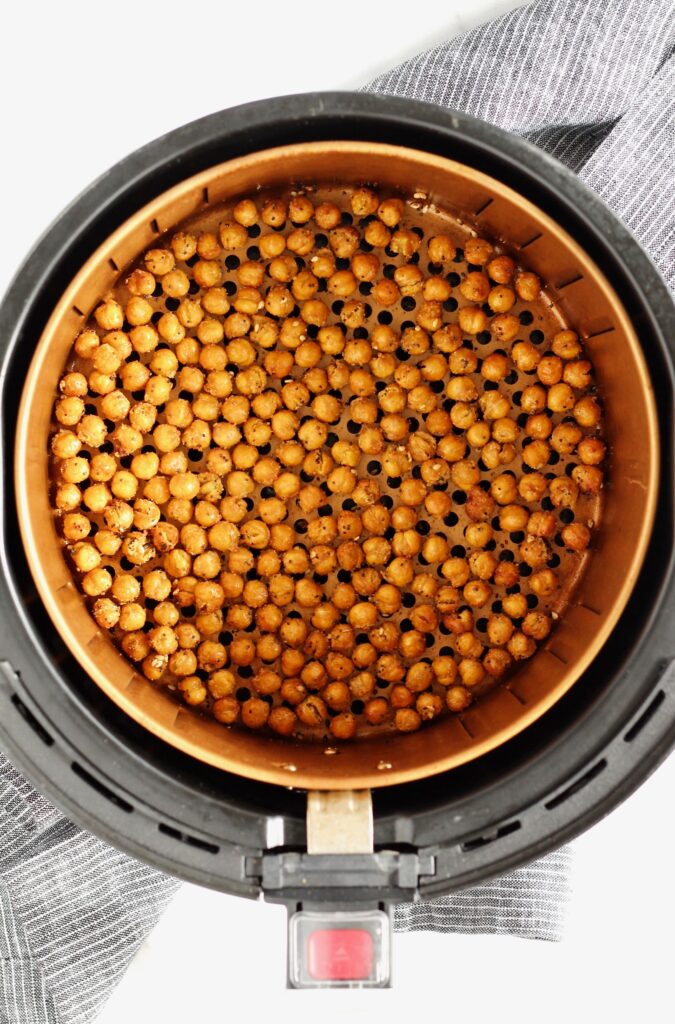
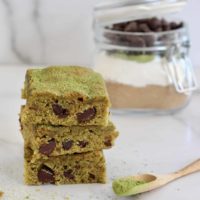
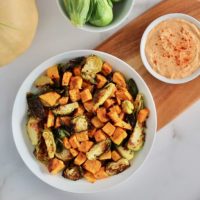
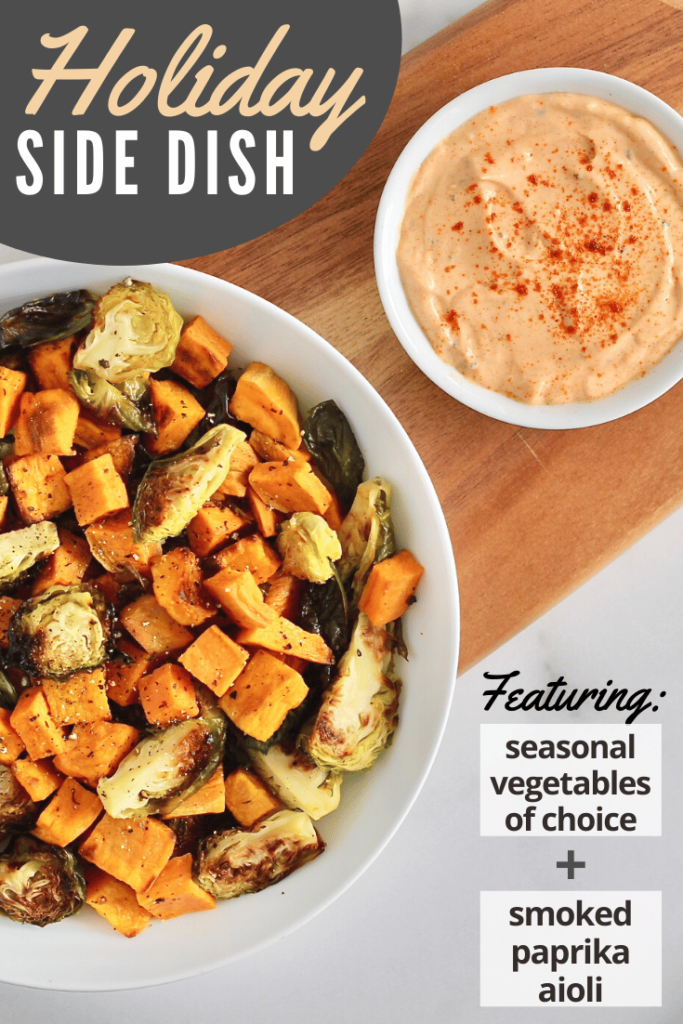
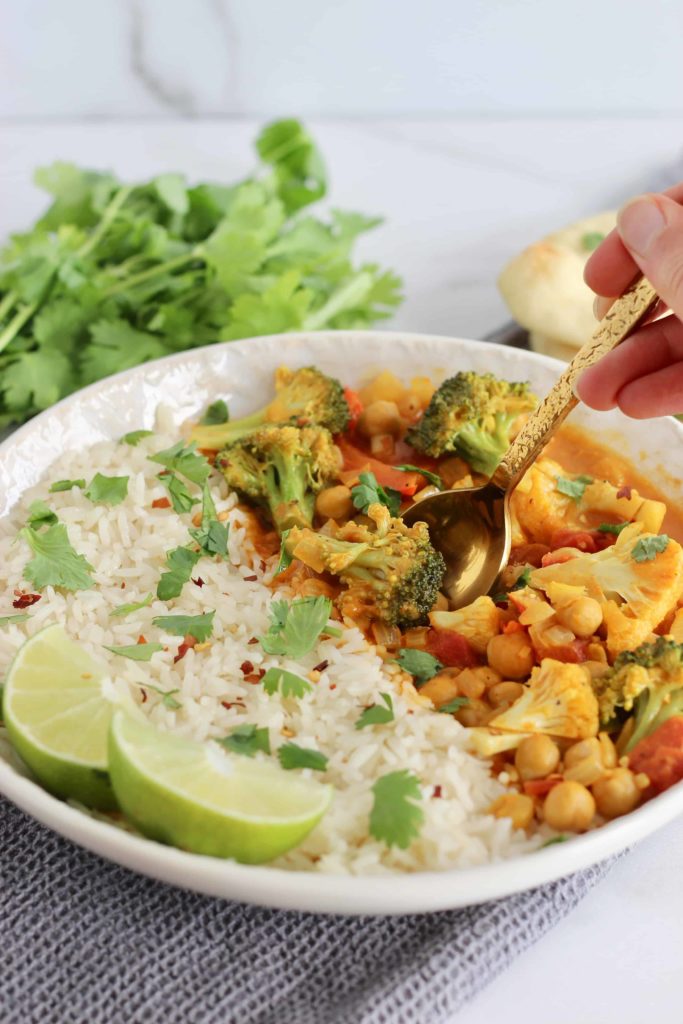
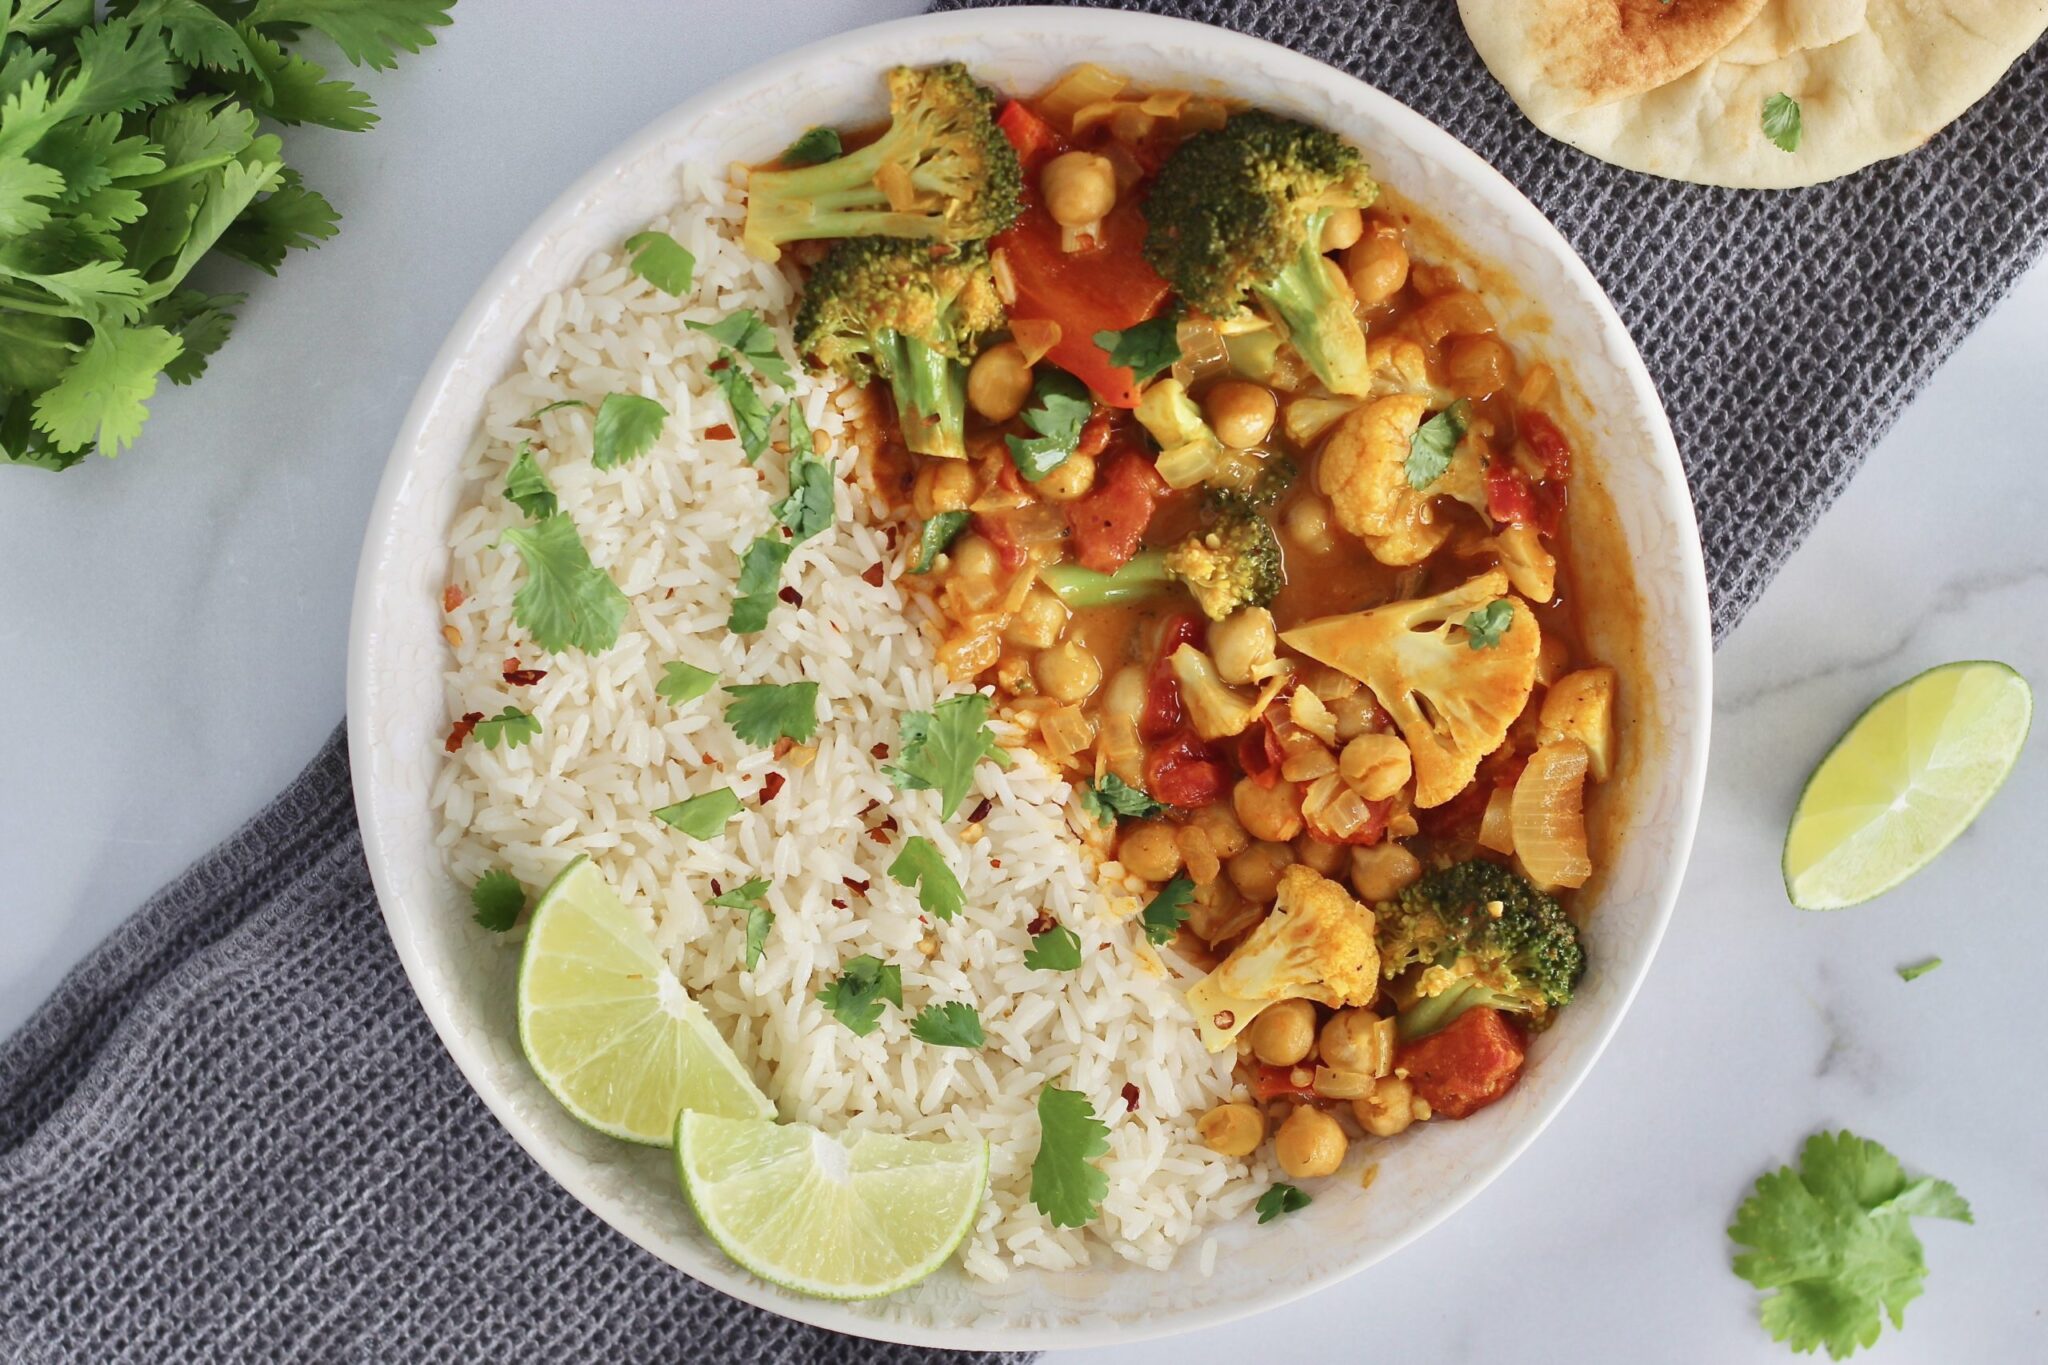
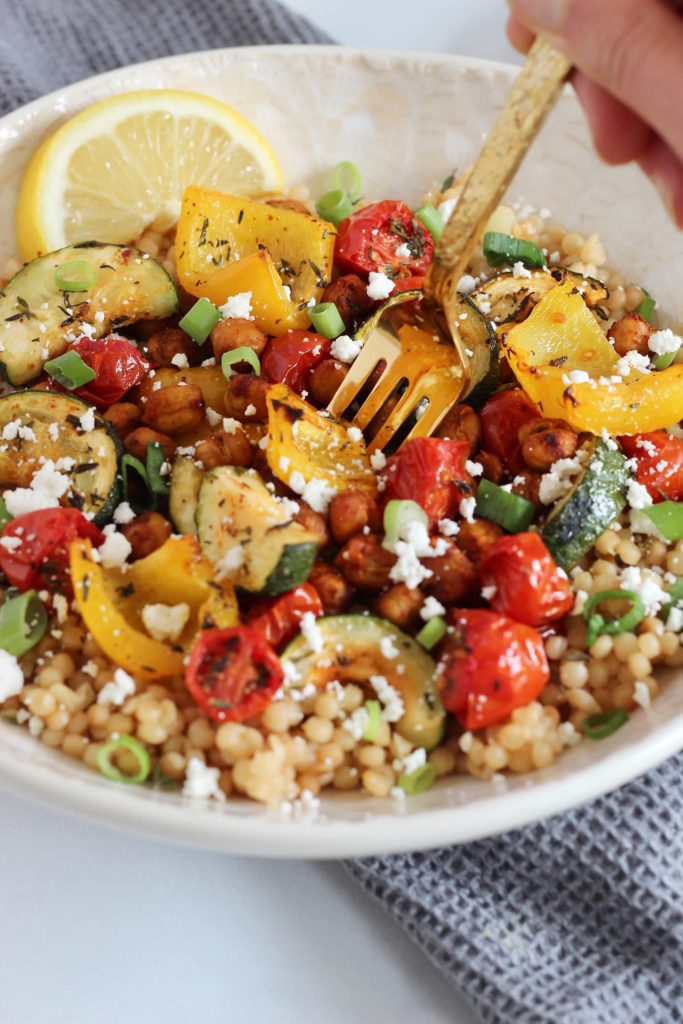
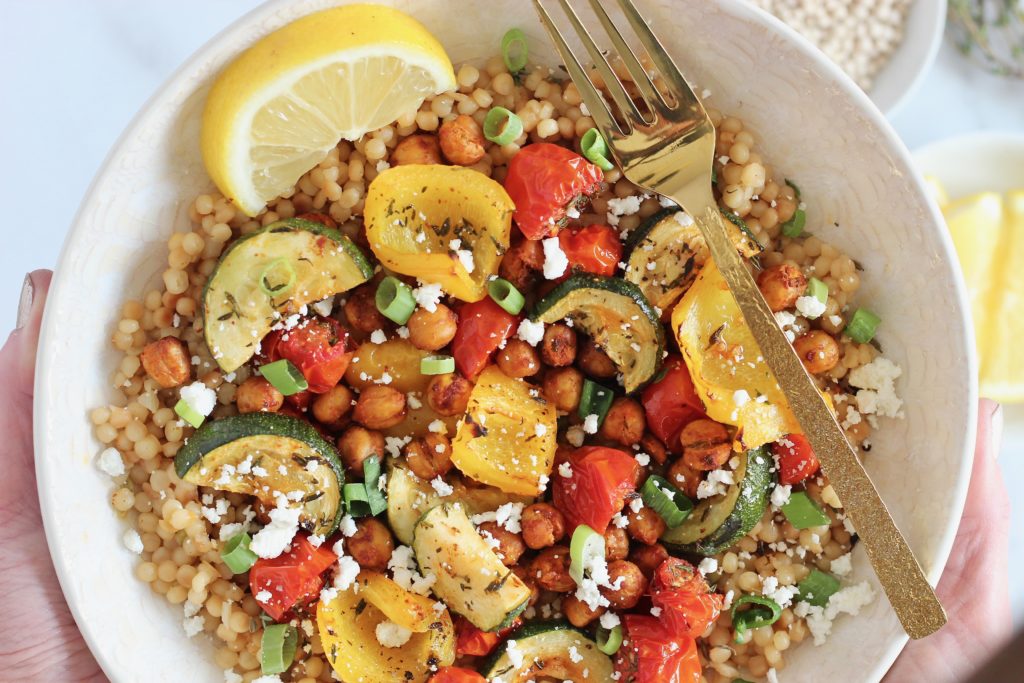
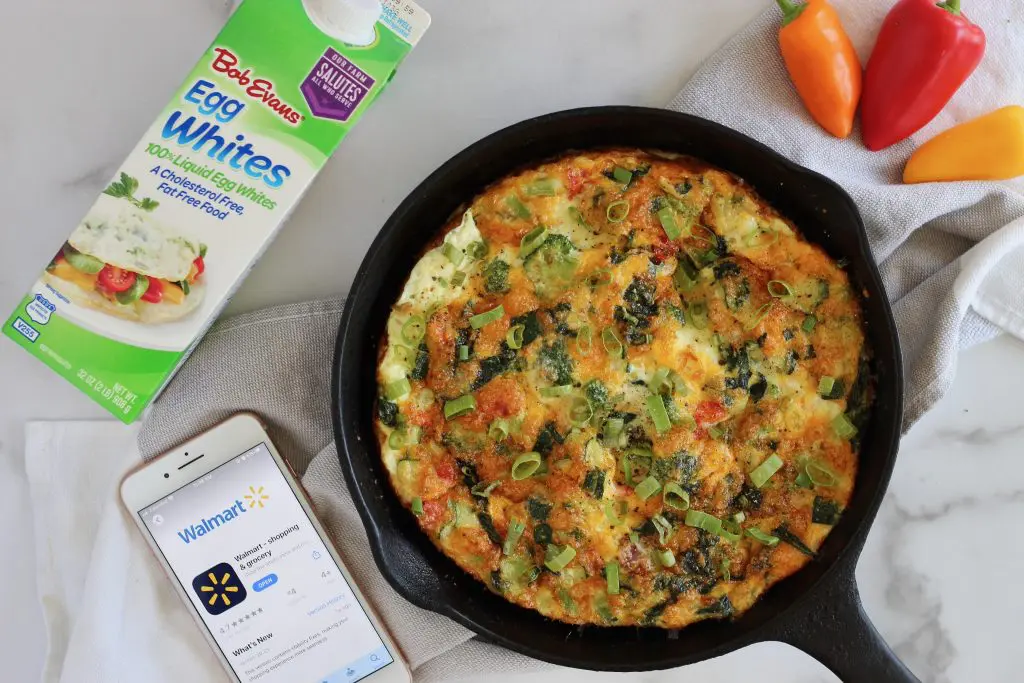
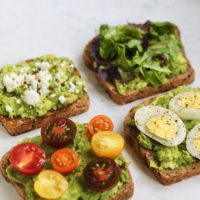
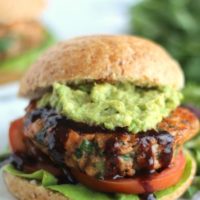
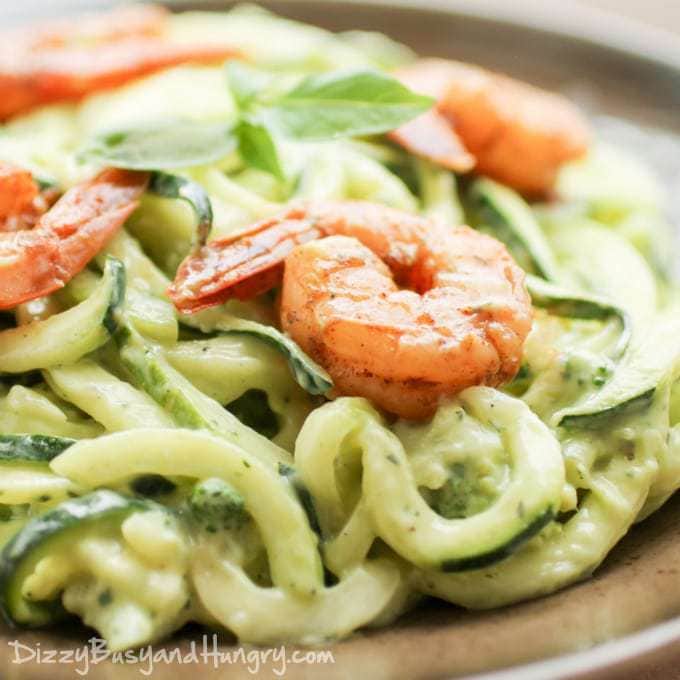
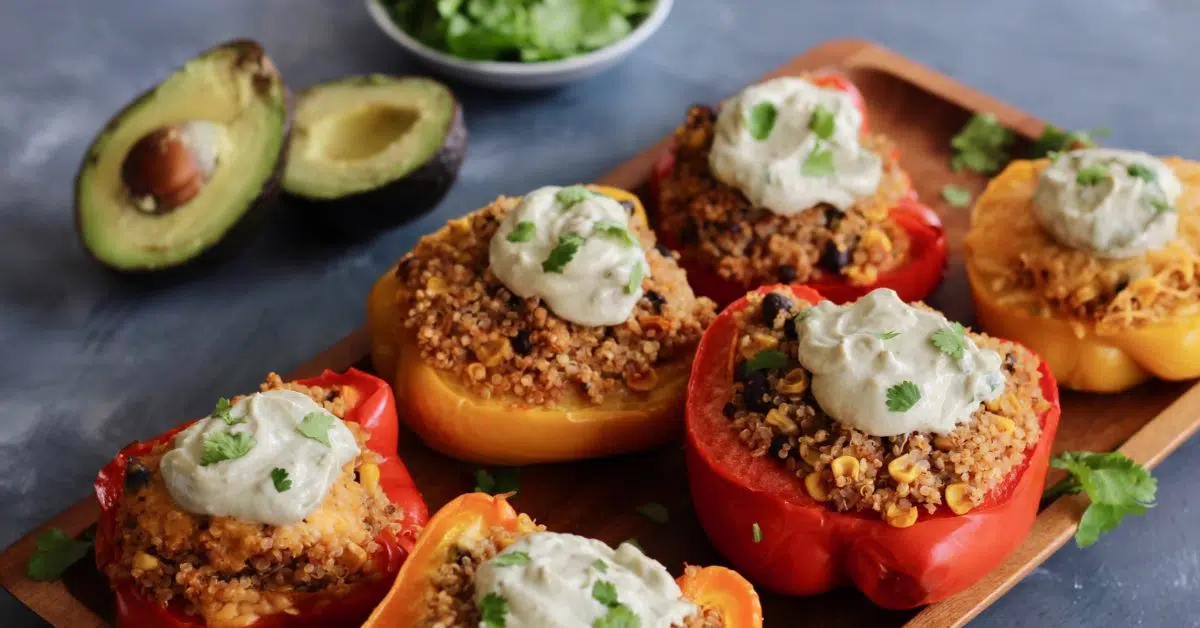
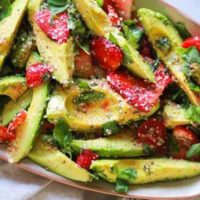
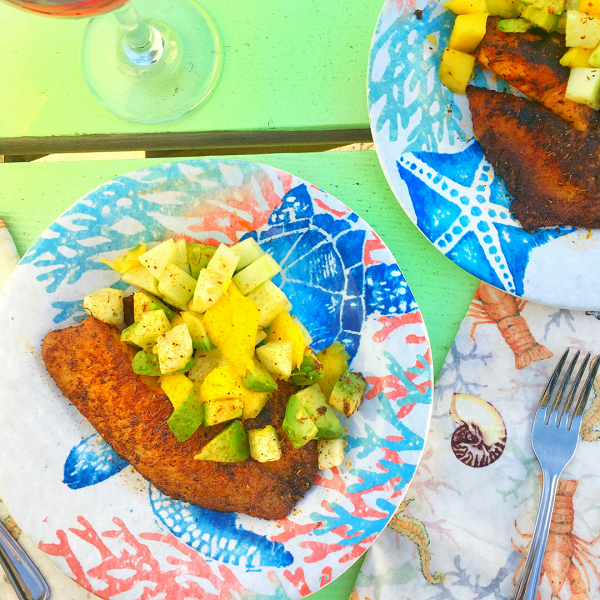
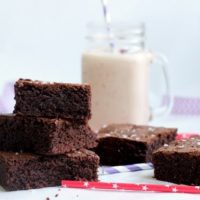
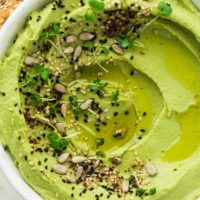
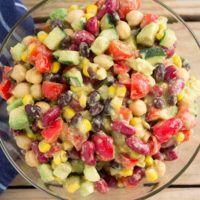
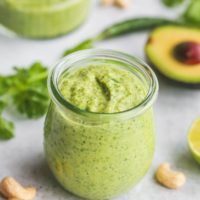
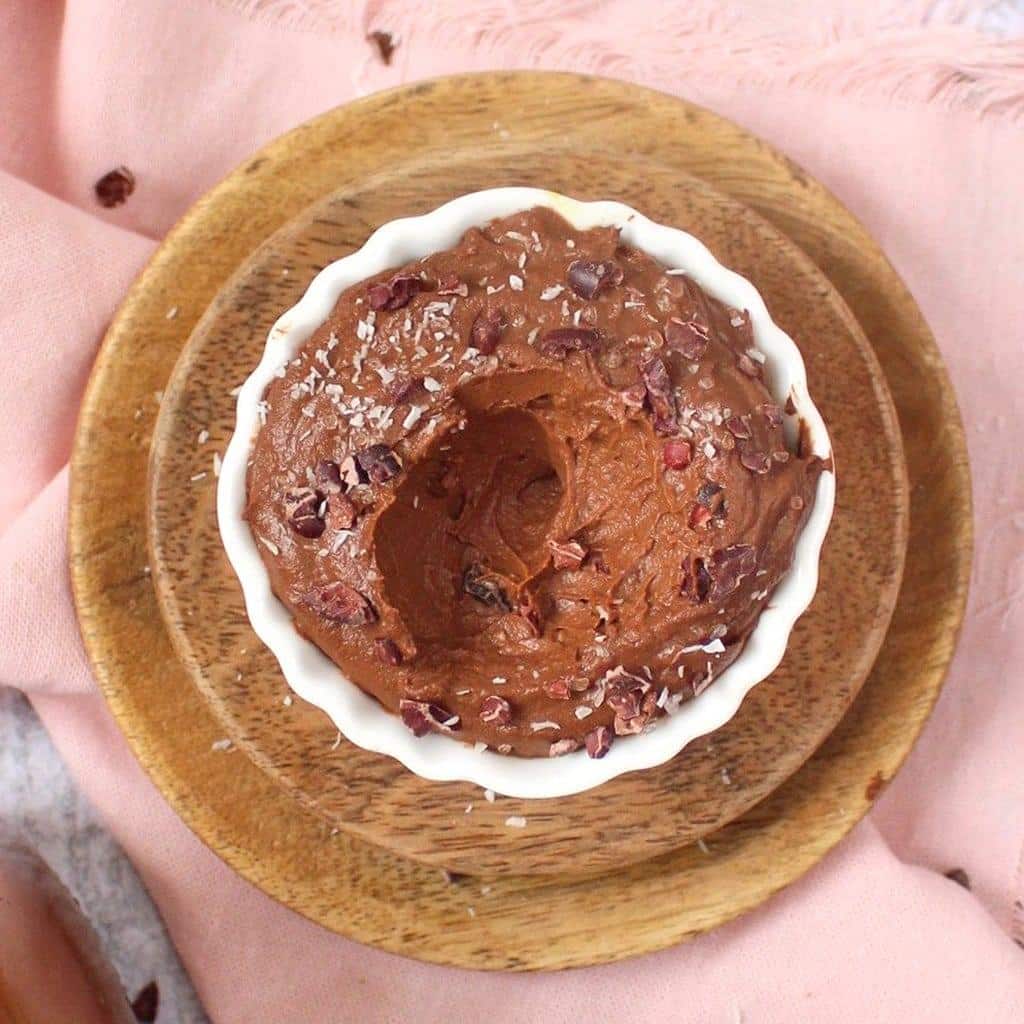
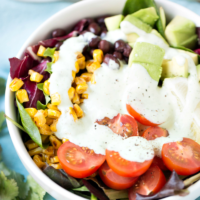
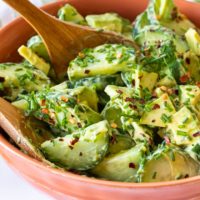
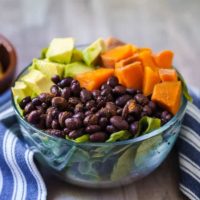
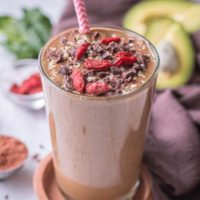
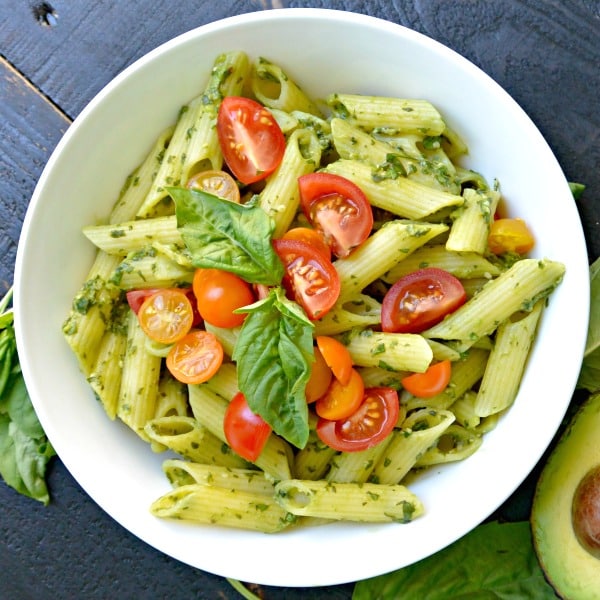
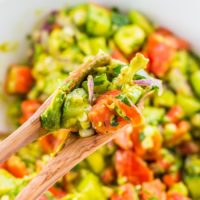
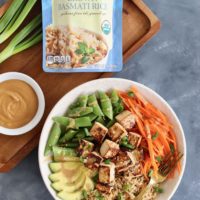
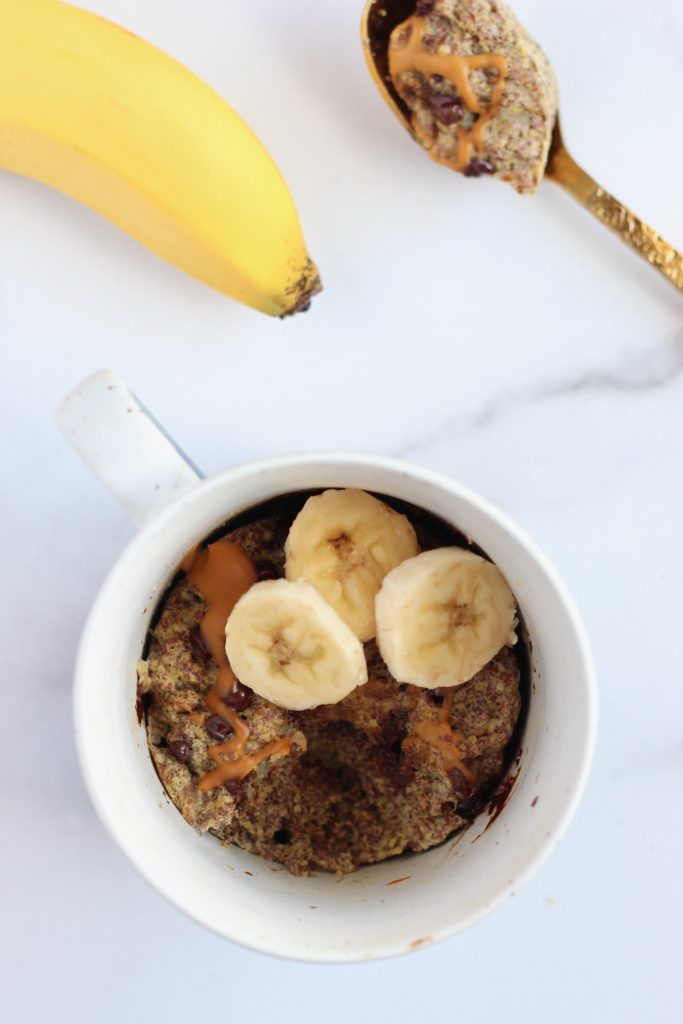
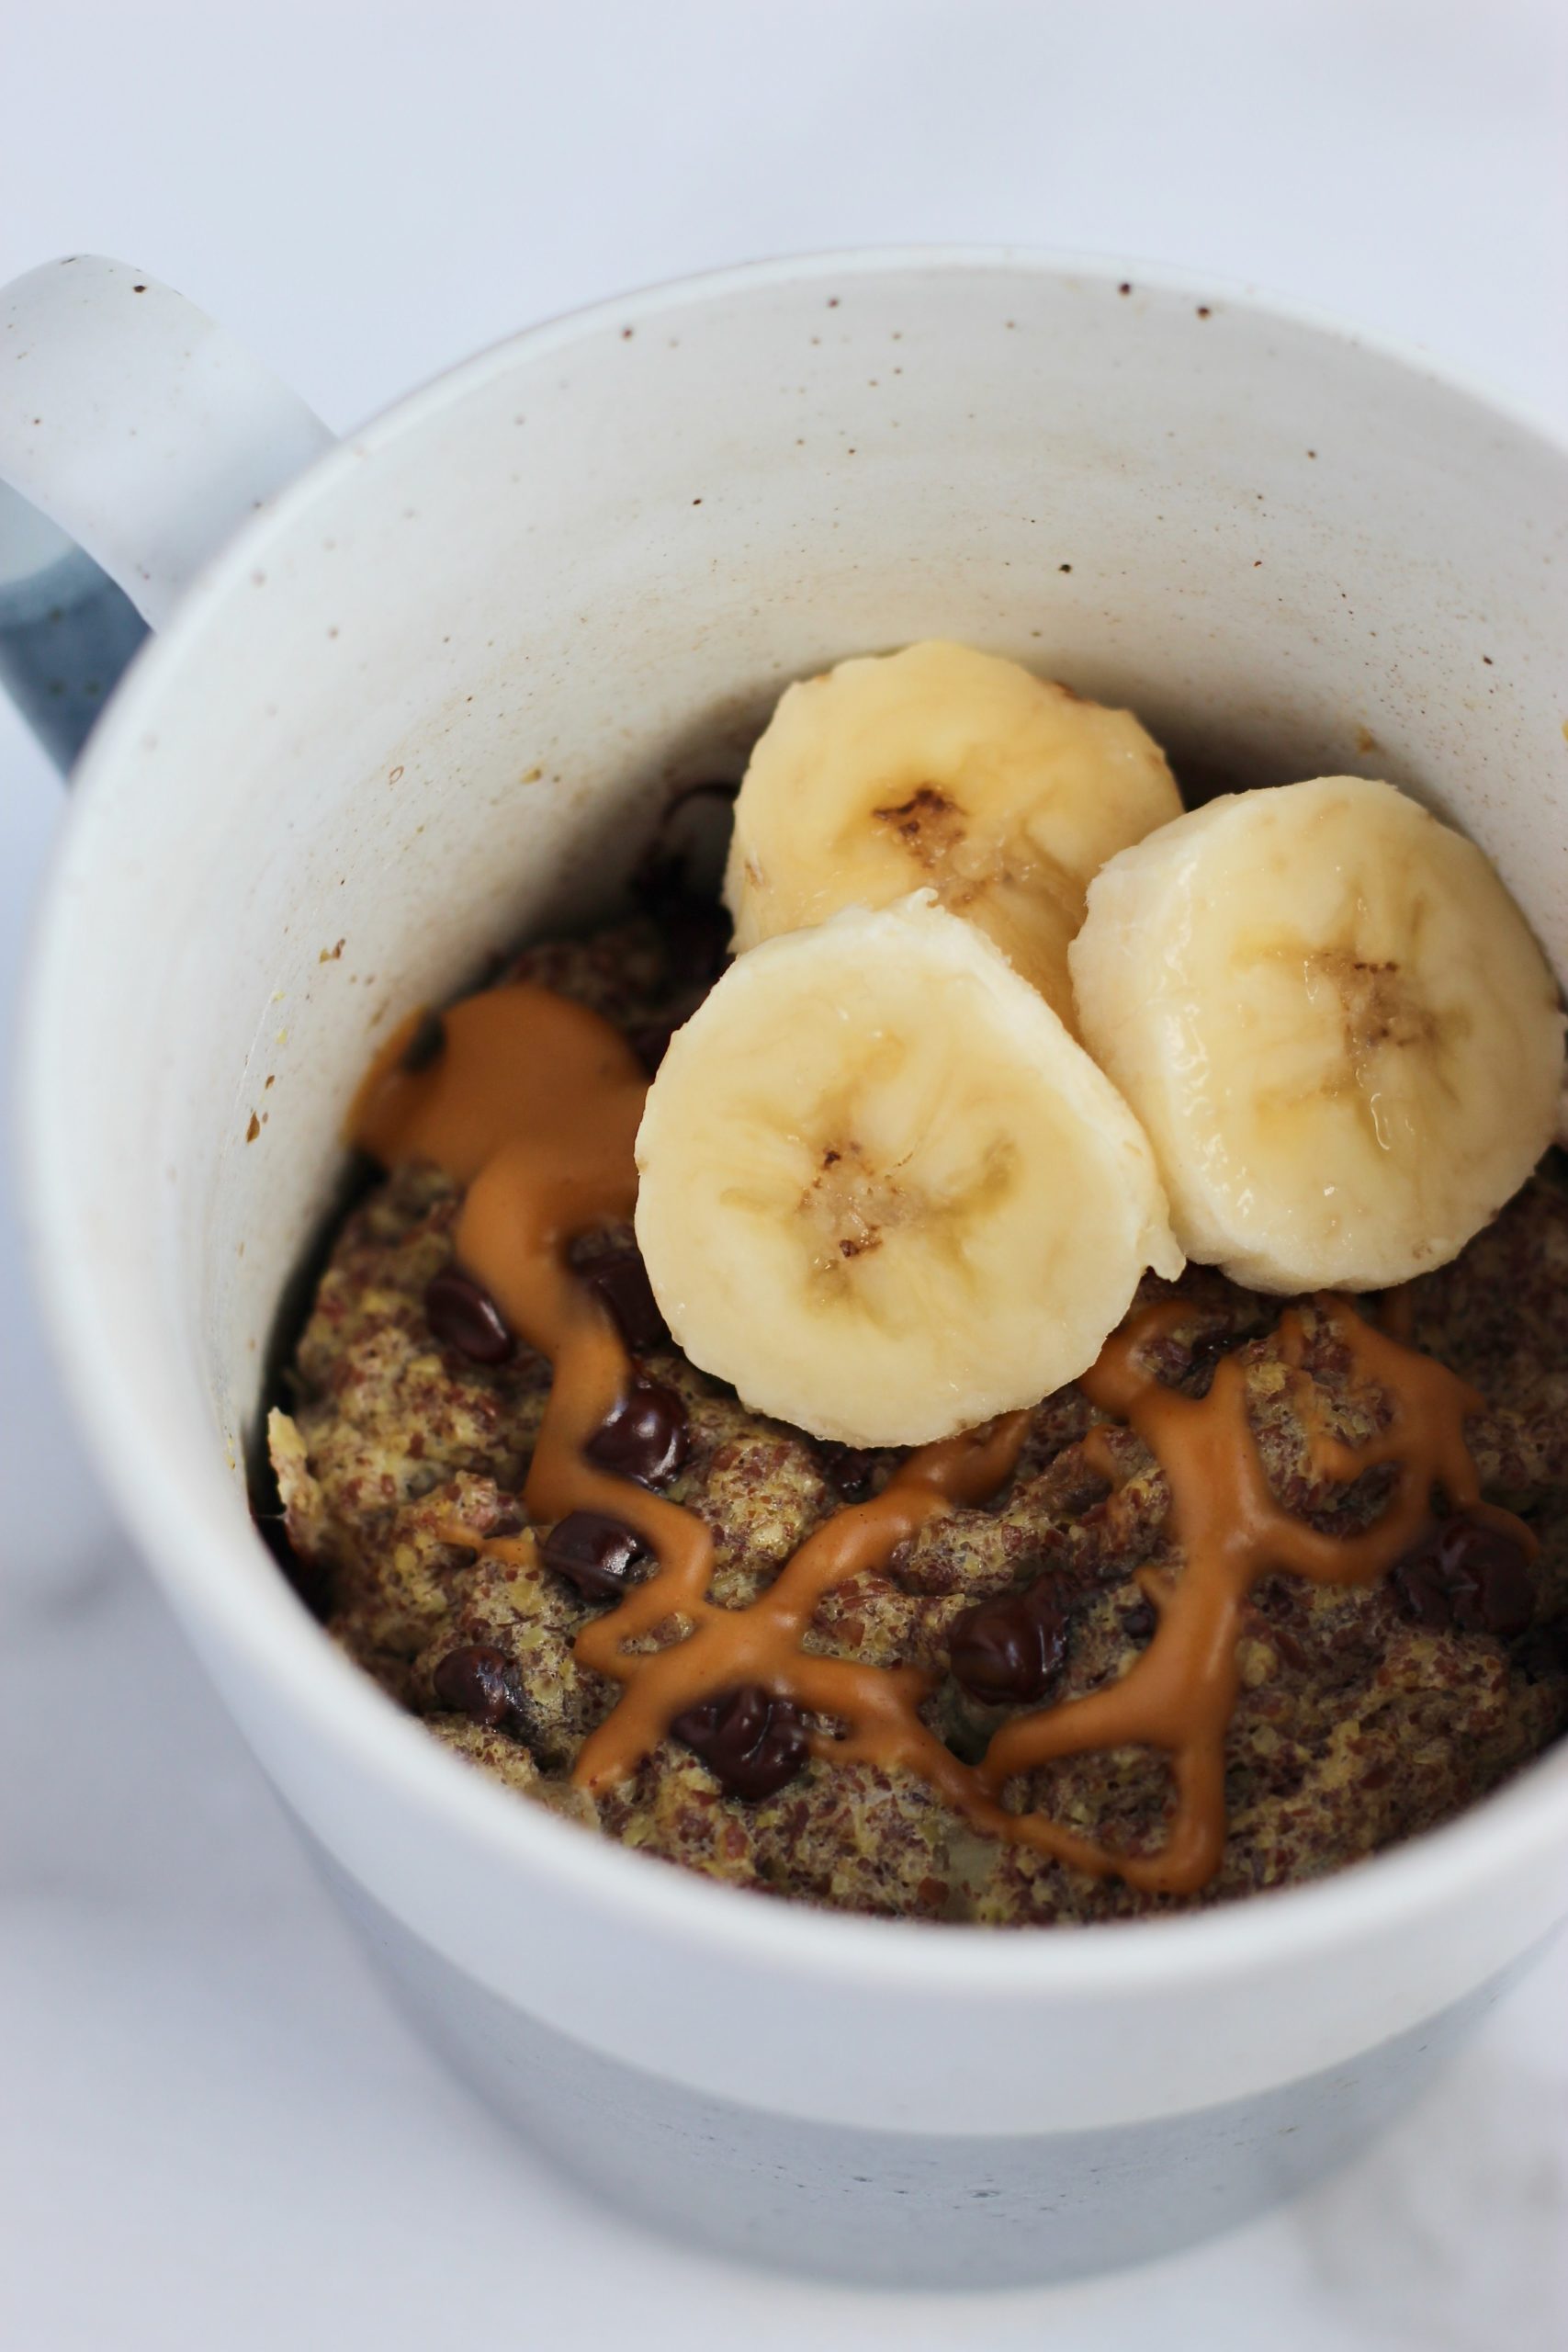
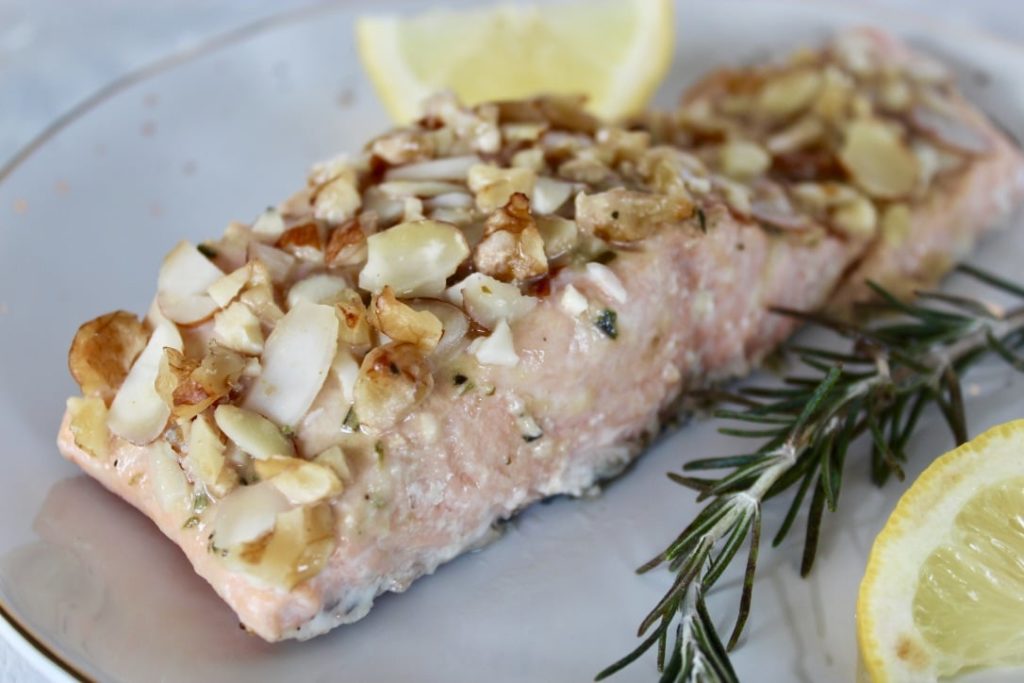
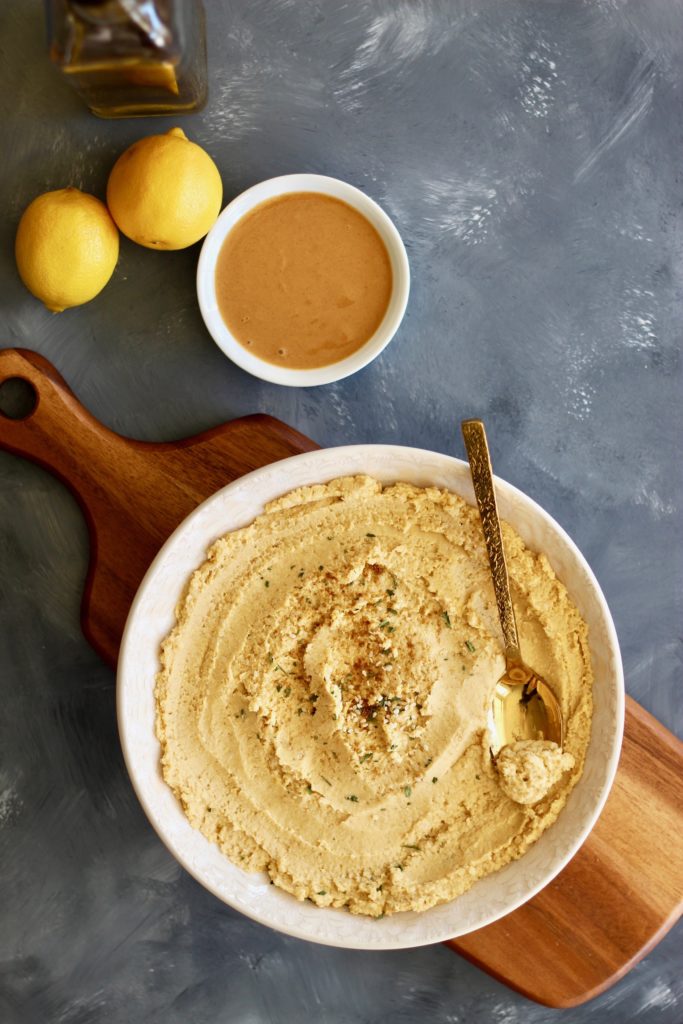
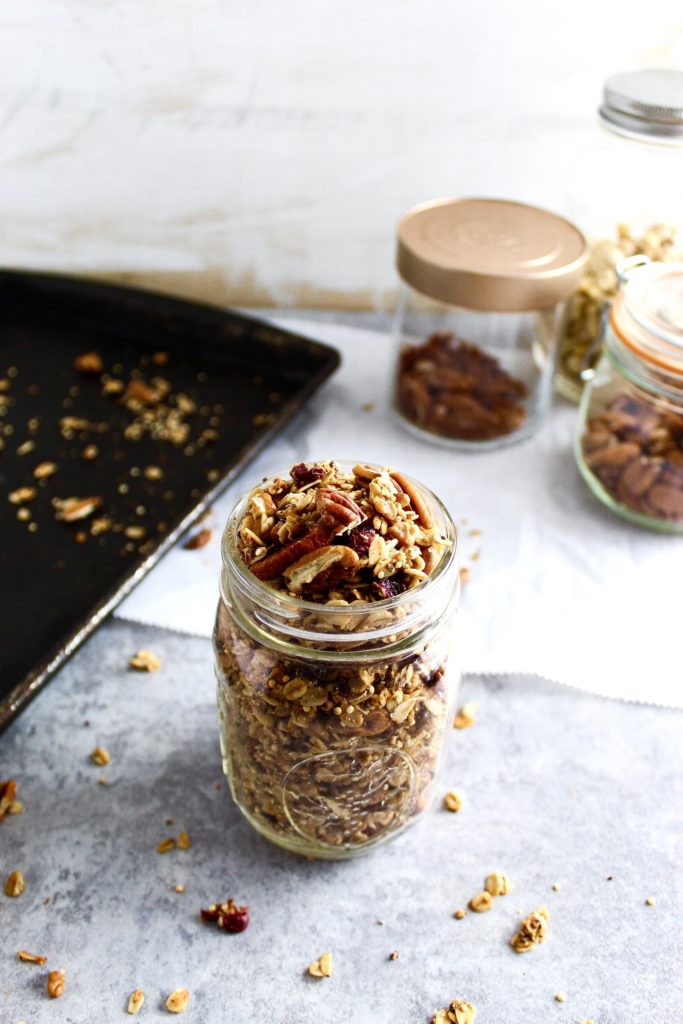
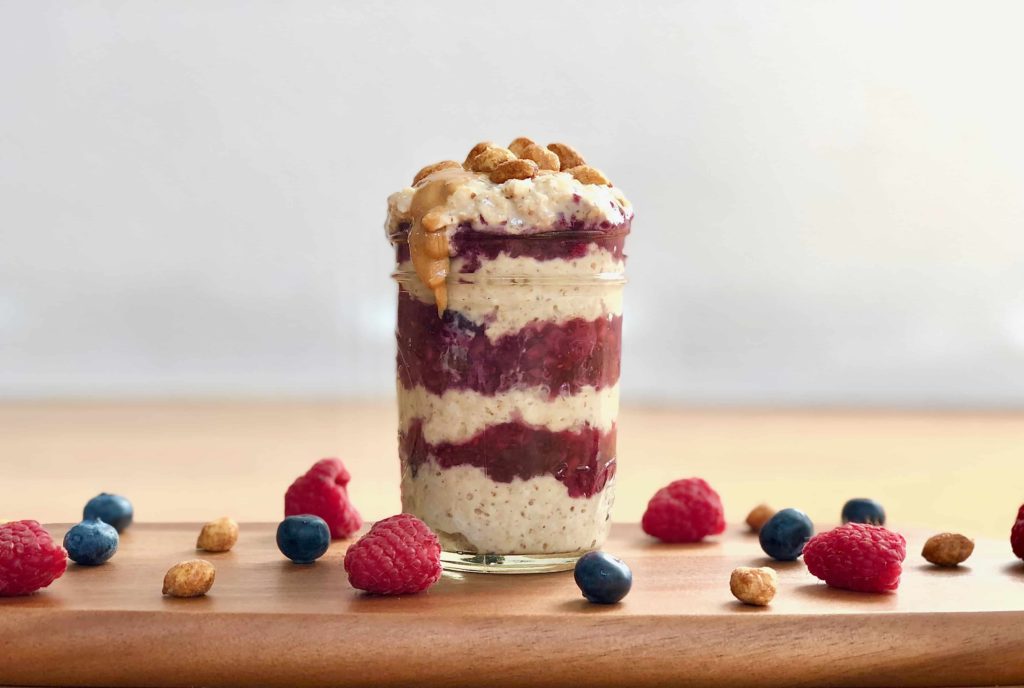
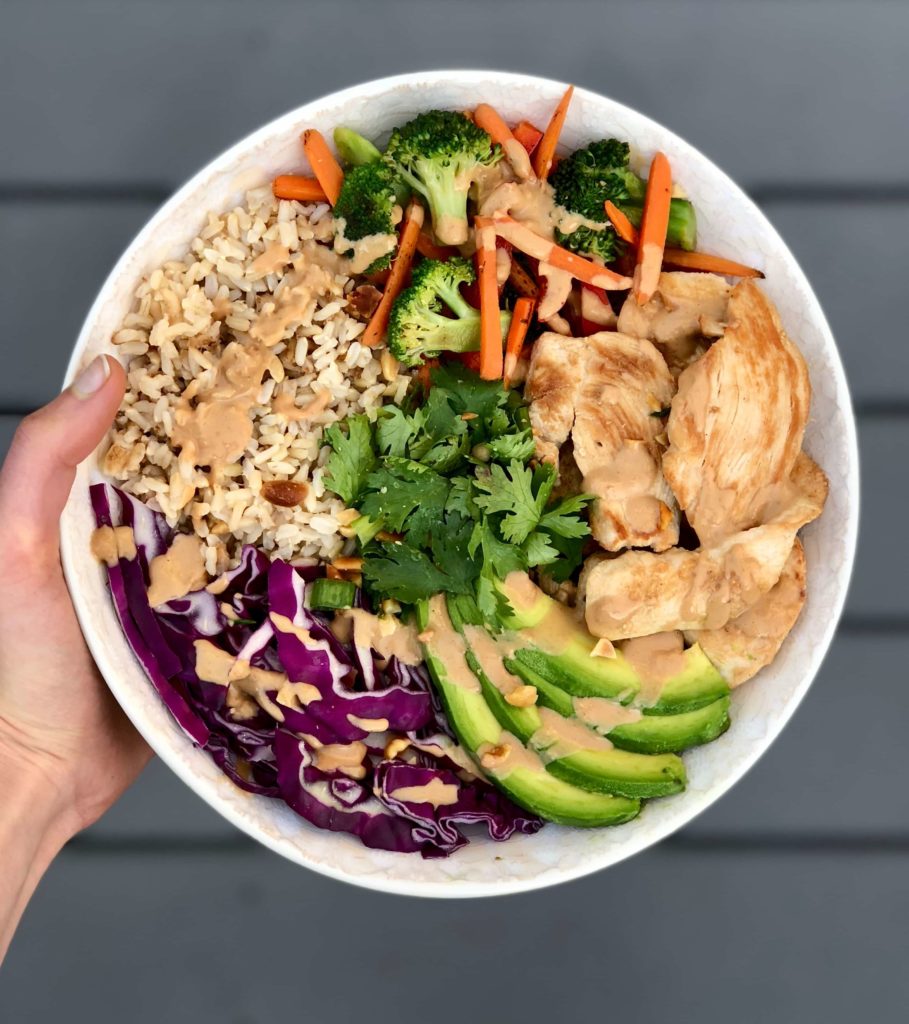
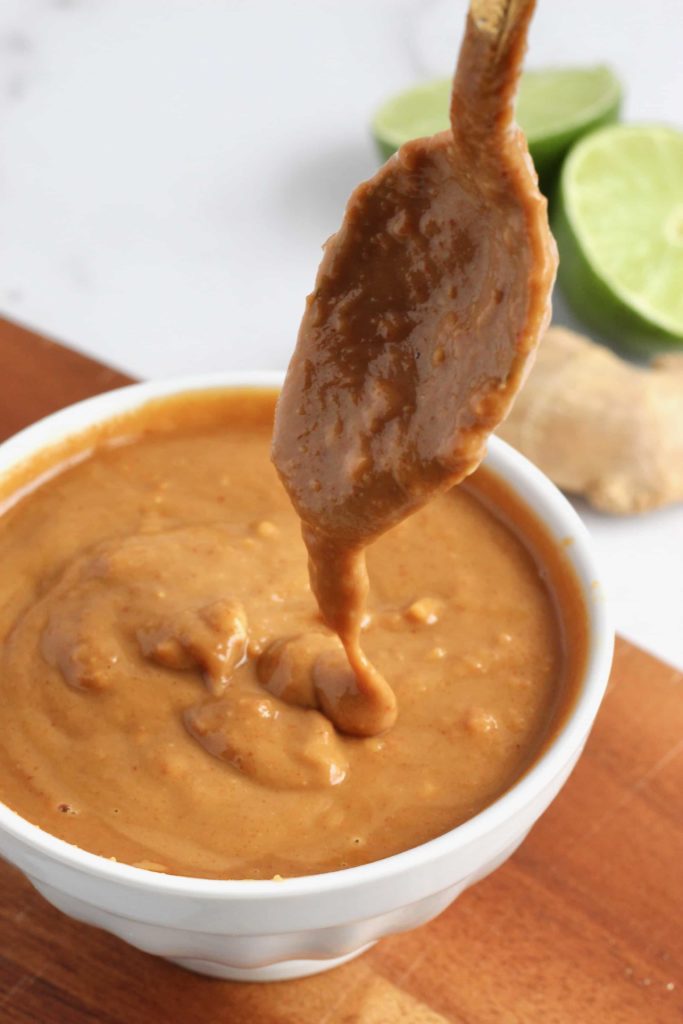
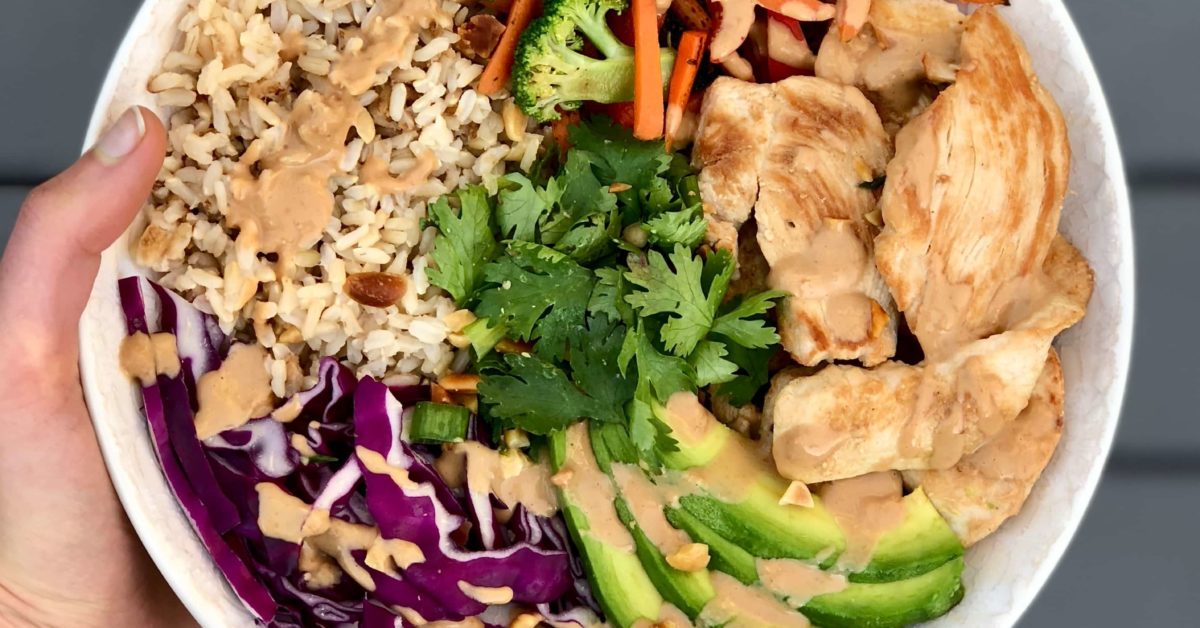
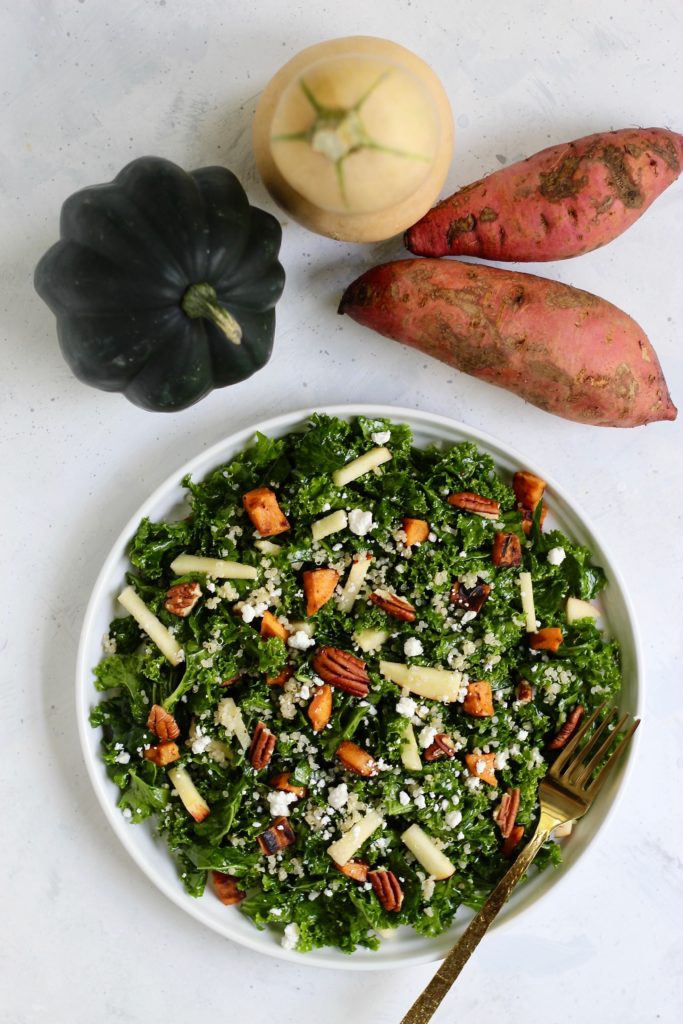
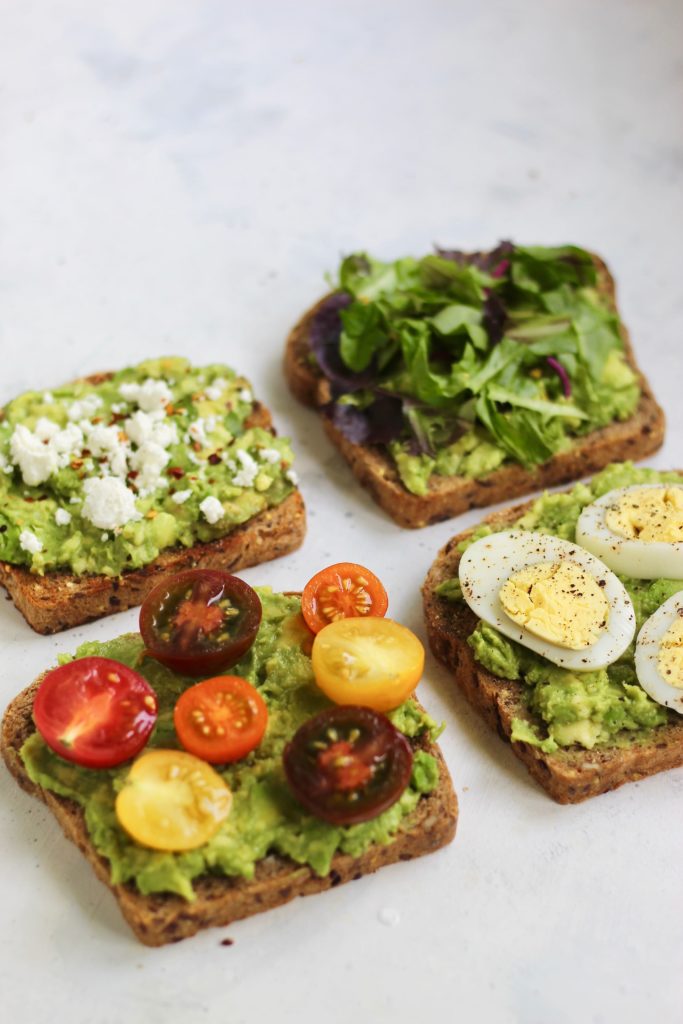
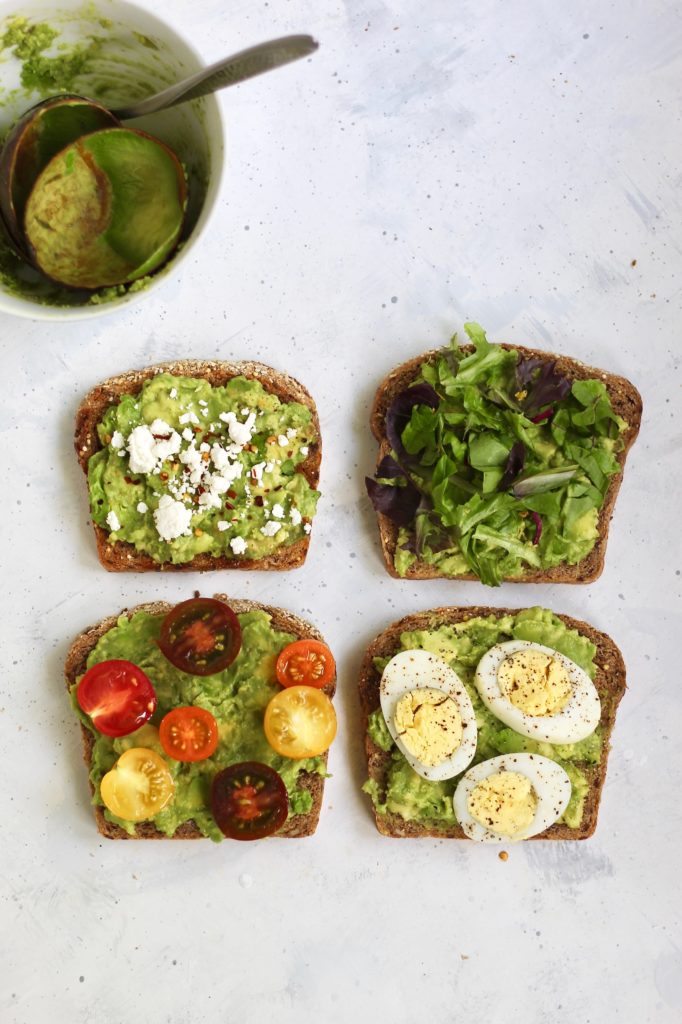
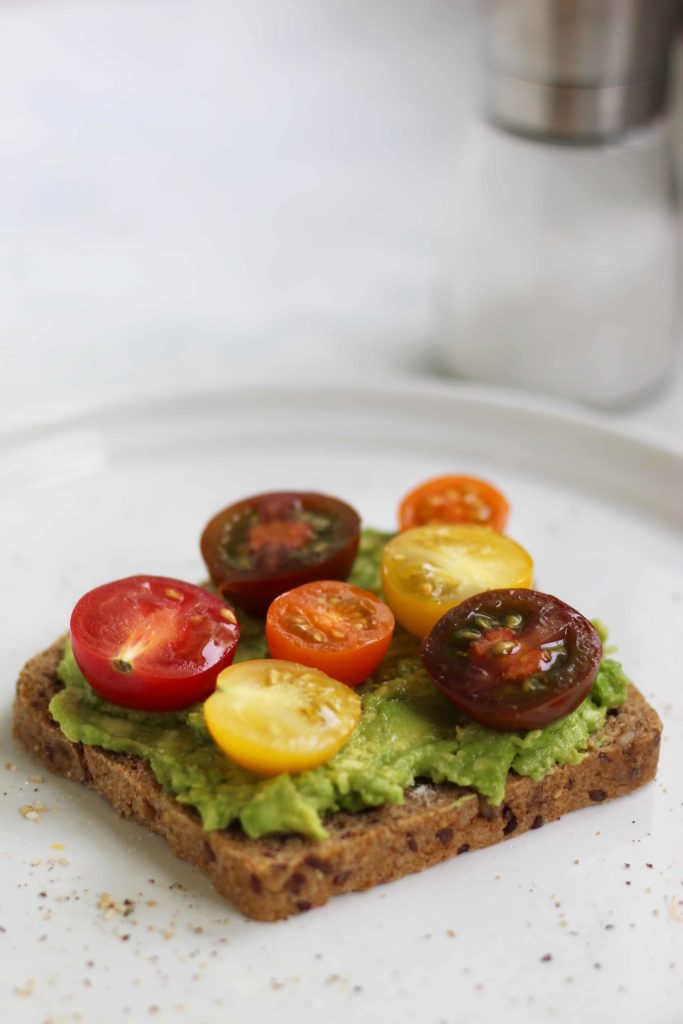
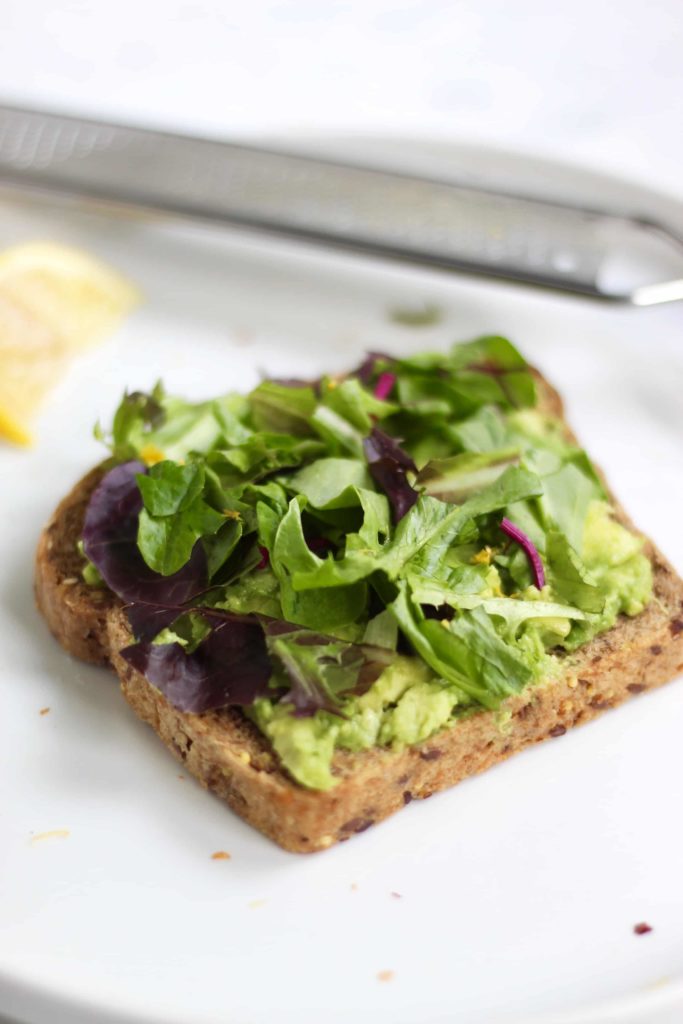
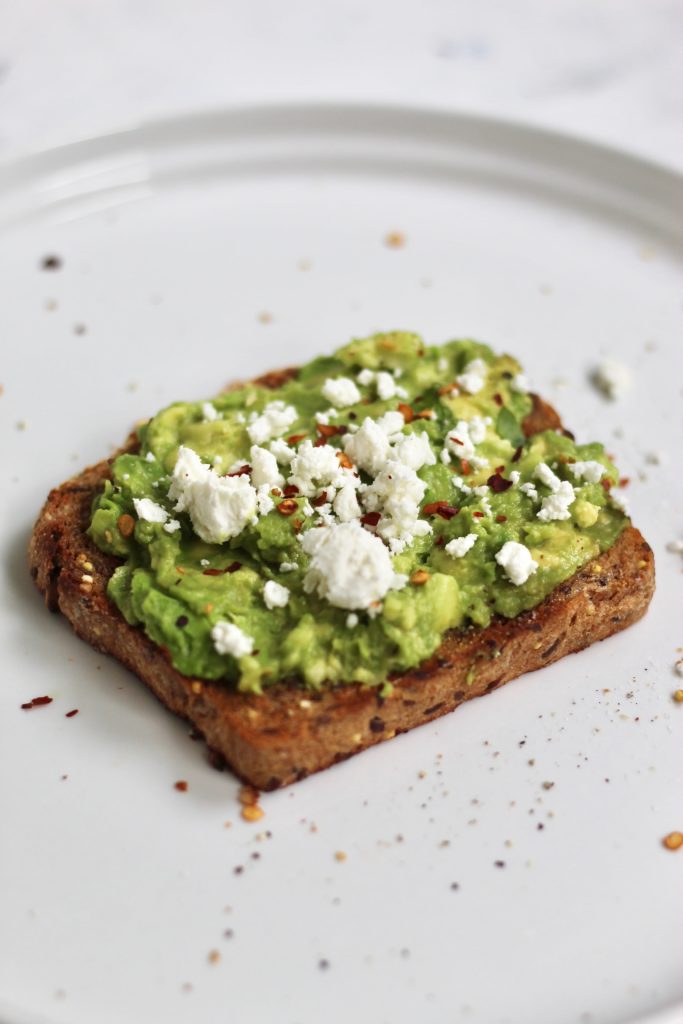
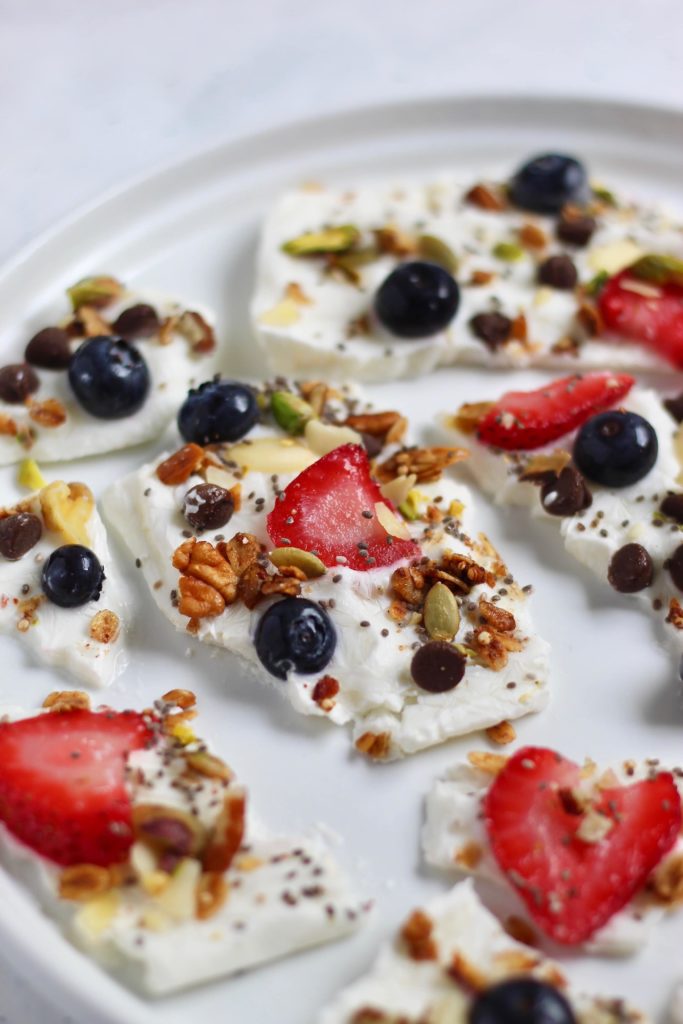
Lucky for you, I am the queen of simple meals and snacks. Here's some recipes to try out:
2. Learn kitchen hacks
Kitchen hacks are fun tricks that save you time and energy. They range from cutting tips-to ways to make foods last longer-to easier ways to handle vegetables. You can pick some of these hacks up from TikTok, YouTube, or Instagram (I post weekly kitchen hacks on my account!)
Here are some of my top tricks to try:
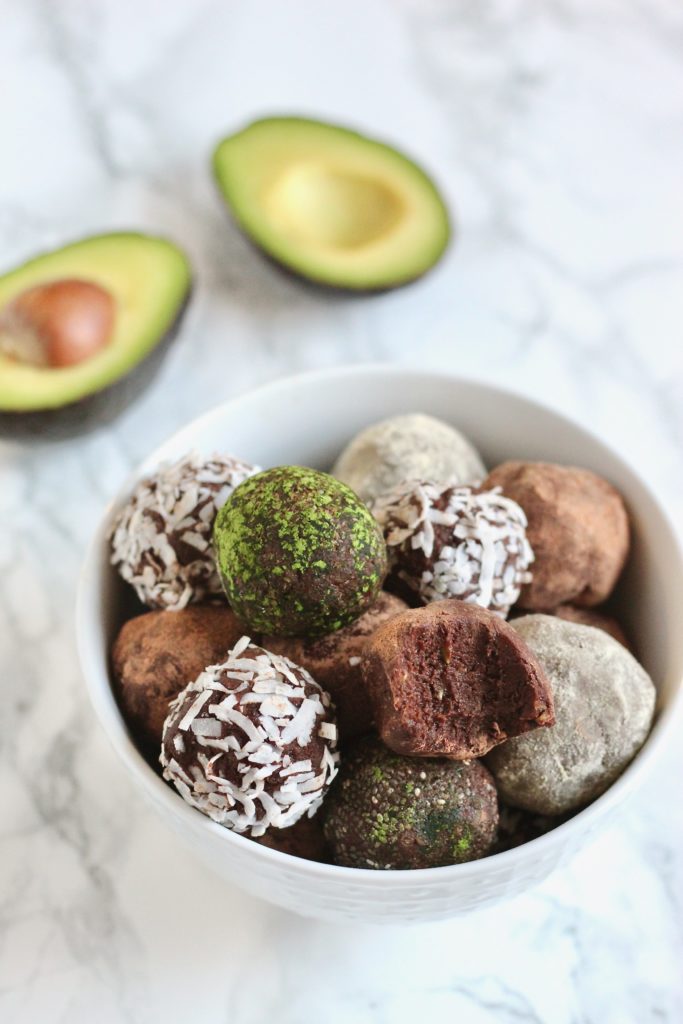
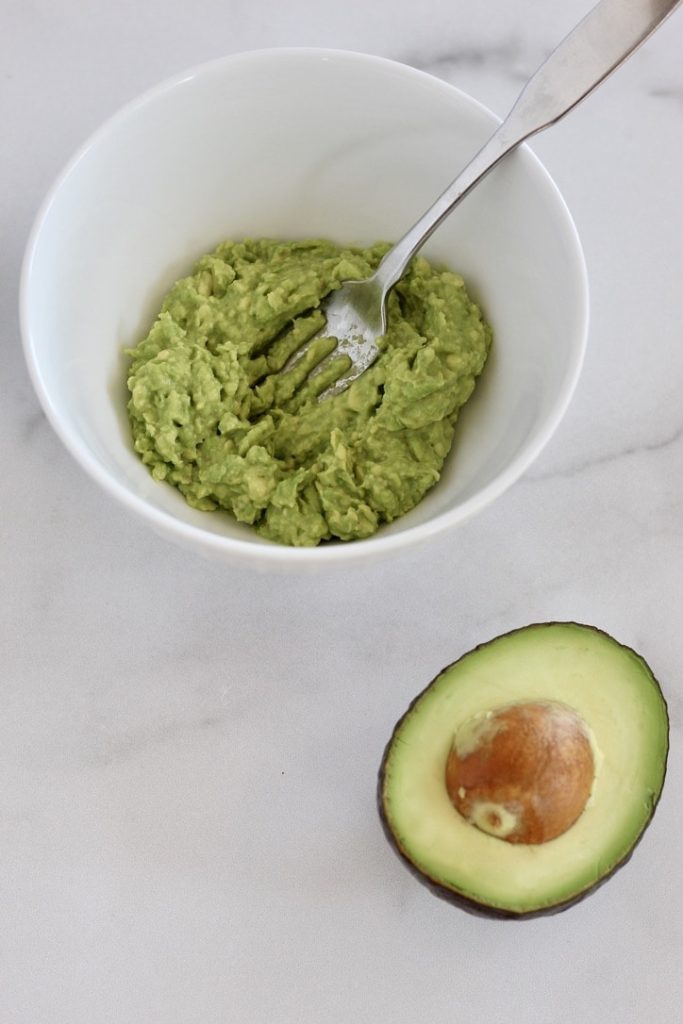
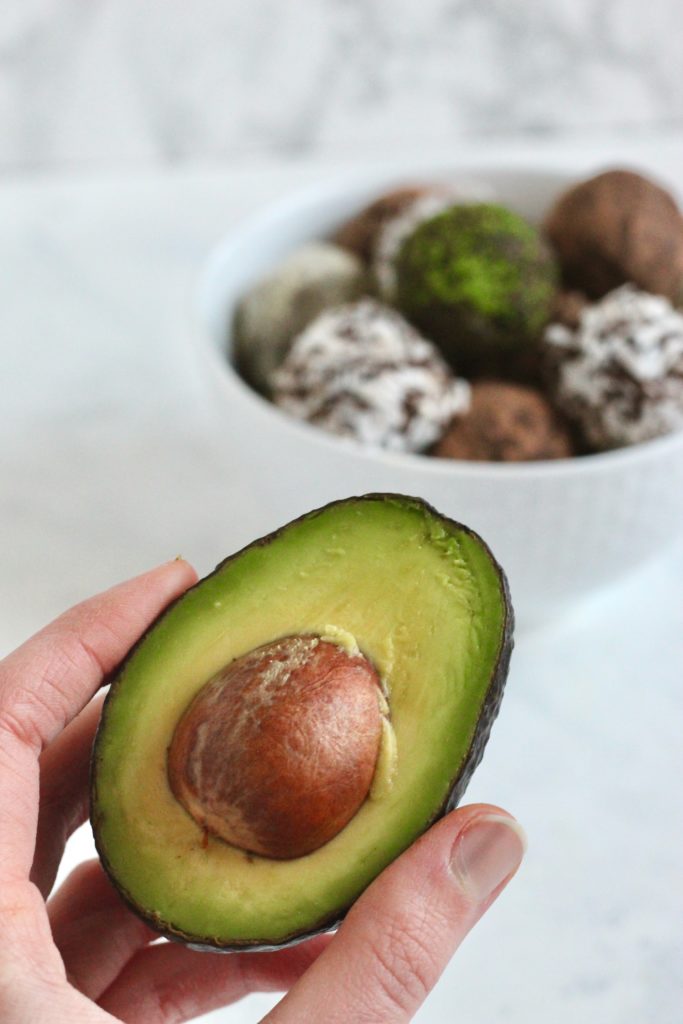
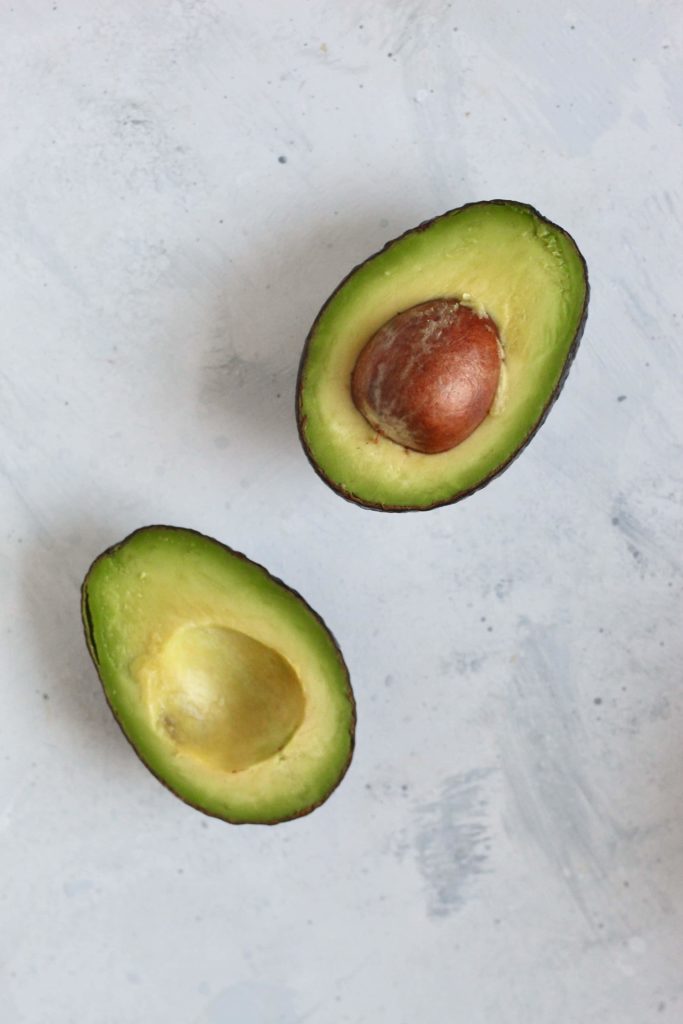
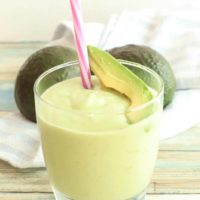
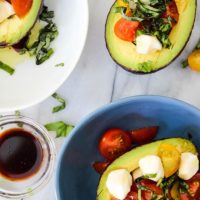
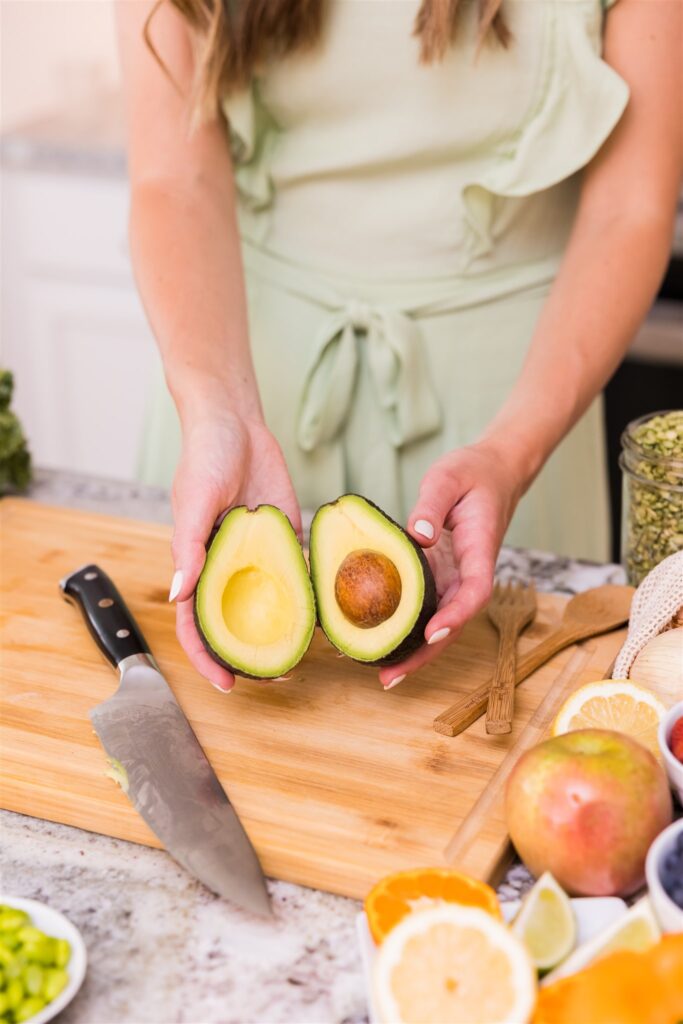
- Storing Avocados - Once you cut open an avocado, it starts to brown. You can slow down the browning by storing in water, squeezing over lemon juice, or brushing with a bit of oil.
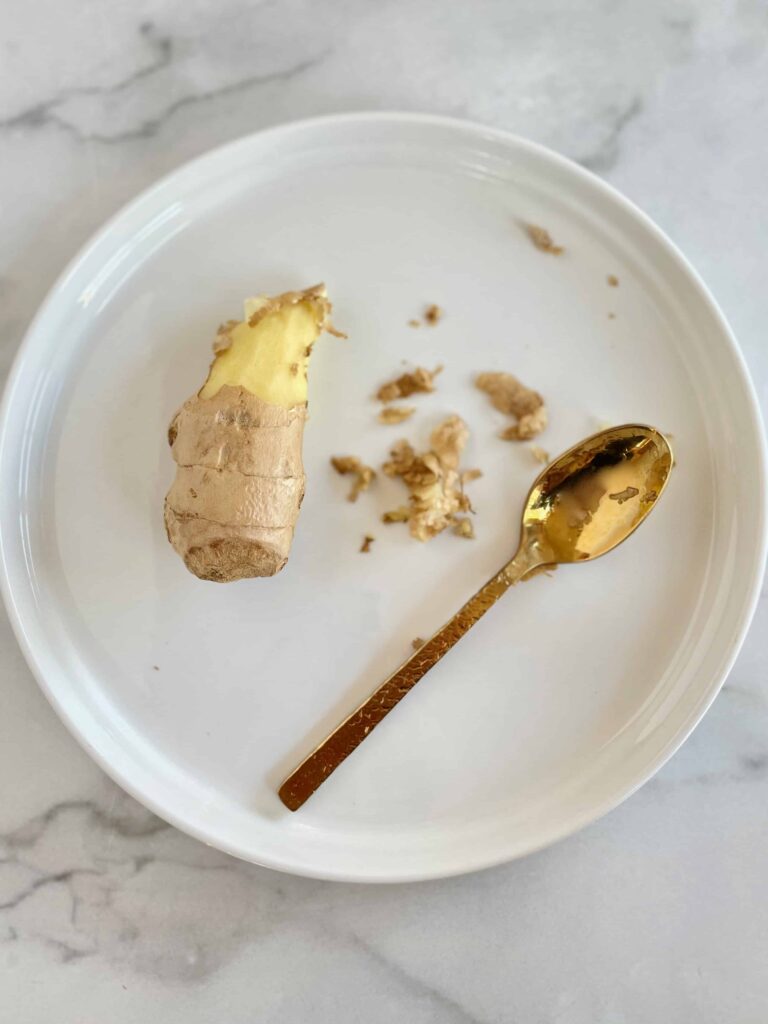
- Peeling Ginger - You can actually peel ginger with a spoon. This helps reduce waste and it's much easier.
- Making Herbs Last Longer - Rather than keeping herbs in a plastic bag, store them upright in water to allow them to last longer and reduce waste.
3. Practice knife skills
When I work with clients in the kitchen, the #1 thing people are most intimidated by is knife skills. The worry of ruining a dish; the confusion on how to chop different types of vegetables; or the fear of cutting yourself. Can you relate?
Knives are the main tool allowing us to break down fruits, vegetables, and proteins for tasty recipes. Yet at the same time, if we are not confident in our knife skills-there is a greater risk for mistakes.
Knife skills are best when learned hands-on with someone who has been trained. For example, I am a dietitian certified in culinary nutrition education. In my Coaching + Cooking program, knife skills are a foundational topic I teach right away. (No more scrambling through random YouTube videos!)
Here are some brief tips to get you started:
- Be sure your knife is sharp-this allows it to cut right through the ingredient and not slip
- Hold the knife with a firm grip at the base
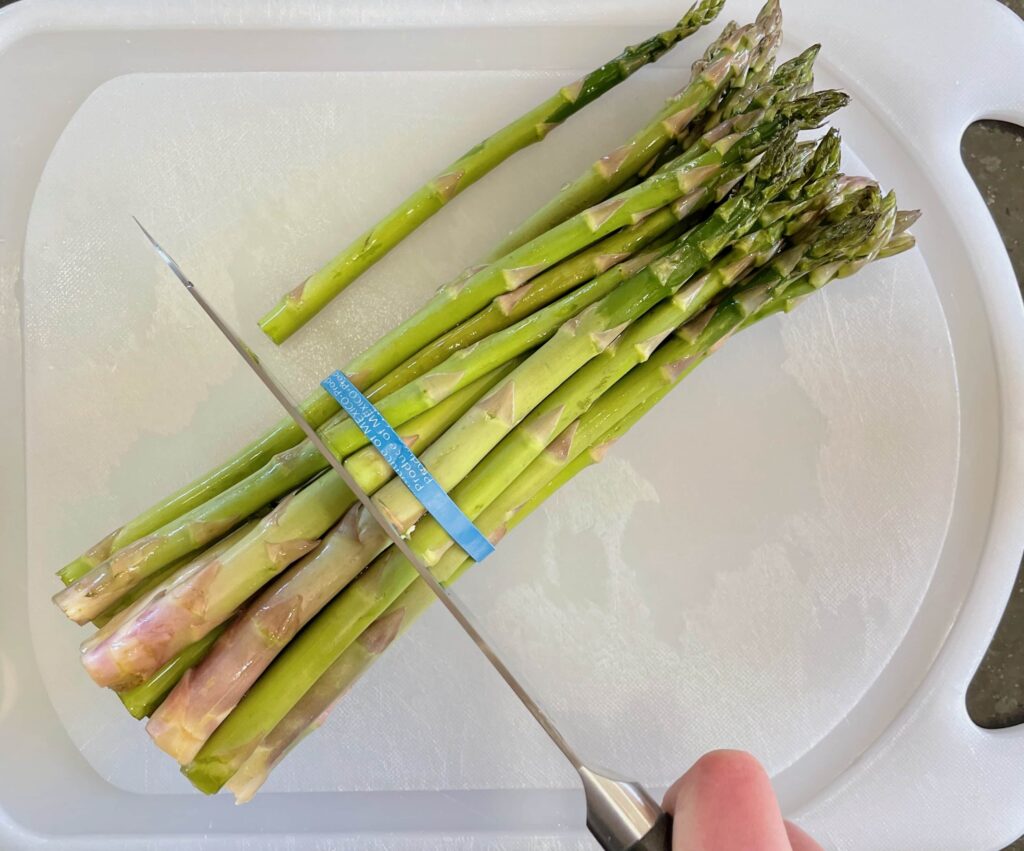
- When cutting an ingredient, form your guiding hand into a "bear claw" to avoid your fingers being exposed to the blade (like pictured below)
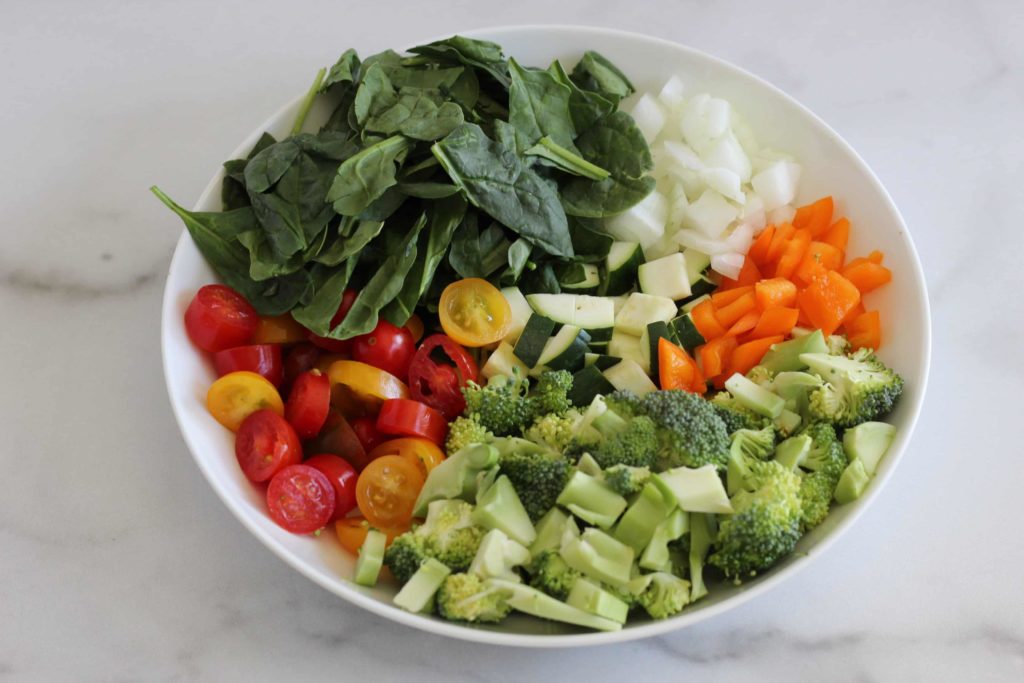
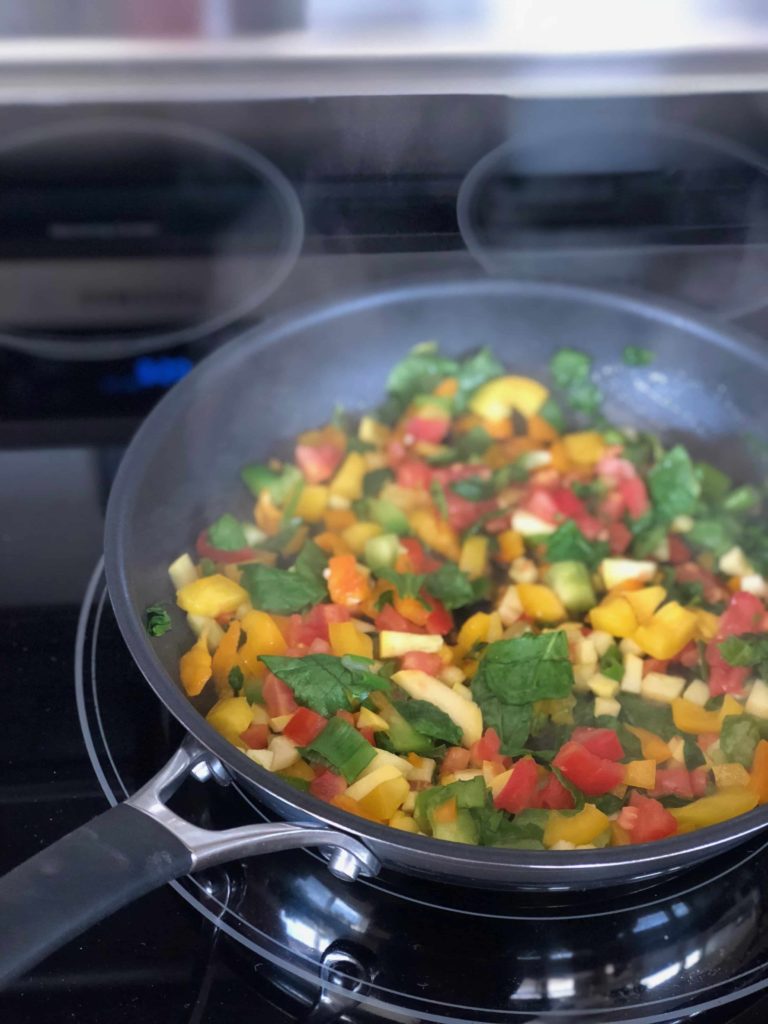
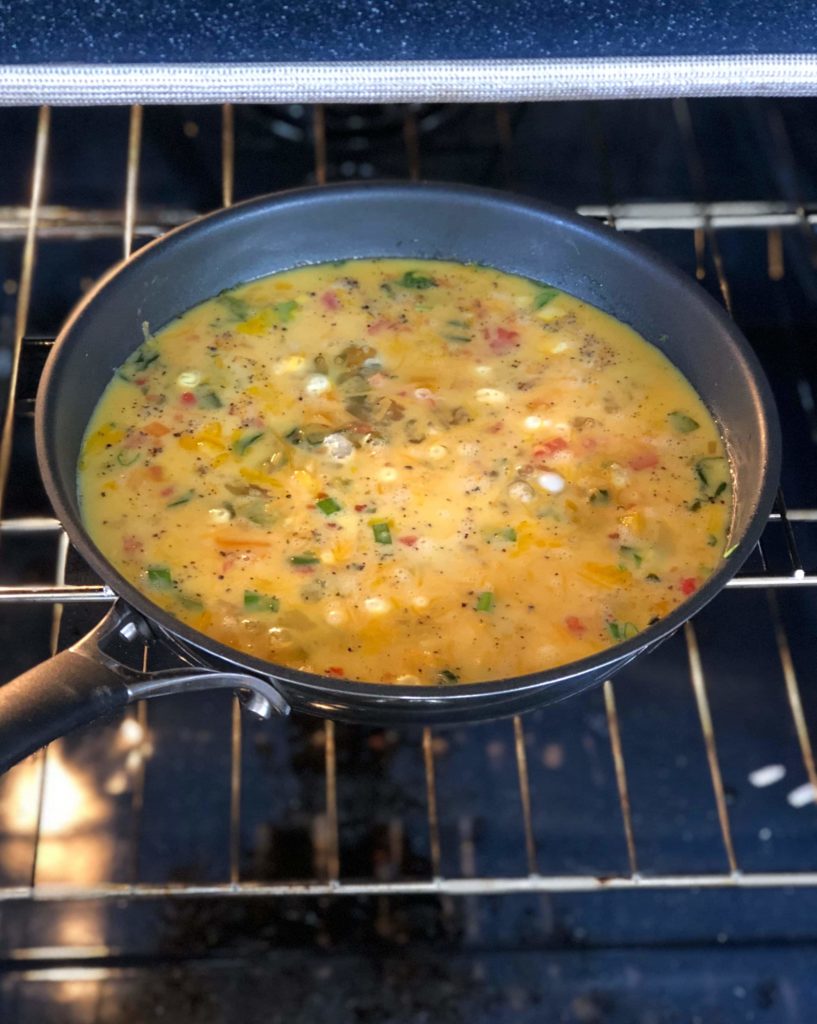
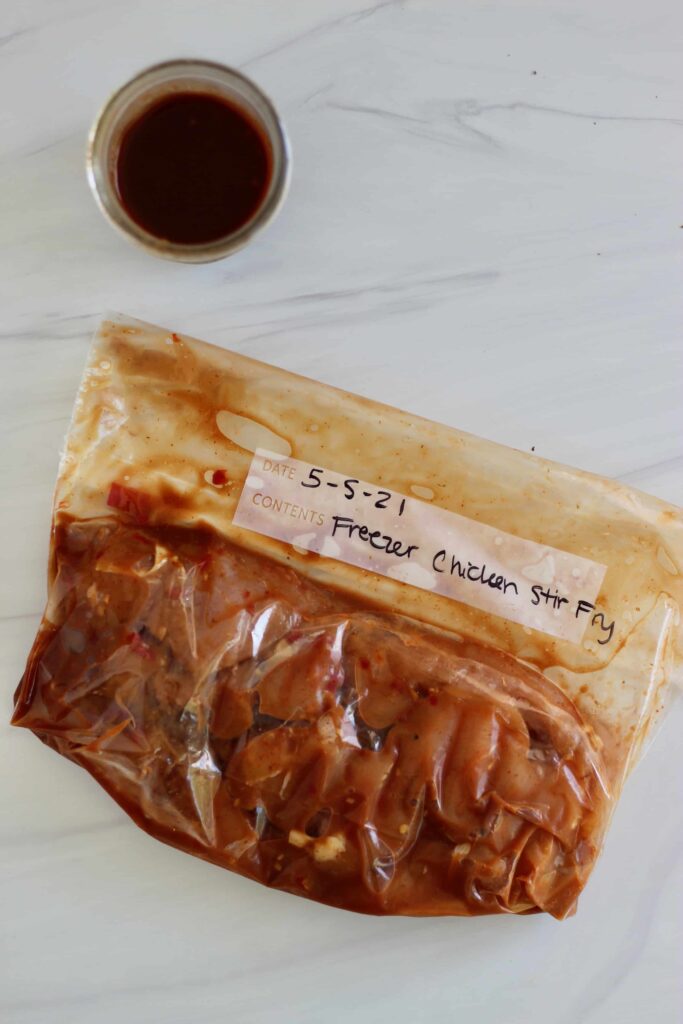
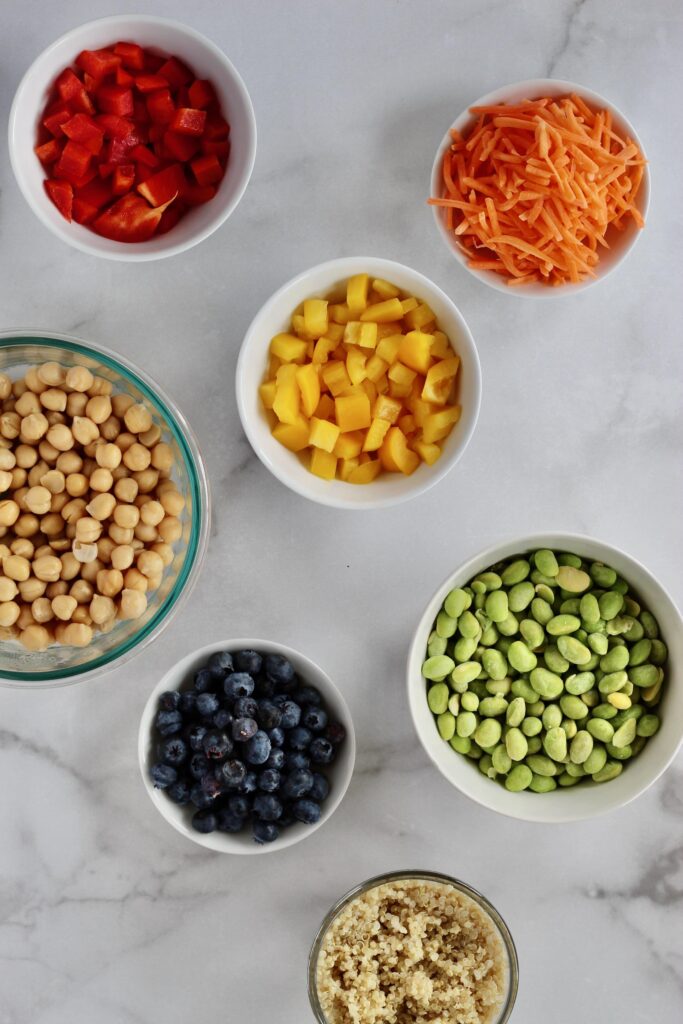
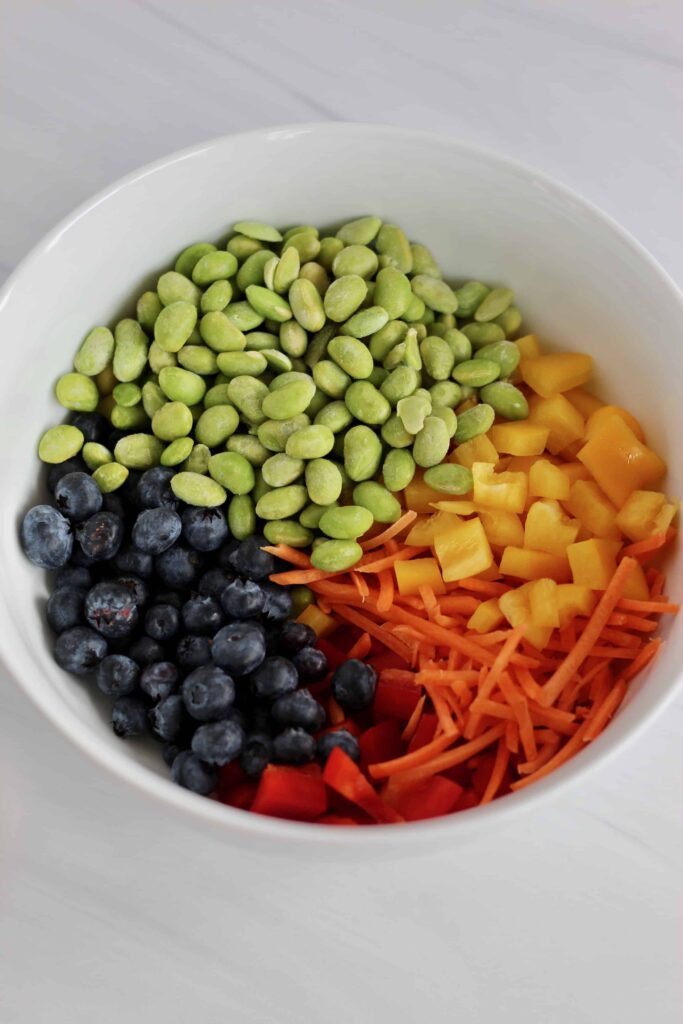
4. Prep ingredients ahead of time
There's a term in the culinary world called, "mise en place" meaning "everything in its place". This is the idea that before you start a recipe, all ingredients are prepped, measured out, and ready to be used in the recipe.
This is extremely helpful to do for a number of reasons:
- It allows you to focus solely on the recipe instructions and feel more confident when cooking the recipe
- It's less likely the recipe will "flop" because you aren't scrambling to measure out ingredients while something else is cooking
- It allows mealtime to feel less overwhelming and go by quicker at the end of your busy day
5. Take my virtual Coaching + Cooking program
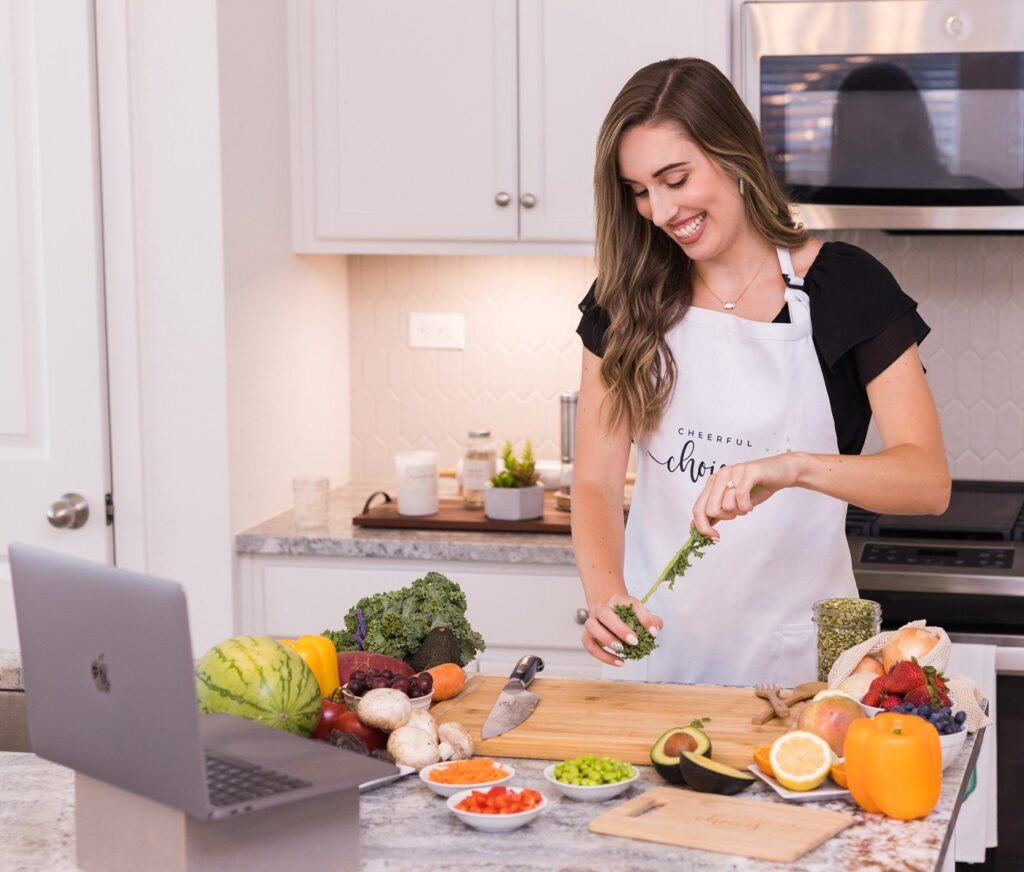
As much as it's helpful to read articles and watch videos, the best way to gain kitchen confidence is through hands-on practice. That's why I created my "Coaching + Cooking" program-made for busy professionals and beginner cooks just like yourself.
In this program, we meet through virtual nutrition coaching sessions followed by one-on-one virtual cooking classes. This approach allows me to learn more about your health goals, budget, and dietary preferences so I can create recipes personalized specifically for you.
Book a FREE discovery call to see how this program can help skyrocket your kitchen confidence in just 3 months.
Seriously, if you're even the slightest bit interested (which you must be if you've found this post 😉) then sign up for a free call. There's absolutely no pressure to buy. I'd just love to connect and learn more about you and your goals.
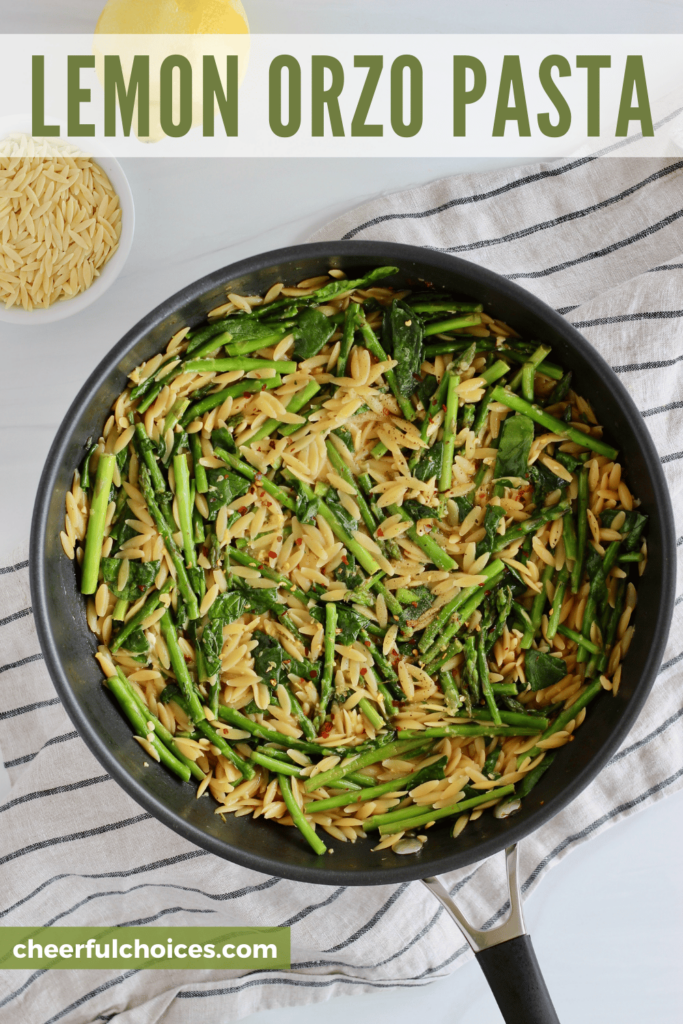
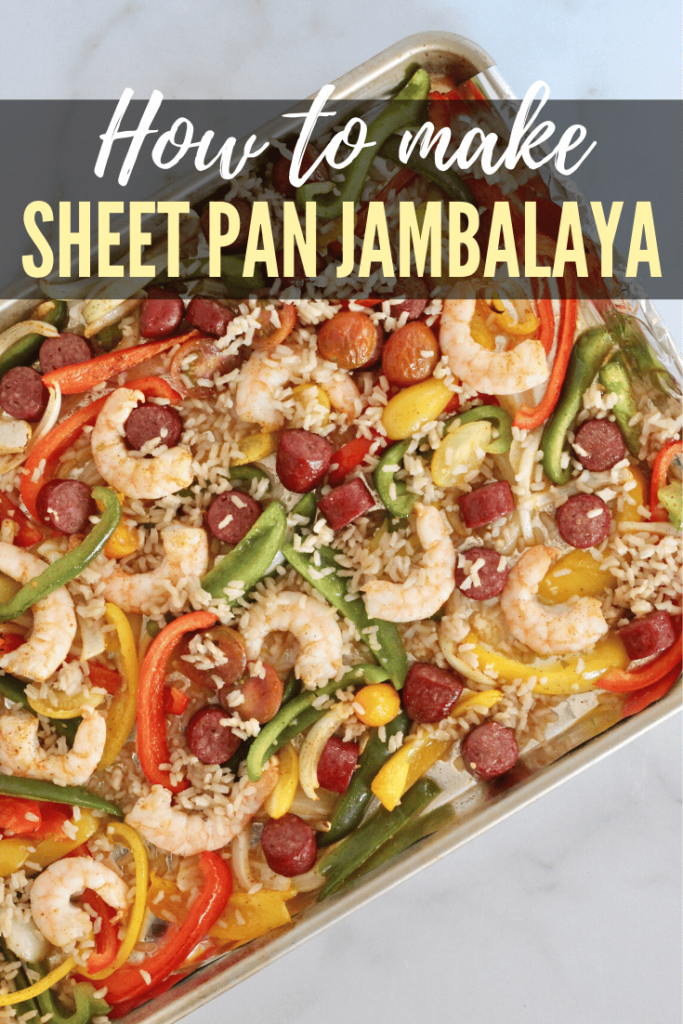
save this guide to building kitchen confidence on pinterest: