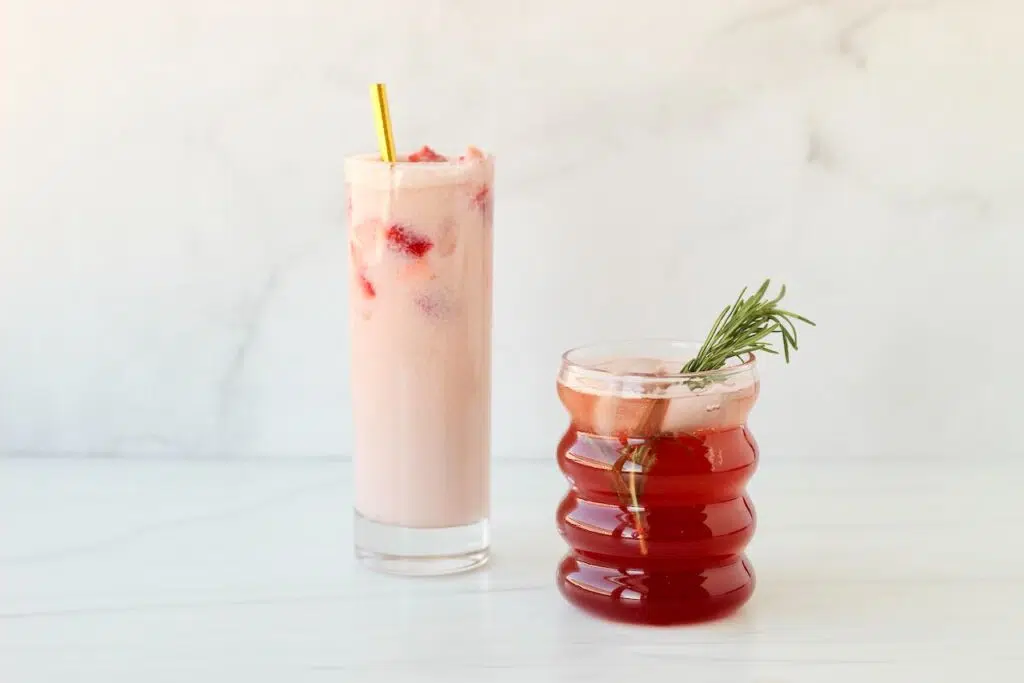
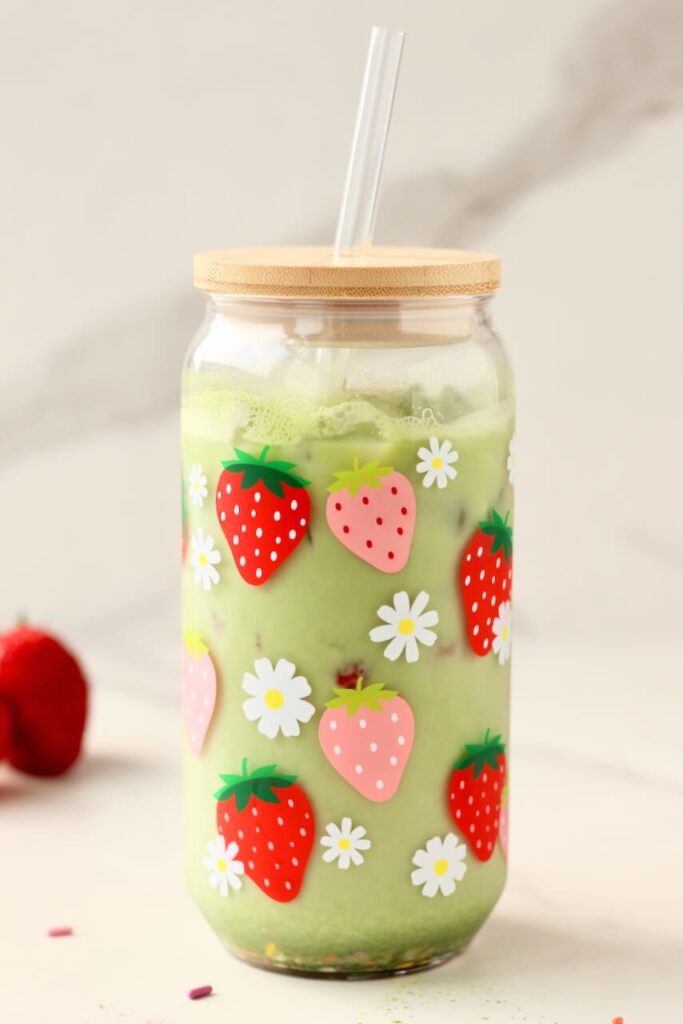
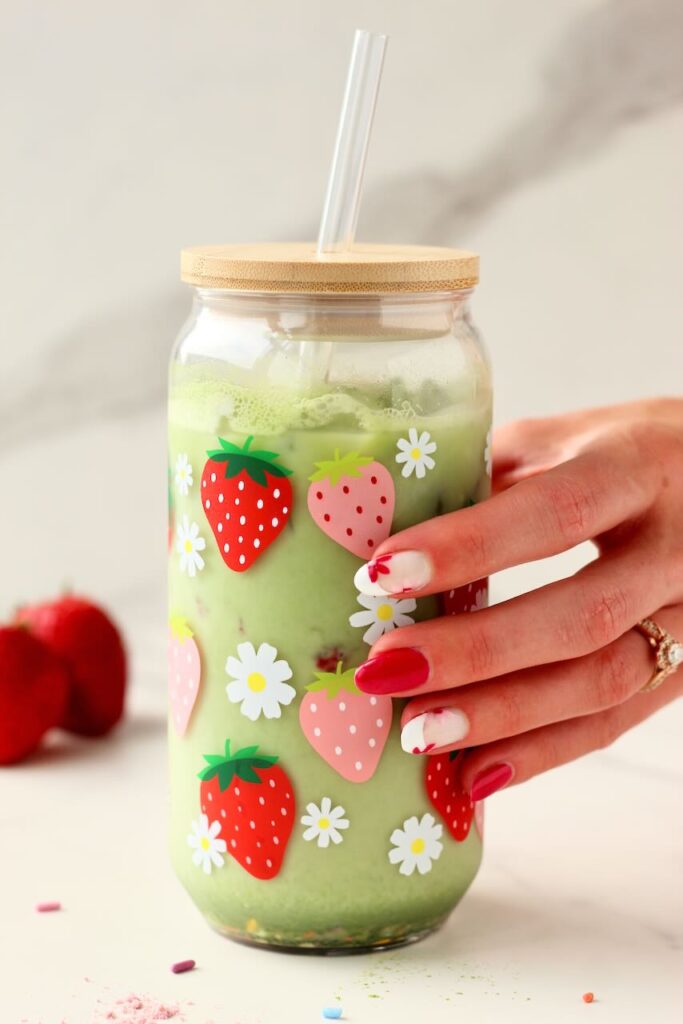
If you're looking for a healthy morning or afternoon pick-me-up, this iced protein matcha latte recipe is for you. It comes together in just 5 minutes and delivers creamy, subtly sweet flavor. This protein matcha ("pro-cha") is easy to customize and perfect for mornings, post-workout, or that 2pm slump.
(Disclosure note: This post may contain affiliate links, meaning I earn a small commission if you make a purchase through one of my links-at no extra cost to you. As always, all opinions are my own. See my disclosure policy for more details.)
Table of Contents
Why you'll love it
If you love protein coffee (aka "proffee"), chances are you'll also love this protein matcha. I'm coining this one "pro-cha"!
- Quick & Easy: This protein iced matcha latte recipe comes together in just 5 minutes-no fancy equipment required.
- Protein-Packed: A scoop of your favorite protein powder turns this into a satisfying protein matcha drink that supports fullness and muscle recovery.
- Creamy & Refreshing: The combo of milk, creamer, and matcha makes it silky smooth with a subtly sweet finish.
Is matcha healthy?
As a registered dietitian, I'm always looking for ways to combine flavor with function-and matcha delivers just that with a perfect combo of nutrient-packed ingredients:
- Rich in antioxidants: Matcha is loaded with catechins, especially EGCG, which have been linked to reduced inflammation and improved heart health.
- Sustained energy without the jitters: Unlike coffee, matcha provides a gentle caffeine boost paired with L-theanine for calm alertness.
- Supports metabolism and focus: Research suggests green tea compounds may help with fat oxidation and cognitive function, making it a good choice for both metabolism and mental clarity.
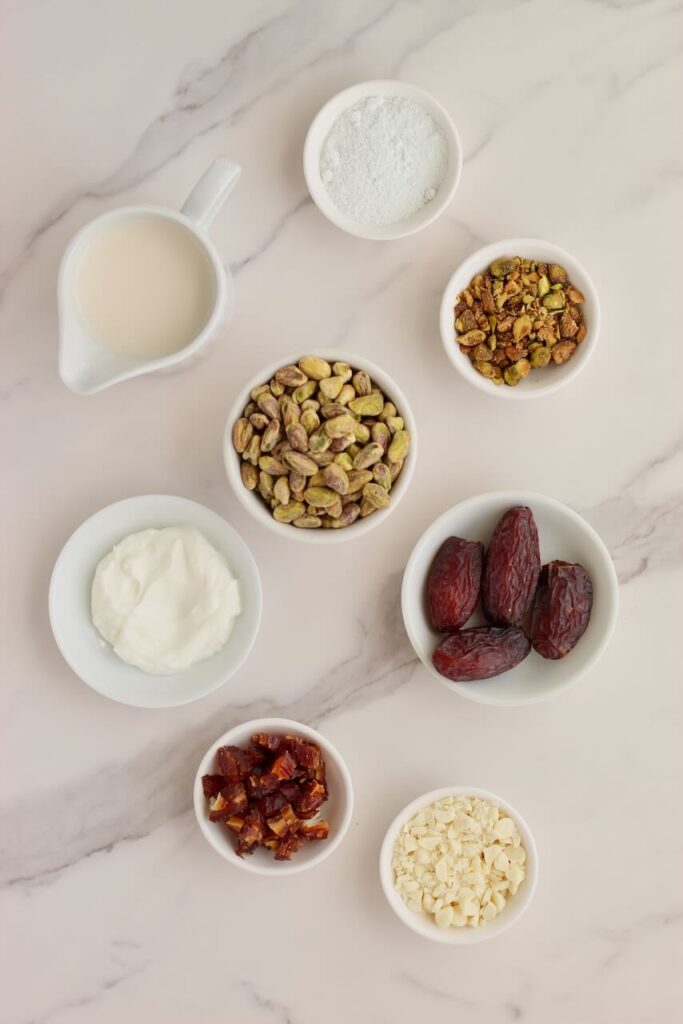
What ingredients do you need?
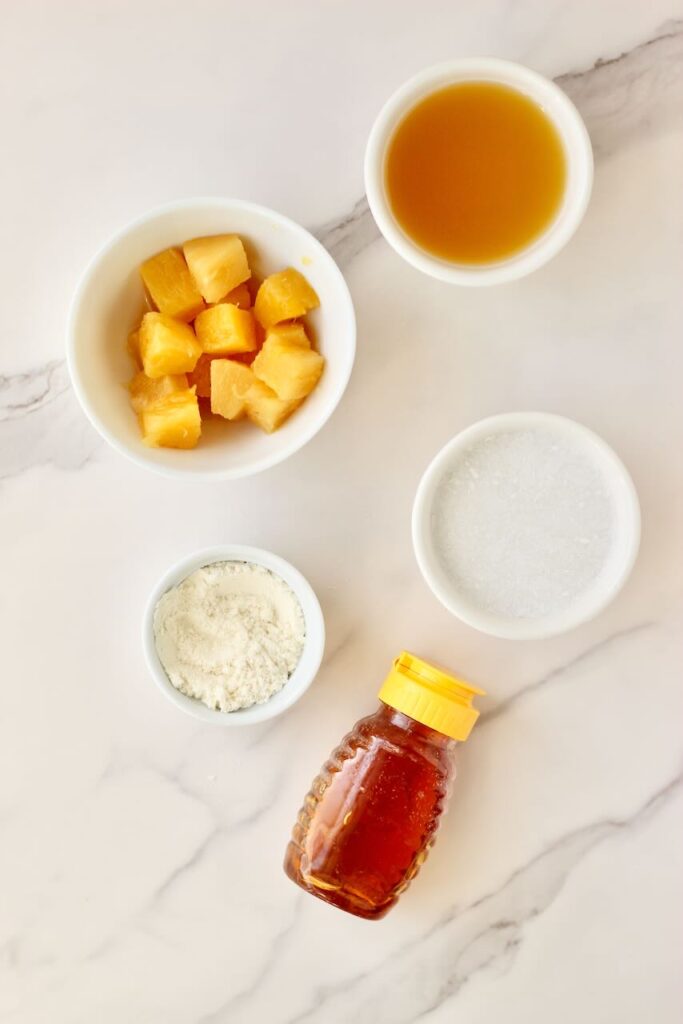
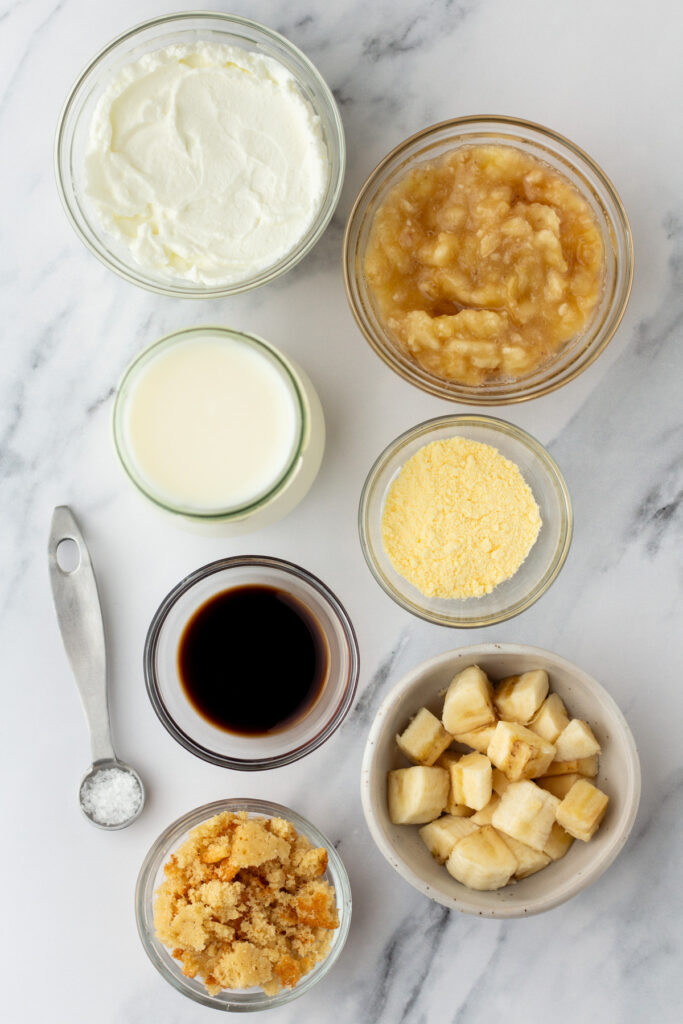
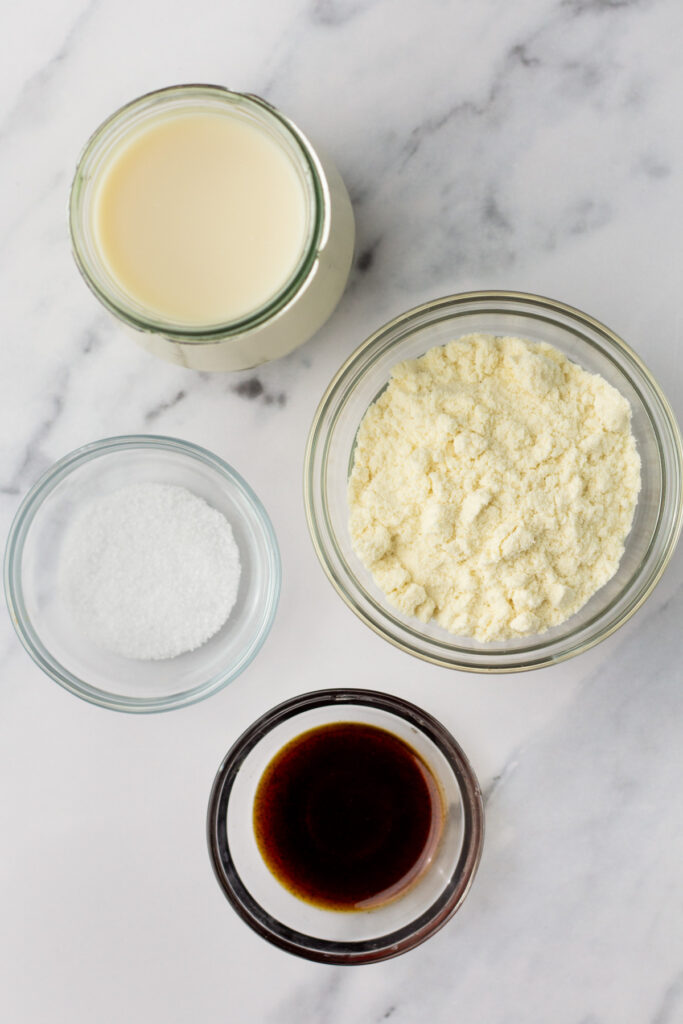
Here's what you'll need to make this iced protein matcha latte:
- Hot water: Helps dissolve the matcha powder evenly. Aim for around 176°F (not boiling).
- Matcha powder: Use ceremonial grade for smoother, less bitter results.
- Protein powder of your choice: Vanilla or strawberry cream works great! This adds creaminess and around 10 grams of protein.
- Sweetener of your choice: From monk fruit to honey, go with what you love or skip it entirely if your protein is already sweetened.
- Vanilla extract (optional): Adds depth and warmth.
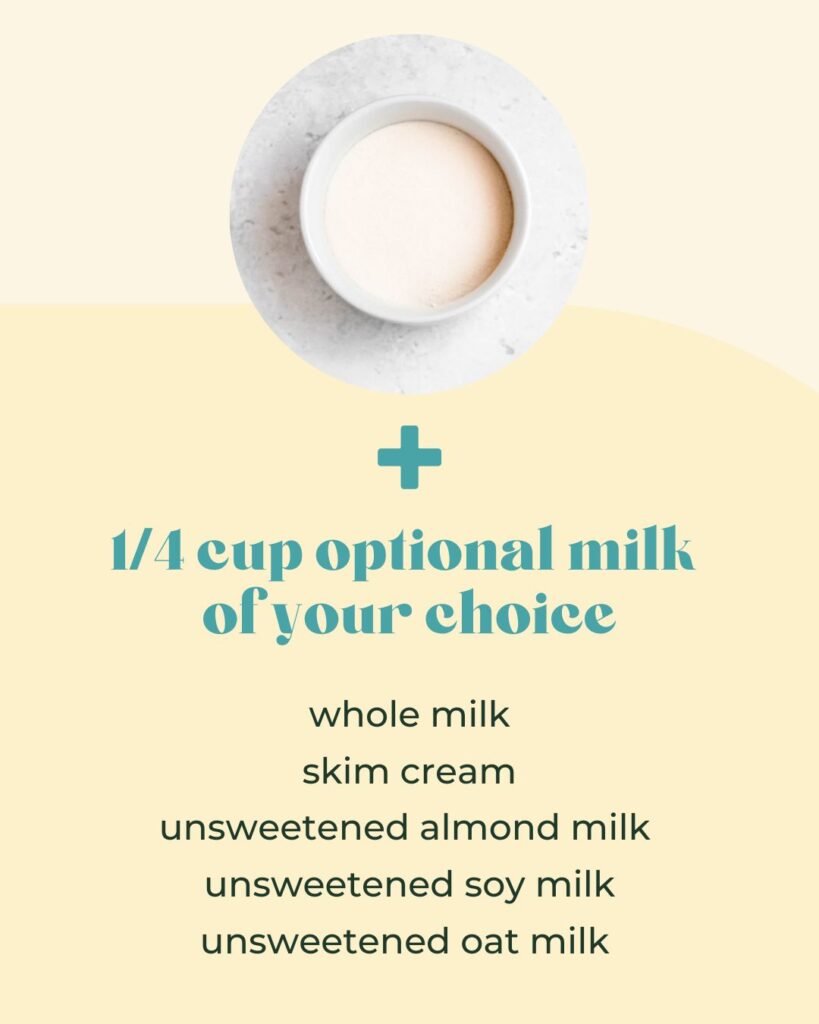
- Milk of your choice: Oat, dairy, almond-you name it. Choose one that complements your protein flavor.
- Optional creamer: Adds an extra layer of richness.
- Ice: To keep everything chilled and refreshing.
How do you make this protein matcha?
Here's the step-by-step breakdown to get that frothy, café-style sip at home:
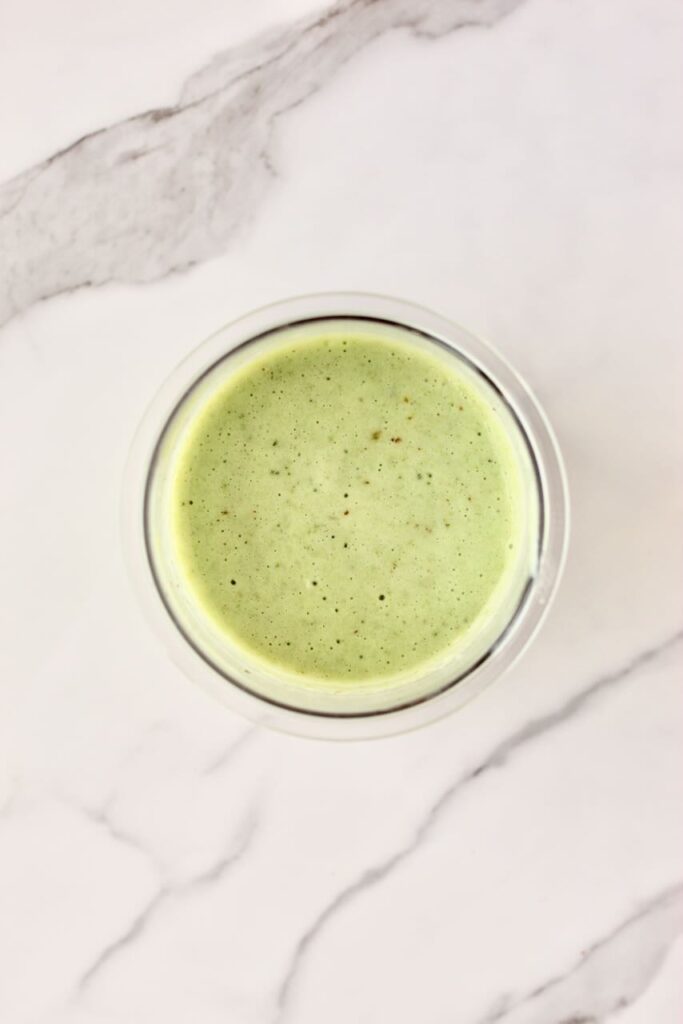
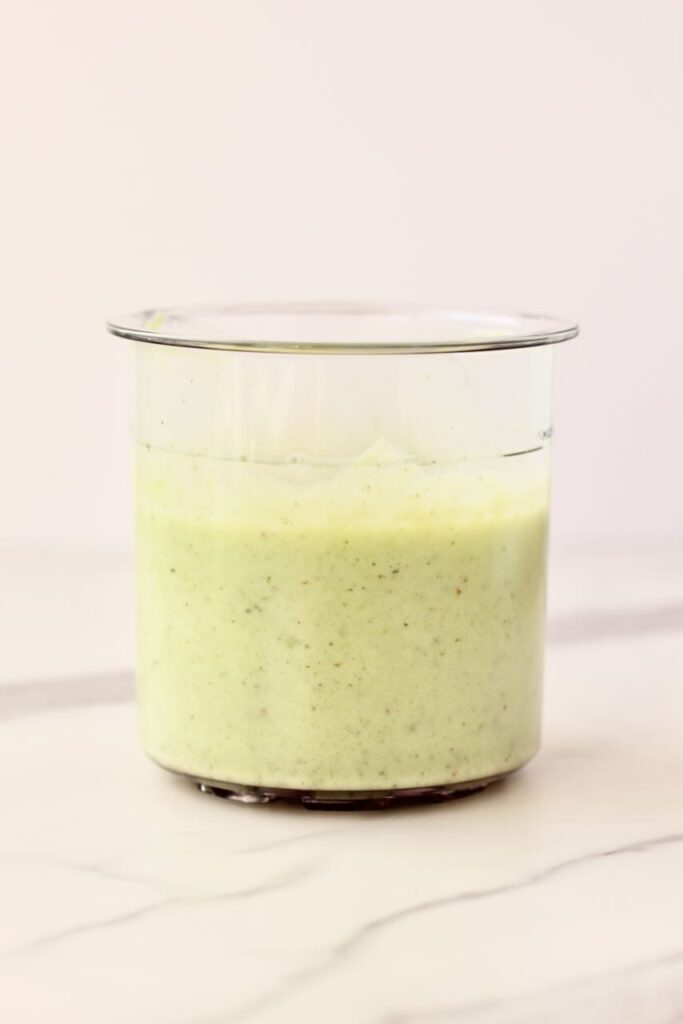
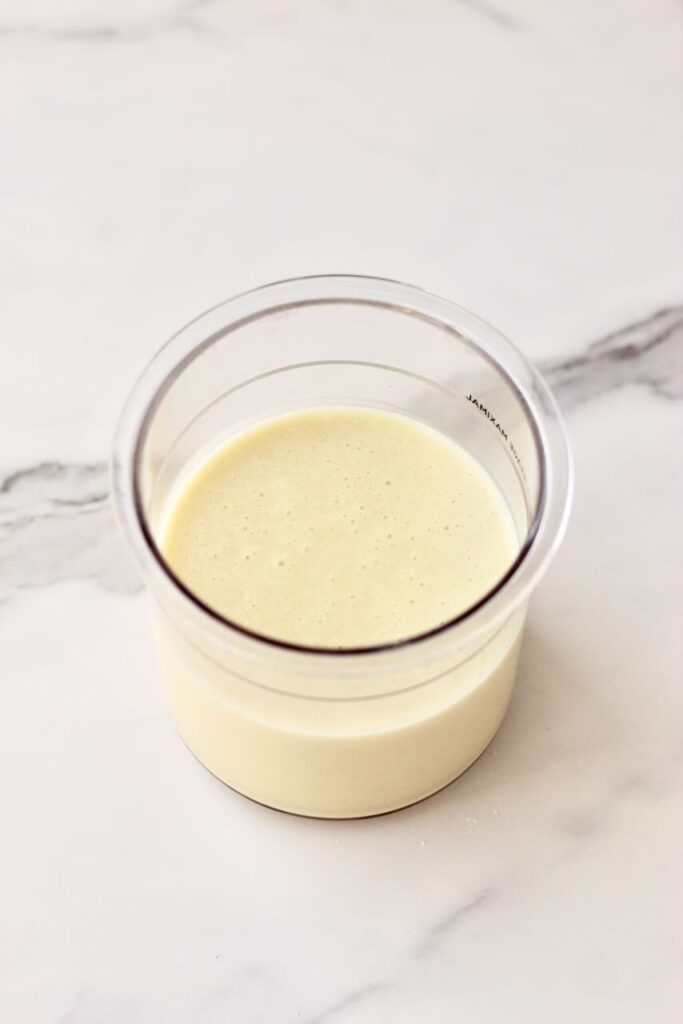
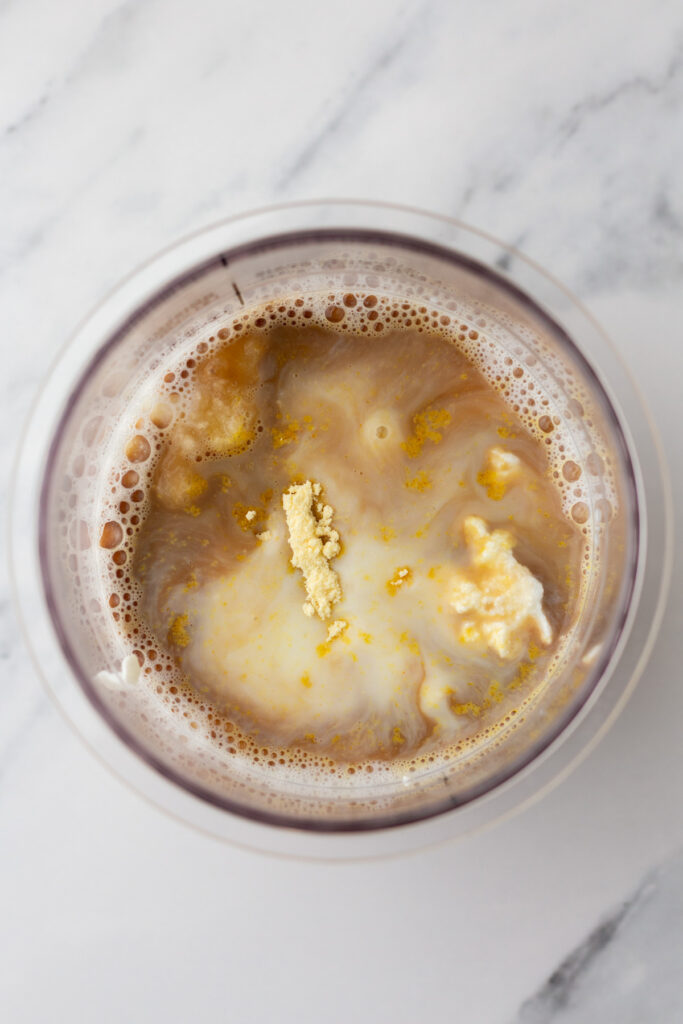
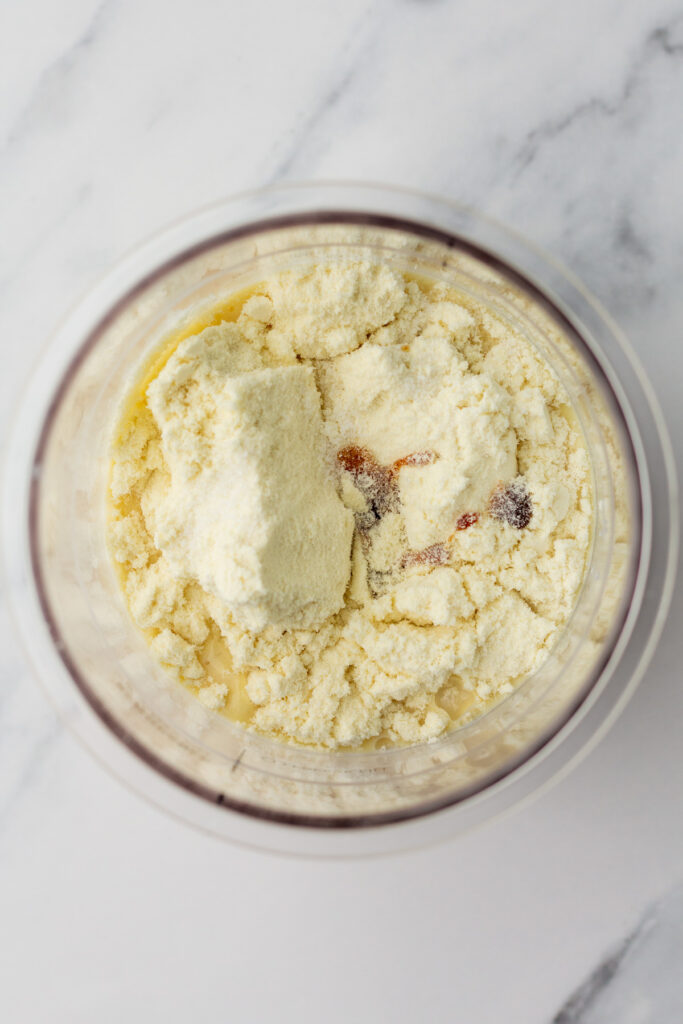
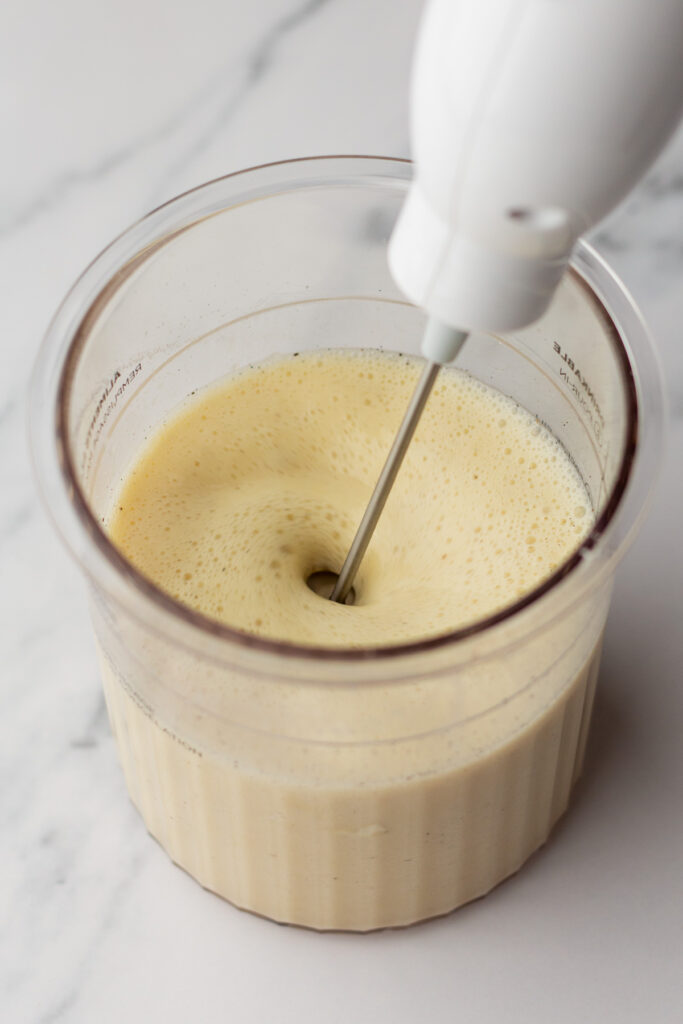
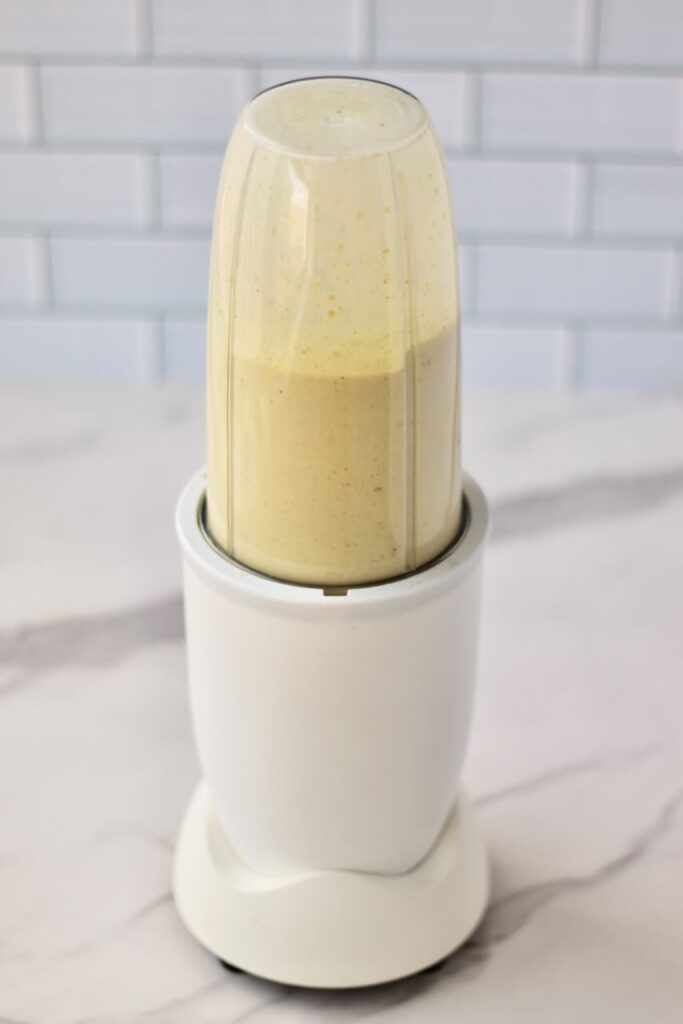
1. Whisk the matcha base
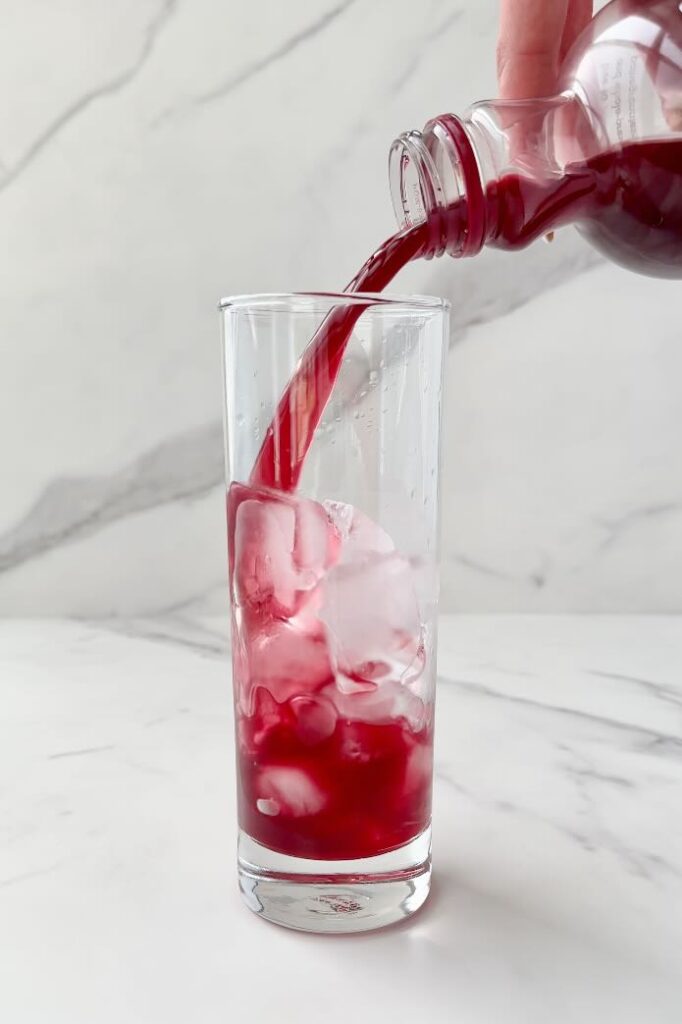
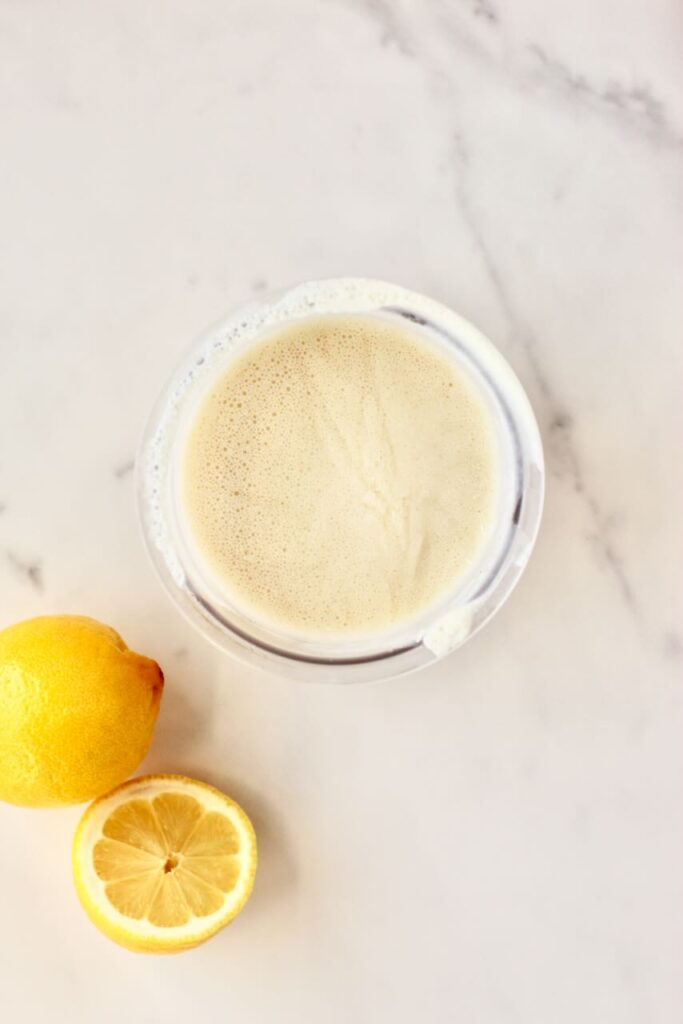
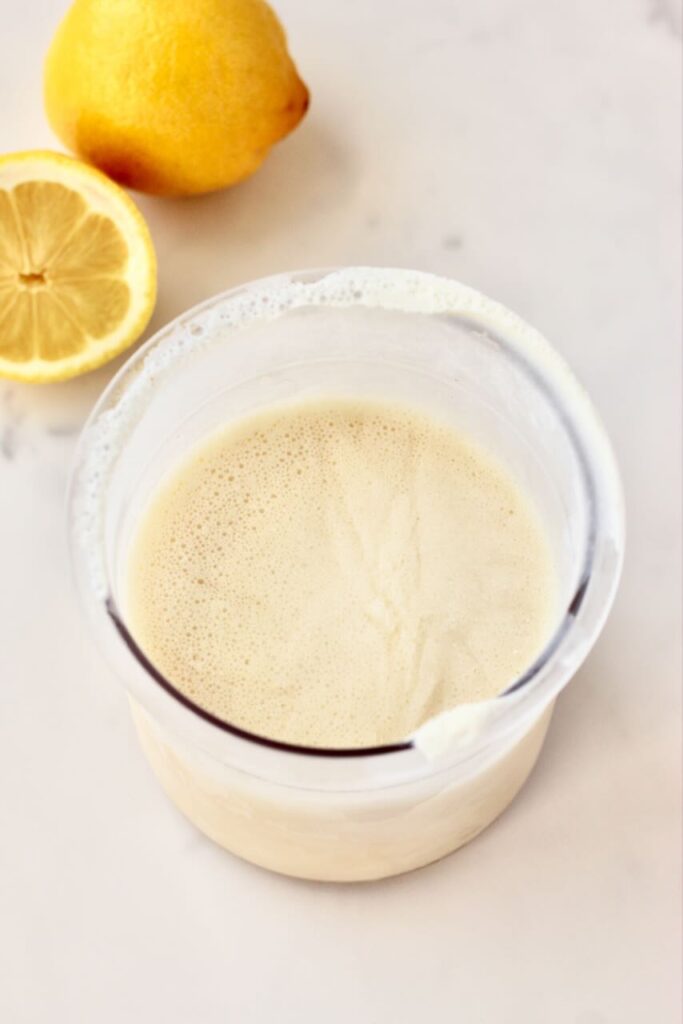
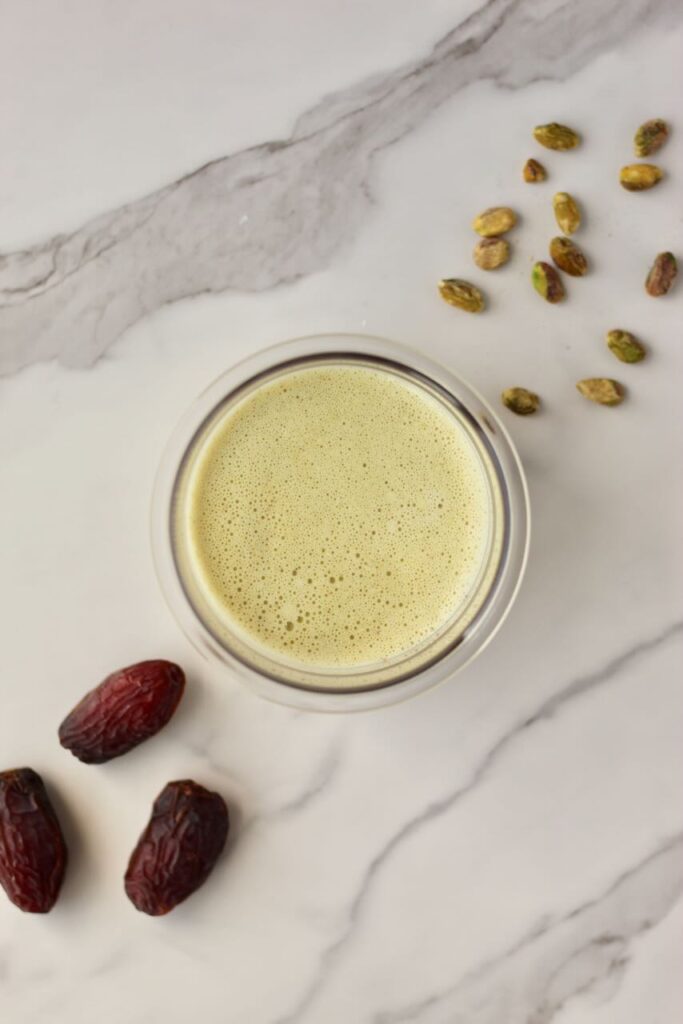
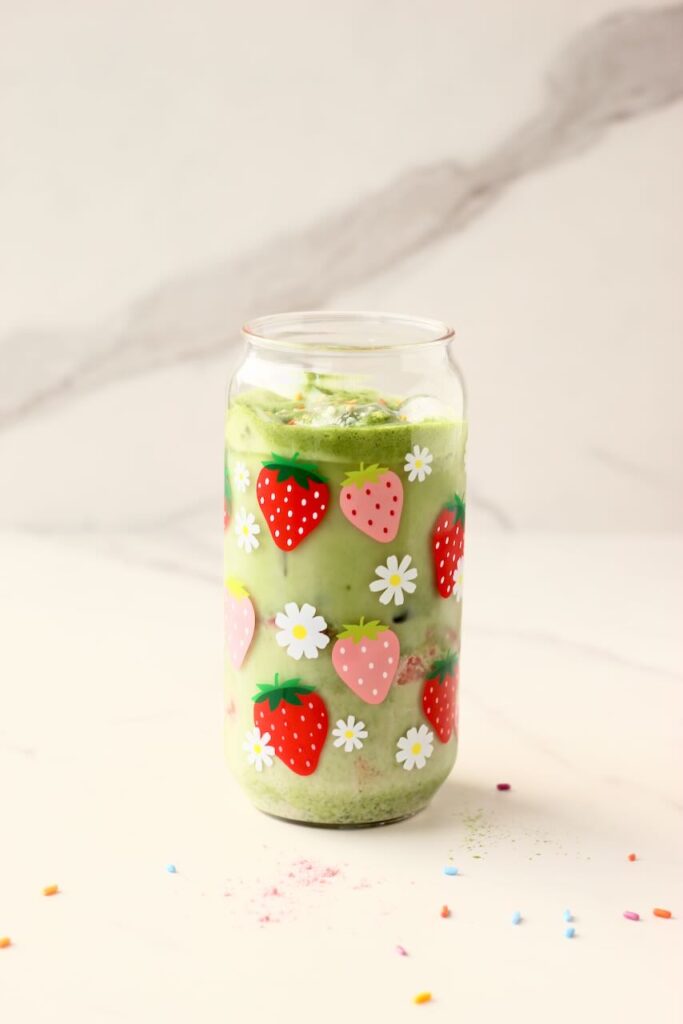
In a matcha bowl or large 16-ounce glass, add the hot water, matcha powder, protein powder, sweetener, and optional vanilla extract. Use a frother or whisk vigorously until the mixture is smooth and frothy.
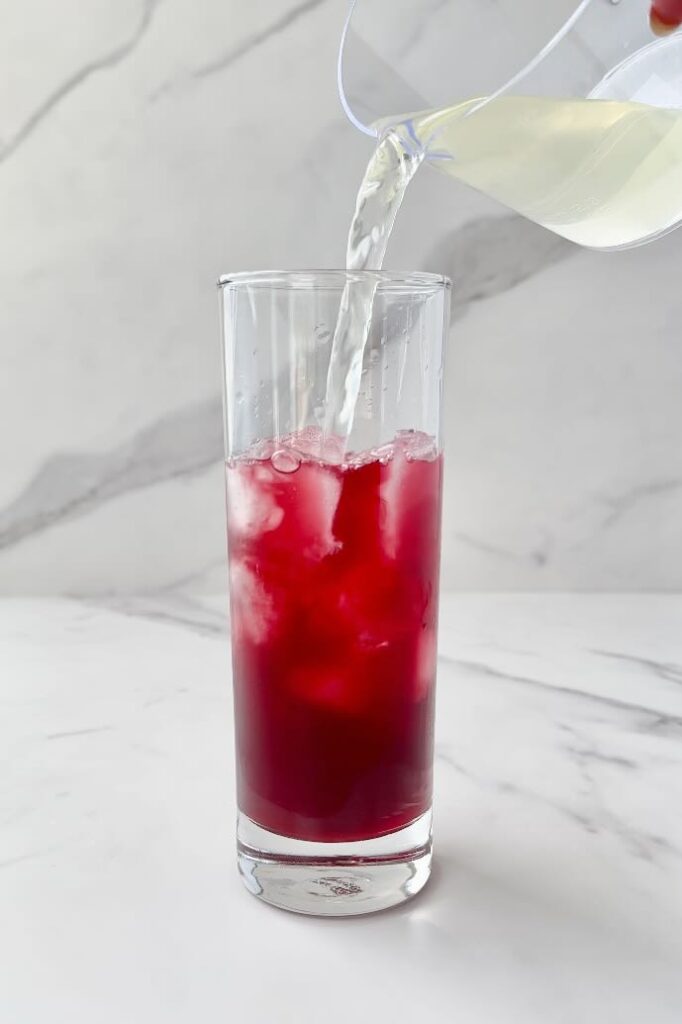
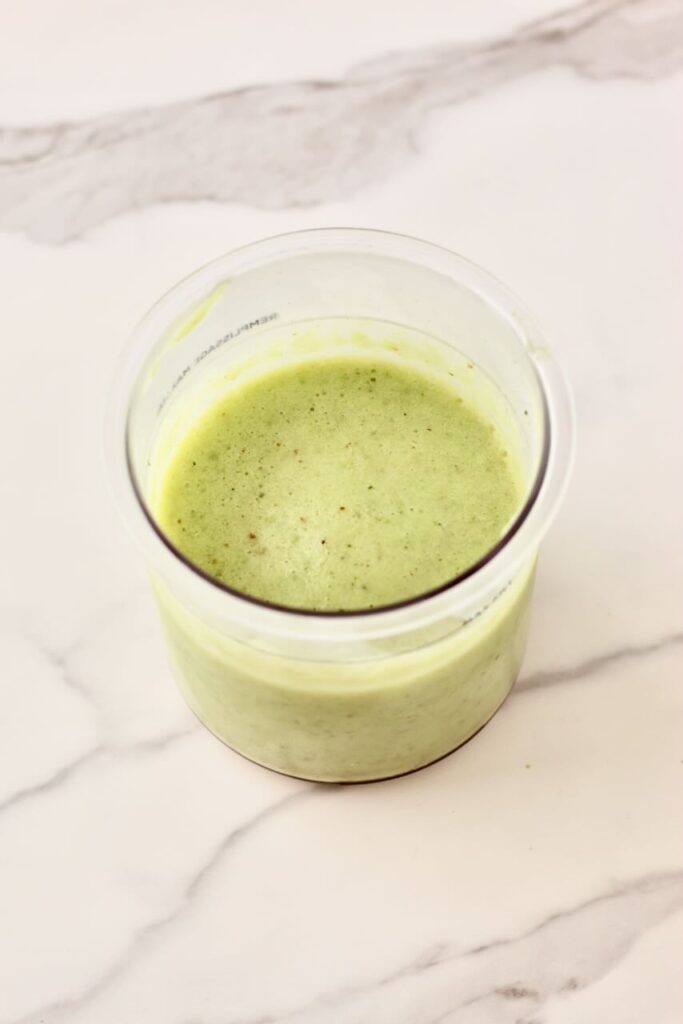
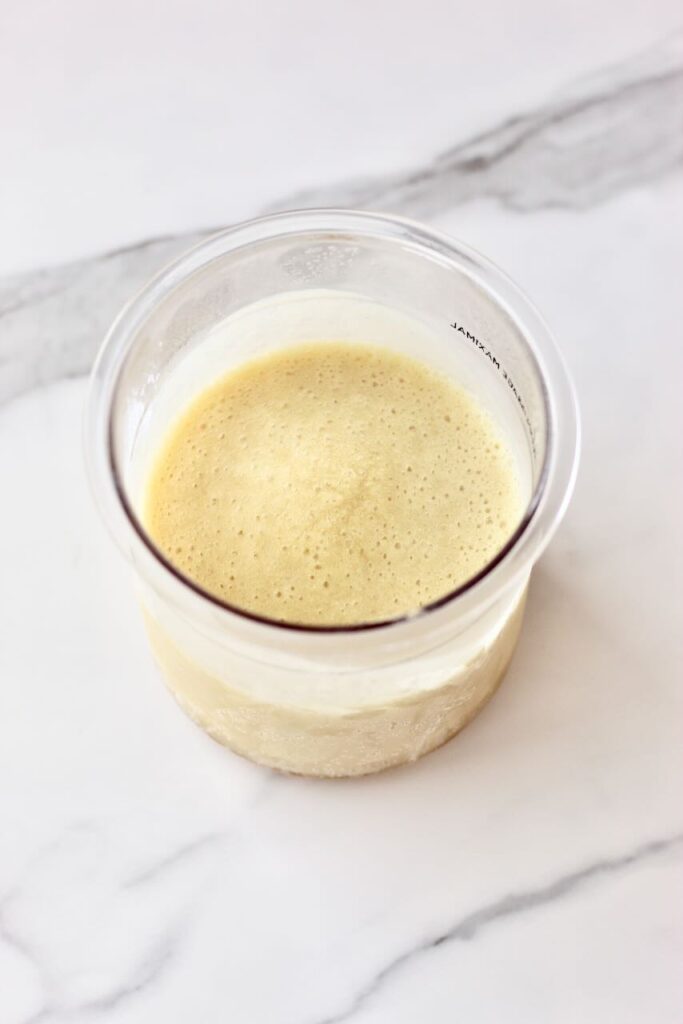
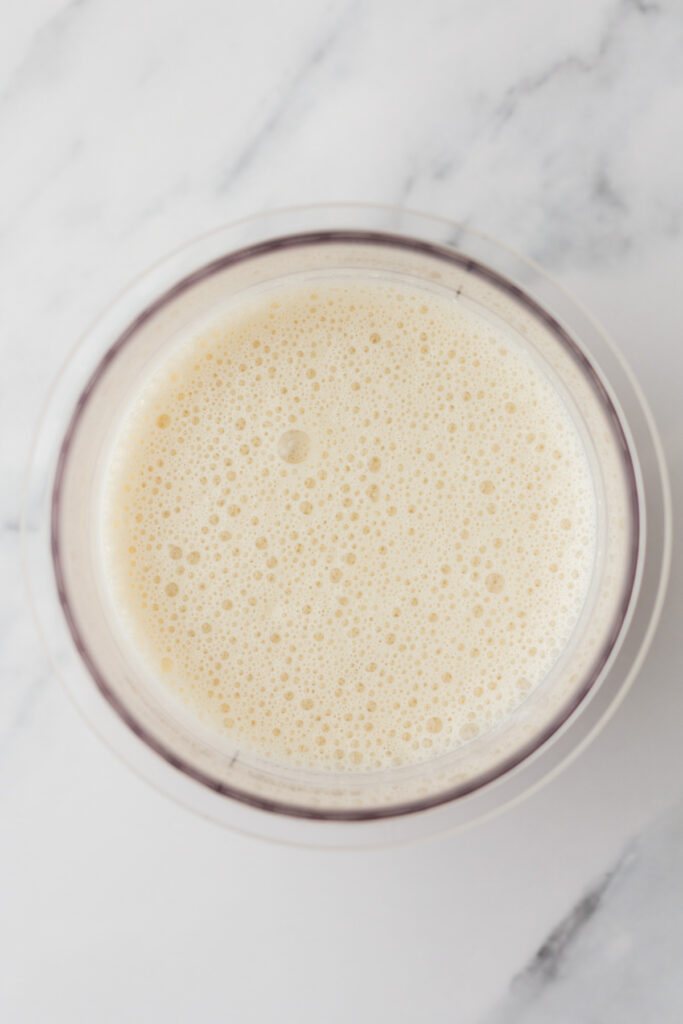
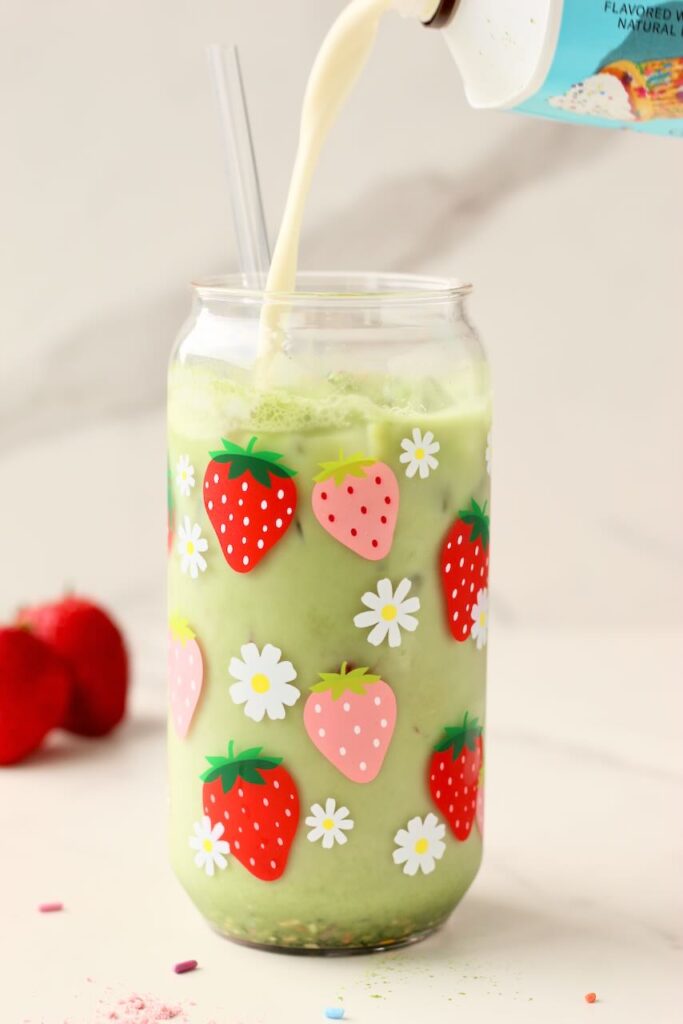
2. Add milk
Pour in your milk of choice and stir well to combine.
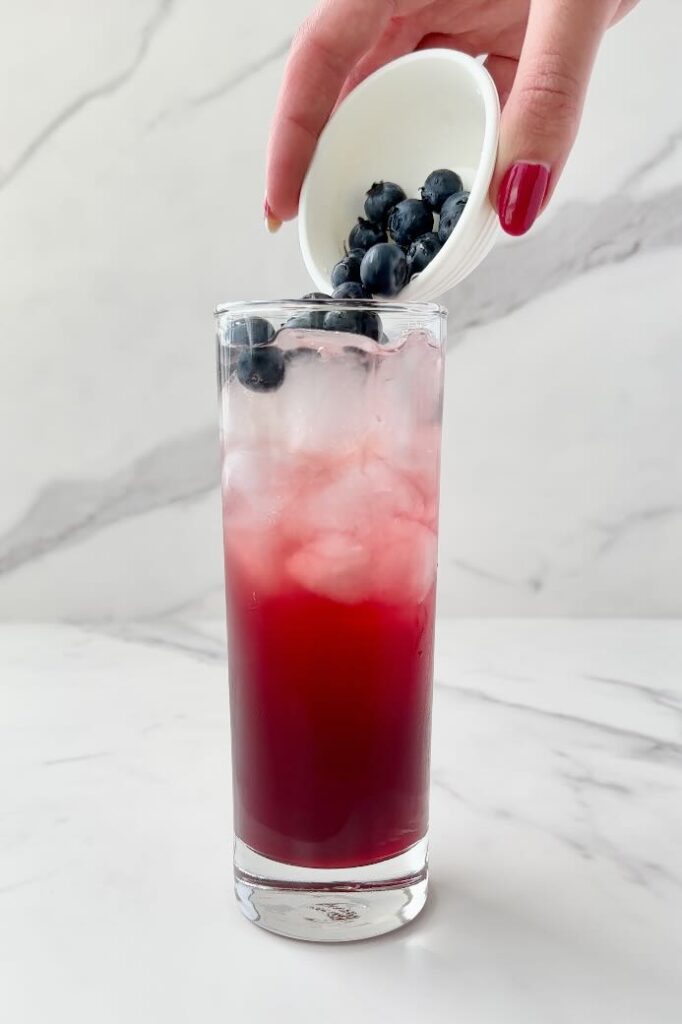
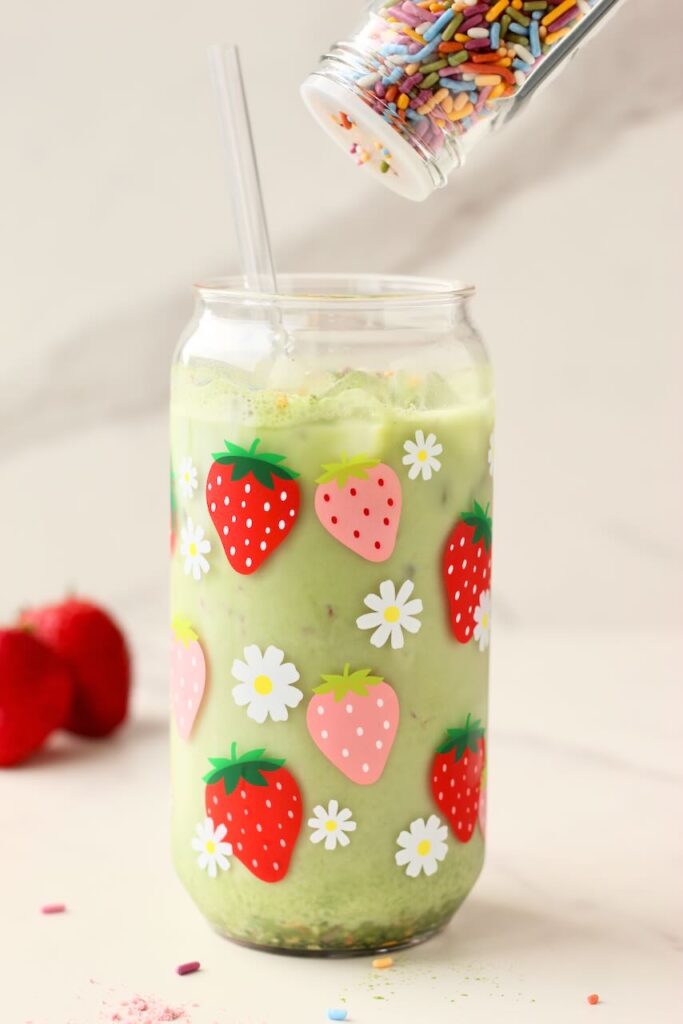
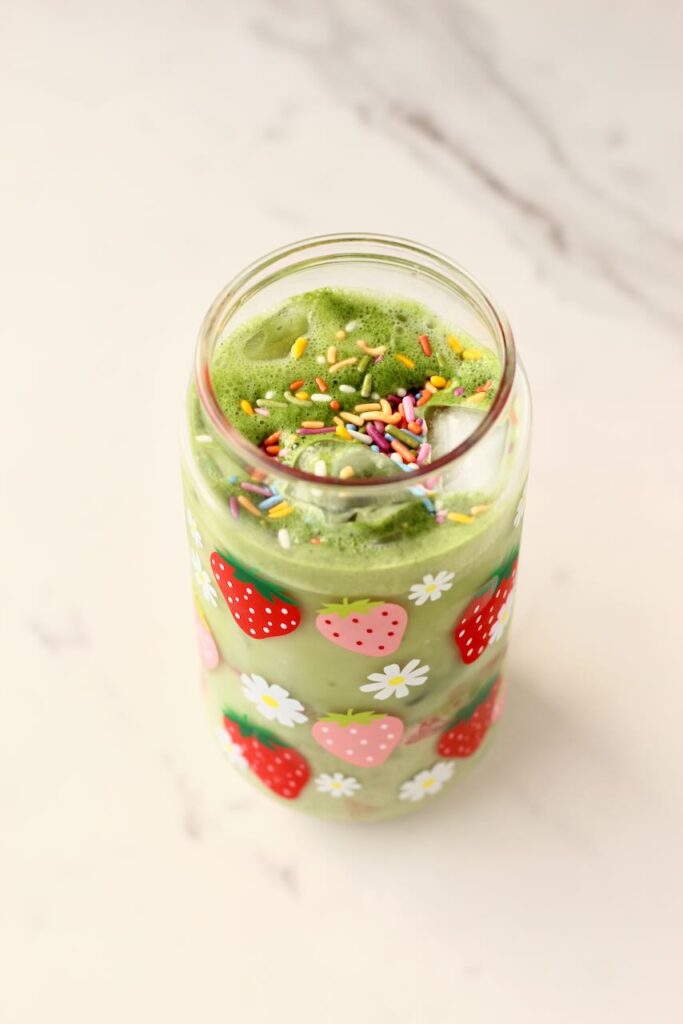
3. Top with ice
Fill your glass to the top with ice-about 1 cup-to chill it all down.
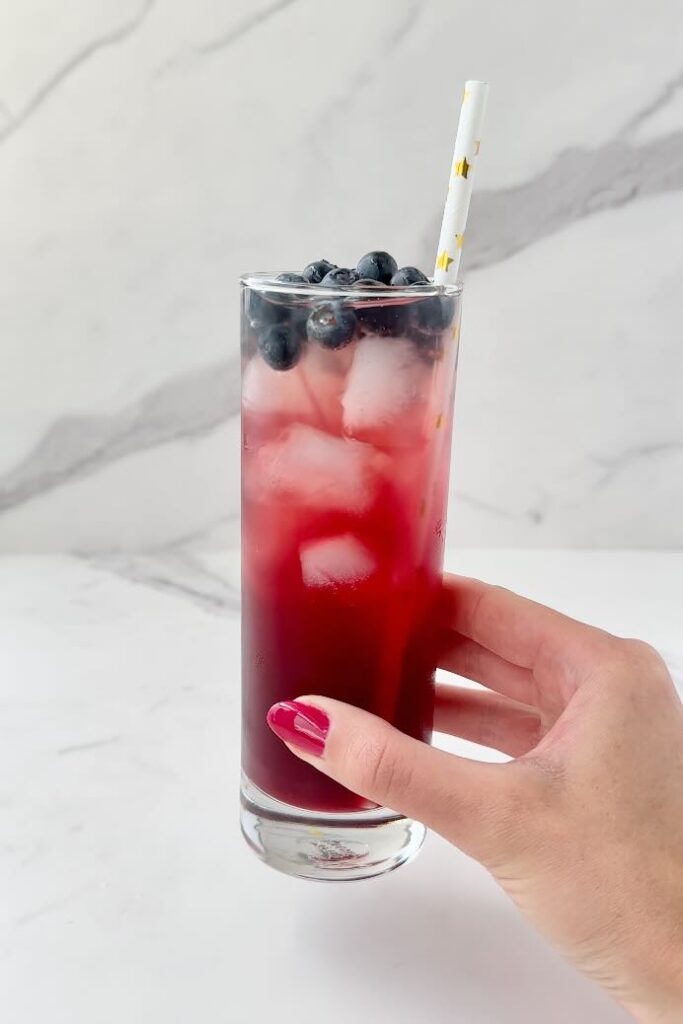
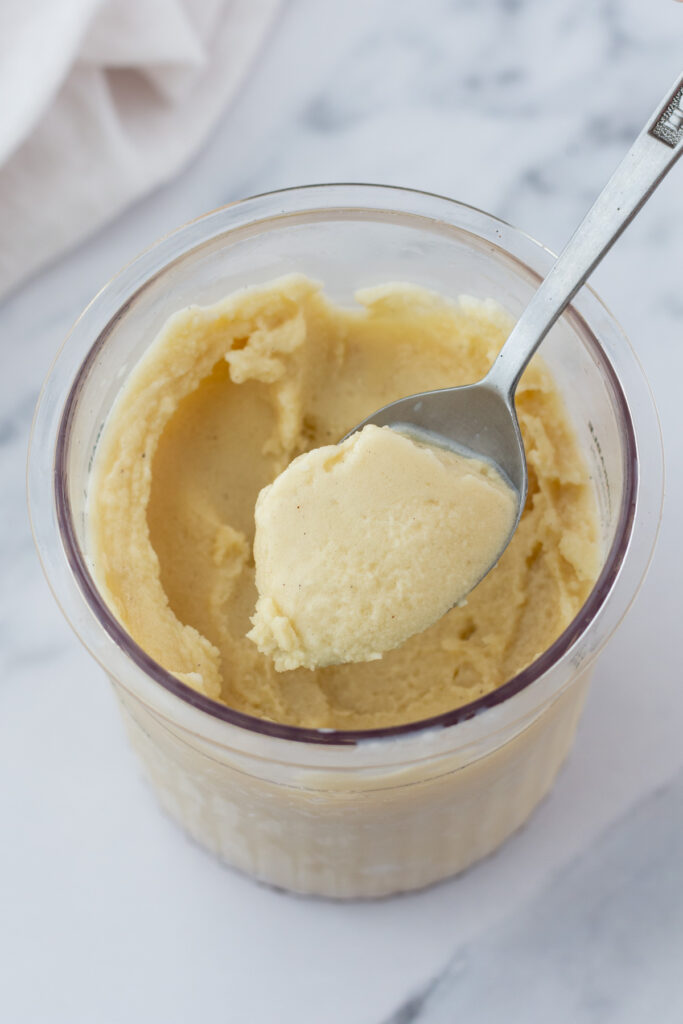
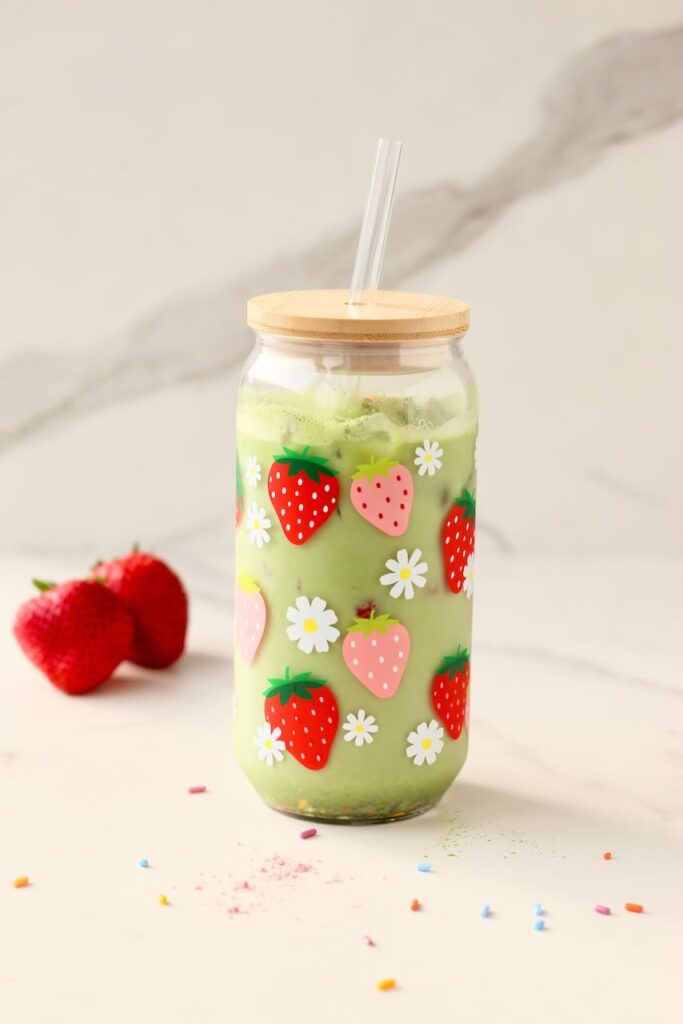
4. Stir and sip
Give it one final stir and sip your refreshing, healthy matcha latte-perfect for mornings, workouts, or a mid-day boost.
Customize it your way
Like all of my recipes, this iced protein matcha latte is completely customizable. Choose what protein powder, milk, and sweetener you want to use.
- Protein of your choice: Try vanilla for a classic healthy matcha latte or go bold with something like strawberry cream or even unflavored collagen for a neutral boost.
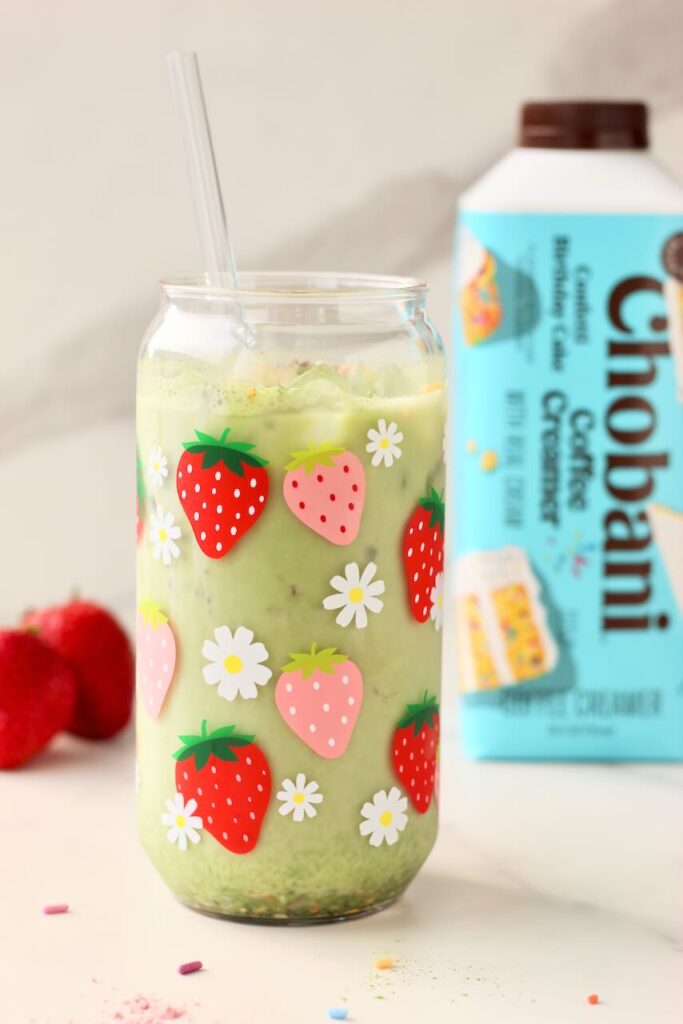
- Milk of your choice: From creamy oat to traditional dairy or almond for a nutty flavor, there's no wrong option here. I even love to top it off with a splash of birthday cake creamer! YUM.
- Sweetener of your choice: Customize the sweetness with maple syrup, honey, monk fruit, or even stevia. Some protein powders are already sweetened, so taste before adding more!
Recipe tips and tricks
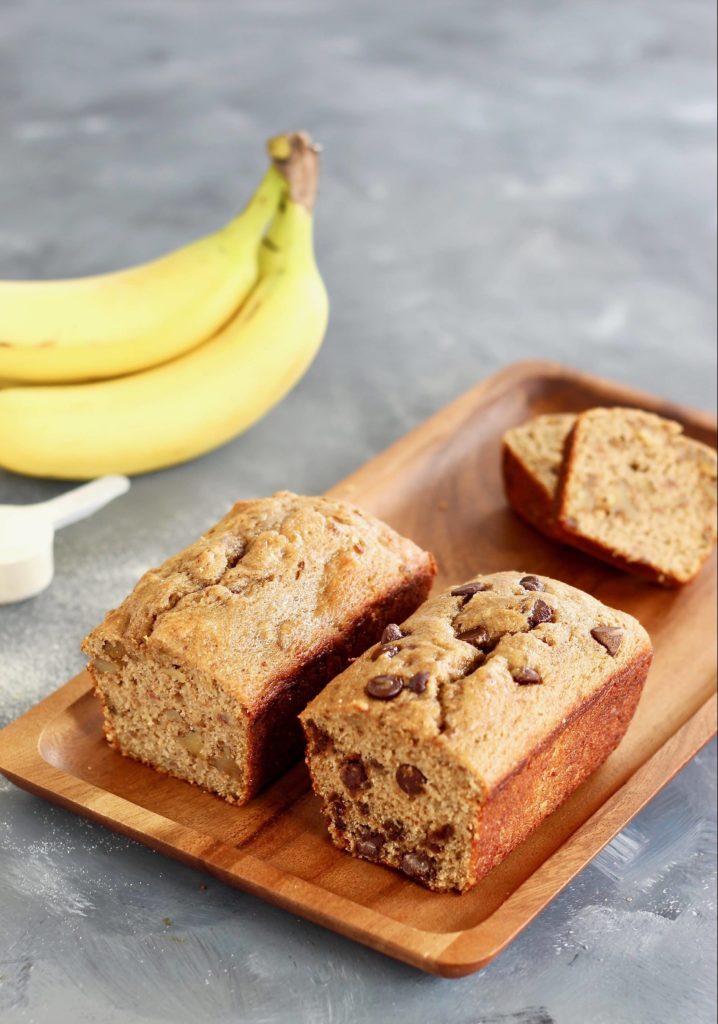
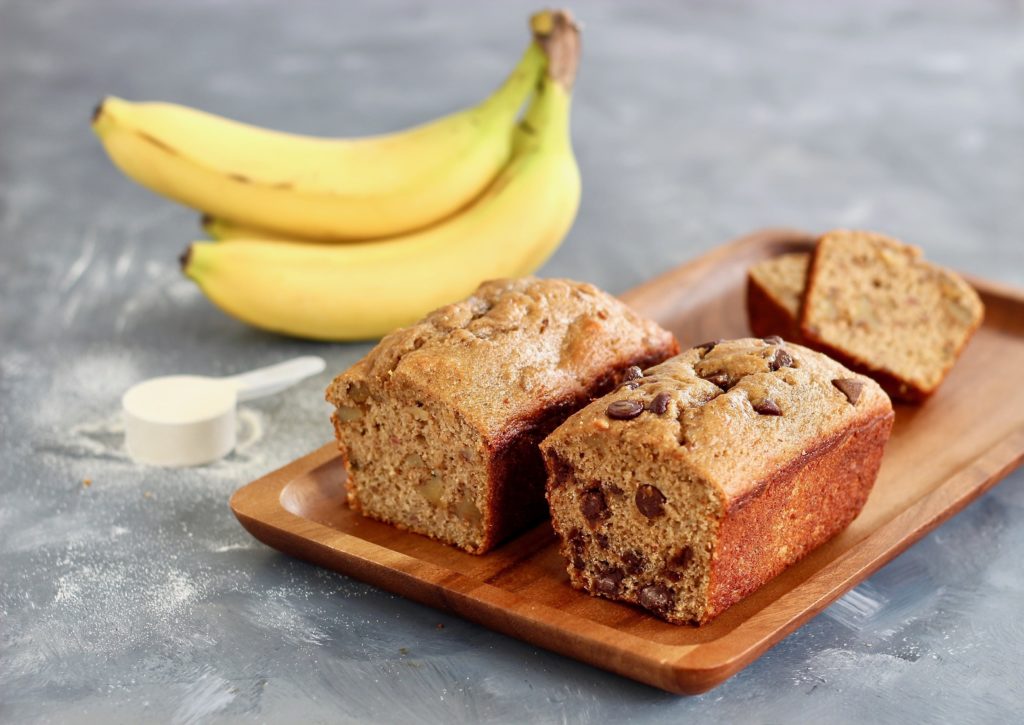
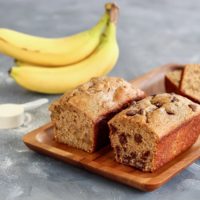
- Serving: Pair this with a protein-packed snack like a hard-boiled egg, a cottage cheese toast, or a slice of banana bread for a light breakfast.
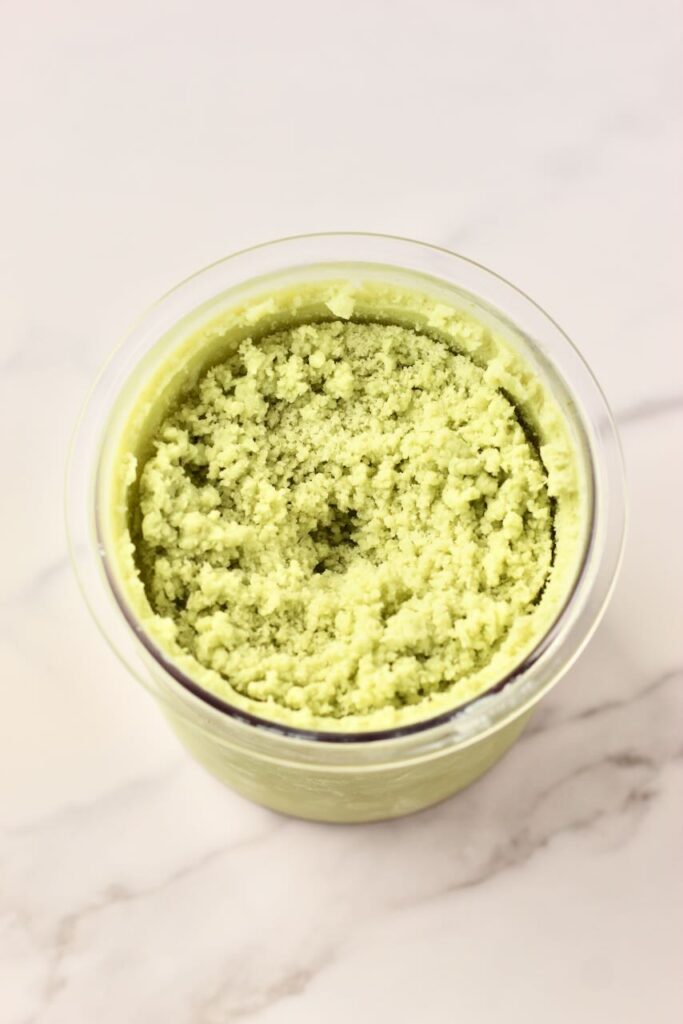
- Troubleshooting: If your matcha clumps, make sure the water isn't too hot and sift the matcha before whisking.
- Scaling: Making for two? Just double the ingredients and divide between glasses. You can even batch the matcha base ahead and refrigerate for up to 2 days.
Meal prep and storage
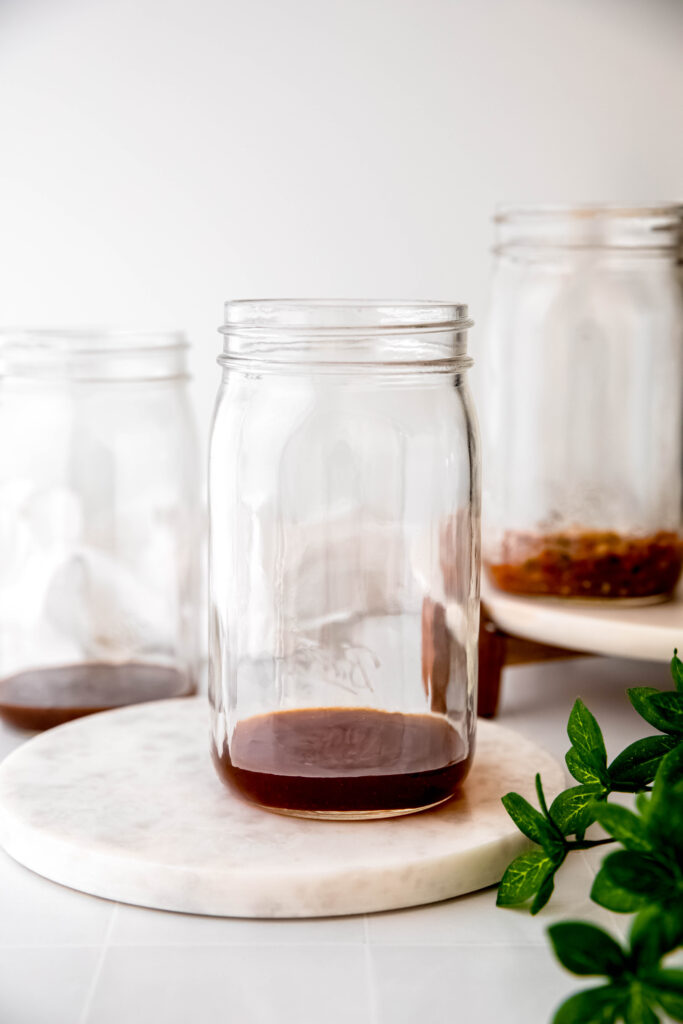
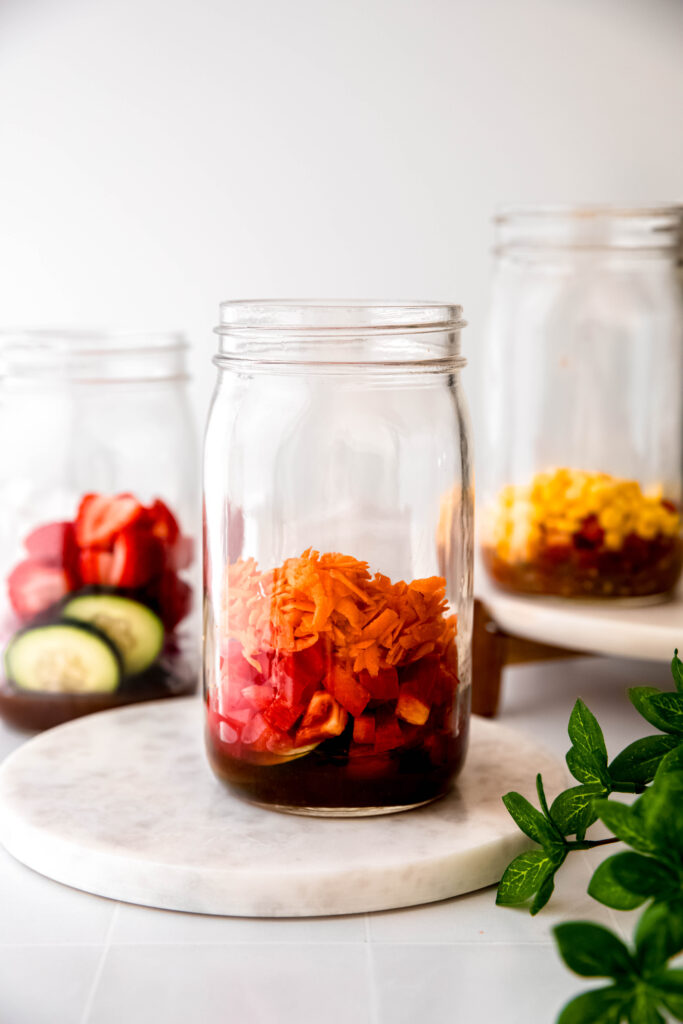
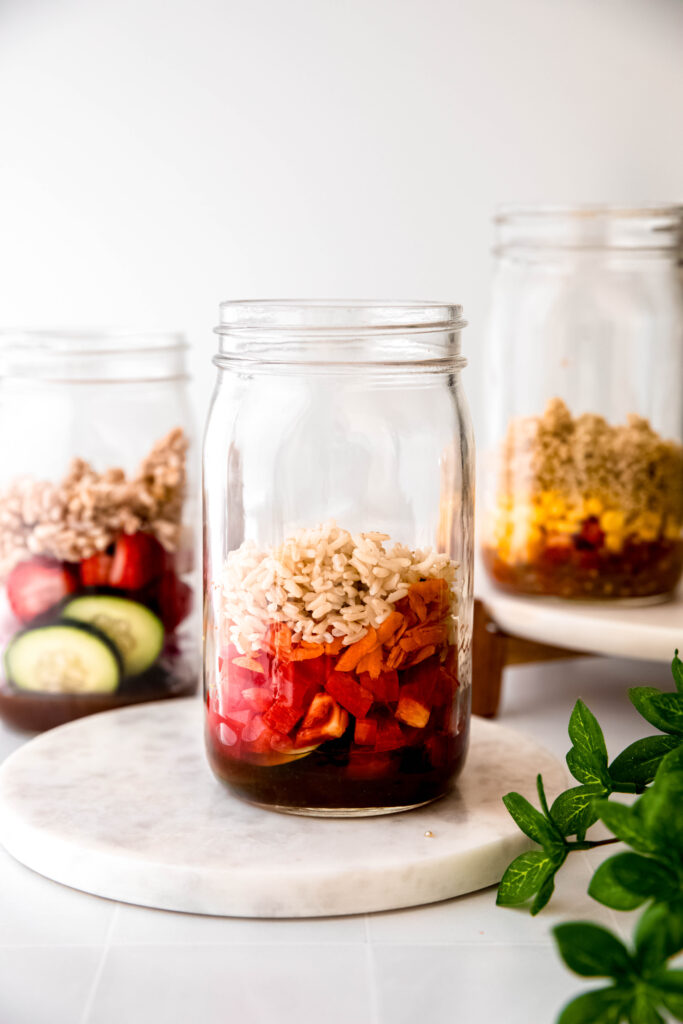
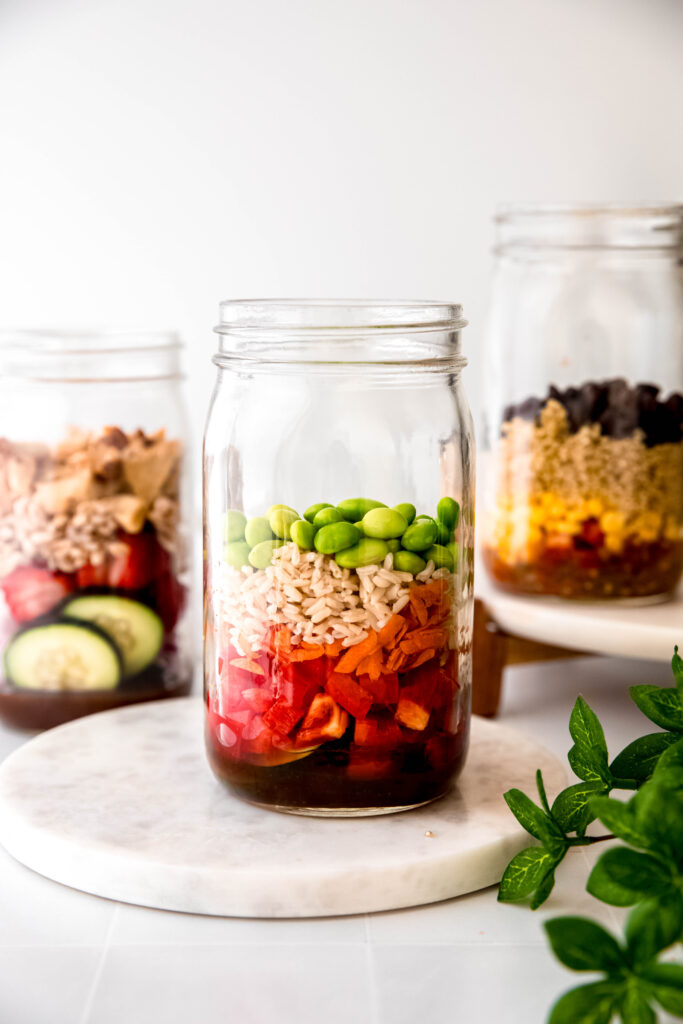
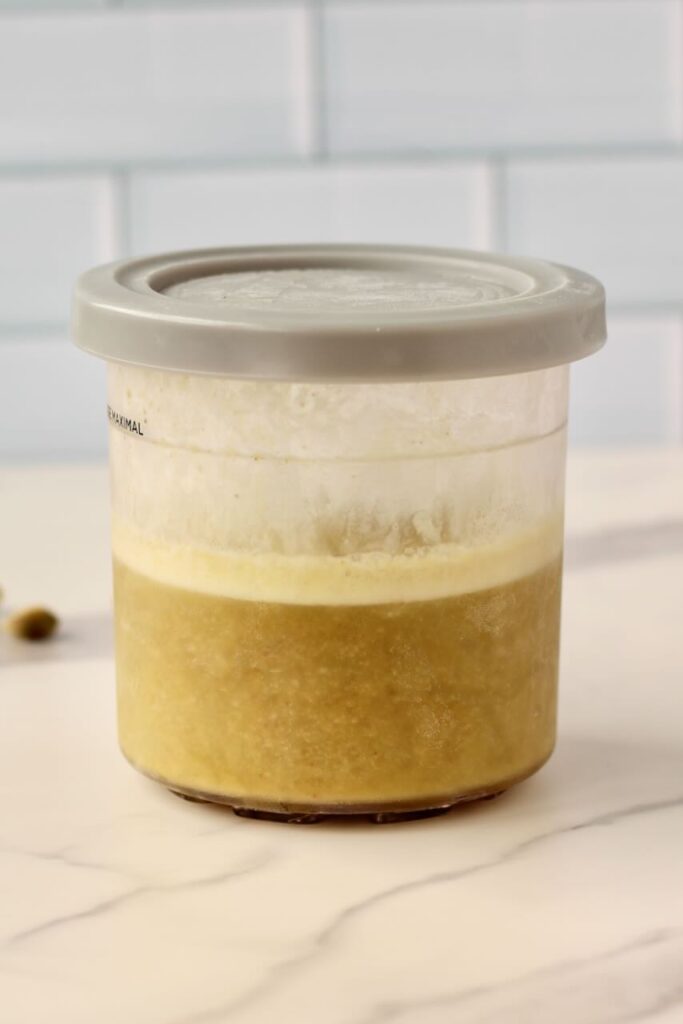
While best fresh, you can prep the matcha base (water + powders + extract) in a jar, shake well, and refrigerate for up to 2 days. When ready, just add milk and ice.
Need more help with recipes for your busy schedule?
In my coaching + cooking program, I help busy people with beginner cooking knowledge become confident in the kitchen so that they can enjoy nourishing foods they love and stress less about mealtime. Click here to learn more about this virtual program led by a dietitian.
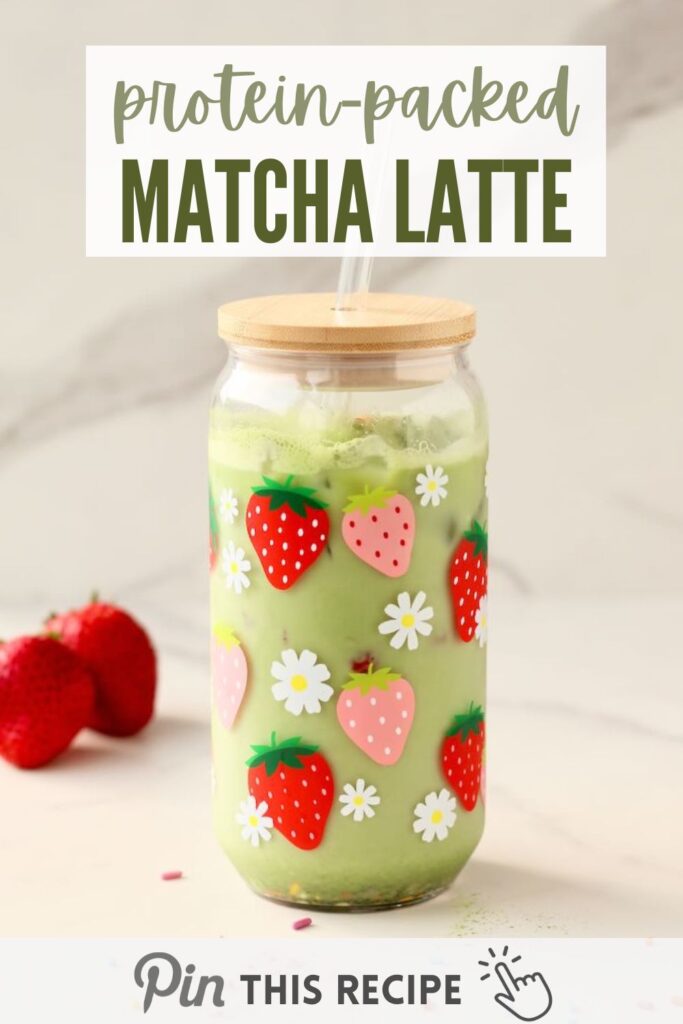
Iced Protein Matcha Latte
Ingredients
- 1 teaspoon matcha powder
- ⅓ cup hot but not boiling water, (ideally heated to 176°F)
- 1-2 tablespoons protein powder of your choice, (like vanilla or strawberry cream - ~10g)
- 1 teaspoon sweetener of your choice, (monk fruit, honey, maple syrup, etc.)
- Optional: ½ teaspoon vanilla extract or vanilla bean paste
- Ice, to fill the glass
- ½ cup milk of your choice, (oat creamer, dairy milk, etc.)
- Optional: 1 tablespoon creamer of your choice
Instructions
- In a matcha bowl or glass, combine the matcha powder, hot water, protein powder, sweetener, and vanilla extract (if using). Use a handheld frother or whisk until the mixture is smooth and frothy.
- Fill a 16-ounce glass with ice, then pour in the milk. Gently pour the matcha mixture over the milk. Add creamer, if using.
- Stir well to combine and enjoy right away!
Notes
Nutrition
save this iced protein matcha latte recipe on pinterest:
Try these other recipes next:
- Matcha Smoothie Bowl (for matcha lovers)
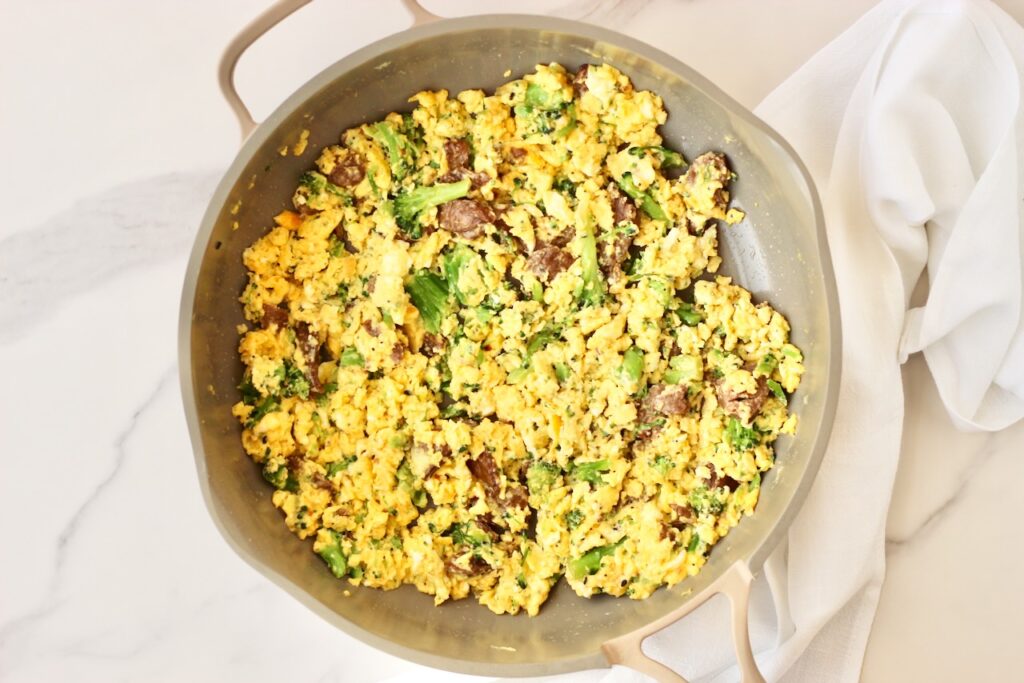
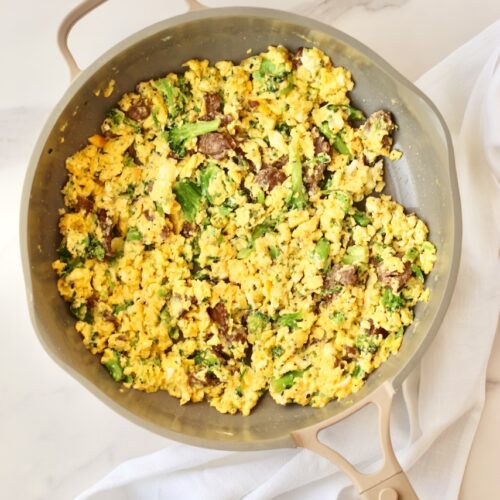
- Cottage Cheese Eggs (for a savory protein boost)
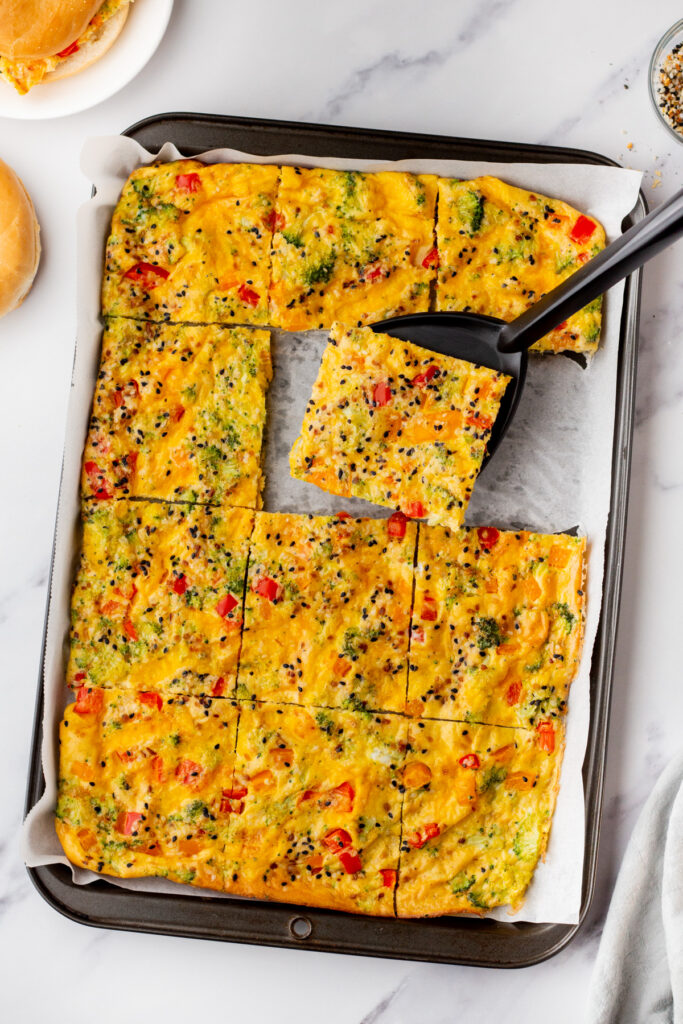
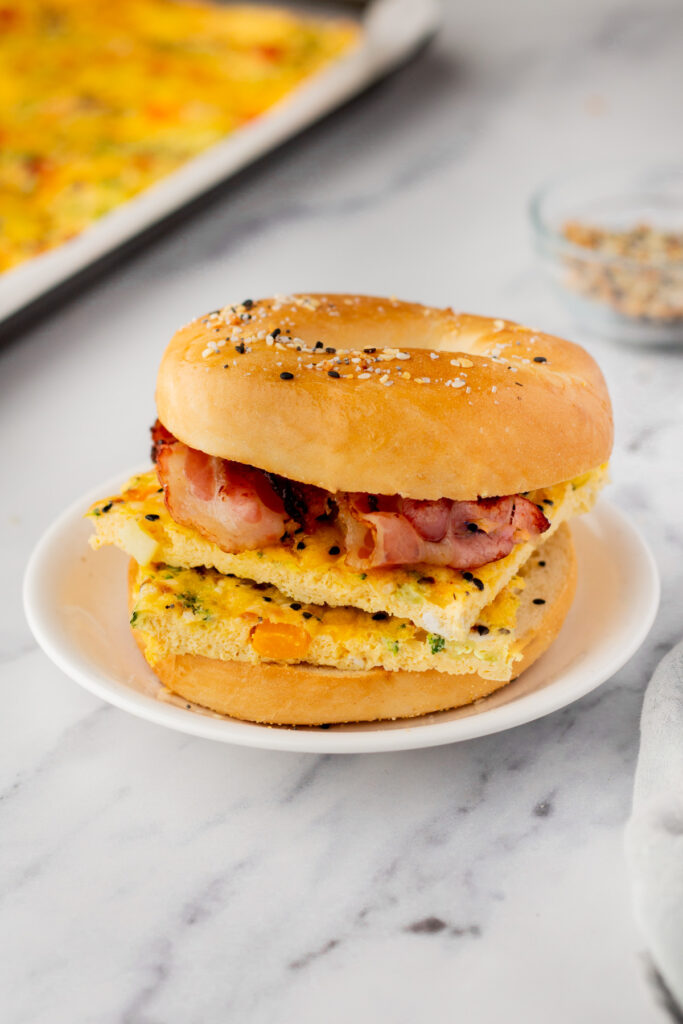
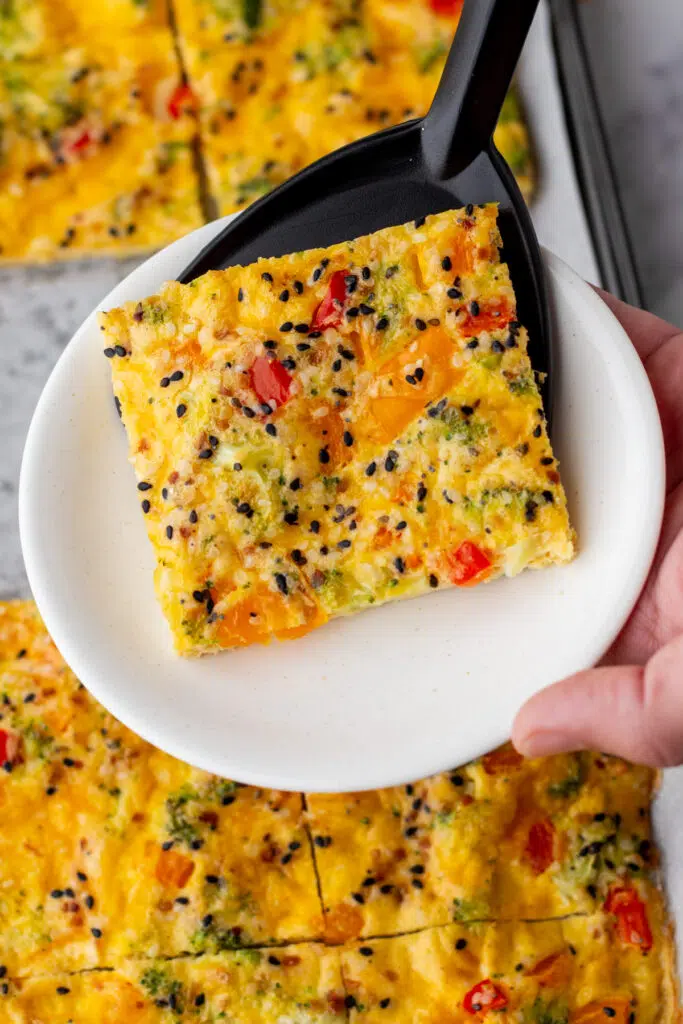
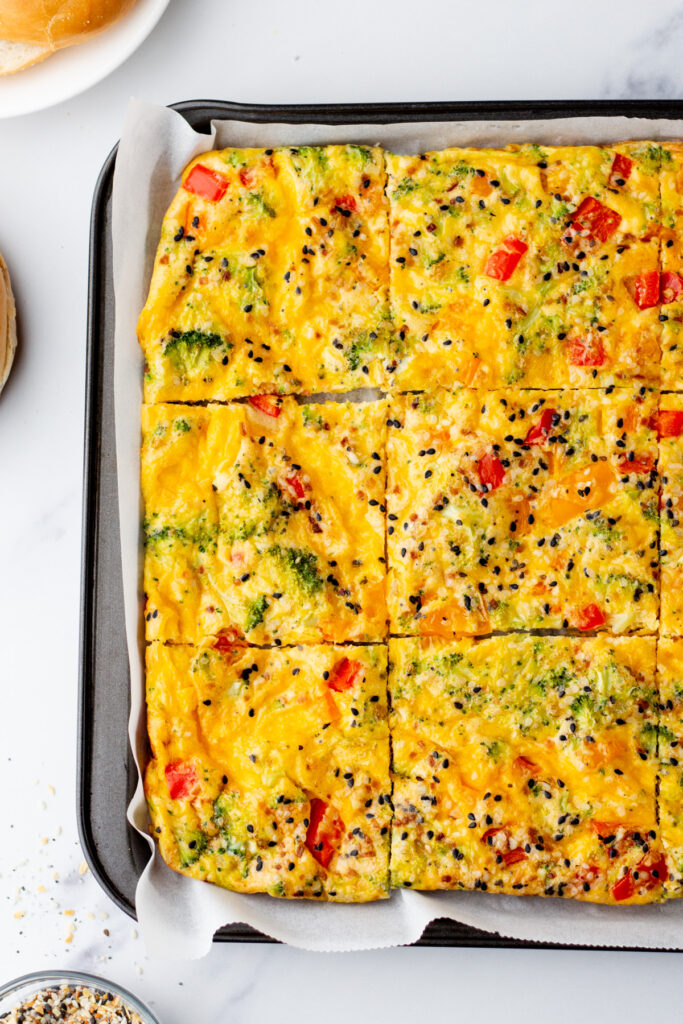
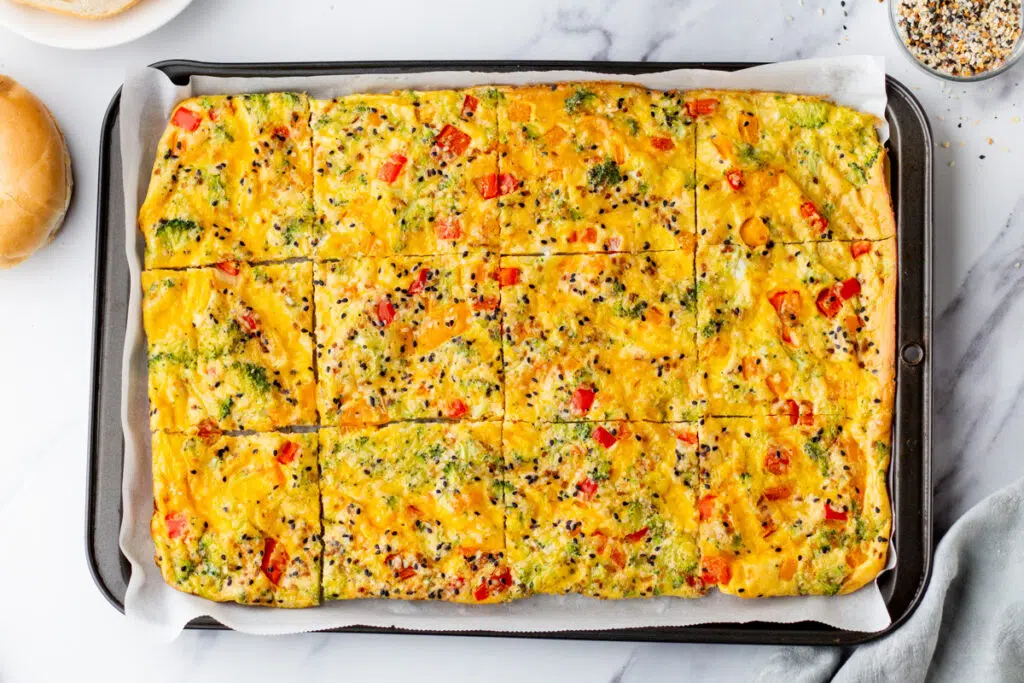
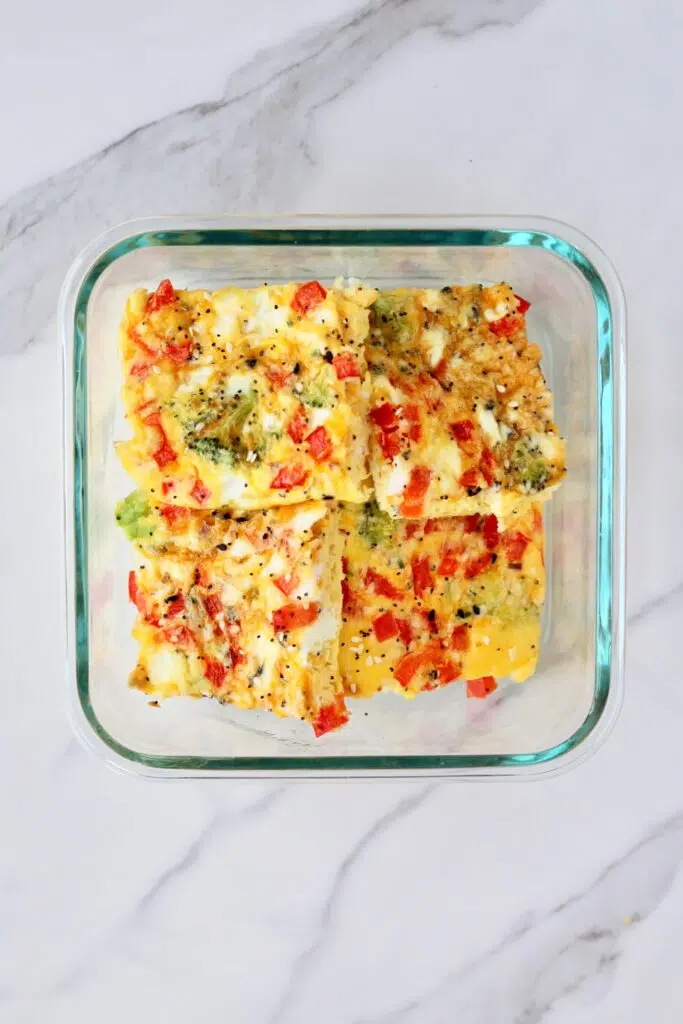
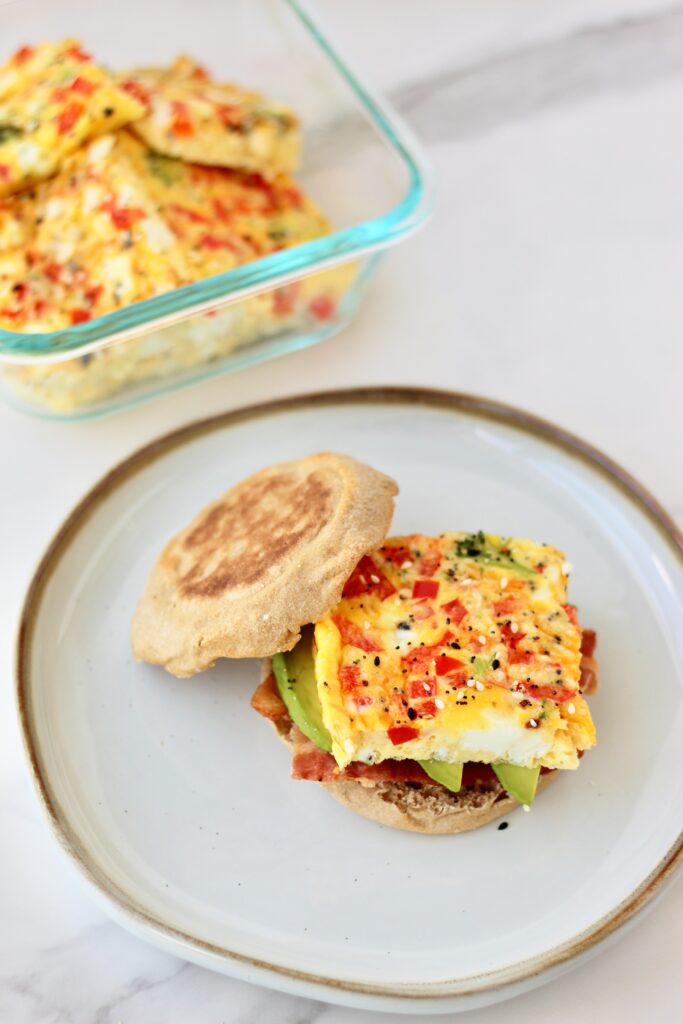
- Sheet Pan Eggs (for your weekly meal prep)