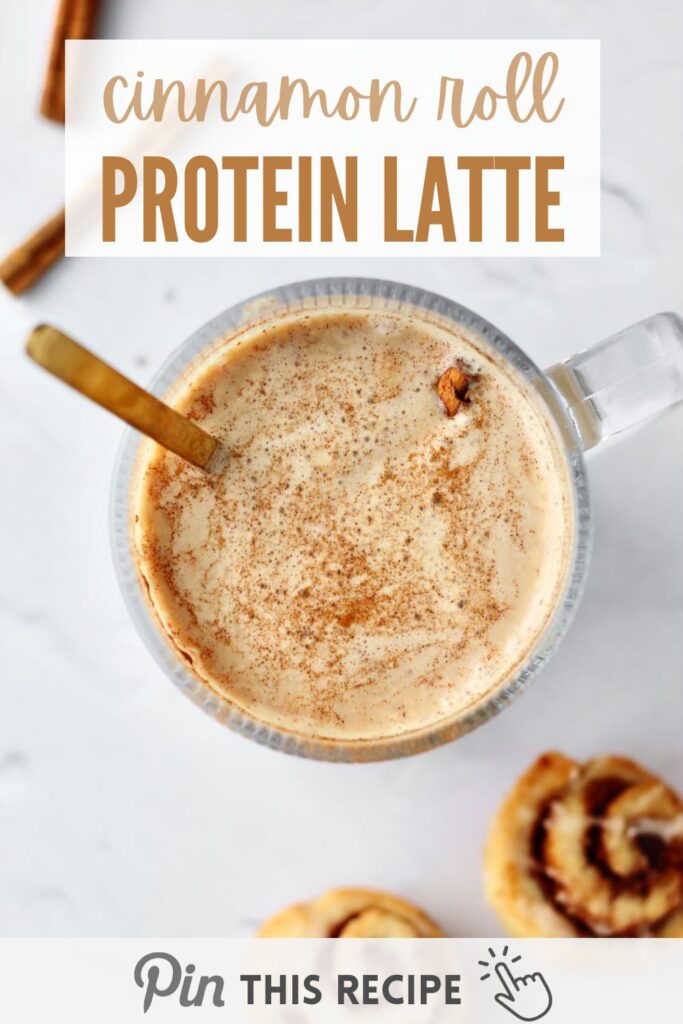
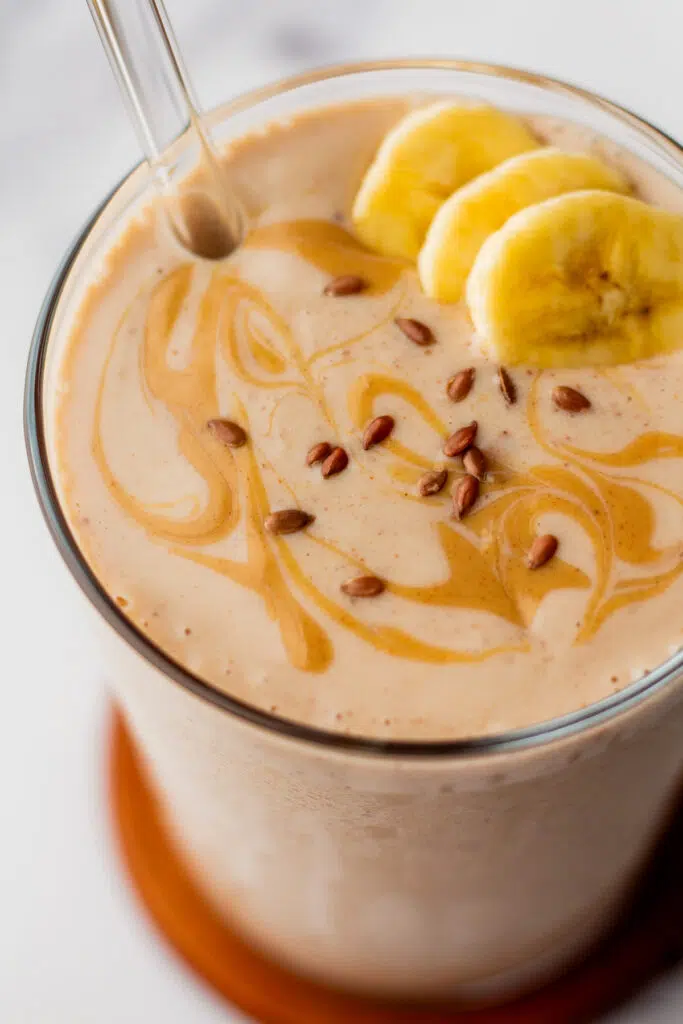
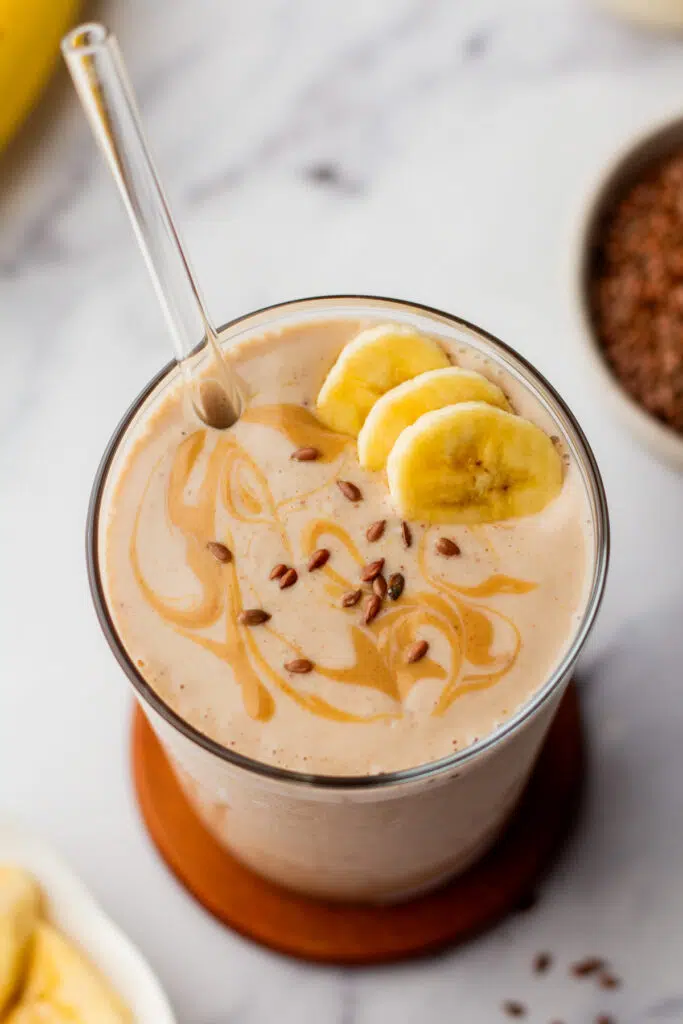
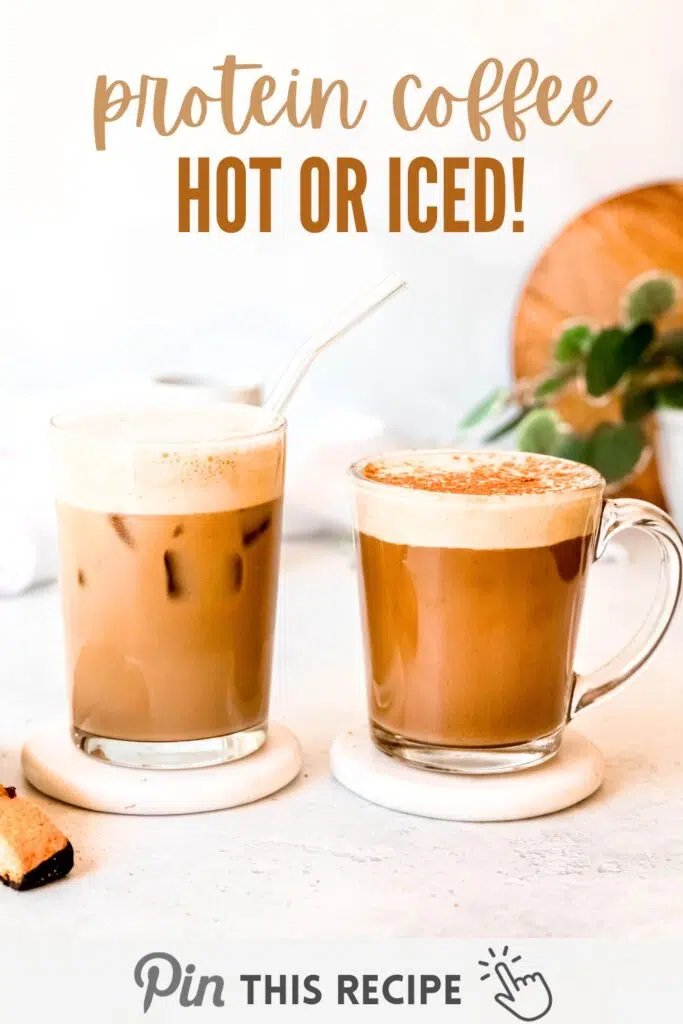
If you're craving a cozy, protein-packed pick-me-up, this Cinnamon Roll Protein Latte is for you! Imagine the flavors of a warm, gooey cinnamon roll swirled into your morning coffee, with the added benefit of protein to keep you fueled and satisfied. This latte is creamy, comforting, and perfect for starting your day strong or enjoying an afternoon treat. Plus, it's easy to customize with your favorite milk and spices to fit your taste and needs.

(Disclosure note: This post may contain affiliate links, meaning I earn a small commission if you make a purchase through one of my links-at no extra cost to you. As always, all opinions are my own. See my disclosure policy for more details.)
Table of Contents
Why you'll love it
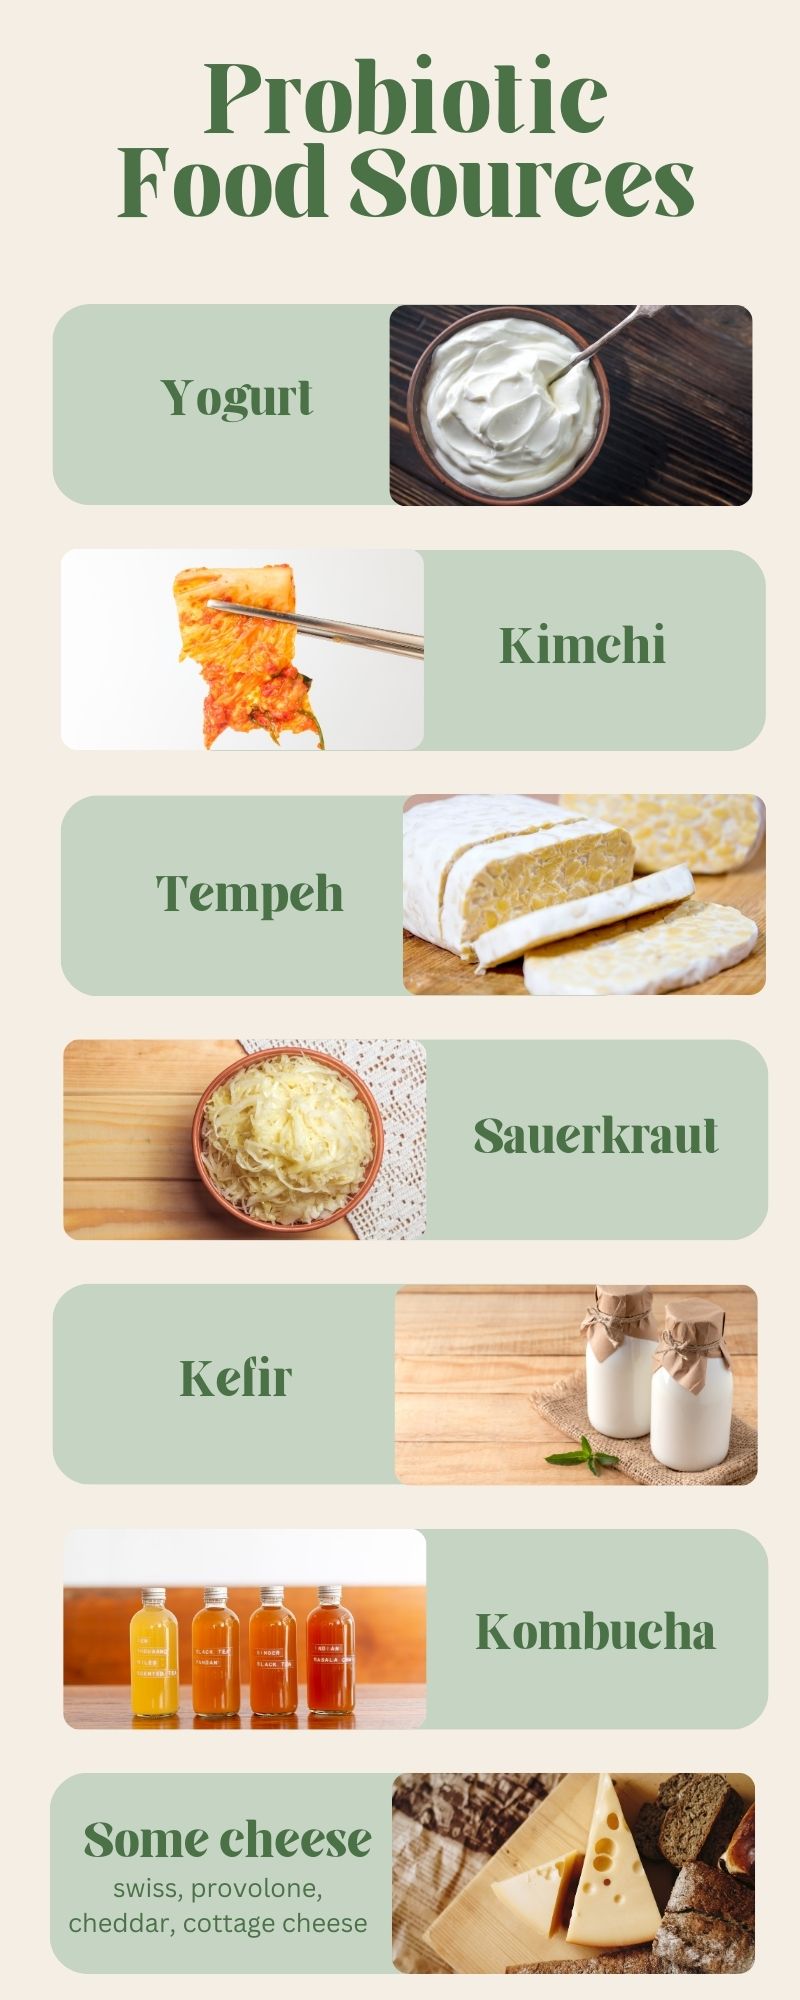
- Cinnamon roll vibes in a cup - The warming flavors of vanilla, cinnamon, and nutmeg will have you feeling like you're sipping on dessert, minus the sugar crash.
- Protein-packed for a balanced start - Adding protein powder balances out the caffeine kick and helps keep you satisfied, making this latte a great option for busy mornings or post-workout fuel.
- Quick and budget-friendly - Skip the coffee shop line! This easy latte recipe comes together in minutes using simple ingredients you probably already have at home.
Is this cinnamon roll protein latte healthy?
As a dietitian, I believe balanced nutrition can include your favorite treats, especially when they're packed with nourishing ingredients like this latte! Here's why it's a great choice:
- Protein Boost: Adding protein powder helps balance the caffeine kick, keeps you feeling full, and supports muscle recovery and energy throughout the day.
- Antioxidant Properties: Nutmeg offers antioxidants that help protect your cells from damage caused by free radicals.
- Anti-inflammatory Effects: Cinnamon is known for its anti-inflammatory compounds, which can support overall wellness and reduce inflammation in the body.
- Blood Sugar Control: Cinnamon may also help regulate blood sugar levels, making this latte a more balanced option for starting your day.

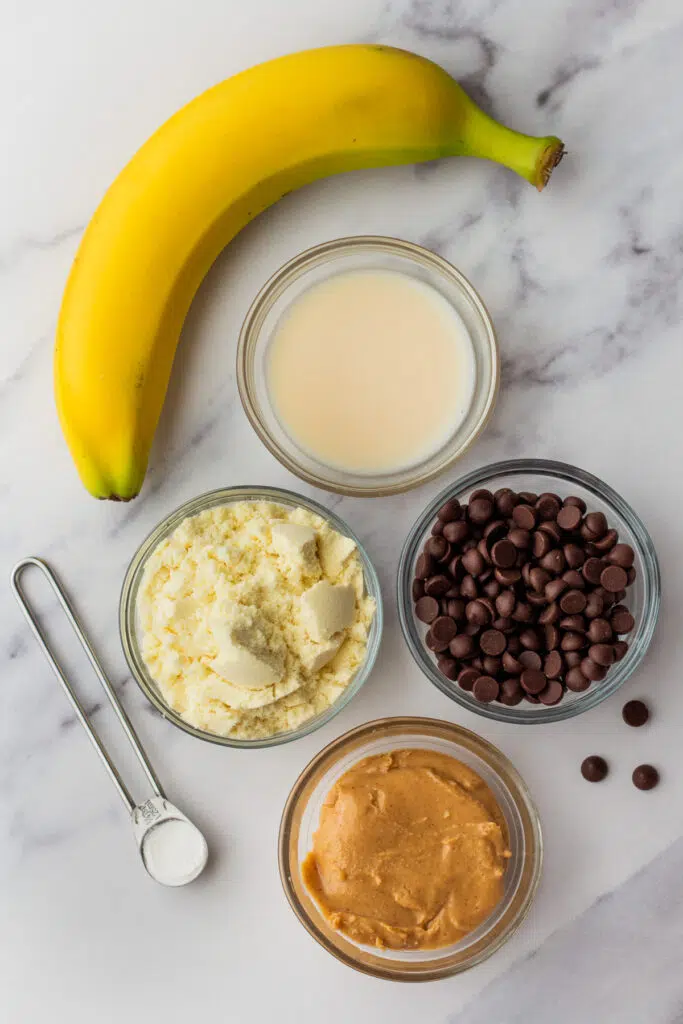
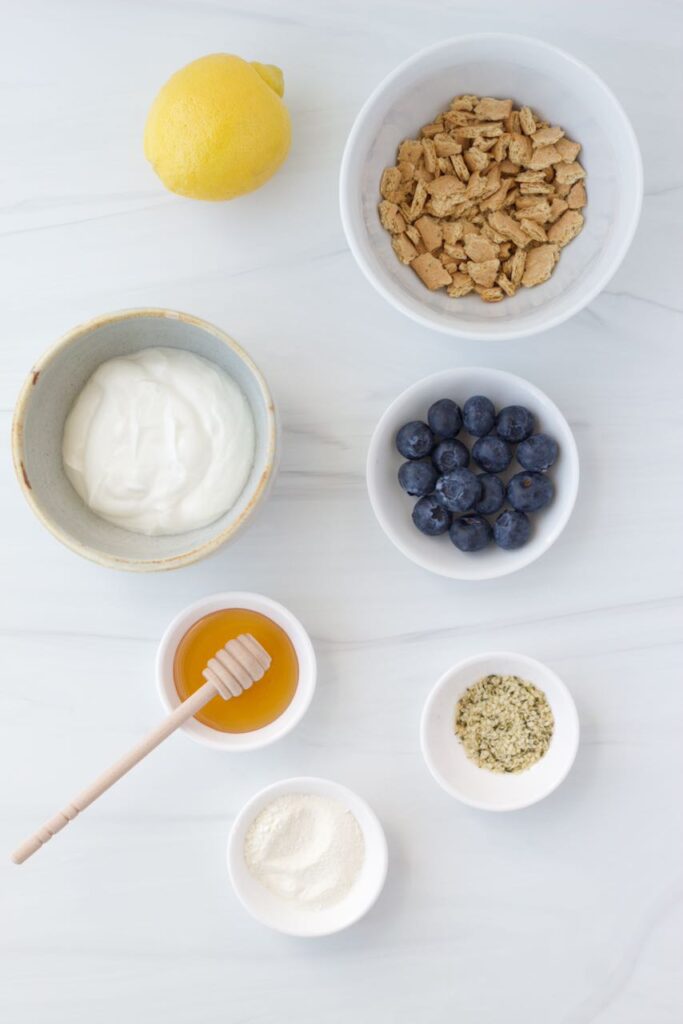
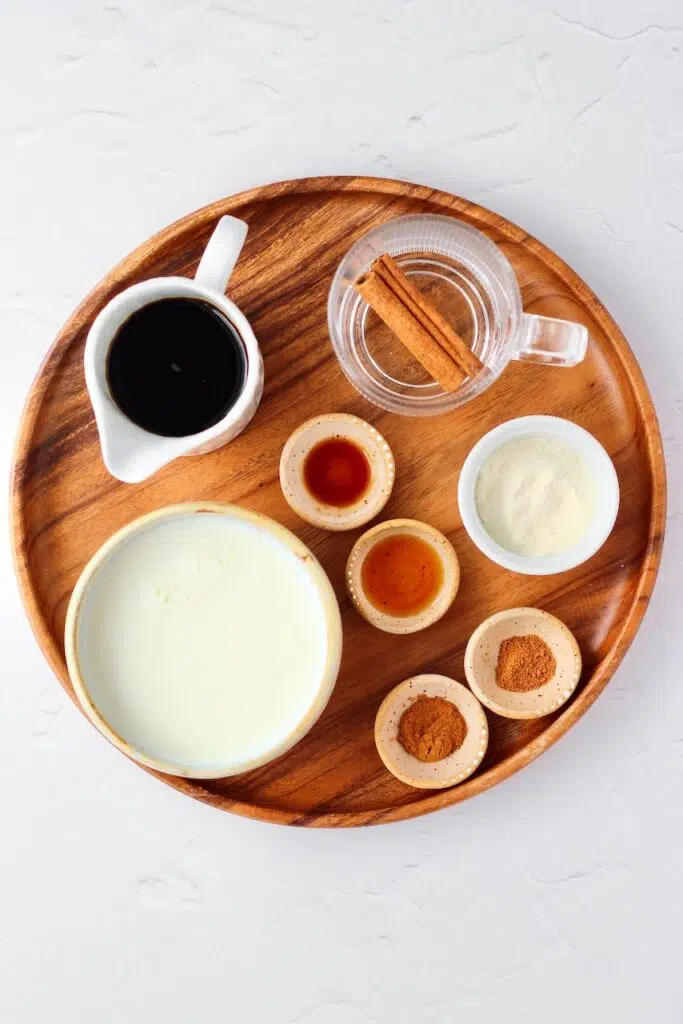
Ingredients you'll need
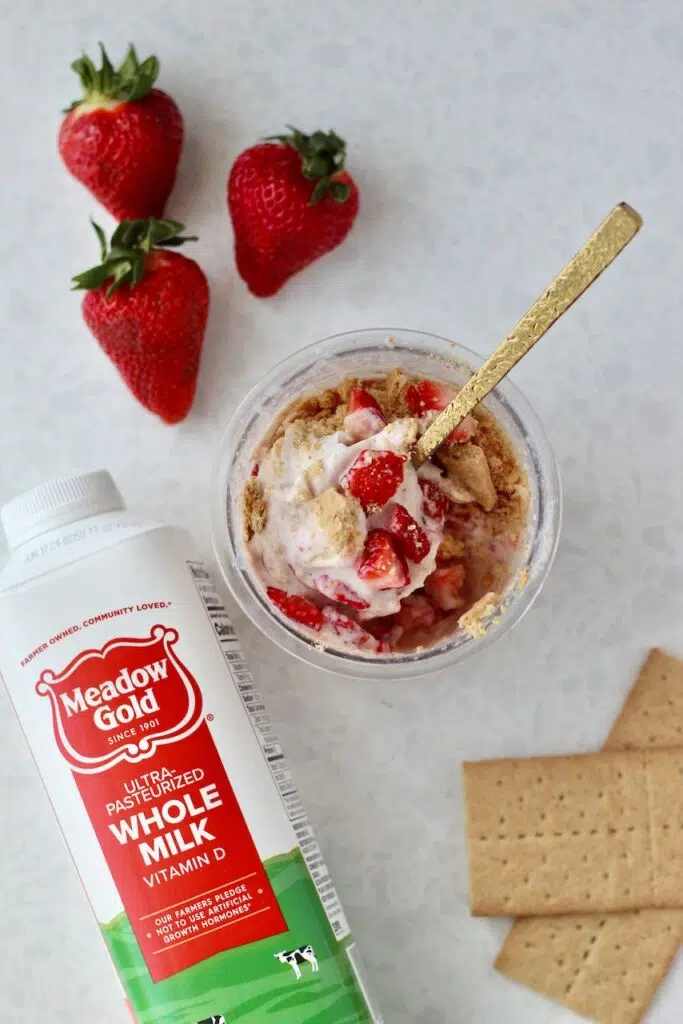
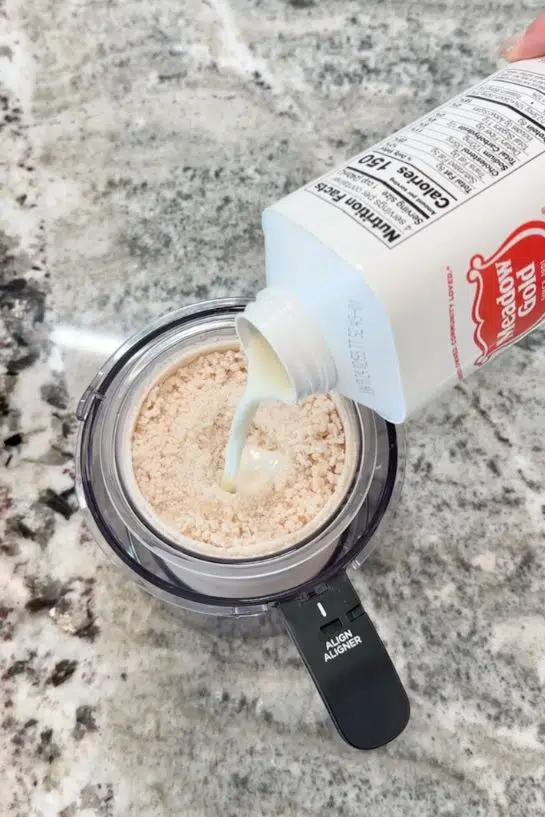
- Meadow Gold Whole Milk - Provides a creamy texture and a dose of calcium for bone health.
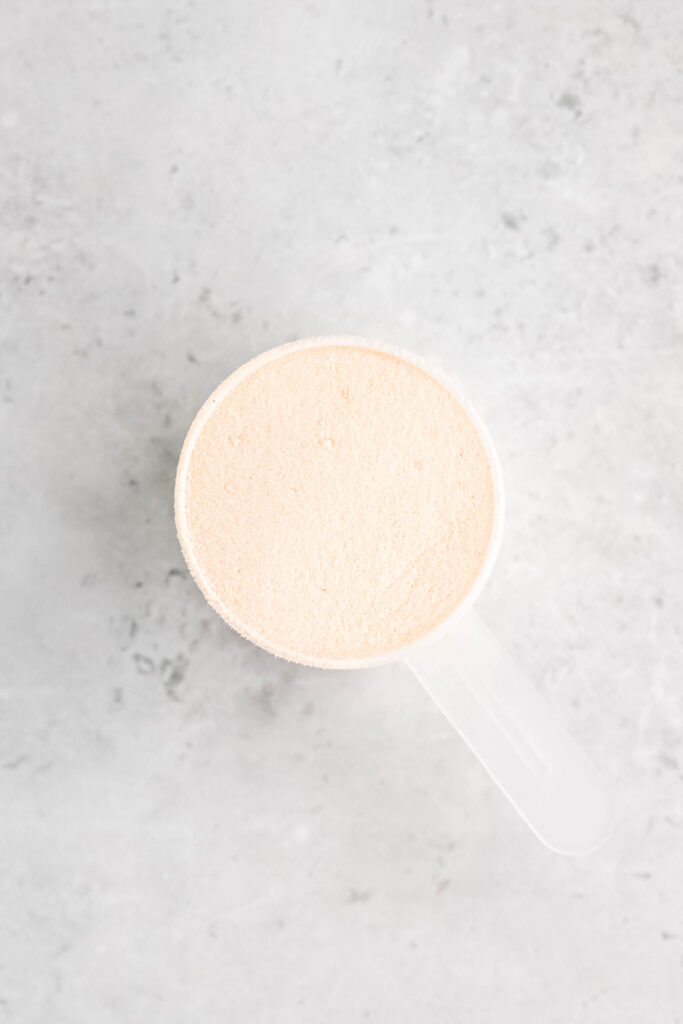
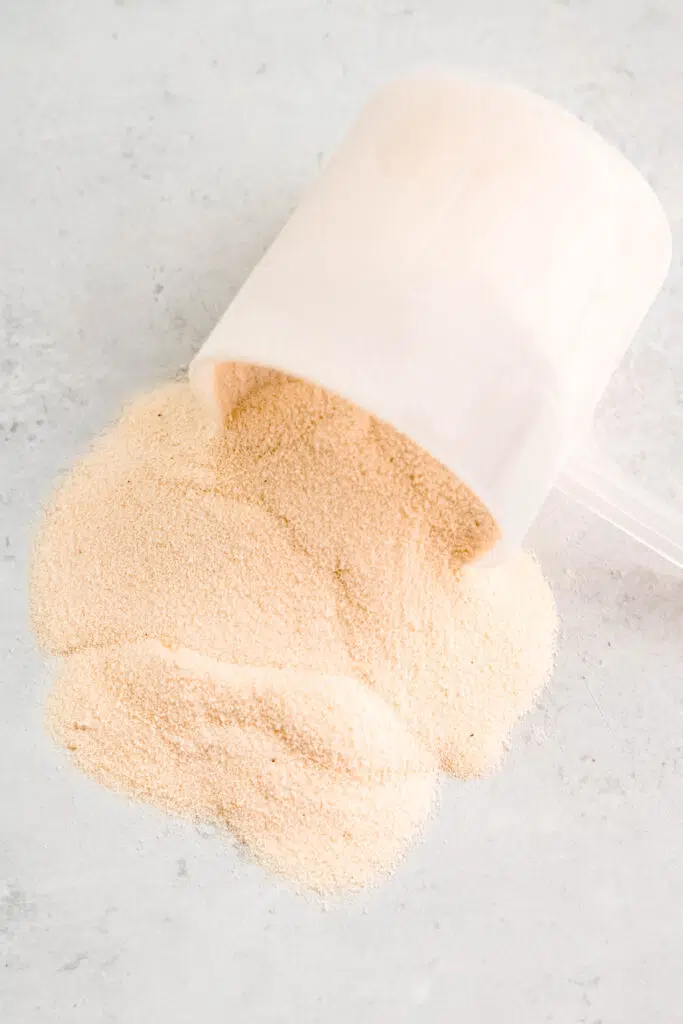
- Vanilla protein powder - Packs in protein to keep you full and balanced; any brand you love works here.
- Maple syrup - A touch of natural sweetness without added refined sugars.
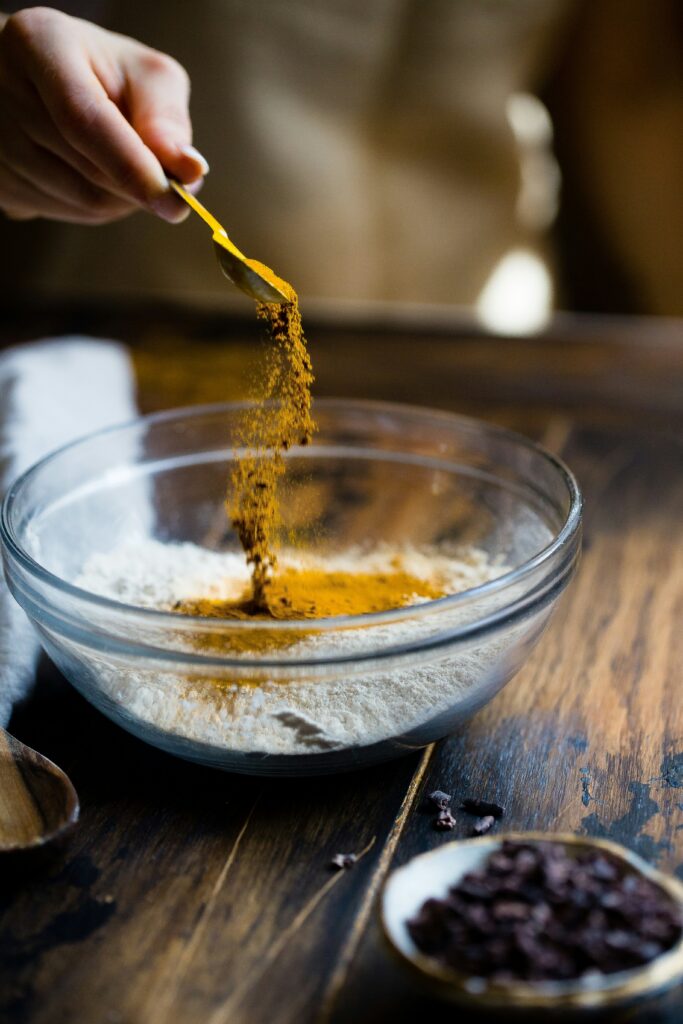
- Cinnamon - Gives that signature cinnamon roll flavor and adds antioxidants.
- Nutmeg - Complements the cinnamon with a warm, earthy flavor.
- Vanilla extract - Deepens the vanilla flavor and naturally enhances sweetness without extra sugar.
- Espresso or strong brewed coffee - Your caffeine base-choose your favorite coffee or espresso for a flavorful and energizing kick.
How to make it
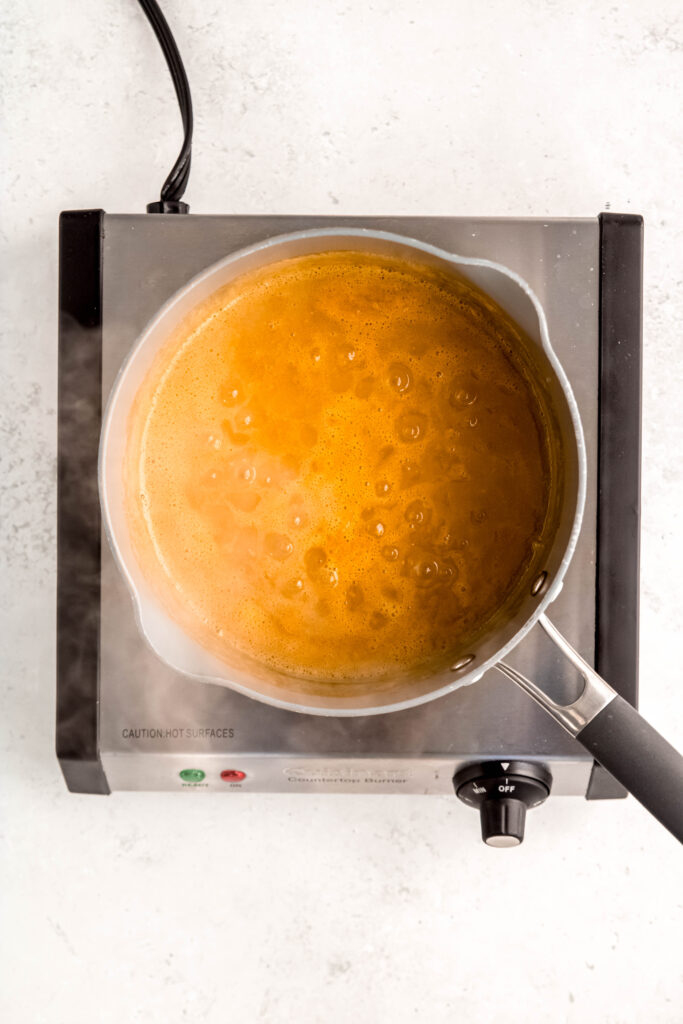
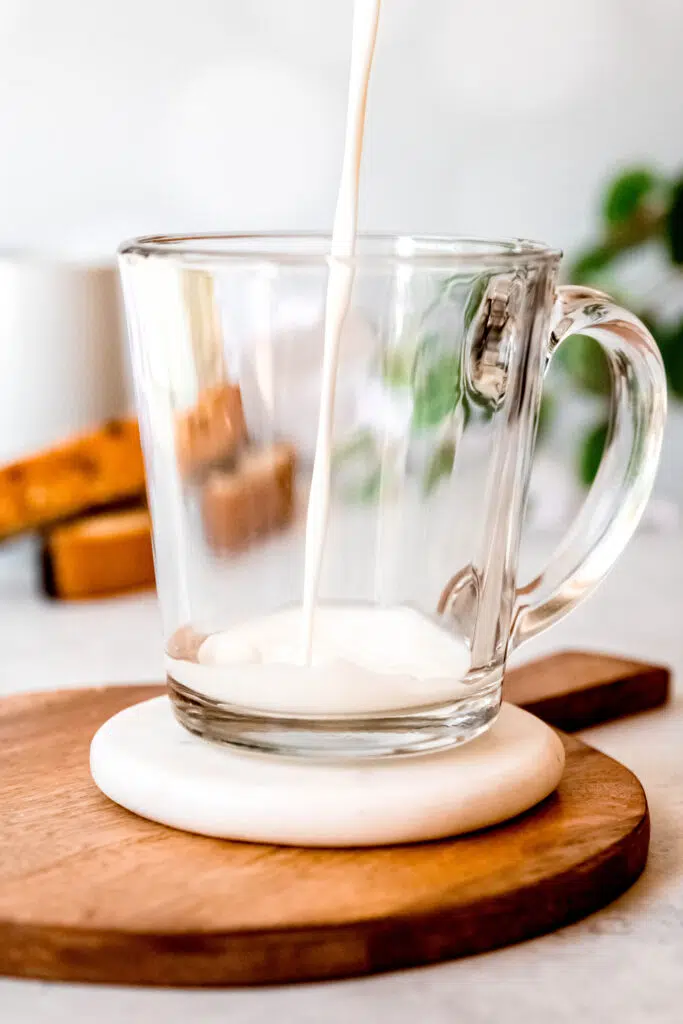
Heat the milk
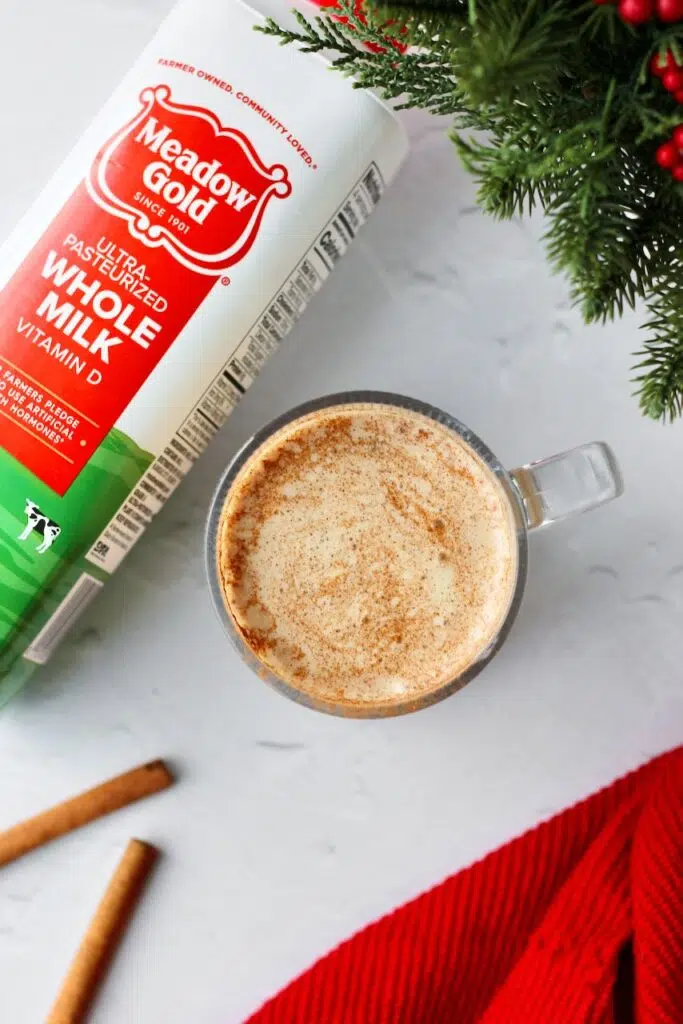
Pour milk into a small pot and warm it over medium heat for about 5 minutes, until it's heated through but not boiling. For the ultra creamy latte, I often love using Meadow Gold Whole Milk.
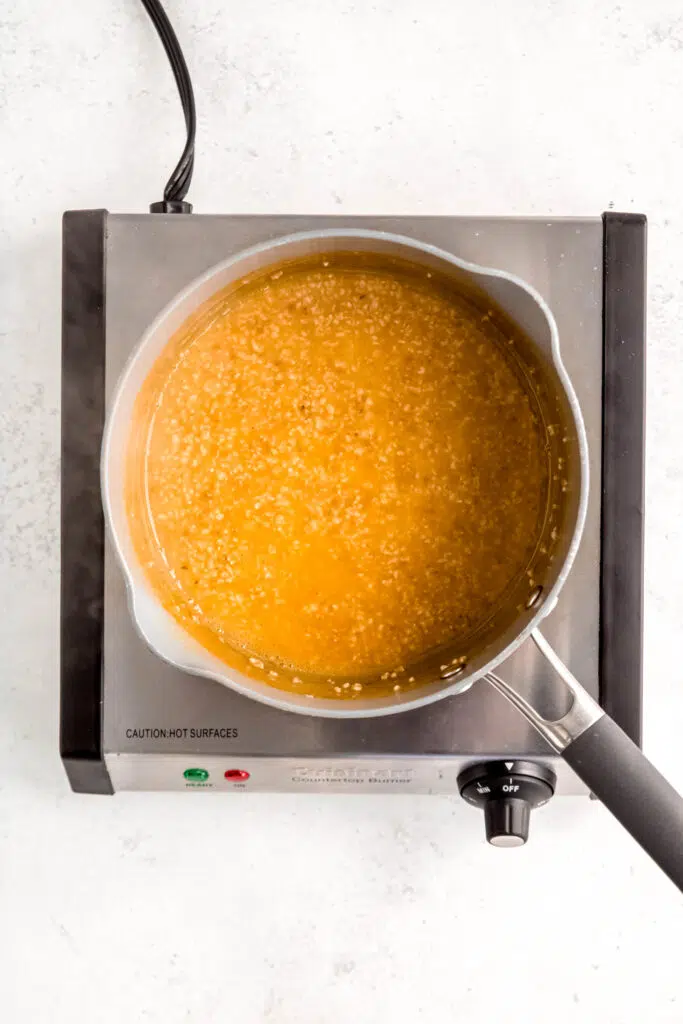
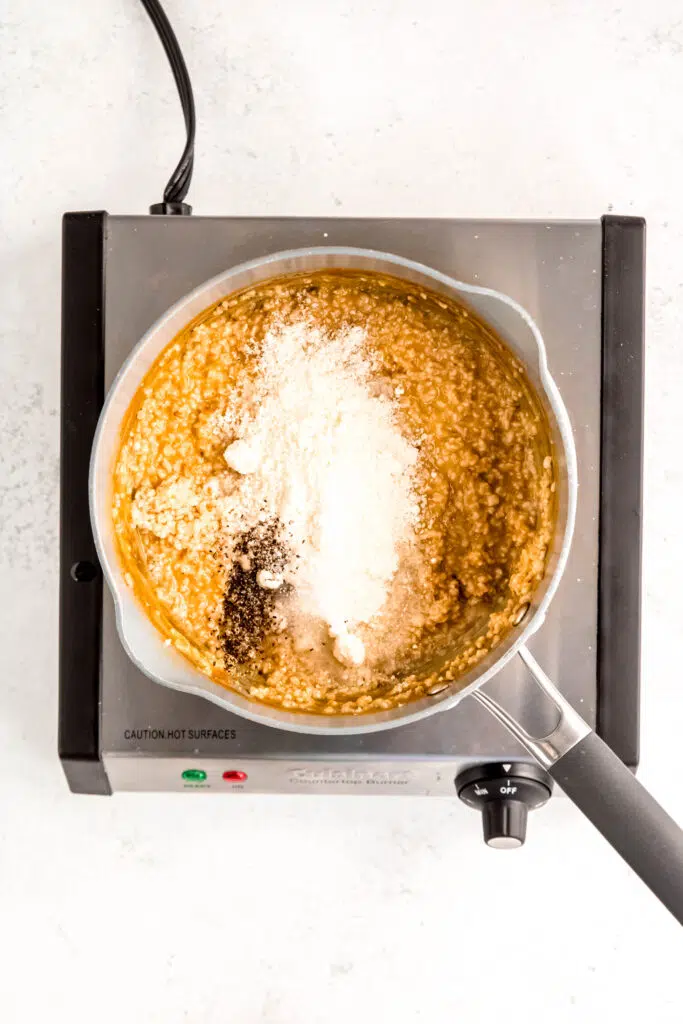
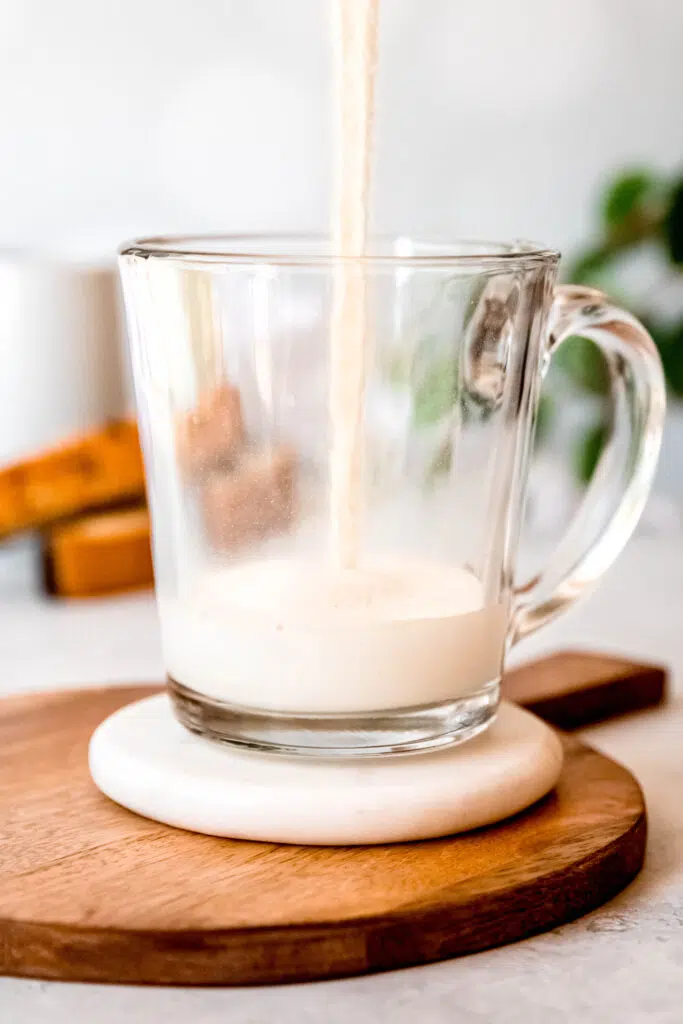
Add flavors
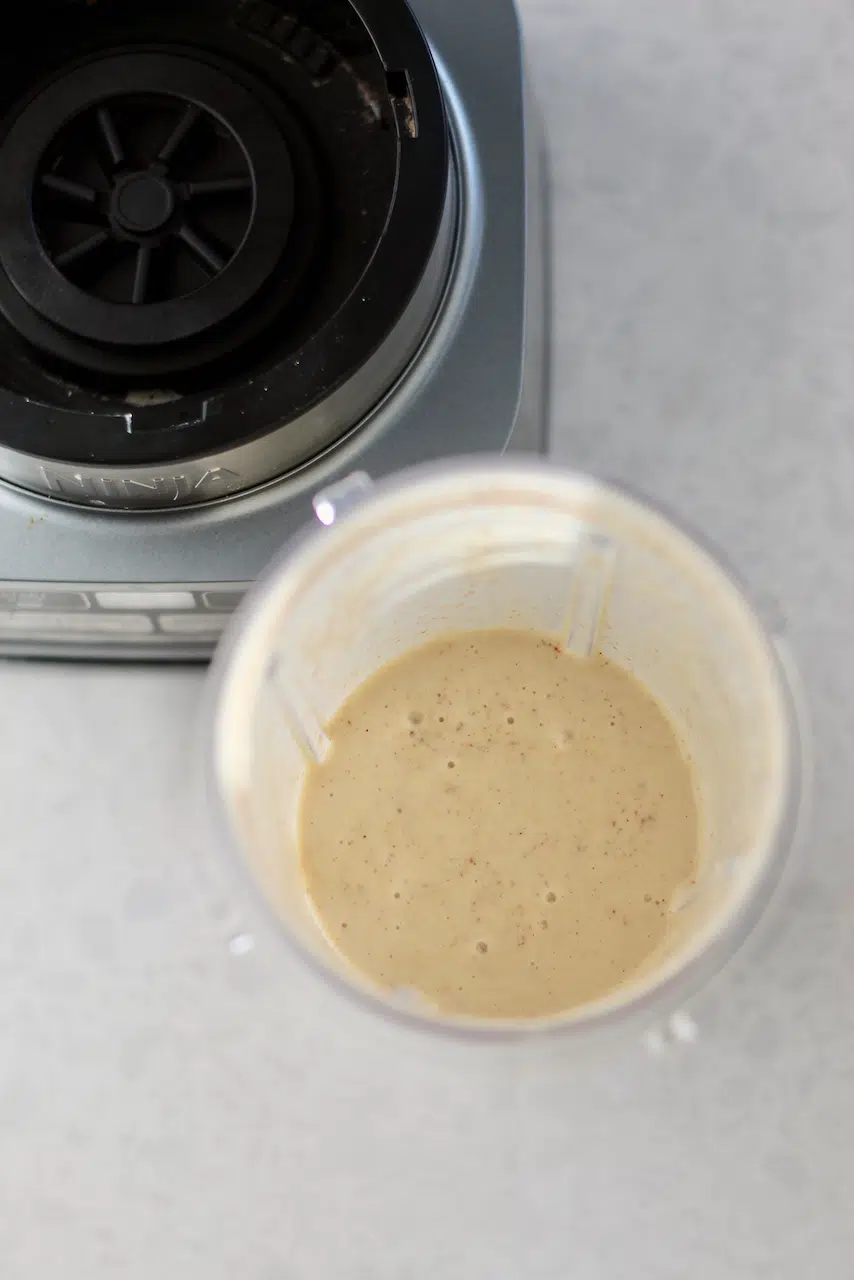
Stir in the vanilla protein powder, maple syrup, cinnamon, nutmeg, and vanilla extract, ensuring everything is well combined.
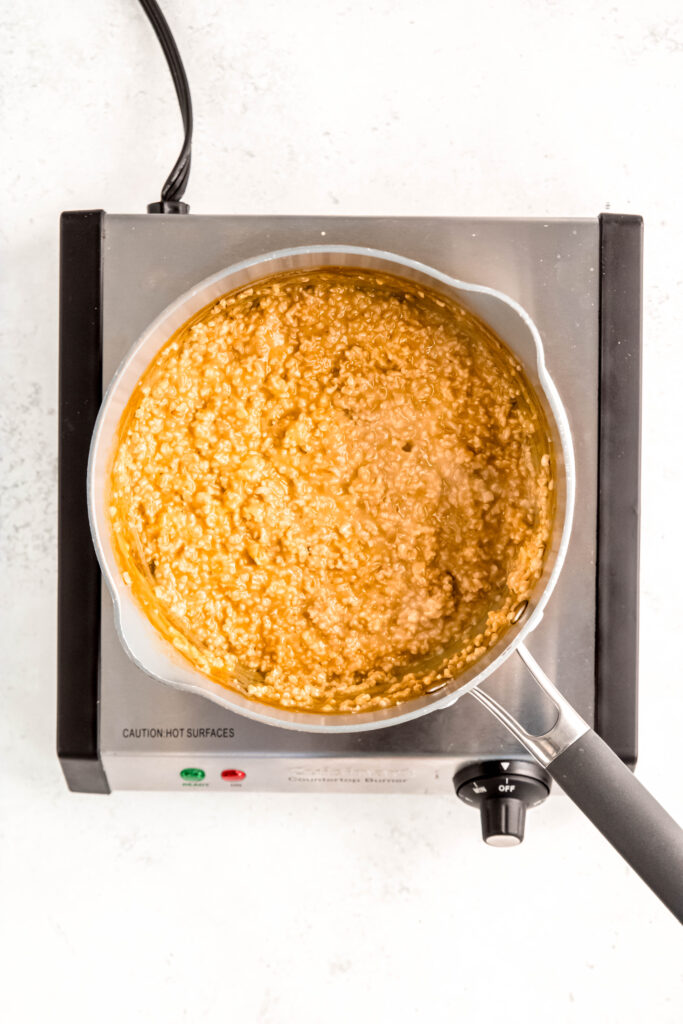
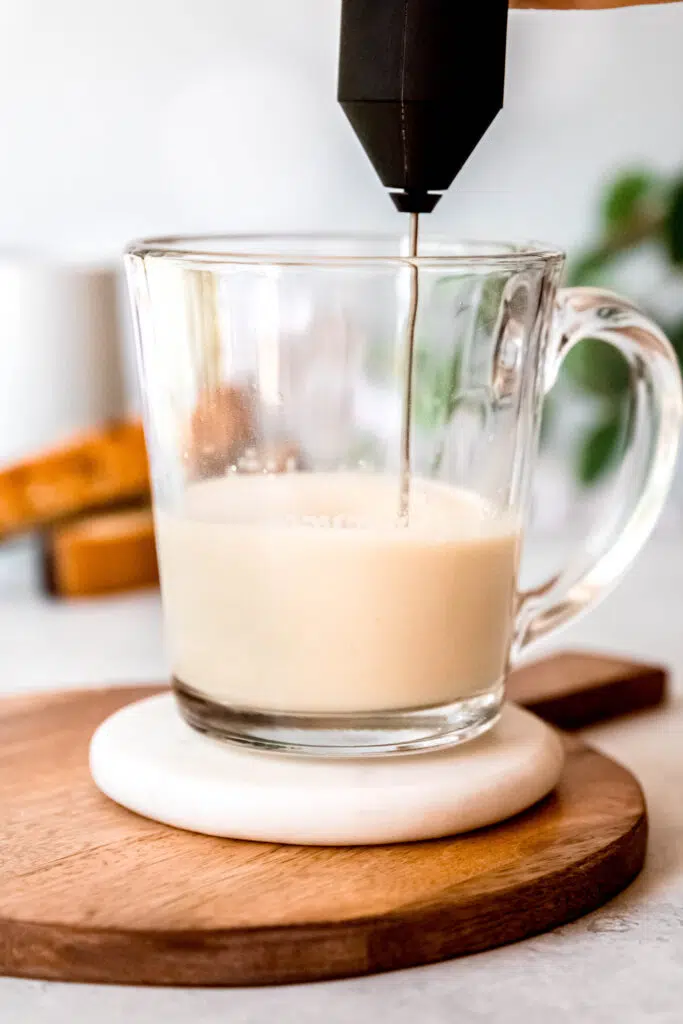
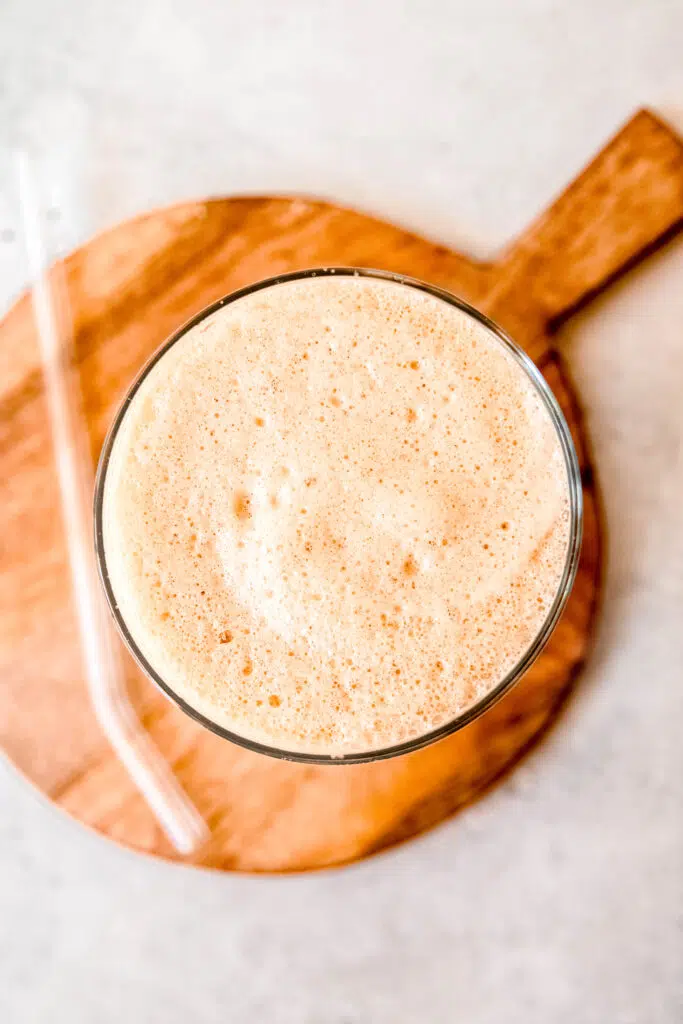
Froth the milk
Use a handheld frother to create a smooth and slightly bubbly texture in the milk mixture.
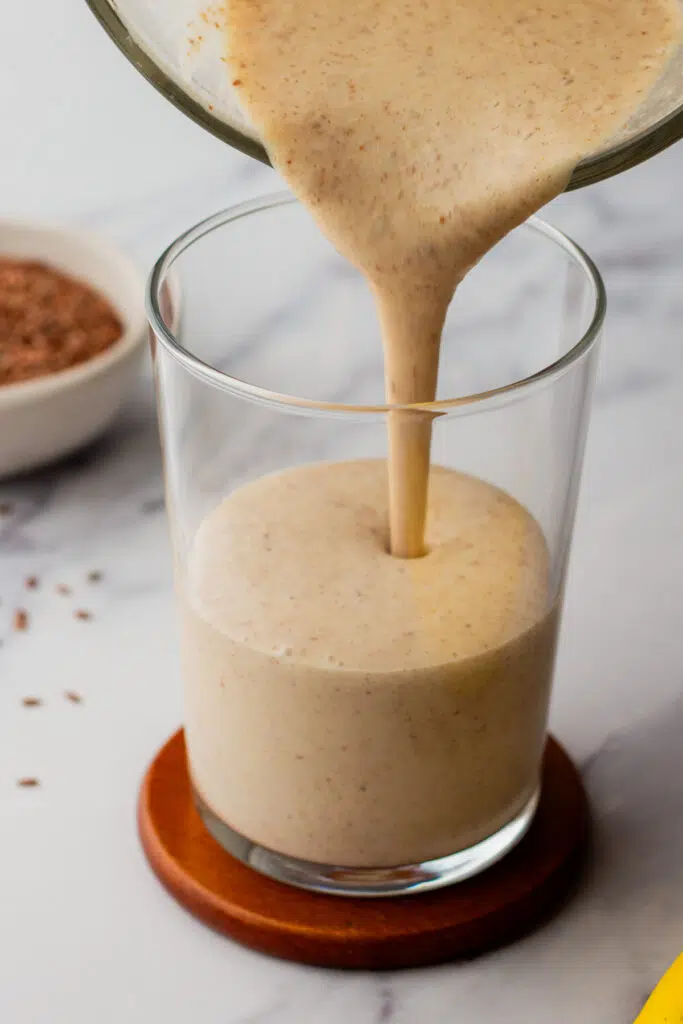
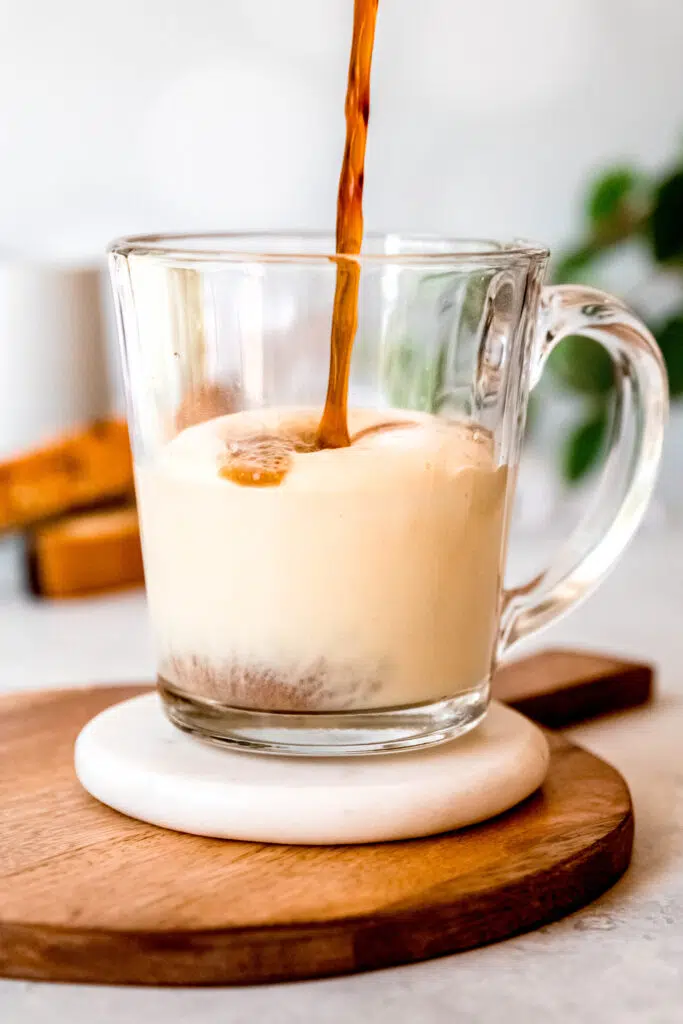
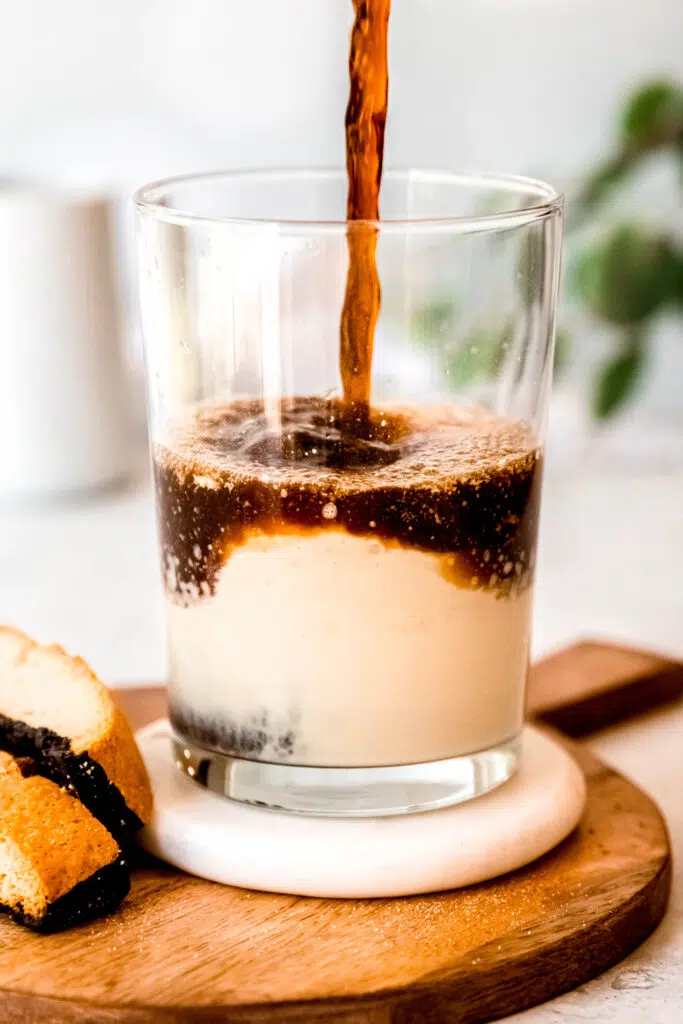
Combine with coffee
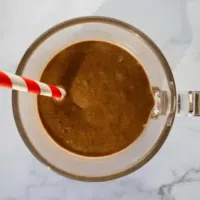
Brew your espresso or strong coffee and pour it into a large coffee cup. Gently pour the frothed milk mixture over the coffee.
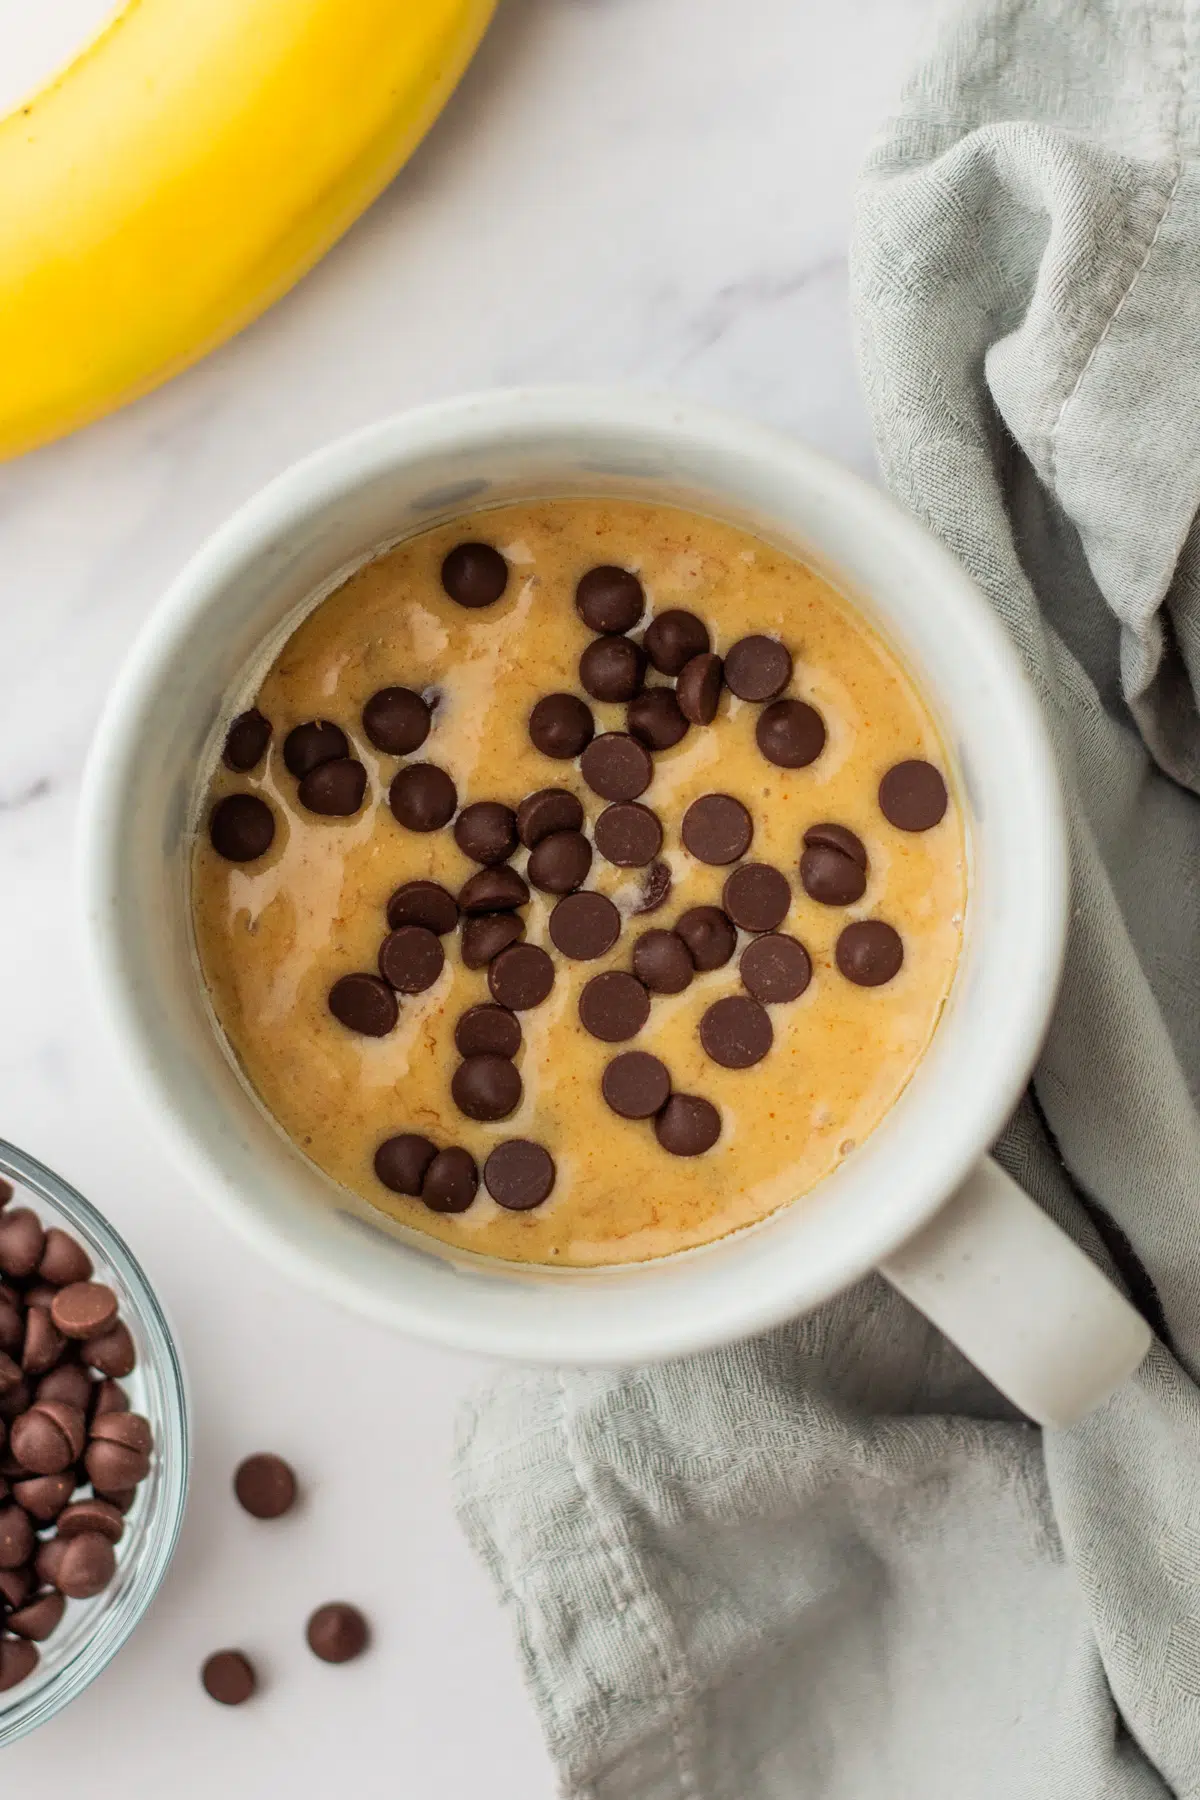
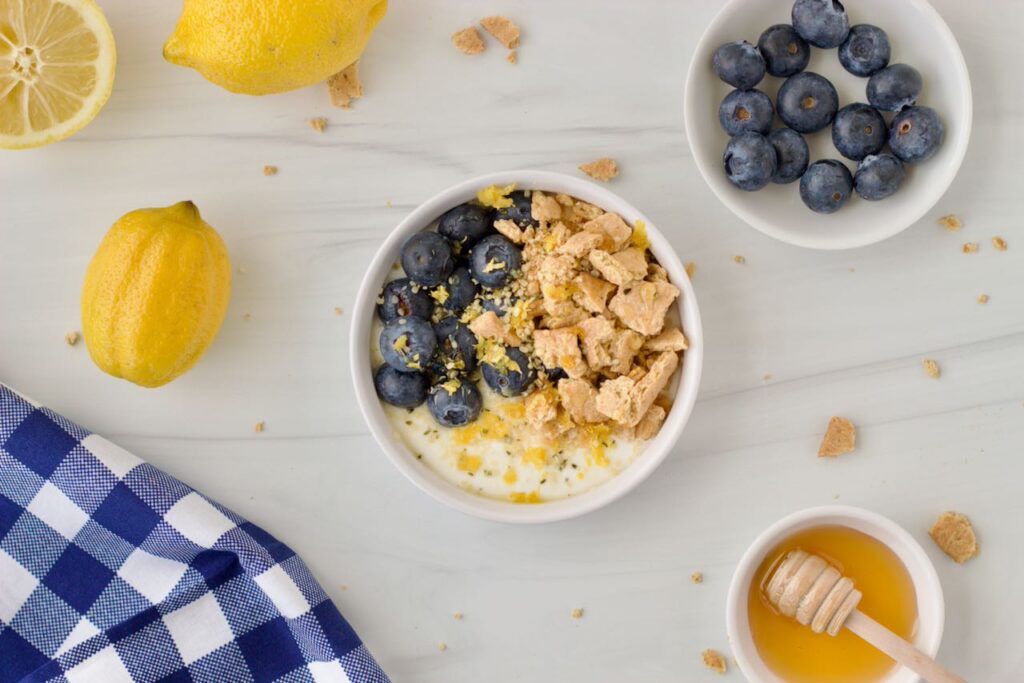
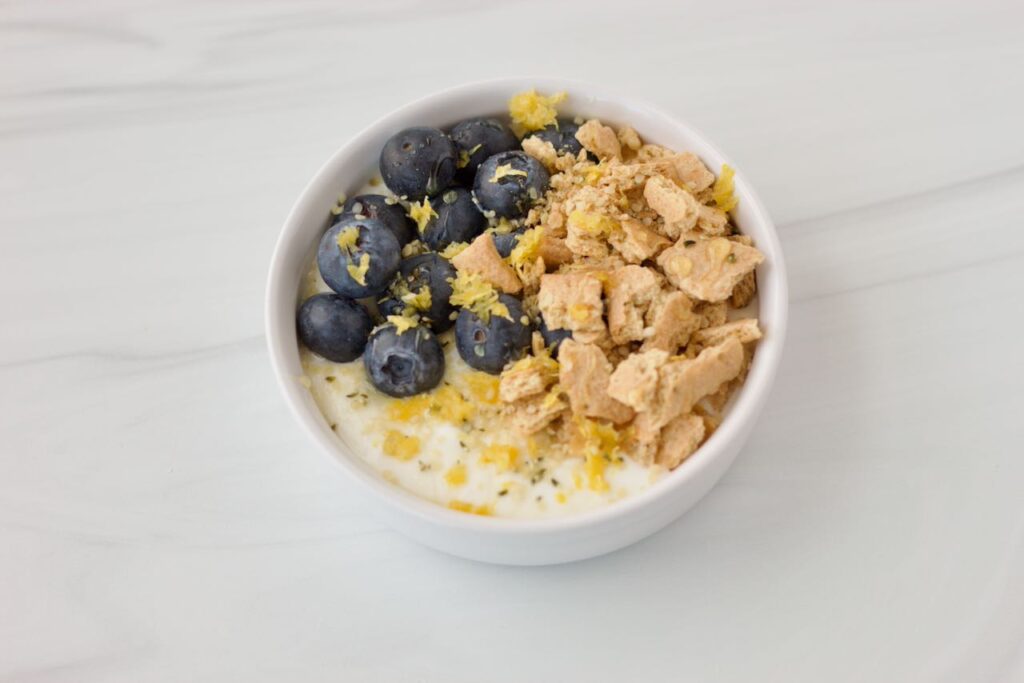
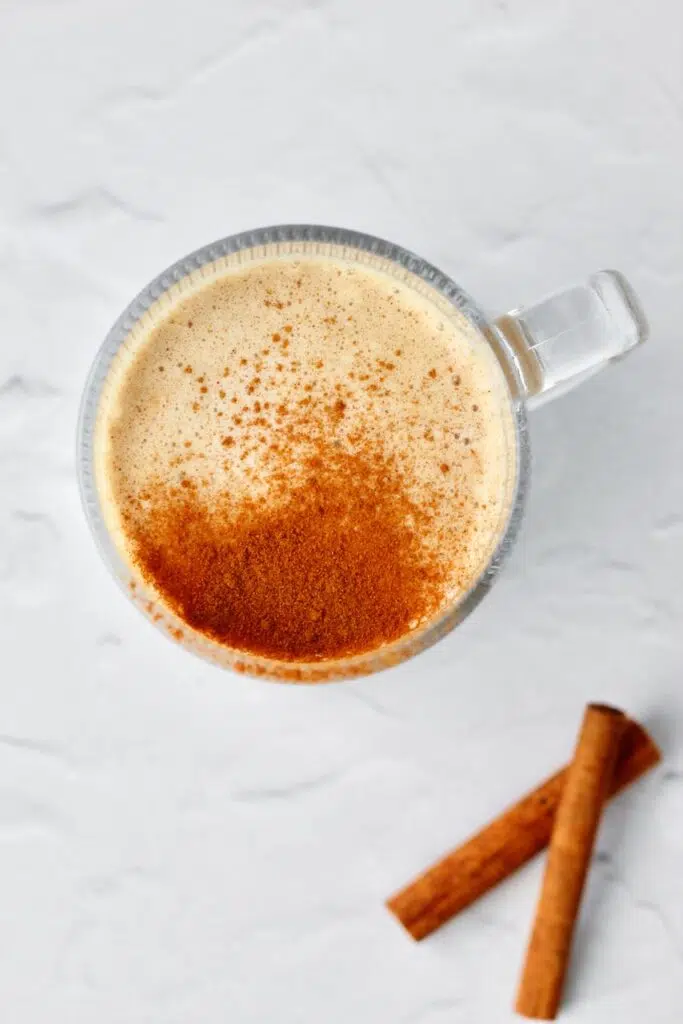
Garnish and enjoy
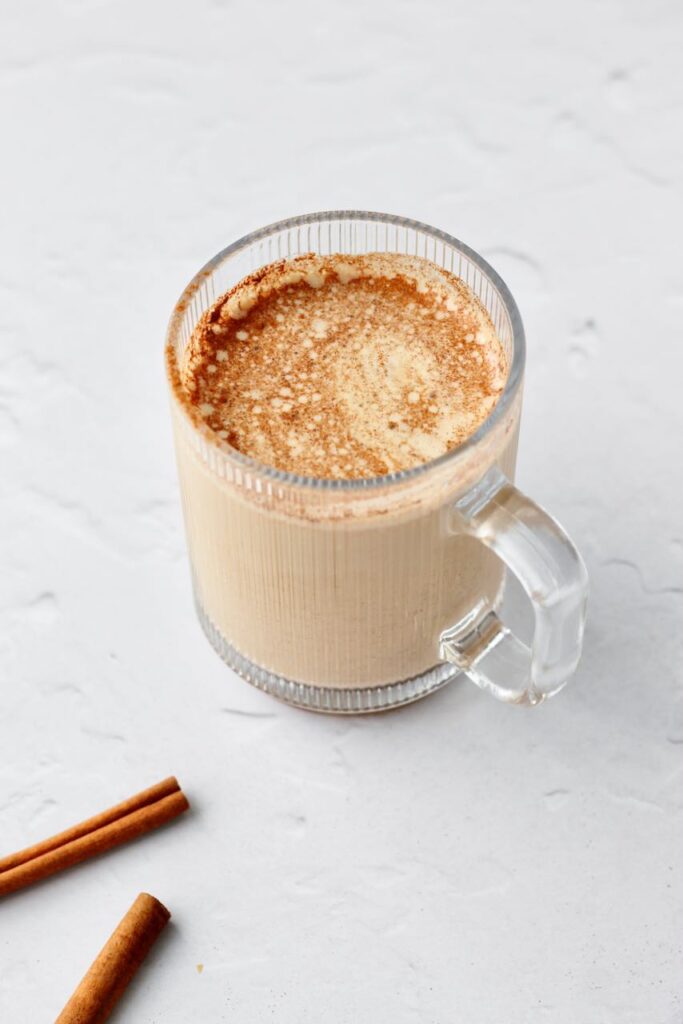
For a finishing touch, add a cinnamon stick or a sprinkle of cinnamon on top for an extra touch of warmth. Sip and savor your cozy creation!

Recipe tips and tricks
- Serving tips - Pair this high protein cinnamon latte with a healthy breakfast like whole-grain toast or a fruit smoothie, for a well-rounded, satisfying meal.
- Troubleshooting tips - No handheld frother? No problem! You can vigorously whisk the milk or pour it into a jar, seal it tightly, and shake until frothy!
- Scaling tips - Want to make lattes for a group? Just double or triple the ingredients. For extra frothiness, froth in smaller batches for the perfect texture.

Customize it your way
Like all of my recipes, this cinnamon roll protein latte is completely customizable. You get to choose what milk and protein powder you want to use, so here are some ideas:
- Milk of your choice - I typically use Meadow Gold whole milk to give it that extra creamy and frothy feel but feel free to swap out for almond milk, oat milk, or your favorite non-dairy alternative.
- Vanilla protein powder of your choice - You can use any vanilla protein powder you have on hand or that fits your dietary needs!

Can I make it ahead of time?
Yes! Simply prepare the milk mixture with all the spices, protein powder, and vanilla, then store it in the fridge for up to two days. When you're ready to enjoy, just reheat the mixture and froth it before pouring over freshly brewed coffee. This makes it easy to have your latte ready to go without any extra work in the morning.

How do I store leftovers?
If you don't finish your cinnamon roll protein latte, you can store the leftovers in an airtight container in the fridge for up to one day. When you're ready to enjoy it again, simply reheat it on the stovetop or microwave, and give it a quick froth for that fresh-made texture.
Need more help with recipes for your busy schedule?
In my coaching + cooking program, I help busy people with beginner cooking knowledge become confident in the kitchen so that they can enjoy nourishing foods they love and stress less about mealtime. Click here to learn more about this virtual program led by a dietitian.

Cinnamon Roll Protein Latte
Ingredients
- 1 cup milk of your choice (I typically like using whole milk for this one but you can also use almond, soy, oat, rice, coconut, cashew, hemp, flax, macadamia milk, etc.)
- 2 tablespoon vanilla protein powder of your choice (whey, pea, soy, rice, hemp, egg white, casein, collagen, brown rice, etc.)
- 1 teaspoon maple syrup
- ½ teaspoon cinnamon
- ¼ teaspoon nutmeg
- ¼ teaspoon vanilla extract
- 1 shot of espresso or ½ cup strong brewed coffee
- Optional: a cinnamon stick or extra sprinkle of cinnamon for garnish
Instructions
- In a small pot, add milk and heat over medium heat until warm, about 5 minutes. Add the vanilla protein powder, maple syrup, cinnamon, nutmeg, and vanilla extract.
- With a handheld frother, froth the mixture until smooth and slightly bubbly.
- Pour or brew the espresso into a large coffee cup. Then, pour the frothed milk mixture over the coffee.
- Garnish with a cinnamon stick or an extra sprinkle of cinnamon and enjoy!
save this cinnamon roll protein latte recipe on pinterest: