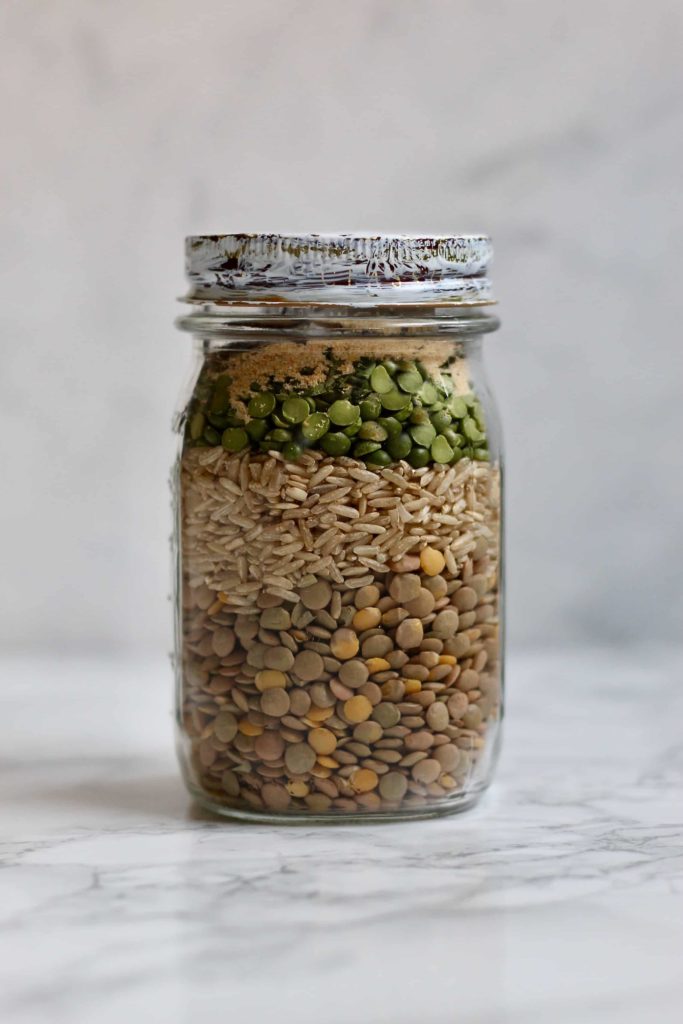
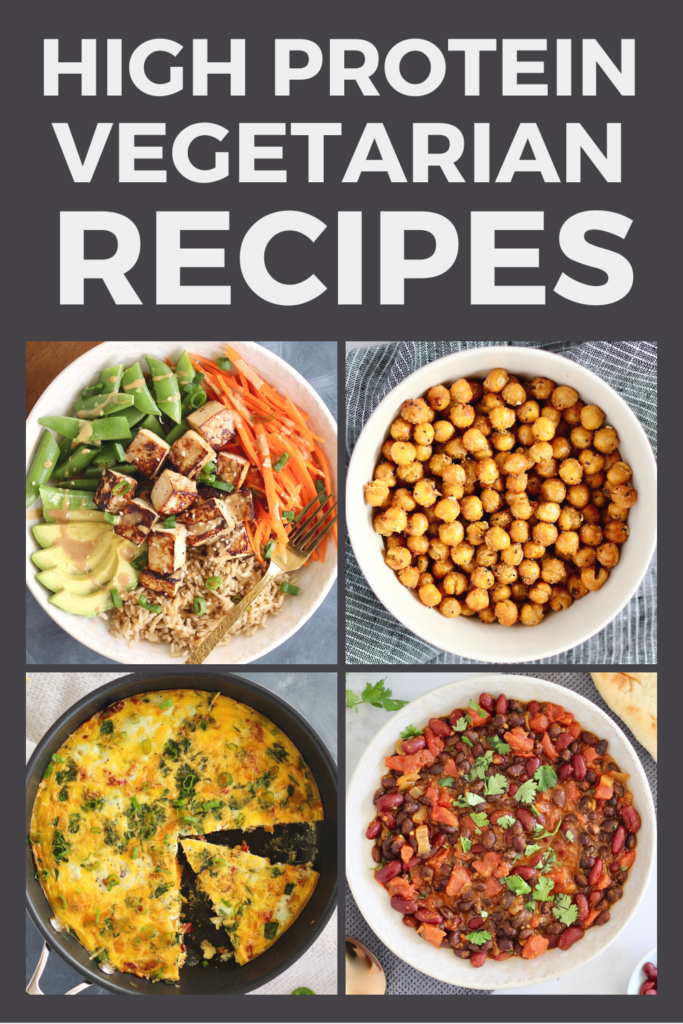
This Lentil Brown Rice Dry Soup Mix is the perfect, plant-based meal to serve on a chilly night. This shelf stable mix also makes a unique, affordable, and thoughtful gift that friends and family will love! Get the FREE printable recipe card down below!
This post was first published on November 7, 2019. It was updated on December 20, 2024 to include new photos and helpful tips.
Table of Contents
Why you'll love this dry soup mix
Before I became a registered dietitian nutritionist (RDN), I had to complete a dietetic internship. During my internship, I had so much fun developing this recipe for a health fair reaching thousands in the local community. People stopping through our booth had the chance to create their own dry soup mix and measure out the ingredients in this interactive event.
You can do the same at home. Simply grab your dry ingredients and measure them out into a baggie or mason jar. This is a great recipe or have on hand for an easy, one pot dinner.

Is this recipe healthy?
This Lentil Brown Rice Dry Soup Mix is packed with plant-based protein and fiber, making it a satisfying meal that supports digestive health. Lentils are rich in iron, an essential mineral that helps maintain energy levels, while brown rice provides complex carbohydrates for sustained energy. Plus, it's low in fat and full of natural goodness-perfect for a wholesome, balanced diet!
This dry soup is a perfect holiday gift
During the holidays, we are often overloaded with sugary treats and processed snacks. While these can all be part of a balanced diet, it can be refreshing to mix it up and gift something a little different. Simply print out the recipe card below and attach it to your jar with a cute bow. Jars are also a great option because they are reusable so there's no waste.
Click here to download a copy of this printable recipe card!
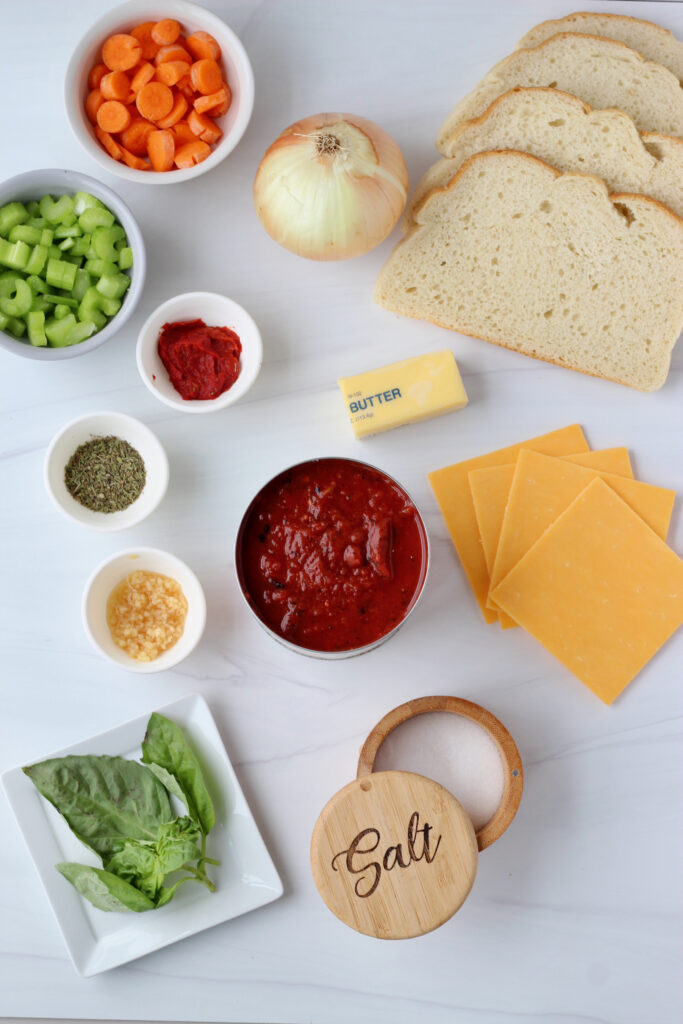
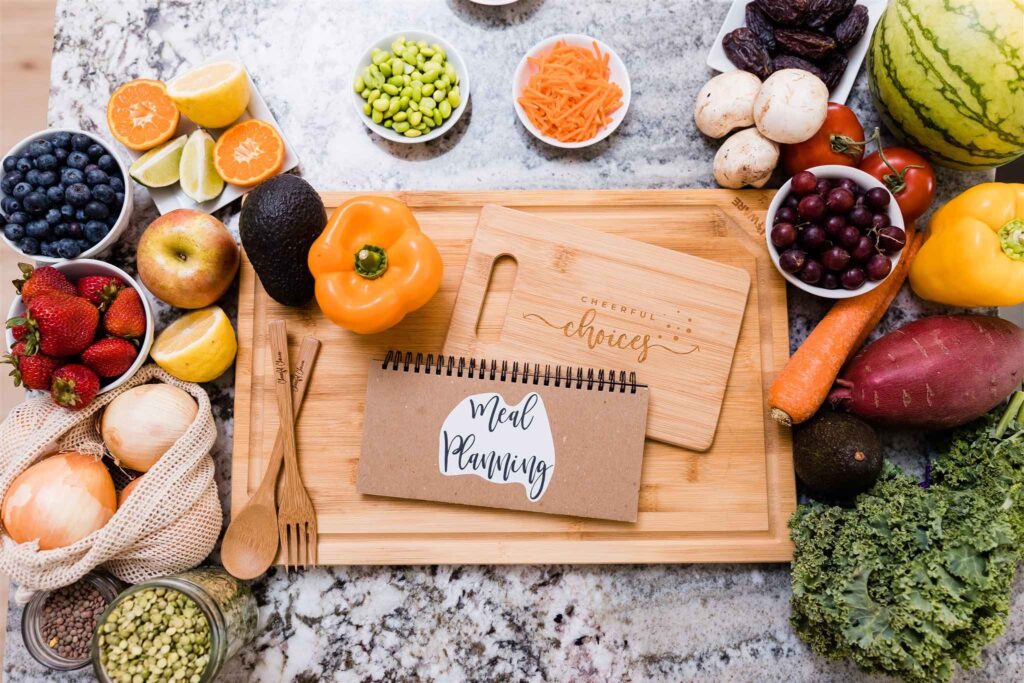
What ingredients do I need for this dry soup mix?
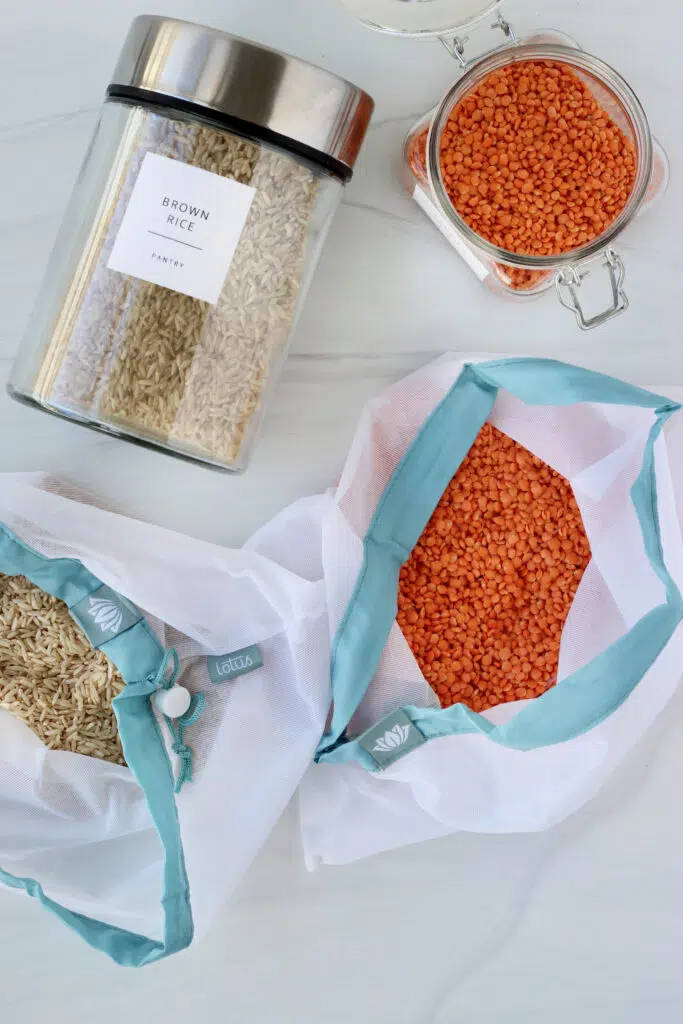
This mix calls for simple pantry ingredients like split peas, rice, lentils, and spices. It's likely you already these items hanging in your pantry. If not, I recommend shopping the bulk section of the store. I'll always bring my Lotus Sustainables Mesh Bags to the store for a zero-waste, zero-plastic shopping experience.
How do you make dry soup mix?
This mix calls for simple pantry ingredients you likely already have on hand. Here's how to make it:
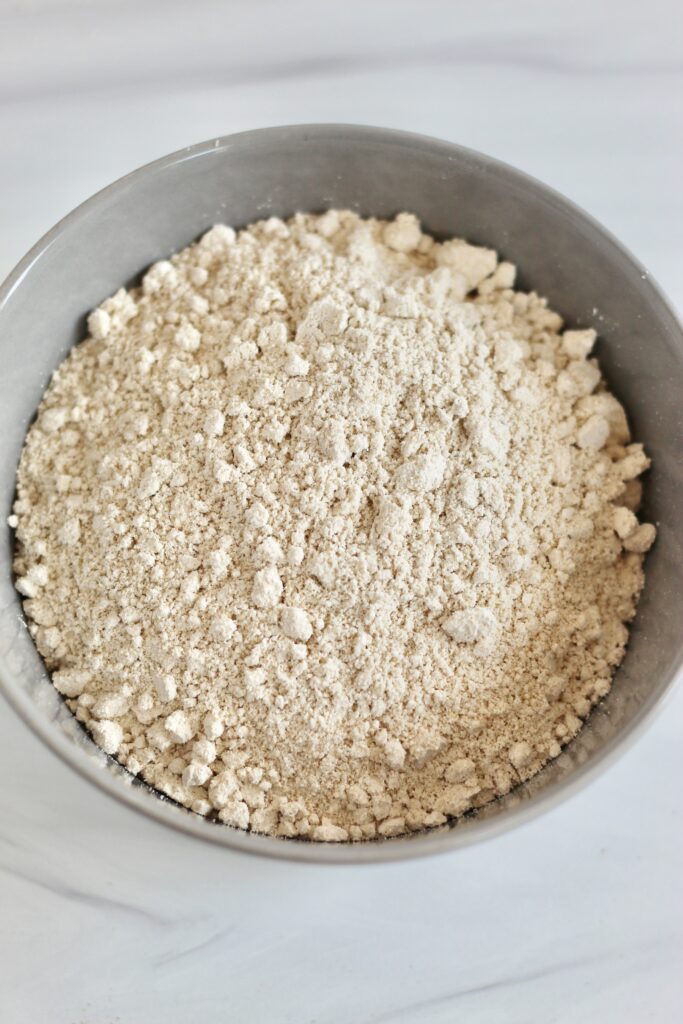
1. Add all your dry ingredients
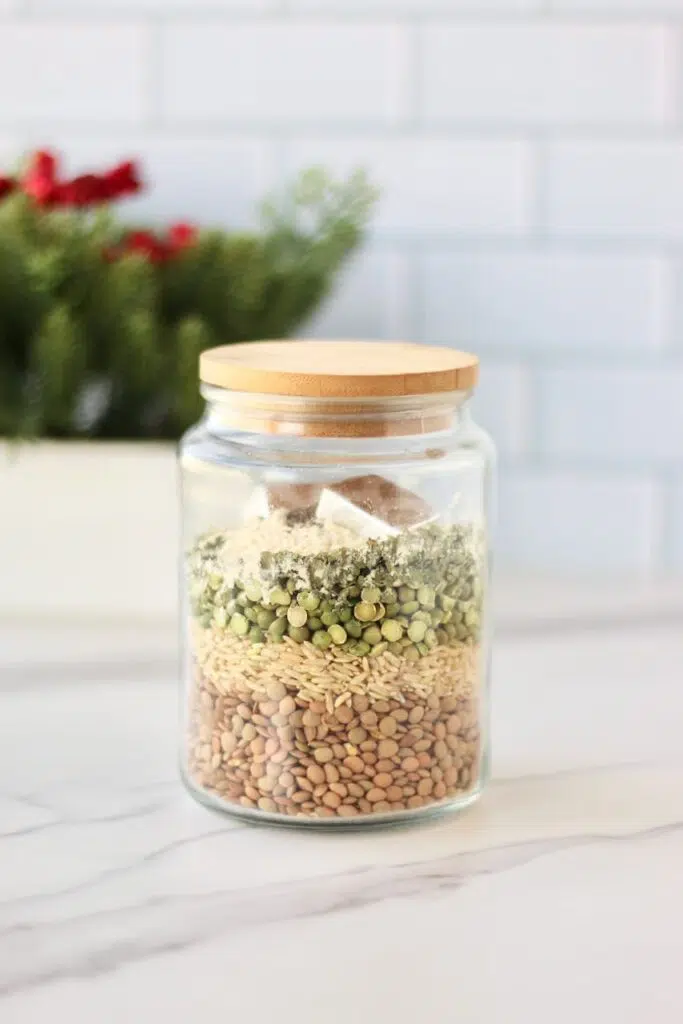
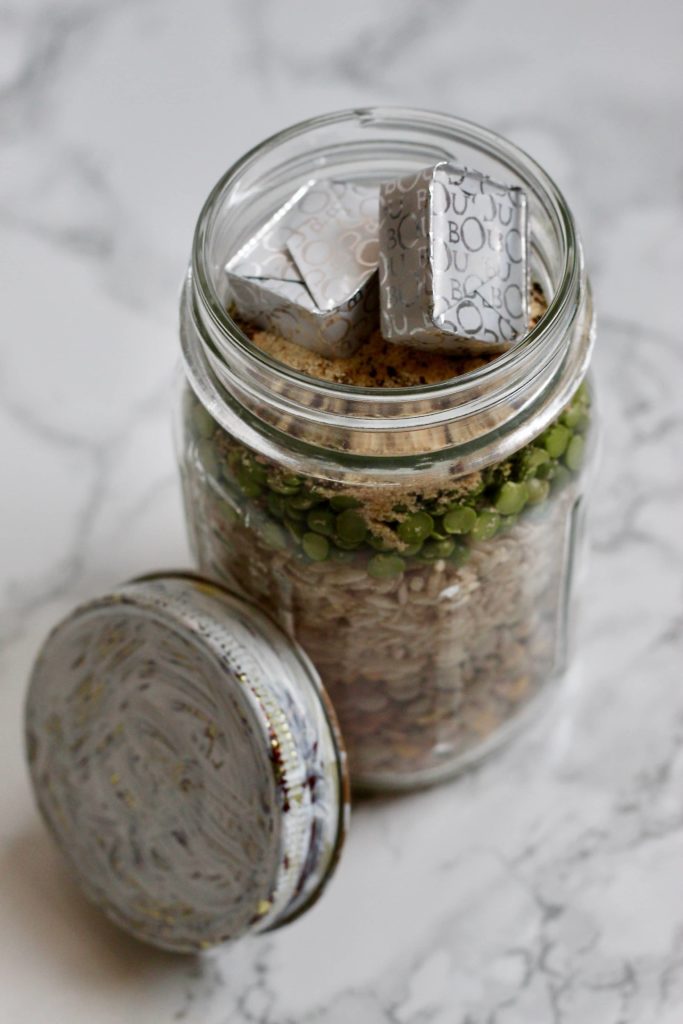
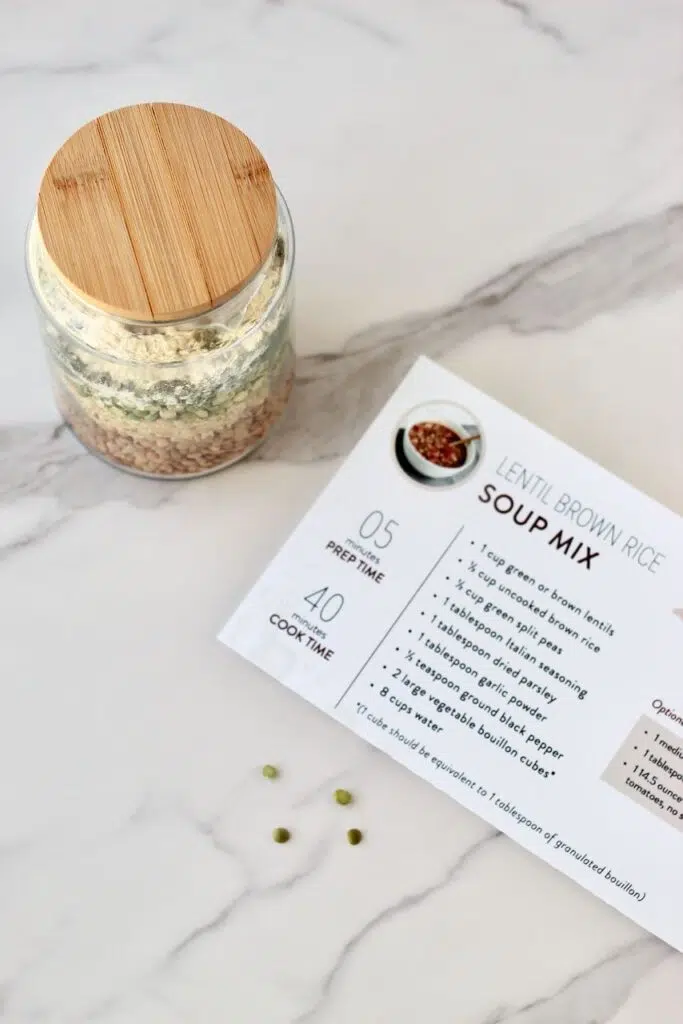
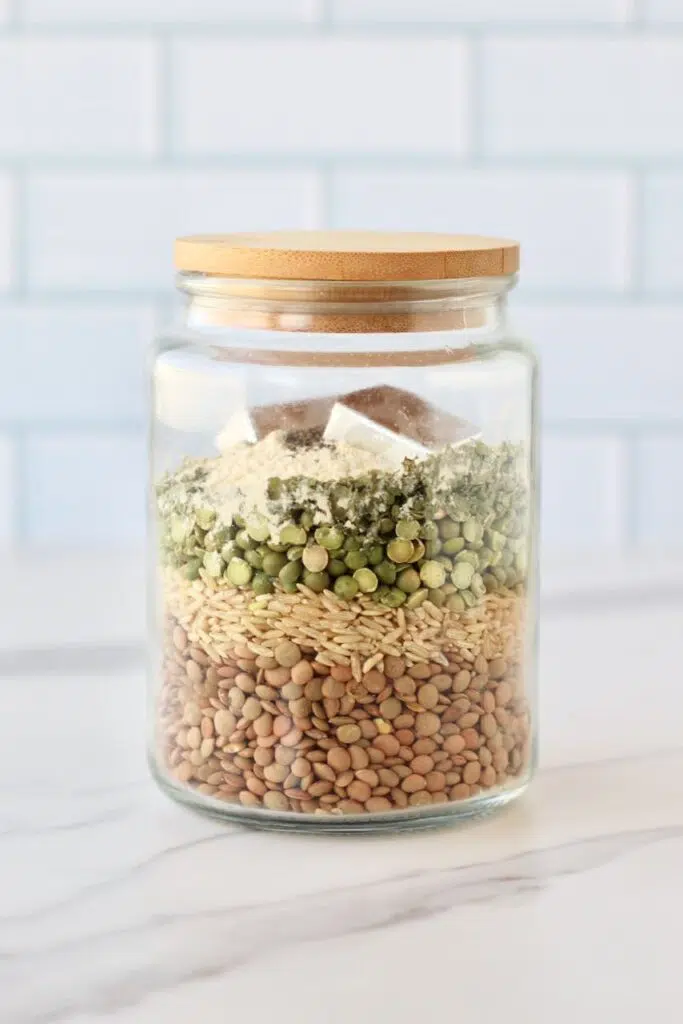
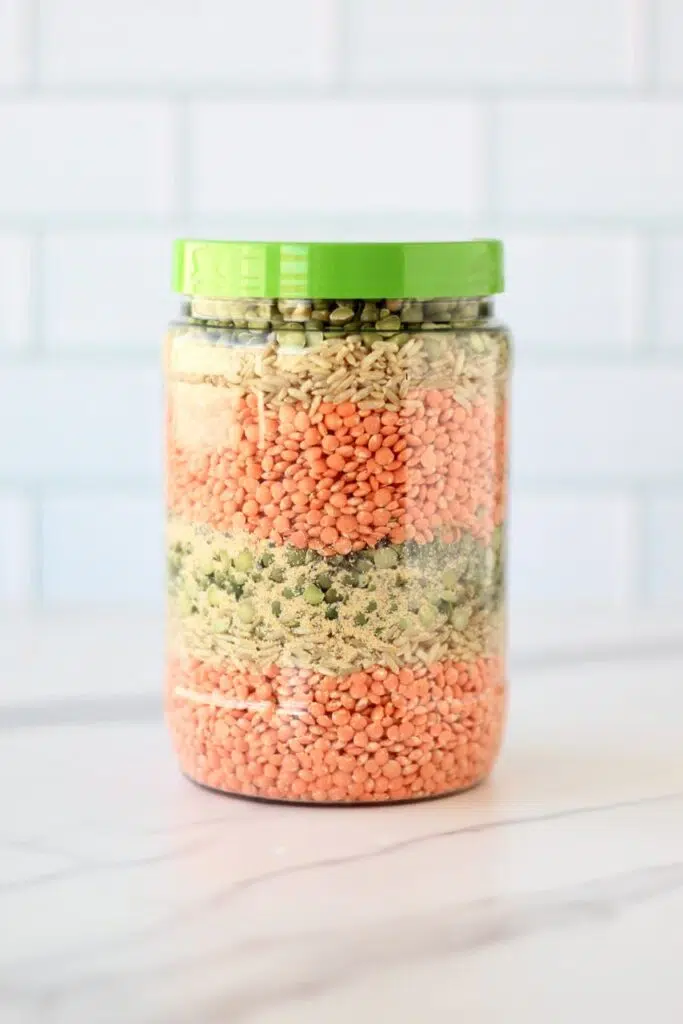
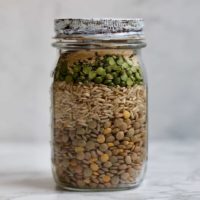
Layer your dry ingredients into a pint sized zip top bag or pint sized (16 ounce) mason jar. It fun to see the variety of color in clear jars!
2. Include additional ingredients
This recipe calls for an optional can of tomatoes, onion, and extra veggies. I find this makes the soup more flavorful so I recommend gifting or cooking with these.
3. Attach recipe card
When gifting or storing this dry soup mix for later, include the recipe card with it for cooking instructions. You can print the recipe card HERE. I also love to add a cute ribbon or bow before gifting.
4. Cook now or later
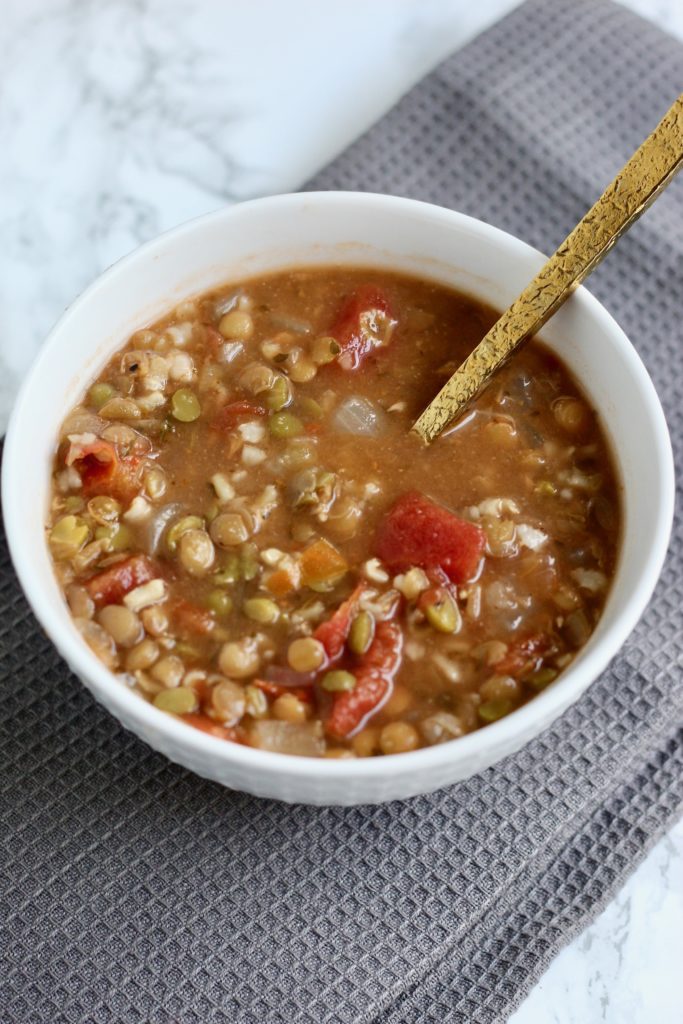
If you're making this dry soup mix for yourself, you can store and cook whenever you're ready. Simply add over water and simmer until cooked through.
Recipe tips and tricks
- Serving: Serve this hearty soup with a side of crusty whole-grain bread or a simple mixed greens salad for a complete meal. Pair it with your favorite sparkling water or herbal tea for a cozy, refreshing touch.
- Troubleshooting: If the soup is too thick, simply add a splash of water or vegetable broth while reheating.
- Scaling: If you have a larger jar, feel free to double this recipe. You'll just use 16 cups of water so make sure you have a large 12+ quart pot.
Customize it your way
Like all of my other recipes, this Lentil Brown Rice Dry Soup Mix is completely customizable. You get to choose what additional ingredients you want to use!
- Protein boost: Add diced tofu, cooked shredded chicken, or even a handful of chickpeas.
- Spice it up: Feel free to mix in cayenne pepper, smoked paprika, or your favorite seasoning blend.
- Vegetable variety: Toss in chopped spinach, carrots, or zucchini for extra nutrition and color.
Pack on the veggies
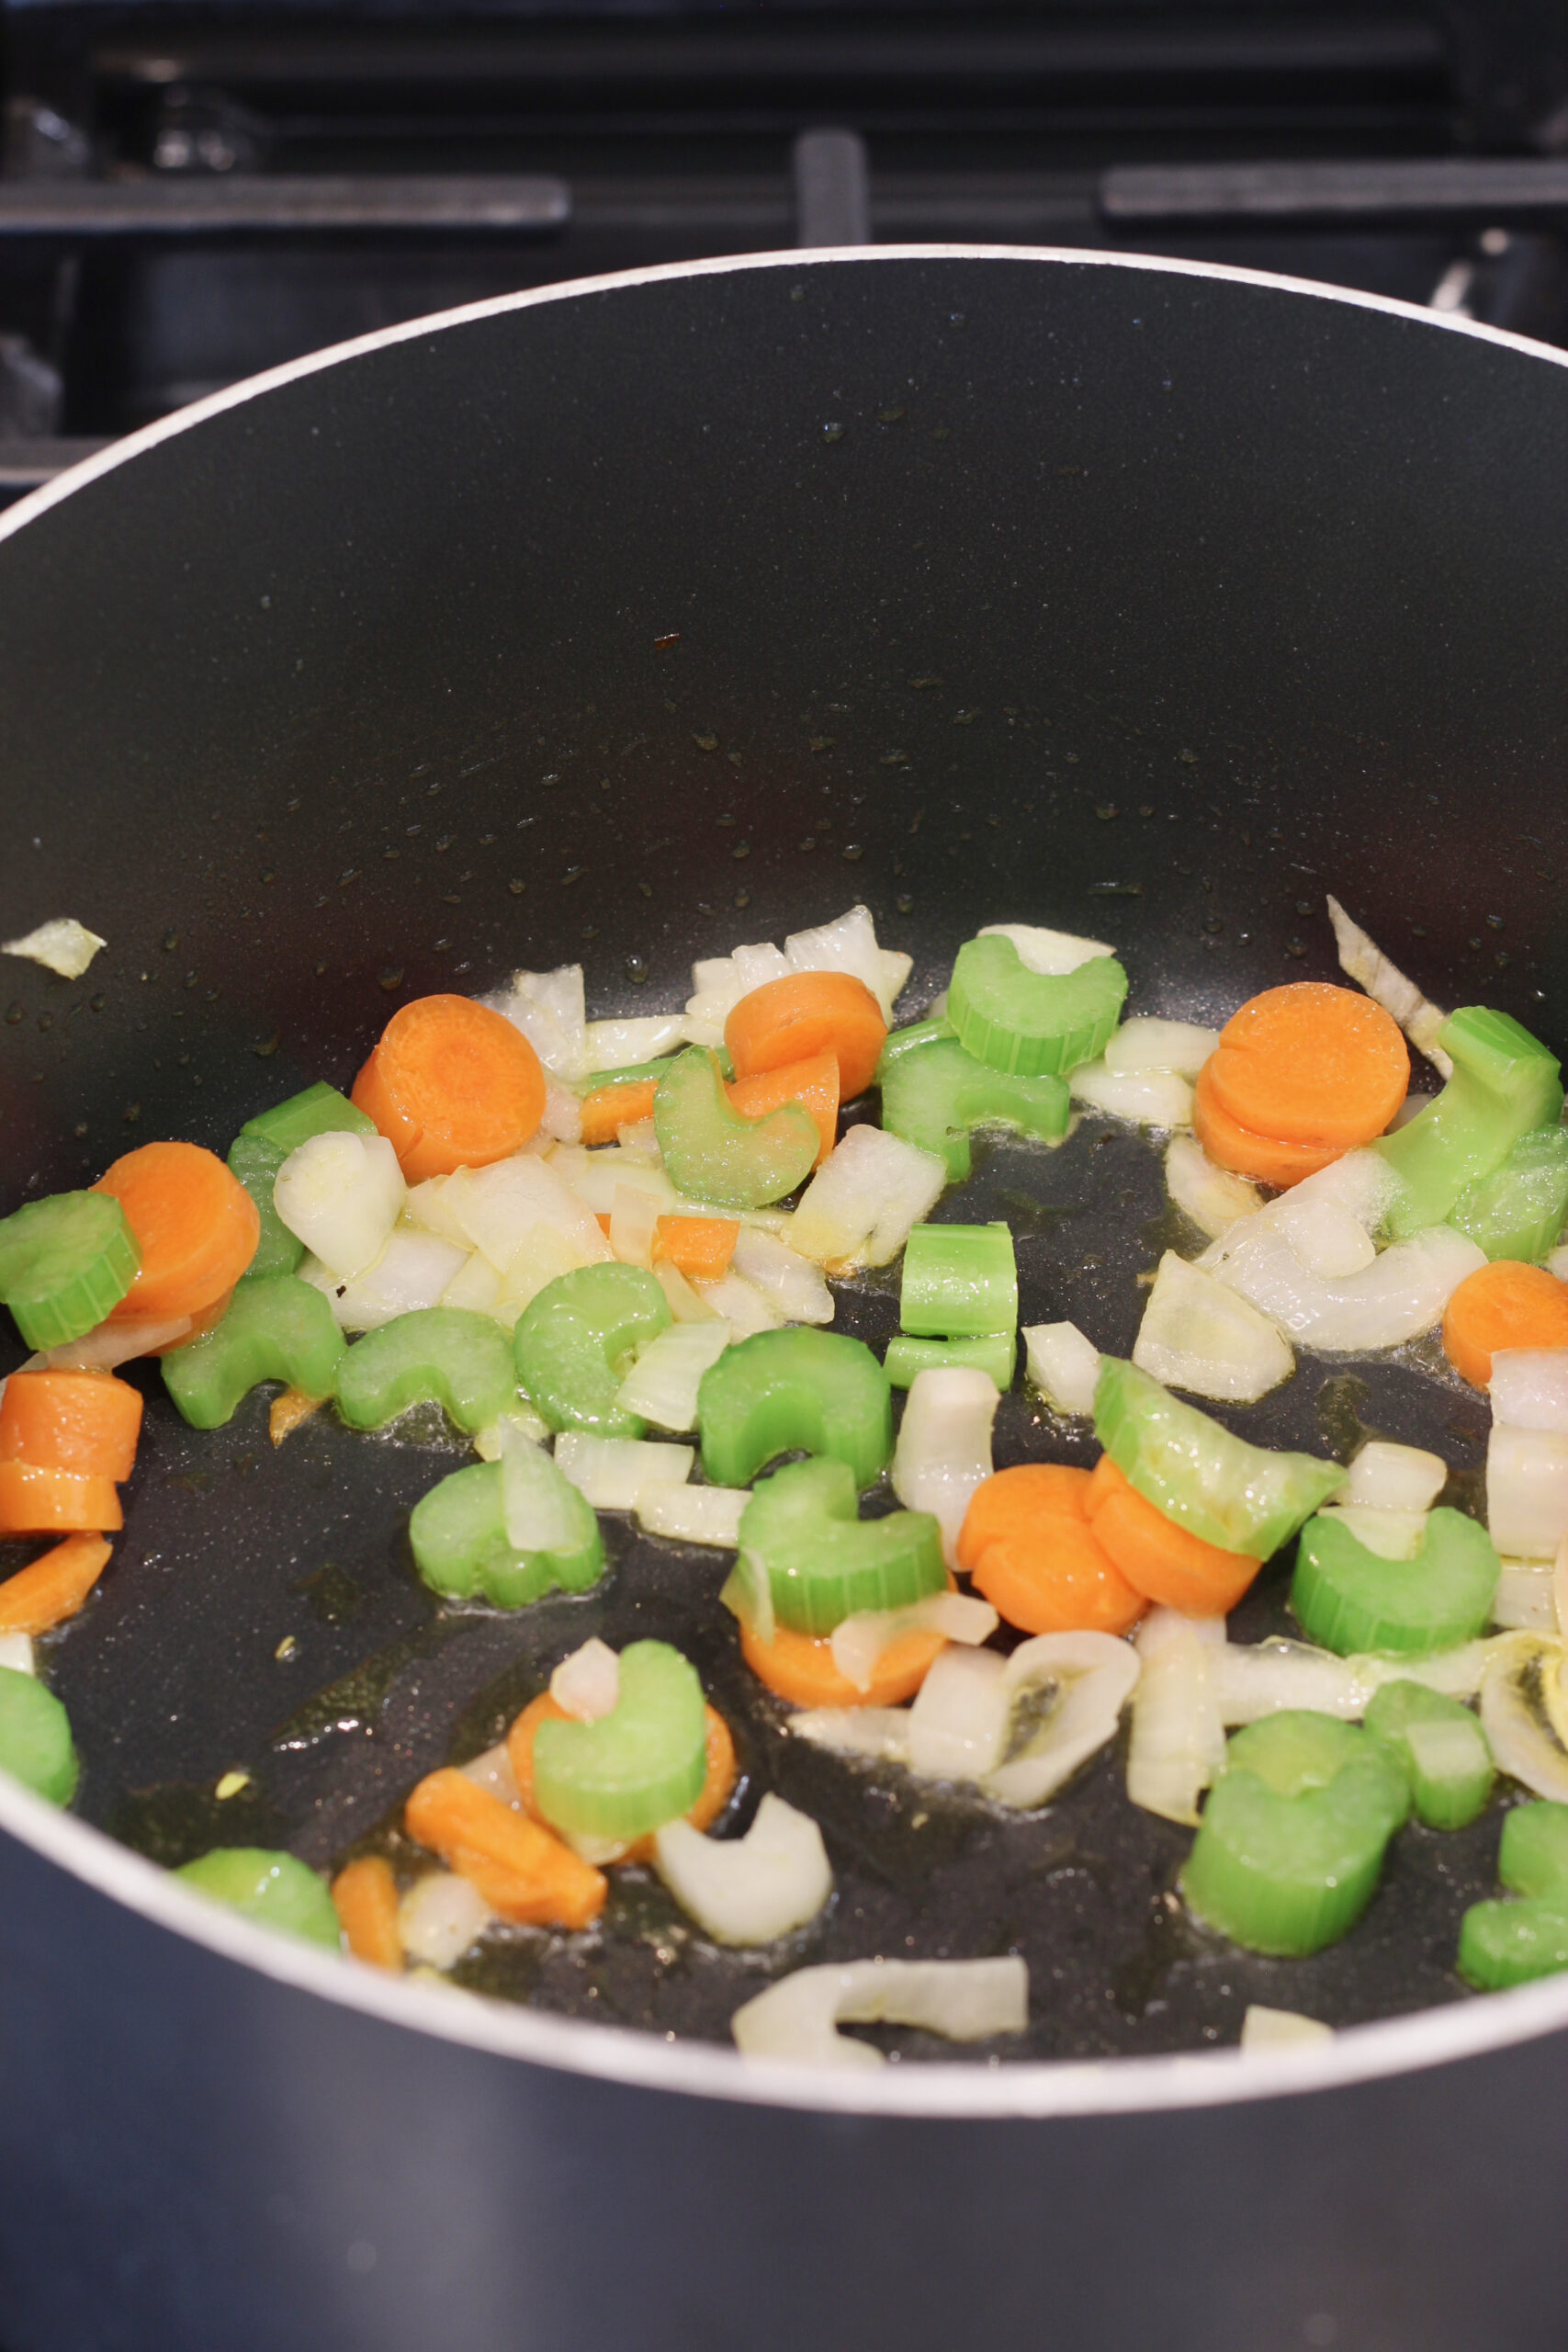
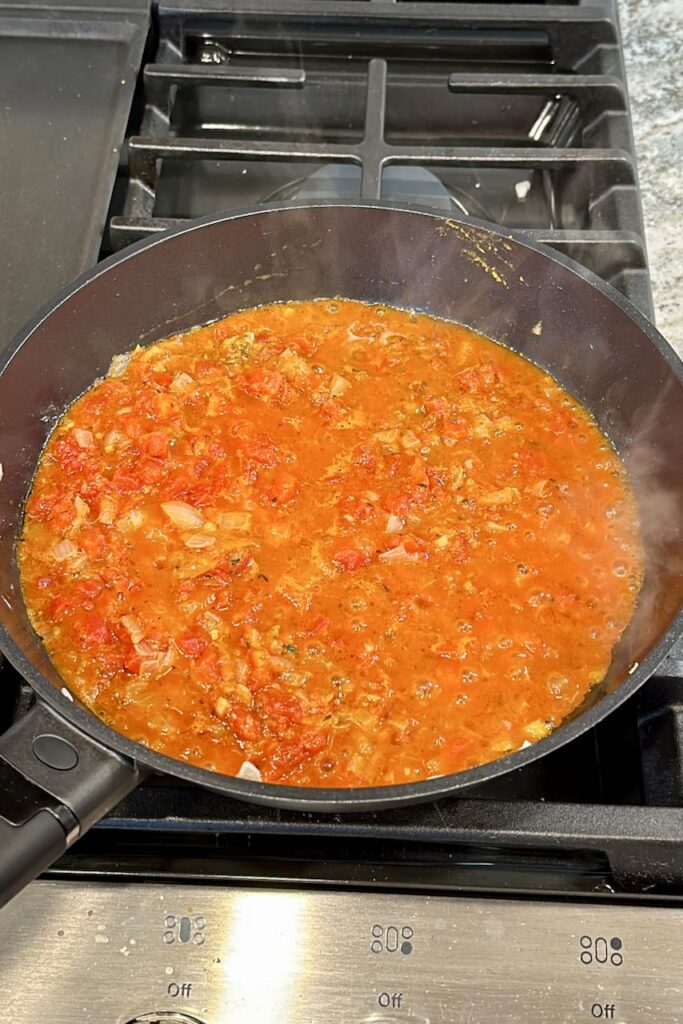
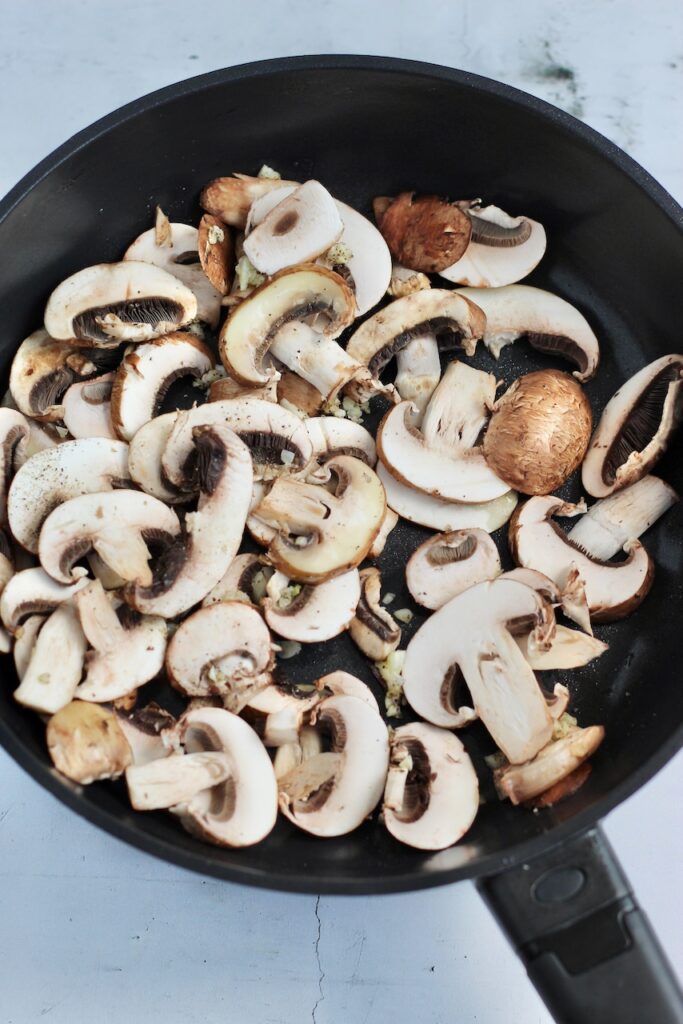
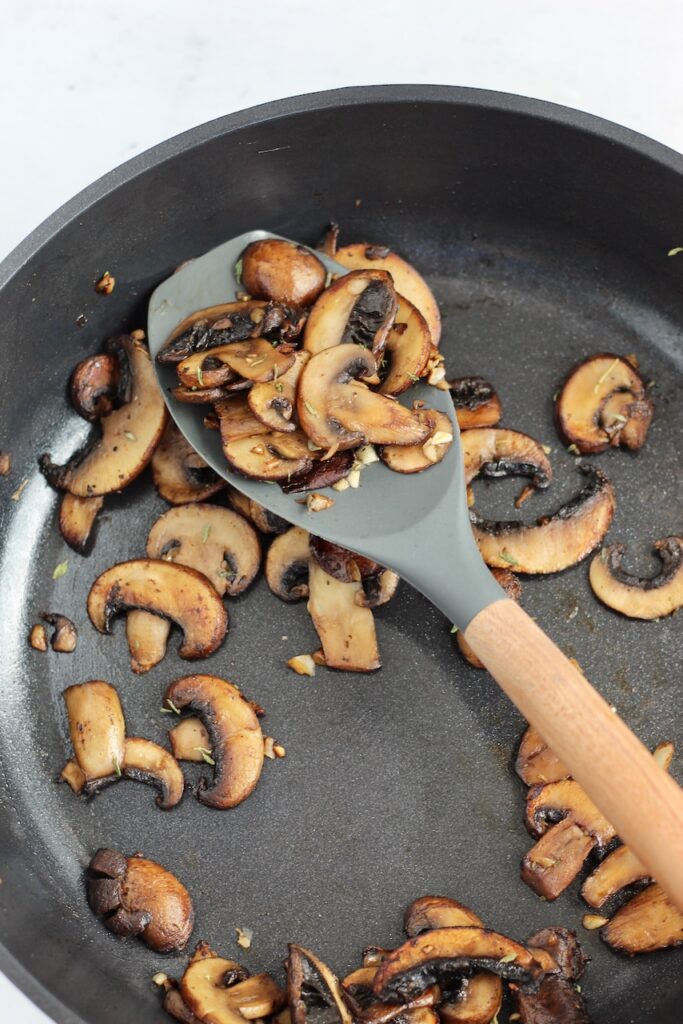
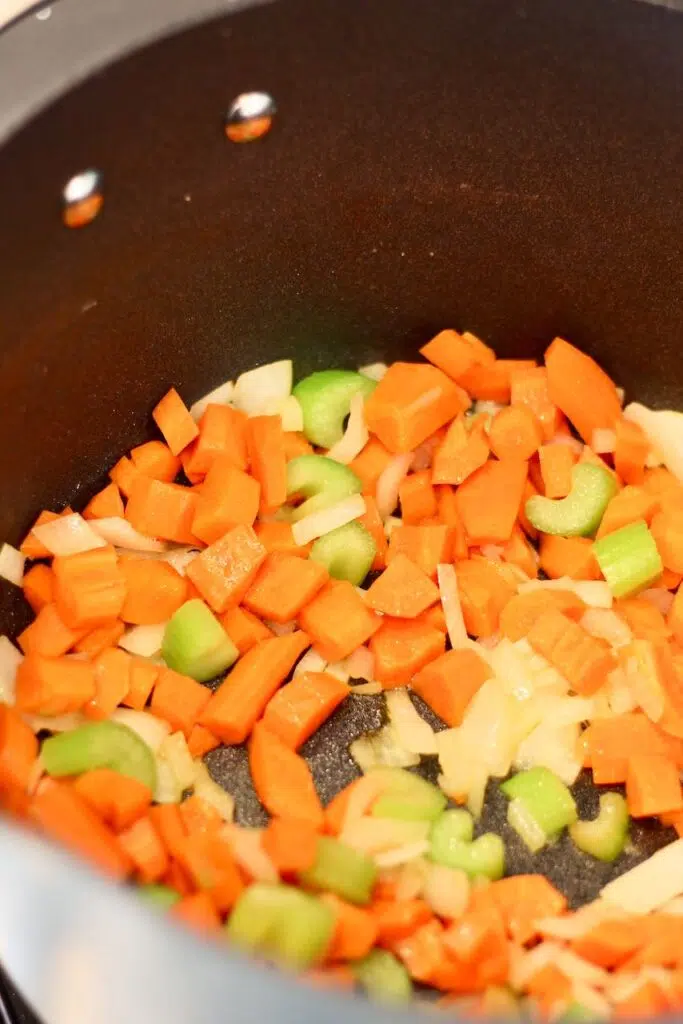
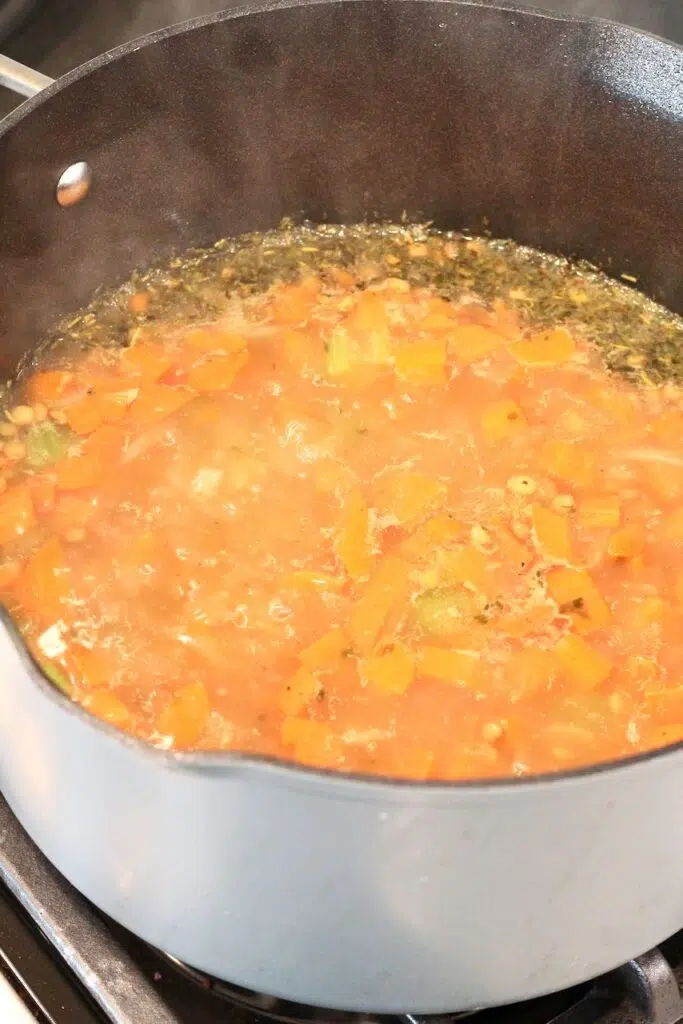
Although it's optional, I like to sauté diced onions and tomatoes before adding the dry ingredients to boost the color and flavor. Skip this step in the directions if you choose to omit the tomatoes and onion.
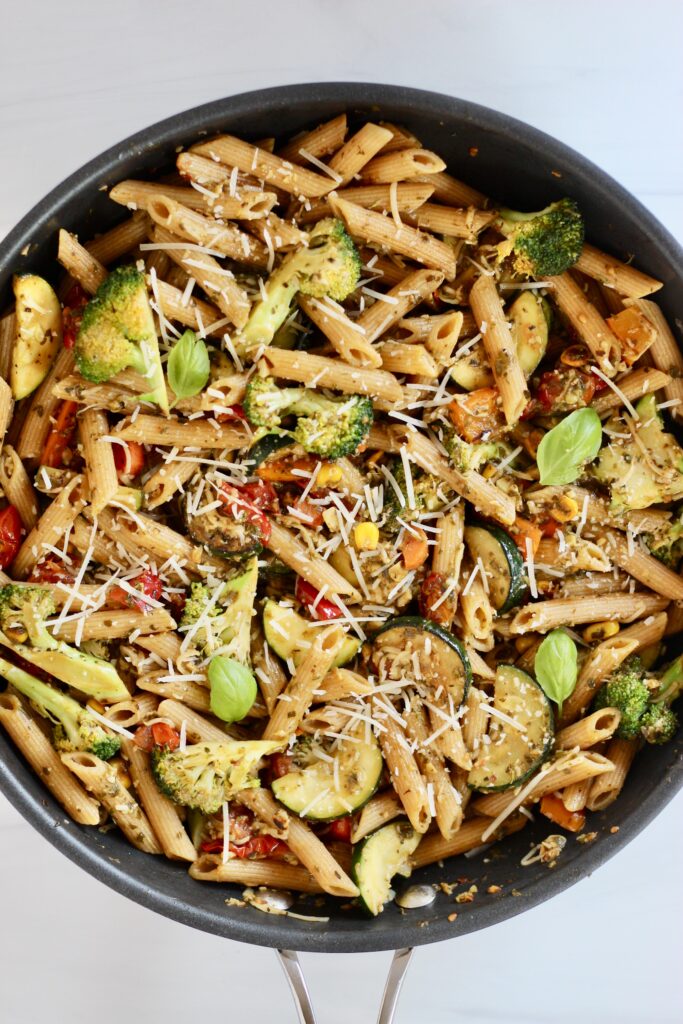
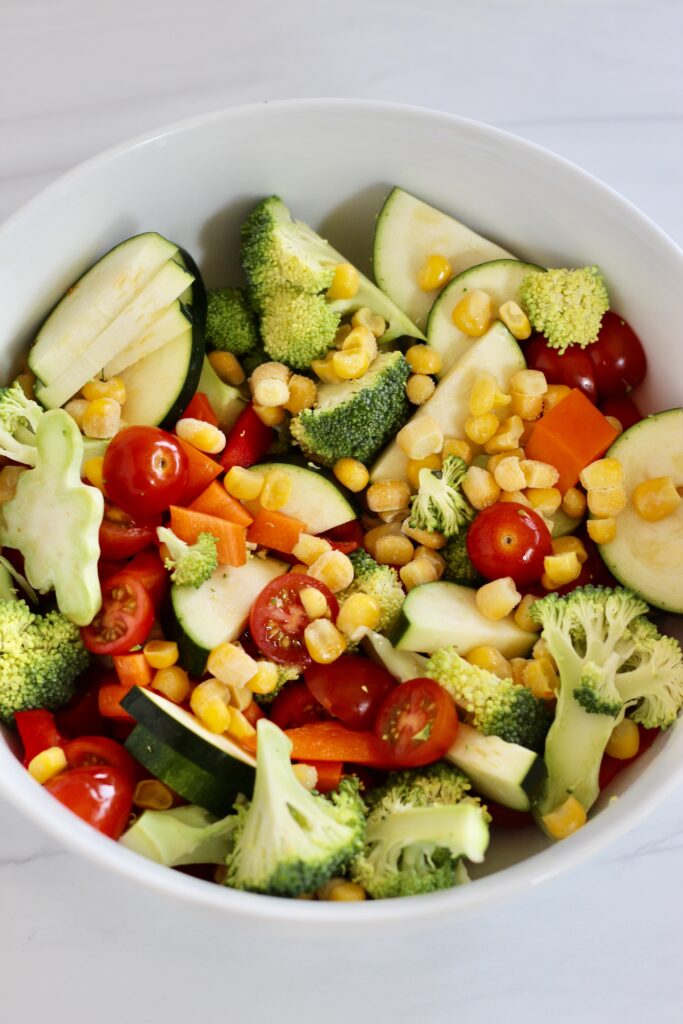
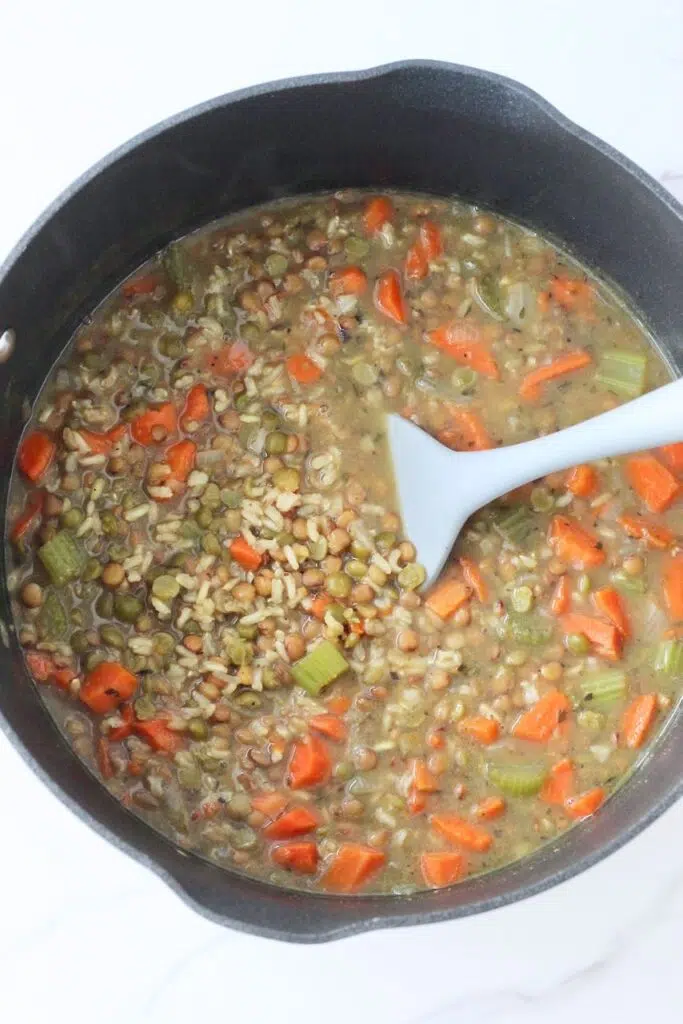
Don't be afraid to make this soup your own and add in any of your favorite veggies. Any kind of fresh, frozen, or canned vegetables are all welcome in this recipe. Broccoli, carrots, corn, cauliflower, zucchini, or red peppers are good examples of vegetables that would be great to add. If you are adding in any extra vegetables, throw them into the pot right before adding the water and letting the soup simmer.
If you want to stick with dry ingredients, you could purchase dehydrated vegetables and add those into the dry soup mix.
Does this recipe have protein?
I love the combination of lentils and split peas because they provide great flavor, satisfying protein, and a creamy texture. Just 2 cups of this soup packs in 15 grams of plant-based protein for under 300 calories!
However, if you're missing the meat, ground beef, sausage, or chicken breast would also work nicely in this recipe. You could also add in a sprinkle of cheese, nutritional yeast, or bacon bits to amp up the protein even more.

How long can this dry soup mix be stored for?
This dry soup mix will last in the pantry for up to one year. Once cooked, this soup will last up to 4 days in the fridge. Since this recipe makes a lot, you can also freeze any soup leftovers for up to 4 months.
Can I use different spices?
Like all my other recipes, you can certainly customize this recipe any way to want. For this recipe, I'm using a beautiful array of garlic, parsley, and Italian seasoning. Herbs and spices are great for adding major flavor without extra calories or sodium. Feel free to sprinkle in other spices like cayenne pepper, cilantro, or bay leaves.
What jar should I use?
For this dry soup mix, I recommend using a 16-ounce glass mason jar or larger with a tight-fitting lid to keep the ingredients fresh and neatly layered. It also makes for a beautiful presentation if you're gifting the mix! Sometimes I'll even upcycle an old Farmer's Fridge jar!

How do I store leftovers?
Store leftovers in an airtight container for up to 4 days in the fridge. For longer storage, transfer the soup to freezer-safe containers and freeze for up to 3 months. When reheating, thaw the soup in the fridge overnight, then warm it on the stove or in the microwave, stirring occasionally for even heating.
Try these other plant-based soup recipes too:
- Toasted Tomato Basil Soup
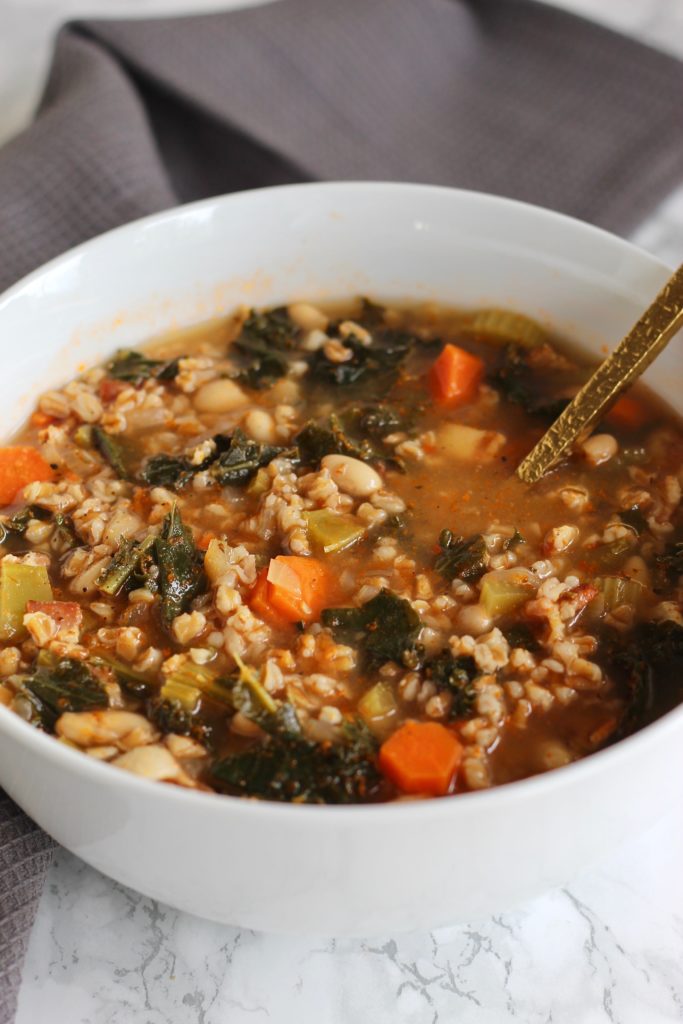
- Tuscan Kale & Farro Soup
- Or check out these 20 delicious vegan soups!

Lentil Brown Rice Dry Soup Mix
Equipment
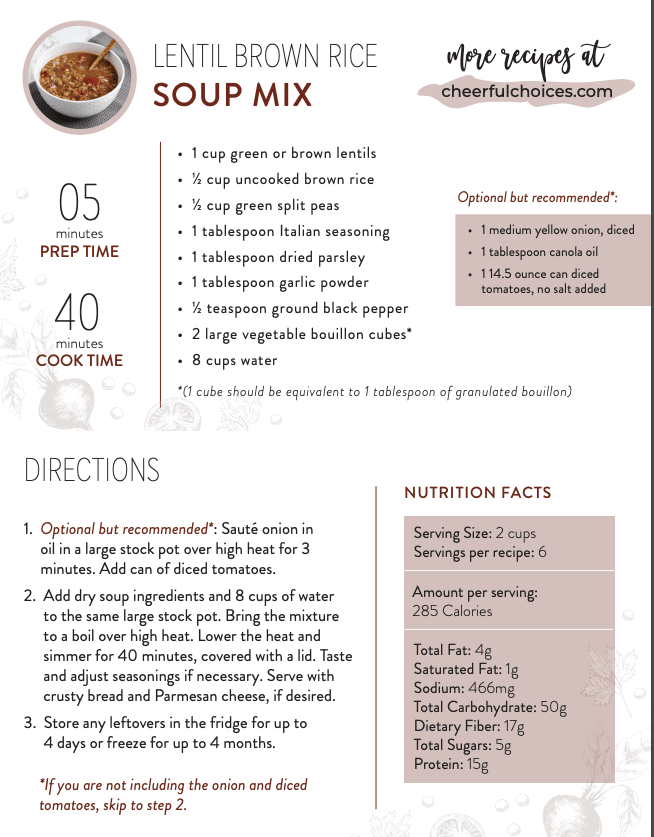
Ingredients
Dry Soup Mix Ingredients:
- 1 cup lentils of your choice (green or brown lentils will stay more intact at the end of the cook time. You can also use red lentils to get a creamier, more broken down lentil texture.)
- ½ cup uncooked brown rice
- ½ cup green split peas
- 1 tablespoon Italian seasoning
- 1 tablespoon dried parsley
- 1 tablespoon garlic powder
- ½ teaspoon ground black pepper
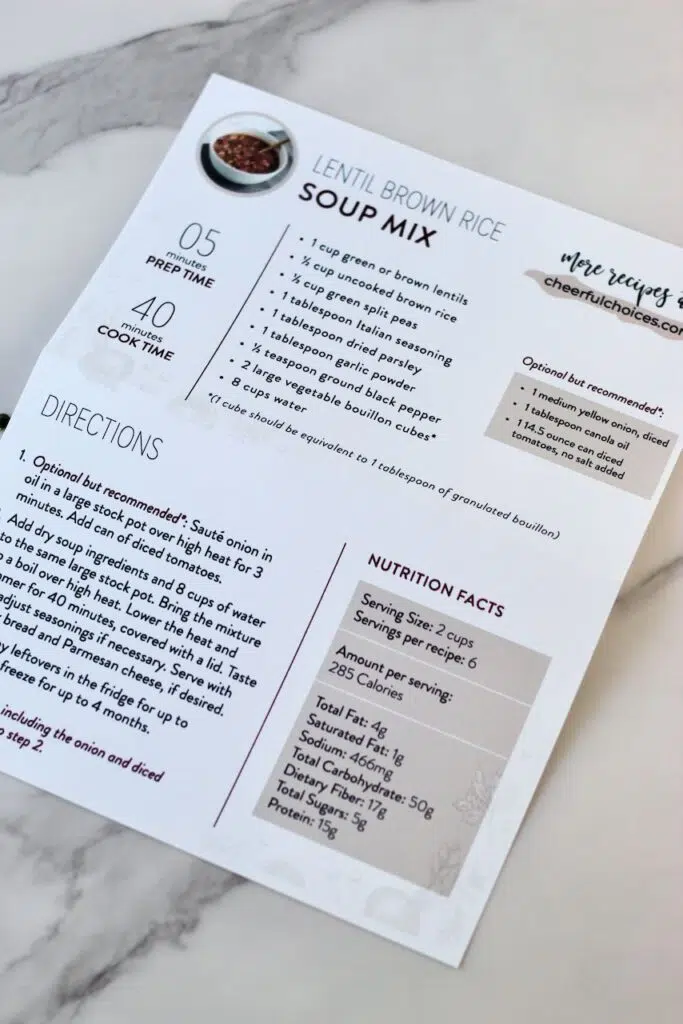
- 2 large vegetable bouillon cubes - each cube should be equivalent to 1 tablespoon of granulated bouillon
- 8 cups water
Optional Ingredients:
- 1 medium yellow onion, diced
- 1 tablespoon oil of your choice (olive oil, avocado oil, etc.)
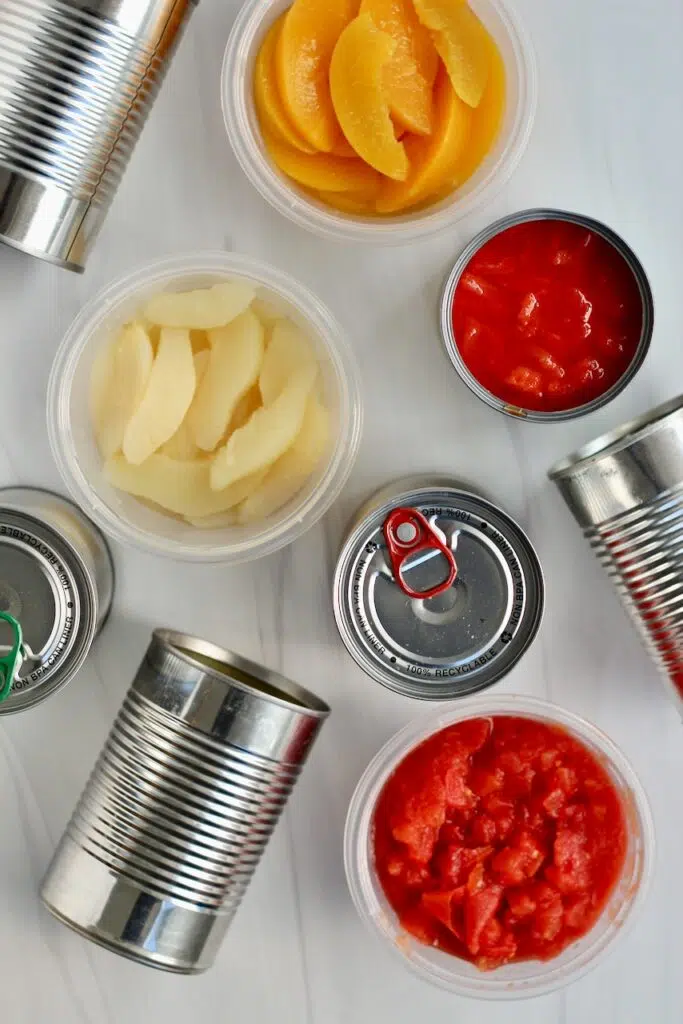
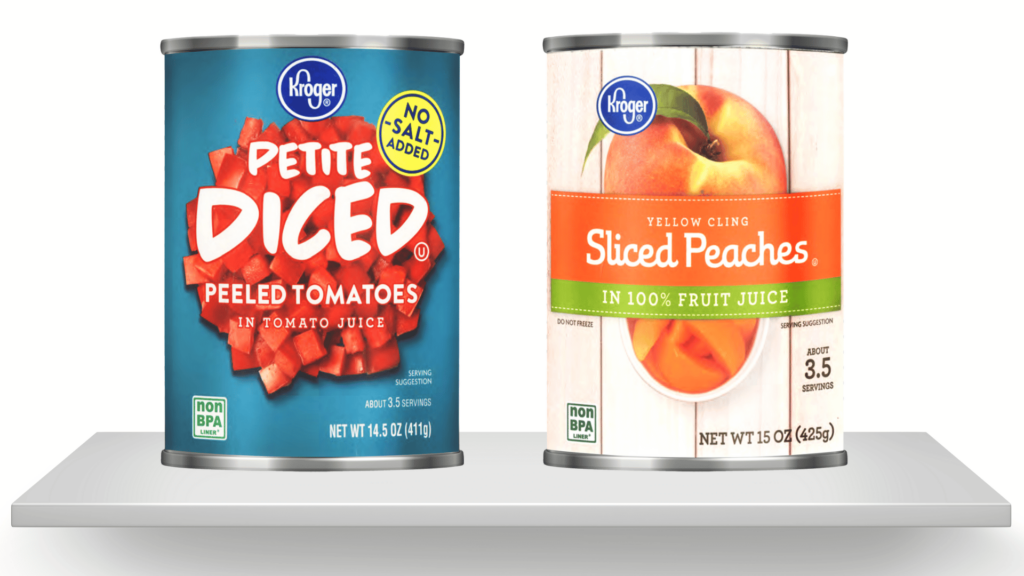
- 1-14.5 ounce can no salt added diced tomatoes
- 2 cups chopped vegetables of your choice (carrots, celery, bell peppers, etc.)
- Crusty bread and Parmesan cheese, for serving
Instructions
Dry Soup Mix Instructions:
- Add all dry soup mix ingredients to a pint sized (16 ounce) wide mouth mason jar. Gift or enjoy within one year.
Cooking Instructions to Attach to Jar:
- Optional but recommended*: Sauté onion in oil in a large stock pot (~7 quarts) over high heat for 3 minutes. Add can of diced tomatoes and chopped vegetables.
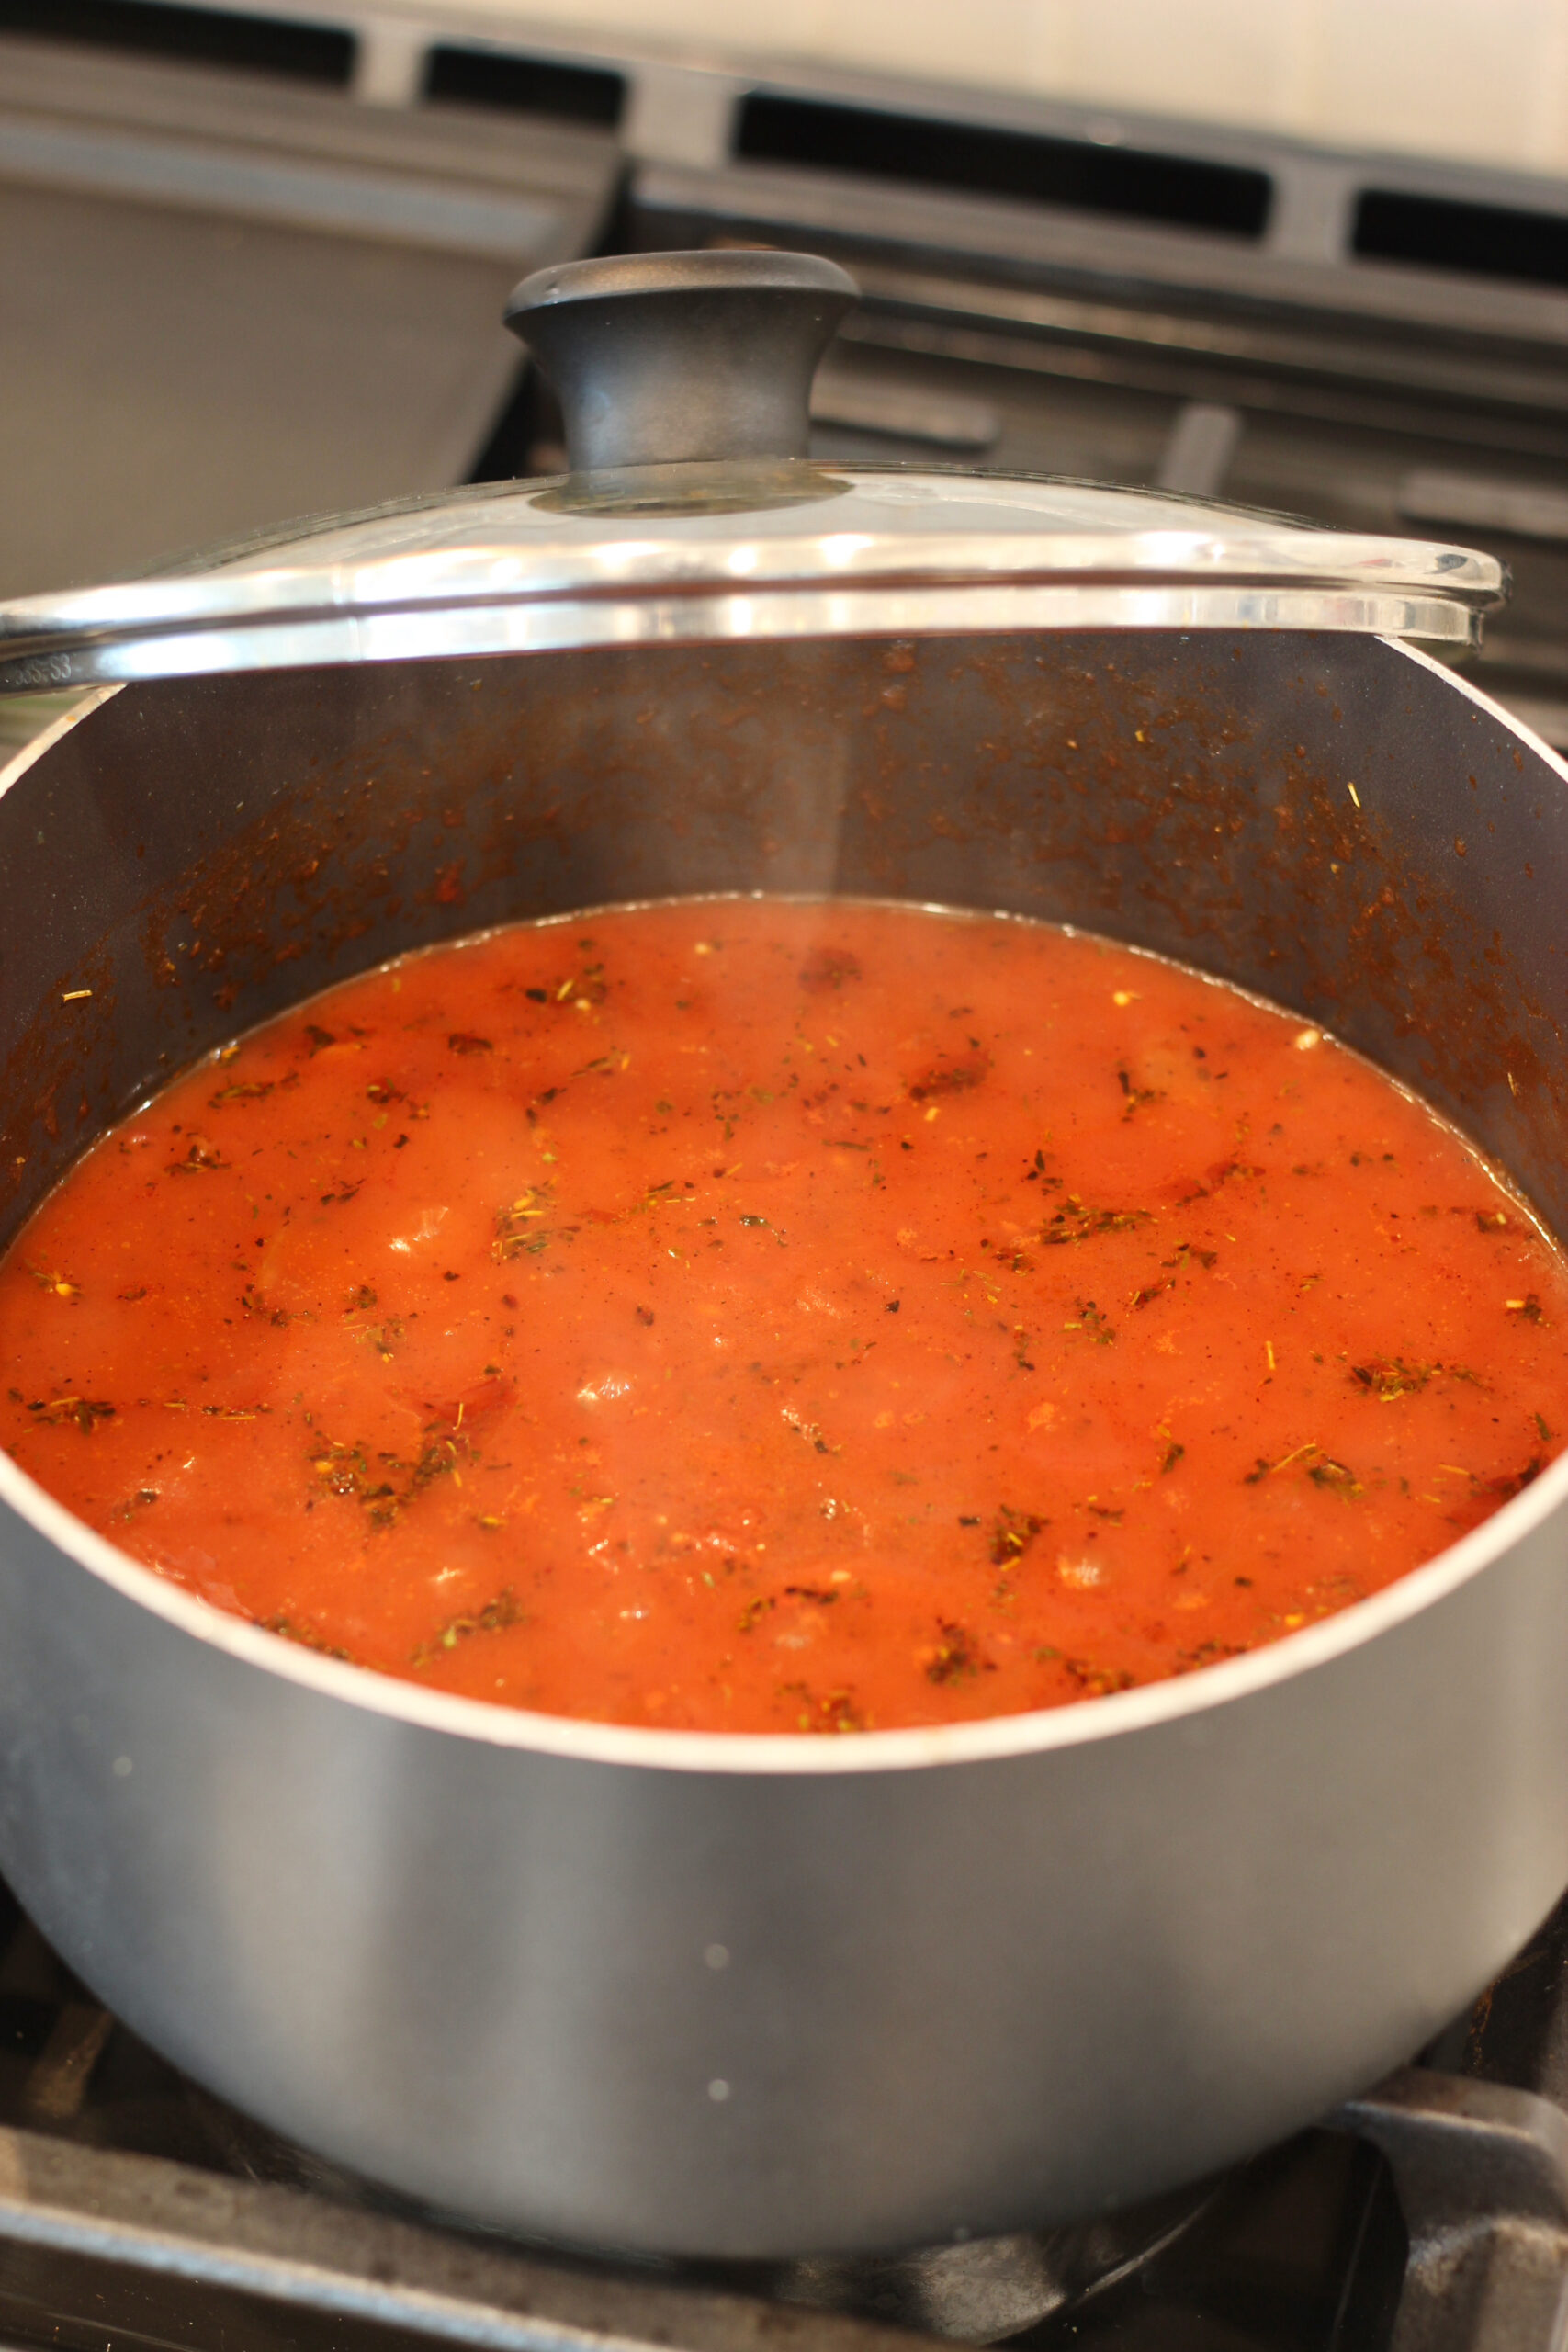
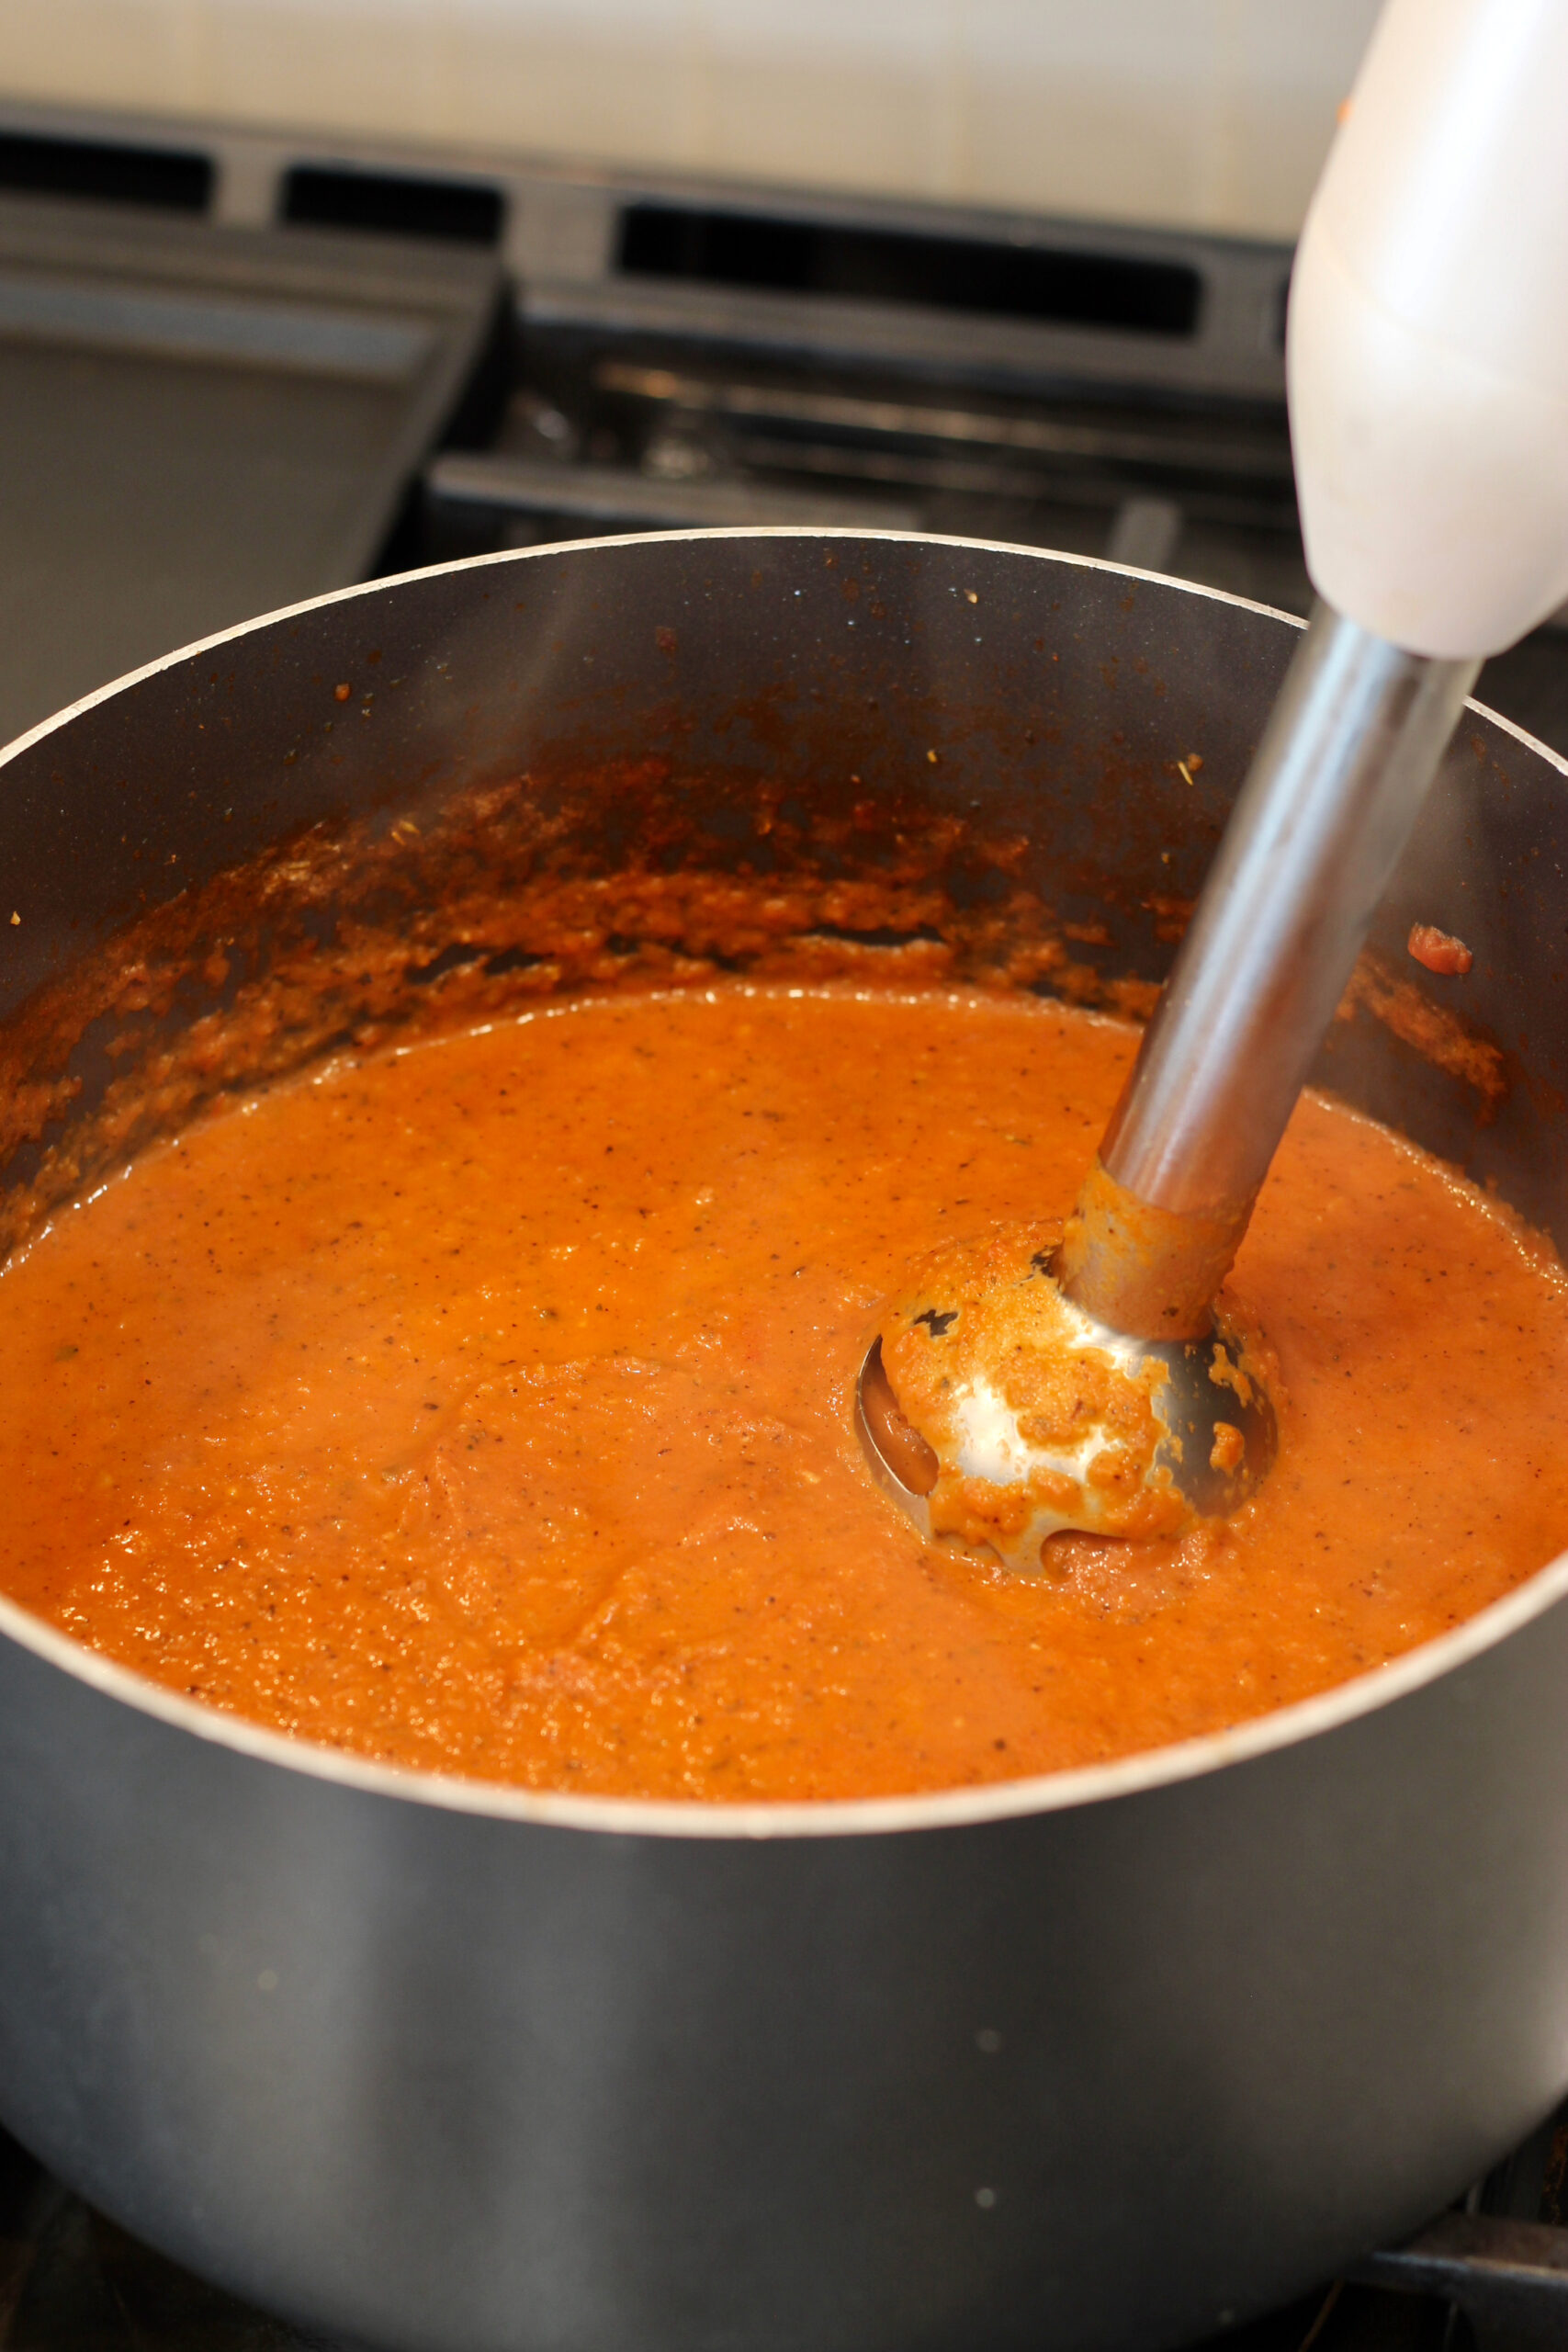
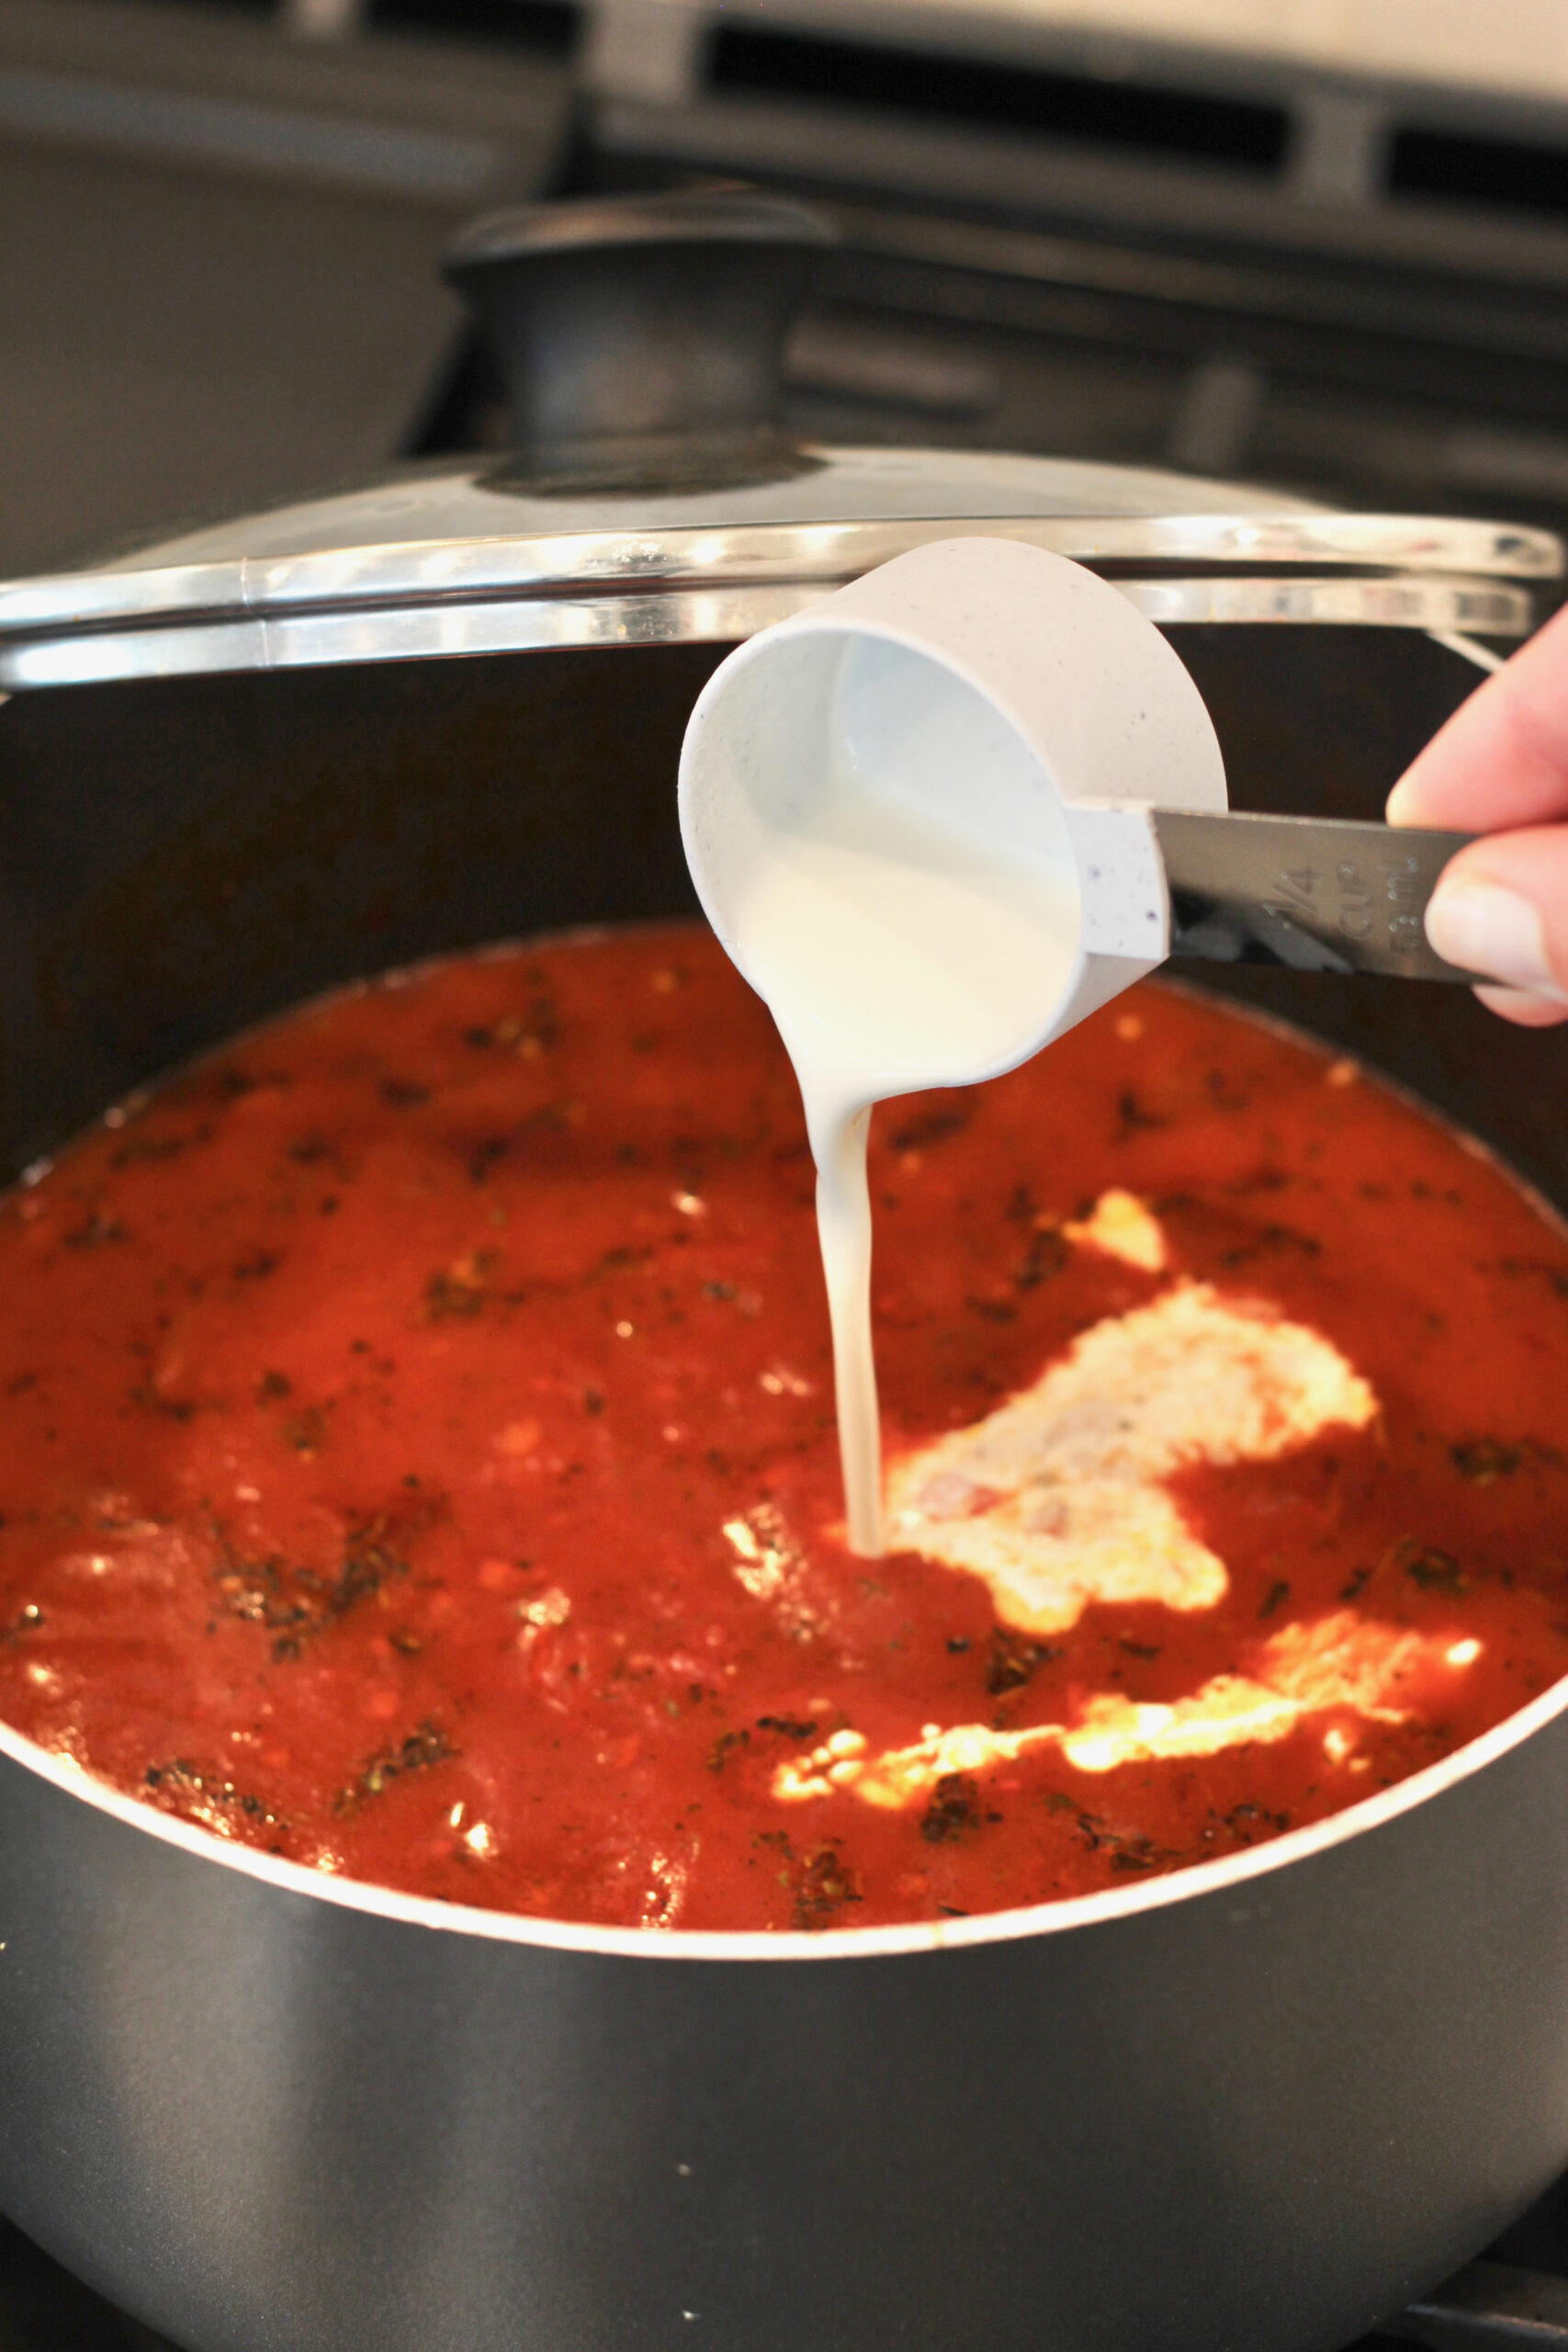
- Add dry soup ingredients and 8 cups of water to the same large stock pot. Bring the mixture to a boil over high heat. Lower the heat and simmer for 40-45 minutes, covered with a lid. Taste and adjust seasonings if necessary.
- Serve with crusty bread and Parmesan cheese, if desired.
- Store any leftovers in the fridge for up to 4 days or freeze for up to 4 months.
Video
Notes
Nutrition
save this lentil brown rice soup recipe on pinterest: